Introduction
Welcome to the world of Ubotie keyboards! If you’re a fan of sleek, stylish, and functional keyboards, then you’re in the right place. In this guide, we’ll walk you through the process of connecting your Ubotie keyboard to your device. Whether you’re using a computer, laptop, tablet, or smartphone, these simple steps will have you typing away in no time.
Ubotie keyboards are known for their exceptional design, ergonomic features, and wireless connectivity. With their compact size and Bluetooth capabilities, these keyboards are perfect for both work and play. Whether you’re a professional looking to enhance your productivity or a gamer seeking a better gaming experience, the Ubotie keyboard is a versatile and reliable choice.
So, if you’ve recently purchased a Ubotie keyboard or are considering getting one, this guide will help you get it up and running smoothly. From unboxing and inspecting the keyboard to connecting it to your device, we’ll cover all the necessary steps to ensure a seamless setup process.
Whether you’re a tech-savvy enthusiast or a beginner navigating the world of keyboards, rest assured that you’re in good hands. We’ll provide clear and concise instructions to make the process as straightforward as possible. So, let’s dive in and get ready to connect your Ubotie keyboard!
Overview of Ubotie Keyboard
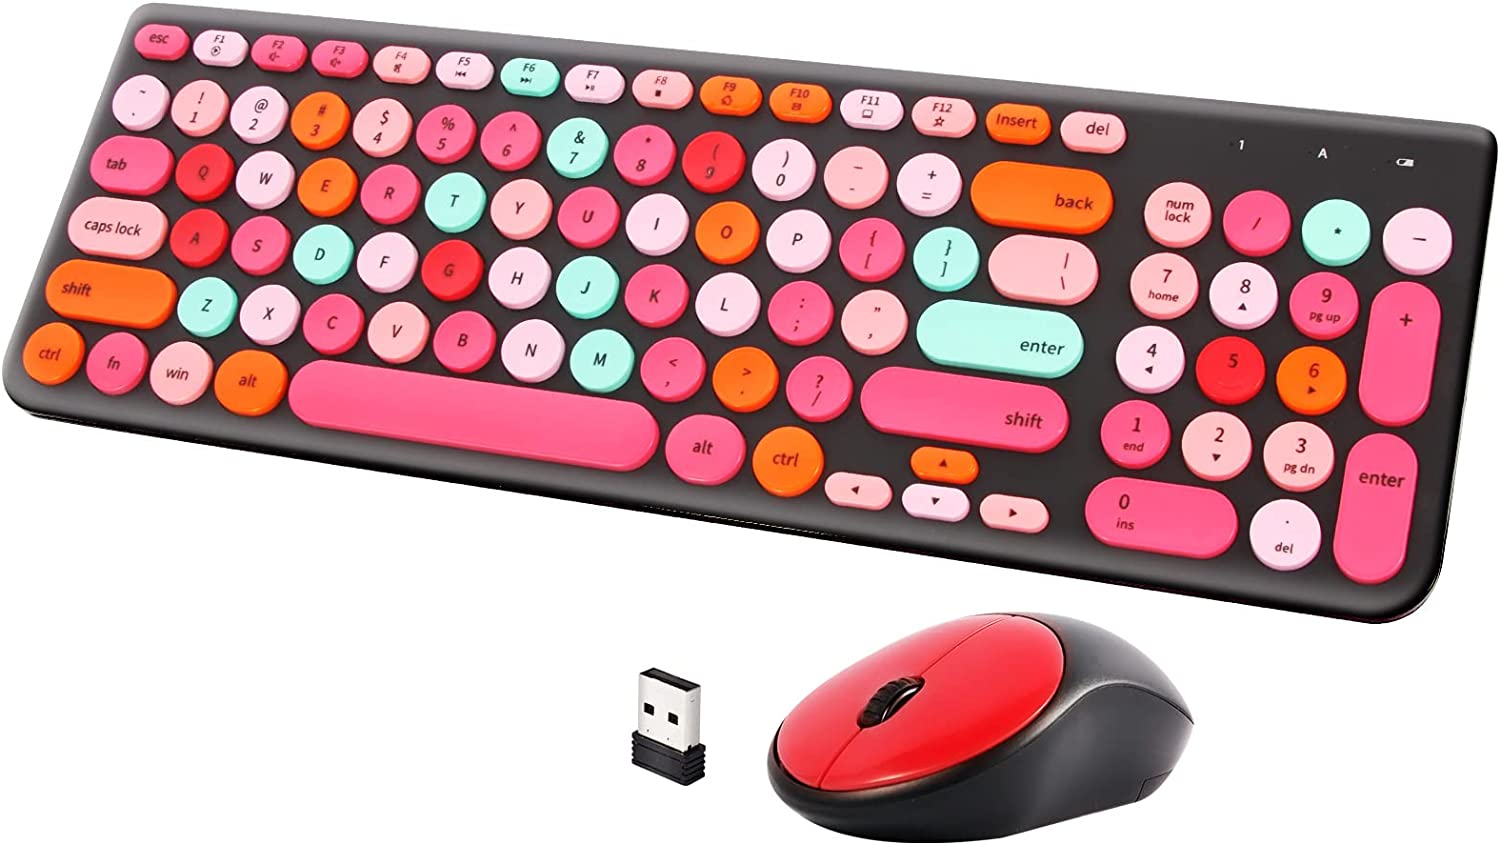
Before we dive into the steps of connecting your Ubotie keyboard, let’s first take a closer look at what makes these keyboards so special. Ubotie keyboards are renowned for their sleek and modern design, combining functionality and aesthetics seamlessly. With their slim profile and lightweight construction, they are ideal for users on the go.
Despite their compact size, Ubotie keyboards offer a comfortable typing experience. The keys are well-spaced, ensuring minimal errors and enhancing overall accuracy. Additionally, the keys are responsive and provide a satisfying tactile feedback, giving you the confidence to type for extended periods without experiencing any discomfort.
Another notable feature of Ubotie keyboards is their wireless connectivity. By utilizing Bluetooth technology, these keyboards can connect seamlessly to a wide range of devices, including computers, laptops, tablets, and smartphones. This eliminates the hassle of dealing with tangled wires and provides you with the freedom to work or play without being bound to a specific location.
Furthermore, Ubotie keyboards often boast impressive battery life. With their energy-efficient design, you can expect to use these keyboards for extended periods before needing to recharge. This is especially beneficial for those who rely on their keyboard for work or gaming sessions, allowing them to focus on their tasks without the worry of running out of power.
In terms of compatibility, Ubotie keyboards are designed to work with multiple operating systems, including Windows, macOS, Android, and iOS. This means that no matter what device you’re using, whether it’s a desktop computer or a smartphone, you can easily connect and use the Ubotie keyboard without any compatibility issues.
Lastly, Ubotie keyboards often come with additional features such as backlit keys, multimedia controls, and customizable shortcuts. These features enhance the overall user experience and provide added convenience for various tasks, whether it’s working late at night or navigating through multimedia content.
Now that we have a good understanding of the Ubotie keyboard’s features and capabilities, let’s move on to the step-by-step process of connecting your Ubotie keyboard to your device.
Step 1: Unboxing and Inspecting the Keyboard
The first step in connecting your Ubotie keyboard is to unbox and inspect the keyboard. This step is crucial to ensure that your keyboard is in perfect condition and ready to be used. Here’s what you need to do:
1. Find a clean and well-lit workspace. Make sure you have enough space to unbox and inspect the keyboard comfortably.
2. Carefully remove the Ubotie keyboard from its packaging. Take note of any protective films or covers that need to be removed before use.
3. Inspect the keyboard for any visible damage, scratches, or missing components. Check the keys, USB or charging ports, and any other buttons or switches. If you notice any issues, contact the retailer or Ubotie customer support for assistance.
4. Check for any included accessories, such as a USB cable for charging or connecting the keyboard. Ensure that all the necessary accessories are present and in good condition.
5. Familiarize yourself with the layout and design of the keyboard. Take note of any additional features or special keys that might require specific instructions for use.
6. If your Ubotie keyboard has a rechargeable battery, check its battery level. If it’s not fully charged, proceed to the next step to charge the keyboard before connecting it to your device.
By taking the time to unbox and inspect your Ubotie keyboard, you can ensure that it is free from any defects and ready to be used. This step also allows you to familiarize yourself with the layout and design of the keyboard, making the setup process much smoother.
Once you have completed this step, you are ready to move on to the next step: charging the keyboard.
Step 2: Charging the Keyboard
After unboxing and inspecting your Ubotie keyboard, the next step is to charge it. Charging your keyboard ensures that it has enough power to establish a stable connection with your device. Here’s how you can charge your Ubotie keyboard:
1. Locate the USB charging cable that came with your Ubotie keyboard. It may be included in the packaging or stored separately.
2. Connect one end of the USB cable to the USB port on the keyboard. The port is usually located on the back or side of the keyboard.
3. Plug the other end of the USB cable into a power source, such as a USB port on your computer, a USB wall charger, or a power bank.
4. Ensure that the power source is turned on and supplying power. You may see a charging indicator light on the keyboard that confirms it is receiving power.
5. Allow the keyboard to charge for the recommended amount of time. Refer to the user manual or product documentation to find out how long it typically takes to fully charge the Ubotie keyboard.
6. While the keyboard is charging, avoid using it or attempting to connect it to your device. It is important to allow it to charge fully for optimal performance.
Once the Ubotie keyboard is fully charged, you can disconnect it from the power source and move on to the next step: turning on the Bluetooth on your device.
By following these steps and ensuring that your Ubotie keyboard is fully charged, you can enjoy uninterrupted wireless connectivity when connecting it to your device.
Step 3: Turning on the Bluetooth on Your Device
To establish a wireless connection between your Ubotie keyboard and your device, you need to ensure that the Bluetooth feature on your device is turned on. Here’s how you can turn on the Bluetooth on your device:
1. Open the settings on your device. The location of the settings may vary depending on the operating system and device you are using.
2. Look for the Bluetooth option in the settings menu. It is typically represented by a Bluetooth symbol or the word “Bluetooth”. Tap or click on it to access the Bluetooth settings.
3. On the Bluetooth settings page, toggle the Bluetooth switch to turn it on. This action may differ slightly based on your device’s interface. Once enabled, the Bluetooth icon should appear in the status bar or notification panel.
4. While on the Bluetooth settings page, keep the device’s Bluetooth settings open. This will make it easier to discover and connect to the Ubotie keyboard in the next step.
It’s important to note that the exact steps to turn on Bluetooth may vary depending on the device and operating system you are using. If you encounter any difficulties, consult your device’s user manual or search online for specific instructions related to your device model.
With Bluetooth turned on and ready, you’re now prepared to move on to the next step: connecting the Ubotie keyboard to your device.
Step 4: Connecting the Ubotie Keyboard to Your Device
Now that you have turned on the Bluetooth feature on your device, it’s time to connect your Ubotie keyboard. Follow these steps to establish a seamless connection:
1. On your device, navigate to the Bluetooth settings page, as explained in the previous step.
2. Look for available Bluetooth devices or a “Scan” or “Search” option. Tap or click on it to start scanning for nearby devices.
3. Your Ubotie keyboard should appear in the list of available devices. The name of the keyboard may vary, but it usually includes the word “Ubotie” or a similar identifier. Tap or click on the keyboard name to initiate the pairing process.
4. A pairing request or PIN code may appear on your device’s screen. If prompted, verify the PIN code on your Ubotie keyboard, or enter the provided code on your device. This step ensures a secure connection between the keyboard and your device.
5. Once the pairing process is successful, you will see a notification or confirmation message indicating that the Ubotie keyboard is connected to your device.
6. Test the connection by opening a text editor or any application that requires typing. Start typing on the Ubotie keyboard, and the text should appear on your device’s screen.
Congratulations! You have successfully connected your Ubotie keyboard to your device via Bluetooth. Now you can enjoy the freedom of wireless typing without any cords or cables.
It’s worth noting that the connection process may differ slightly depending on your device’s operating system and version. If you encounter any obstacles during the connection process, consult your device’s user manual or search online for specific instructions related to your device model.
In the next step, we’ll guide you through testing the keyboard connection to ensure everything is functioning as expected.
Step 5: Testing the Keyboard Connection
After connecting your Ubotie keyboard to your device, it’s essential to ensure that the keyboard connection is working correctly. This step will allow you to confirm that your keystrokes are registering accurately on your device. To test the keyboard connection, follow these steps:
1. Open any text editor or application on your device that requires typing, such as a word processor, messaging app, or web browser.
2. Place your hands on the Ubotie keyboard and start typing. You should see the characters appearing on your device’s screen as you type. Test various keys, including the letter keys, number keys, and special function keys, to ensure that they are all functioning properly.
3. Pay attention to any delay or lag between pressing the keys on the Ubotie keyboard and the characters appearing on your device’s screen. A minimal delay is normal, but if you notice significant delays or missing characters, try repositioning the keyboard closer to your device or restarting both the keyboard and your device.
4. Test additional features of the keyboard, such as multimedia controls, backlighting settings (if applicable), or any customizable shortcuts. Ensure that these features are working as expected.
5. If you encounter any issues during the testing phase, refer to the user manual or troubleshooting guide provided by Ubotie or contact their customer support for assistance.
By testing the keyboard connection, you can verify that the Ubotie keyboard is functioning correctly and that the Bluetooth connection is reliable. If you experience any difficulties or notice any problems, addressing them promptly will help ensure a seamless and enjoyable typing experience.
Once you have tested and confirmed that the keyboard connection is working perfectly, you’re ready to start using your Ubotie keyboard for all your typing needs!
Troubleshooting Tips
While connecting your Ubotie keyboard to your device is usually a smooth process, you may encounter some challenges along the way. Here are some troubleshooting tips to help you overcome common issues:
1. Ensure that your Ubotie keyboard is fully charged before attempting to connect it. A low battery can hinder the connection process or cause intermittent connectivity.
2. Double-check that the Bluetooth feature on your device is turned on and in discoverable mode. If the keyboard is not appearing in the available devices list, try restarting Bluetooth on both your keyboard and device.
3. If your Ubotie keyboard has a power switch, make sure it is in the “ON” position. Some keyboards have an auto-sleep feature to conserve power, so you may need to wake it up by pressing a key or the power button.
4. Make sure you’re within the Bluetooth range of your device. Bluetooth typically has a range of about 30 feet (10 meters), but it may vary depending on your device and any potential obstacles between the keyboard and device.
5. Restart your device and try reconnecting the Ubotie keyboard. Sometimes, a simple restart can resolve connectivity issues.
6. Update the firmware or drivers for your Ubotie keyboard, if applicable. Check the Ubotie website or contact their support for any available updates.
7. If you have previously connected your Ubotie keyboard to another device, make sure it is disconnected from that device before attempting to connect it to a new one. Bluetooth devices often have limitations on the number of simultaneous connections.
8. Consult the user manual or check the Ubotie website for specific troubleshooting steps related to your keyboard model. They may have additional recommendations or instructions for resolving connectivity issues.
If you’ve tried these troubleshooting tips and are still experiencing problems with your Ubotie keyboard, it’s recommended to reach out to Ubotie’s customer support for further assistance. They can provide personalized help or guide you through more advanced troubleshooting options.
Remember, every device and situation is unique, so be patient and persistent in troubleshooting any issues that may arise. With a little troubleshooting, you’ll soon be back to enjoying the seamless wireless typing experience that Ubotie keyboards provide.
Conclusion
Congratulations on successfully connecting your Ubotie keyboard to your device! By following the simple steps outlined in this guide, you’ve now unlocked the full potential of your Ubotie keyboard and can enjoy the freedom of wireless typing.
We began by providing an overview of Ubotie keyboards, highlighting their sleek design, ergonomic features, and wireless connectivity. We then walked you through the step-by-step process, including unboxing and inspecting the keyboard, charging the keyboard, turning on Bluetooth on your device, connecting the Ubotie keyboard, and testing the keyboard connection. We also provided troubleshooting tips to help you overcome any potential issues along the way.
With your Ubotie keyboard connected, you can now experience the joy of comfortable and efficient typing. Whether you’re using it for work, gaming, or leisure activities, the Ubotie keyboard is designed to enhance your productivity and provide a seamless typing experience.
If you ever encounter any difficulties or have further questions, don’t hesitate to consult the user manual or reach out to Ubotie’s customer support. They are always ready to assist you in maximizing the functionality of your Ubotie keyboard.
Thank you for choosing Ubotie – happy typing!