Introduction
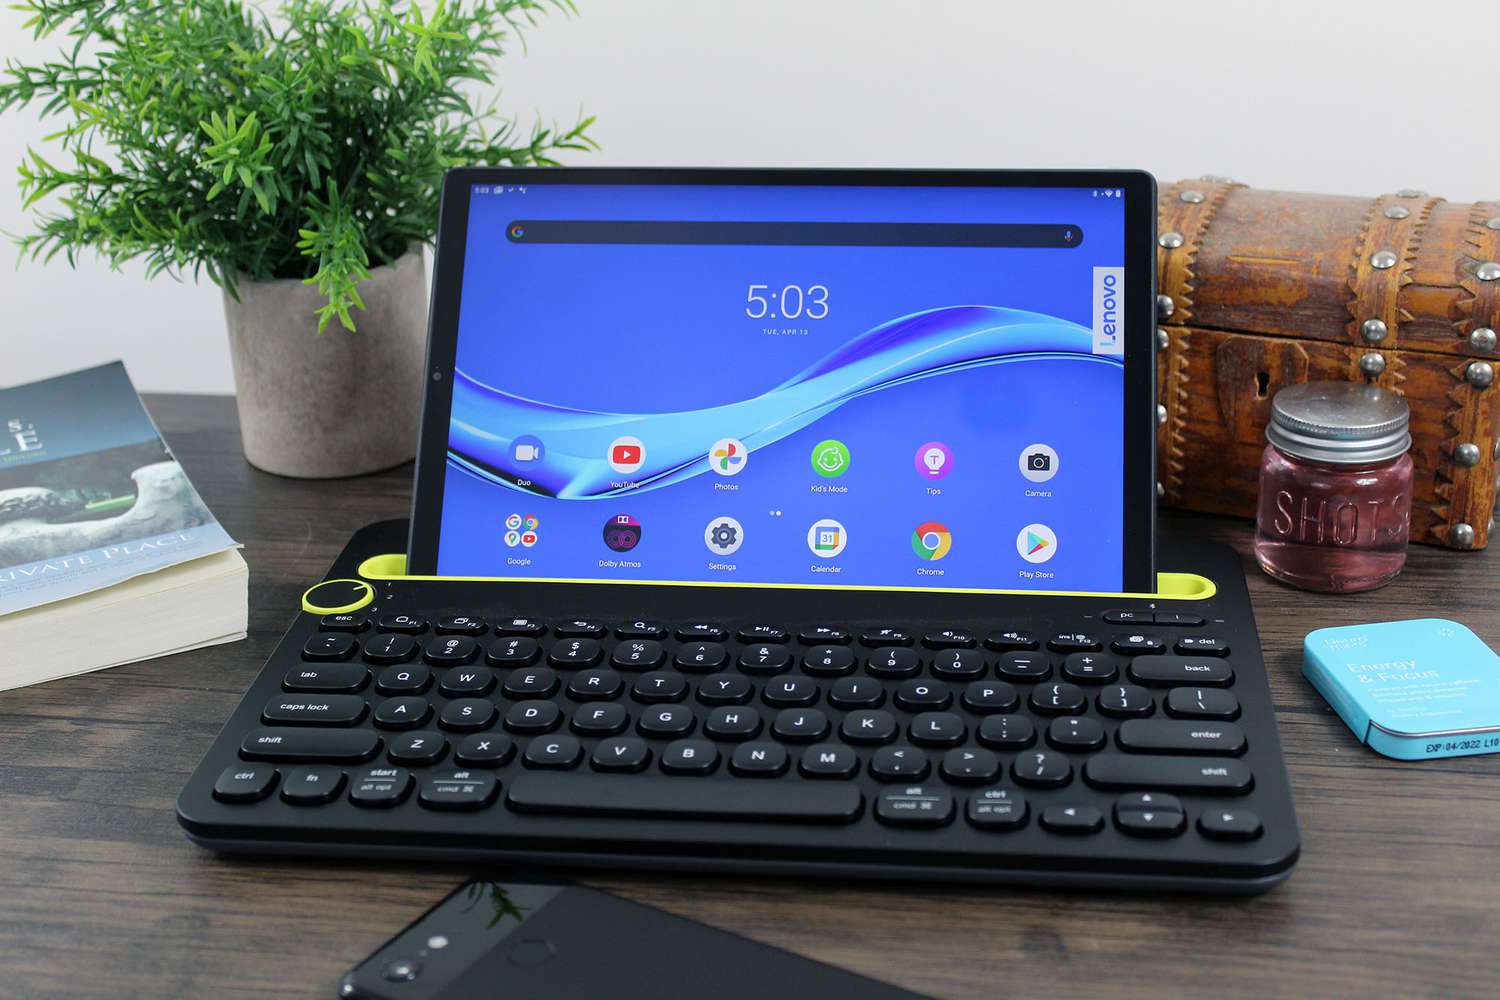
Welcome to this guide on how to connect a Logitech keyboard. Logitech is a well-known brand that offers a range of keyboards designed for different purposes, including gaming, productivity, and multimedia usage. Whether you have a wired or wireless Logitech keyboard, this step-by-step guide will help you set it up and start using it in no time.
Having a reliable and functional keyboard is essential for optimal computer usage. Logitech keyboards are known for their durability, comfort, and advanced features that make typing a breeze. Whether you’re a professional seeking efficient typing or a gamer looking for precise control, Logitech keyboards cater to diverse needs.
Before we dive into the details, let’s take a quick look at the basic requirements for connecting a Logitech keyboard. You’ll need a computer that is compatible with the keyboard and the necessary software/drivers installed. Additionally, if you have a wireless keyboard, make sure you have the required batteries or charging cable ready.
Now that we’re familiar with the essentials, let’s move on to the step-by-step process of connecting your Logitech keyboard. You’ll find detailed instructions on how to check compatibility, connect the keyboard, pair it with your computer, and troubleshoot any issues that may arise. So, let’s get started!
Step 1: Checking Compatibility
Before connecting your Logitech keyboard, it’s important to ensure compatibility with your computer. This step will help you avoid any potential issues and ensure a smooth setup process. Here’s how to check compatibility:
- Check System Requirements: Start by reviewing the system requirements specified by Logitech for your keyboard model. These requirements are usually available on the packaging or the manufacturer’s website. Make sure your computer meets these specifications, including the operating system version and available USB or Bluetooth connectivity.
- Verify Connection Type: Determine the type of connection supported by your Logitech keyboard. Logitech offers both wired and wireless options. If you have a wired keyboard, check if your computer has a compatible USB port. For wireless keyboards, ensure that your computer has Bluetooth capabilities or an available USB receiver that came with the keyboard.
- Software and Drivers: Logitech keyboards may require specific software or drivers to function properly. Visit the Logitech website and find the dedicated support page for your keyboard model. Download and install any required software or drivers, following the instructions provided by Logitech. This step is crucial for enabling advanced features and ensuring compatibility with your operating system.
Once you have confirmed compatibility with your computer and completed the necessary preparations, you are ready to proceed to the next step of connecting your Logitech keyboard. Make sure you have your keyboard, cables (if applicable), and any required batteries or charging cables readily available.
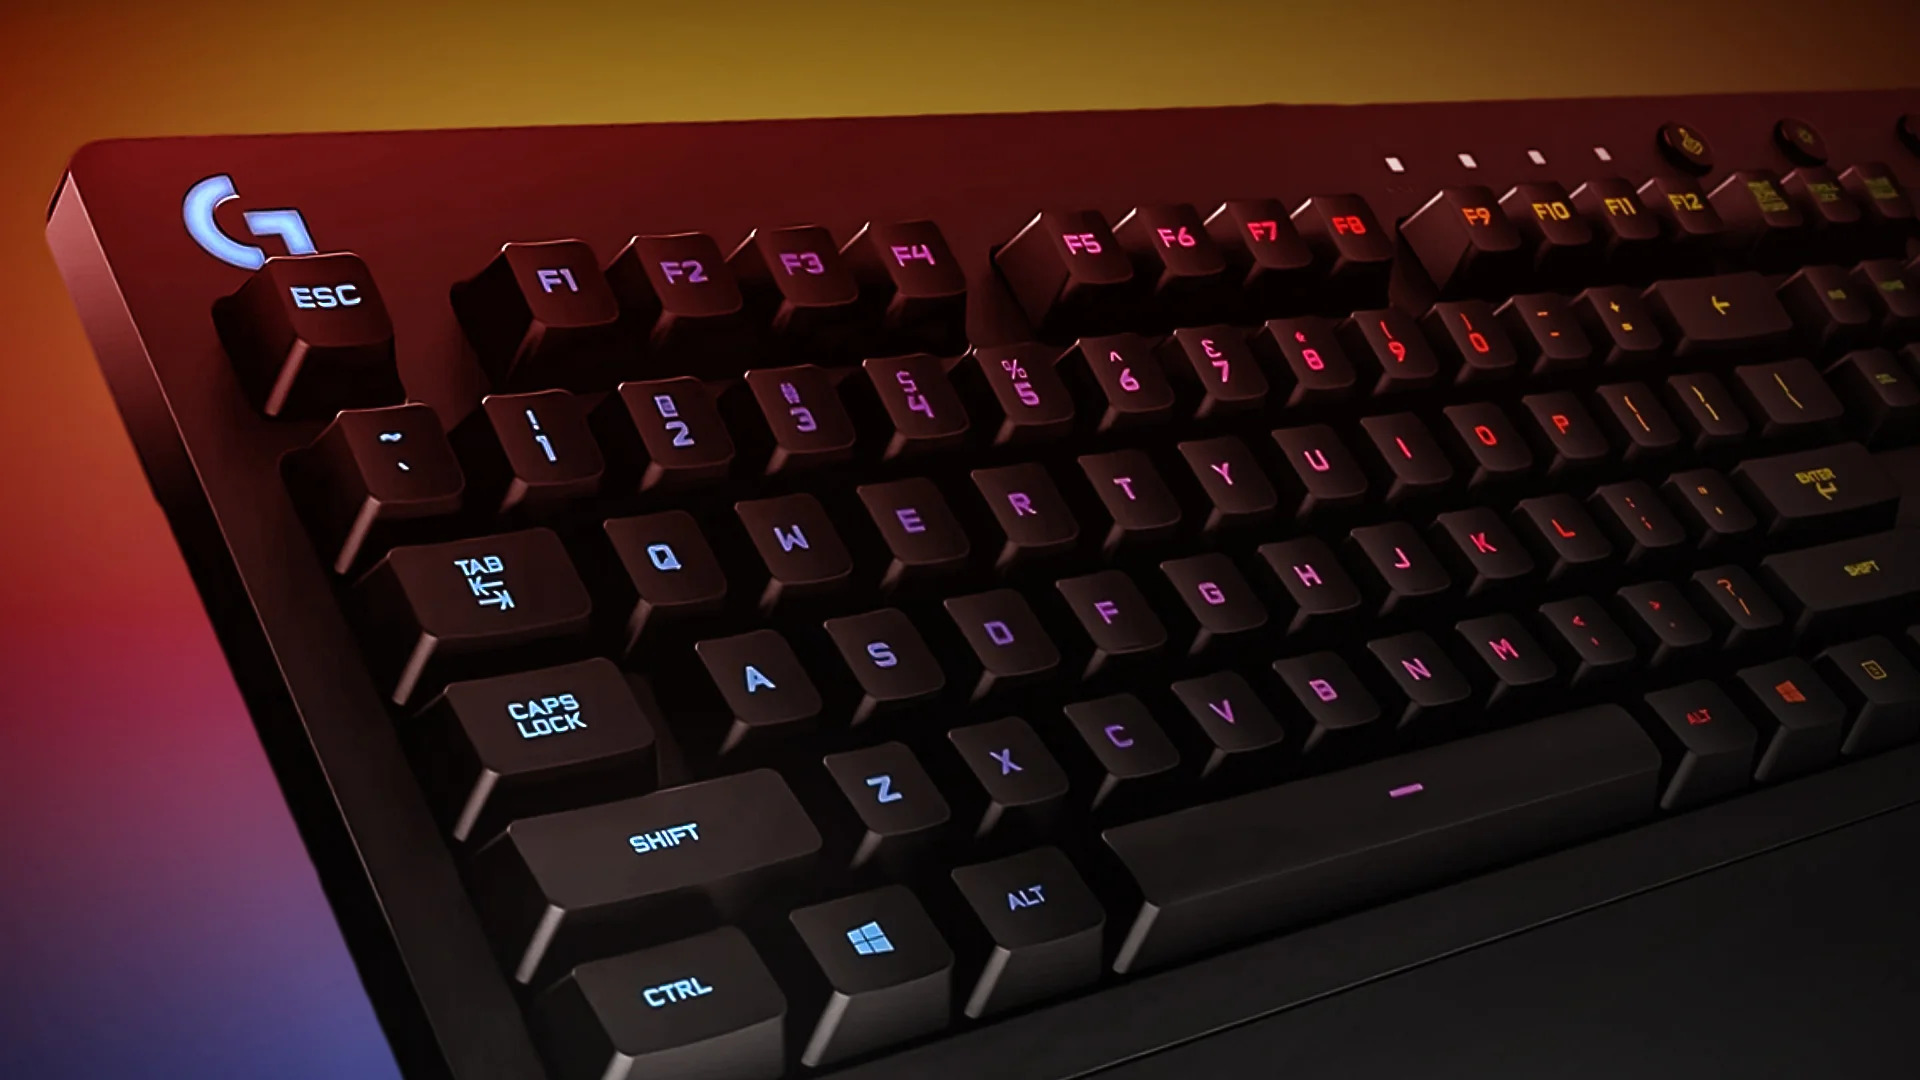
Step 2: Connecting the Keyboard
Now that you have verified compatibility, it’s time to connect your Logitech keyboard to your computer. Follow these steps to ensure a successful connection:
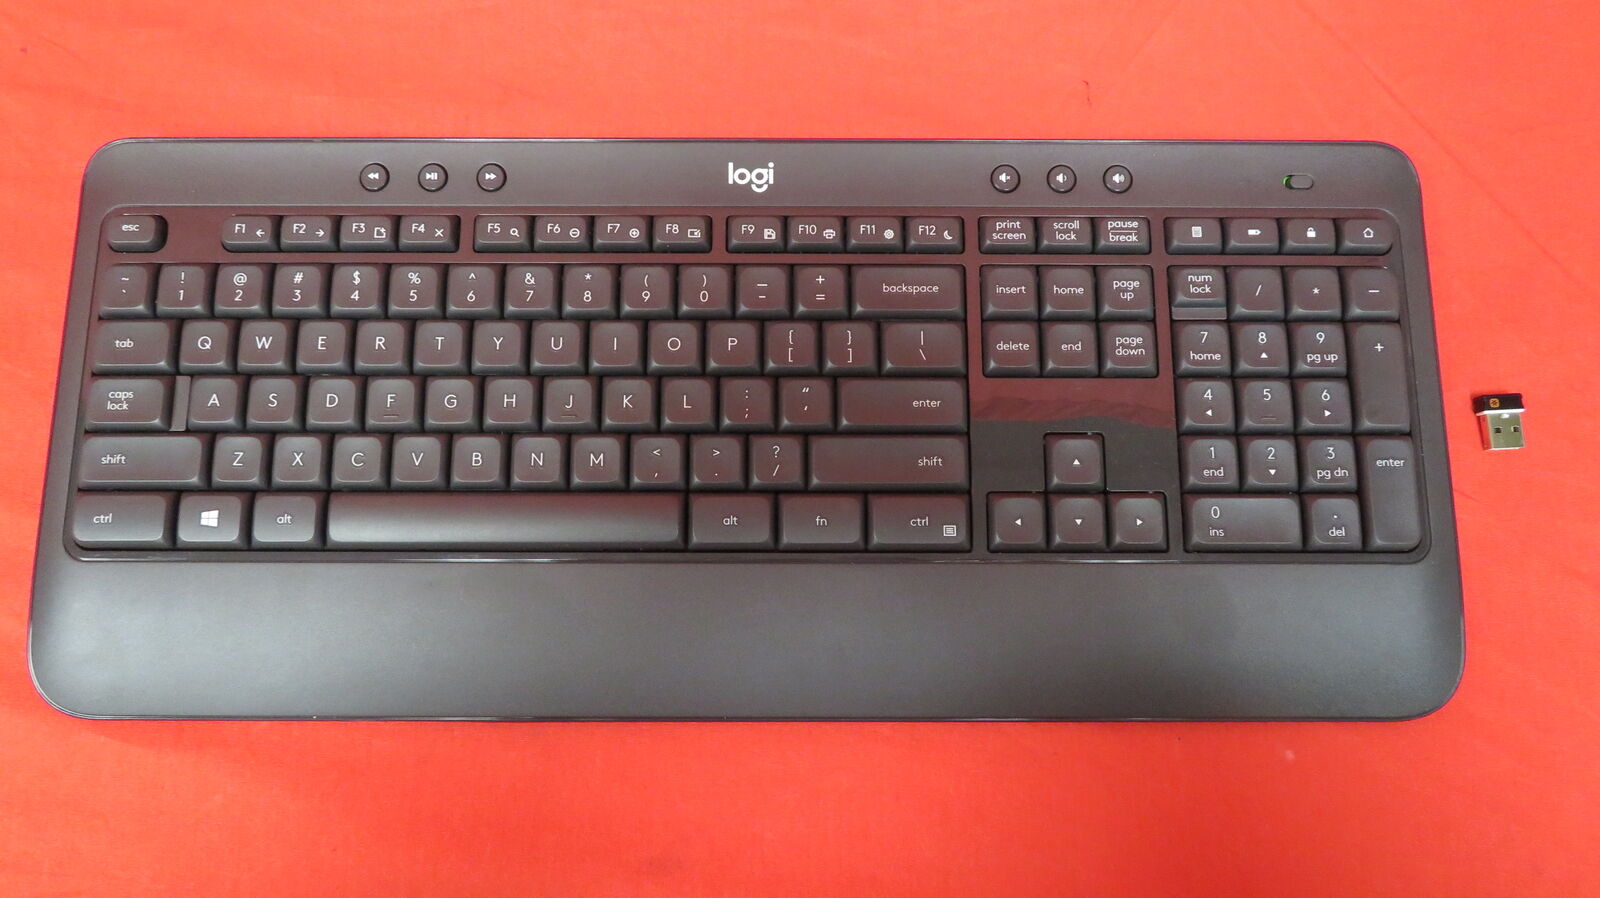
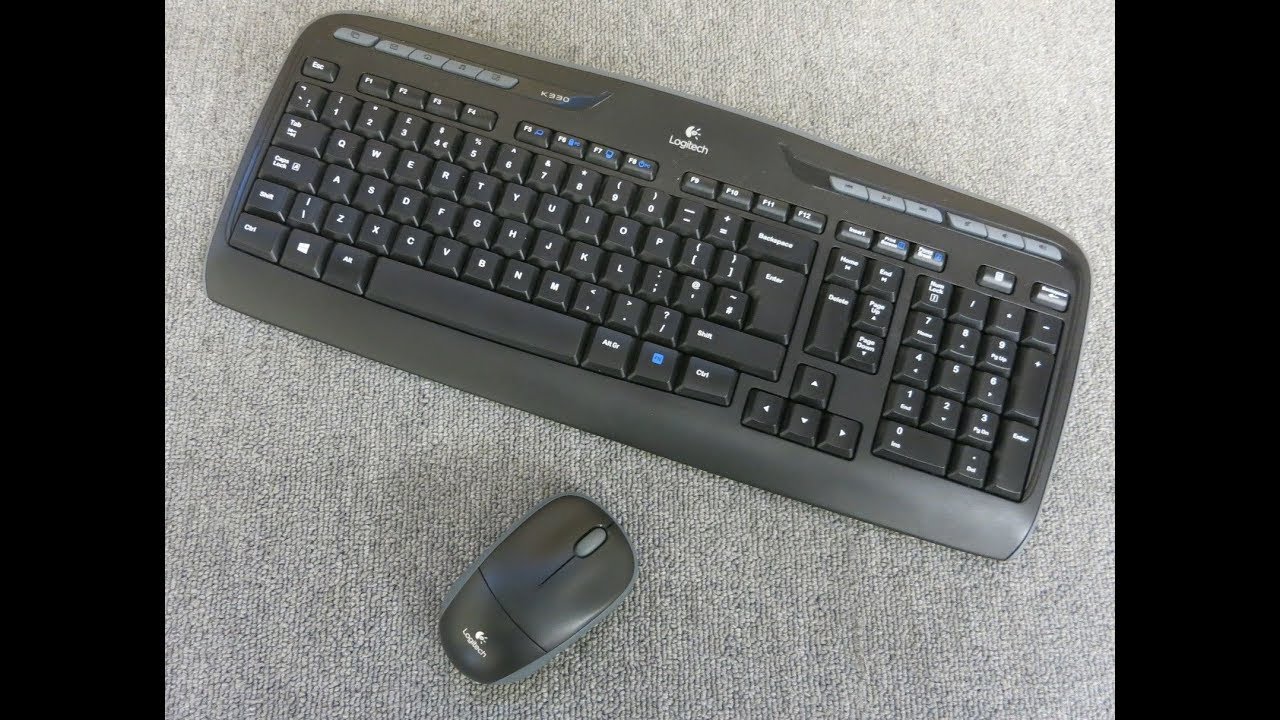
- Wired Connection: If you have a wired Logitech keyboard, locate an available USB port on your computer. Plug the USB connector from the keyboard into the USB port. Your computer should detect the keyboard automatically, and it should be ready to use. If prompted, follow any on-screen instructions to complete the setup process.
- Wireless Connection: If you have a wireless Logitech keyboard, begin by inserting the batteries into the keyboard or connecting the keyboard to a power source using the provided charging cable. Next, ensure that your computer’s Bluetooth is enabled. If your keyboard uses a USB receiver, insert it into an available USB port on your computer. The computer should automatically detect the receiver and the keyboard. If prompted, follow any on-screen instructions to complete the pairing process. If your keyboard connects via Bluetooth, follow the instructions provided by Logitech to pair it with your computer.
- Testing the Connection: Once the connection is established, test the keyboard by typing on it. The keystrokes should register on your computer, indicating a successful connection. If the keyboard doesn’t respond, try restarting your computer and checking the connection again. If the issue persists, move on to the next step for troubleshooting.
By following these steps, you should now have your Logitech keyboard connected to your computer. It’s time to move on to the next step and pair your keyboard with your computer for optimal functionality and performance.
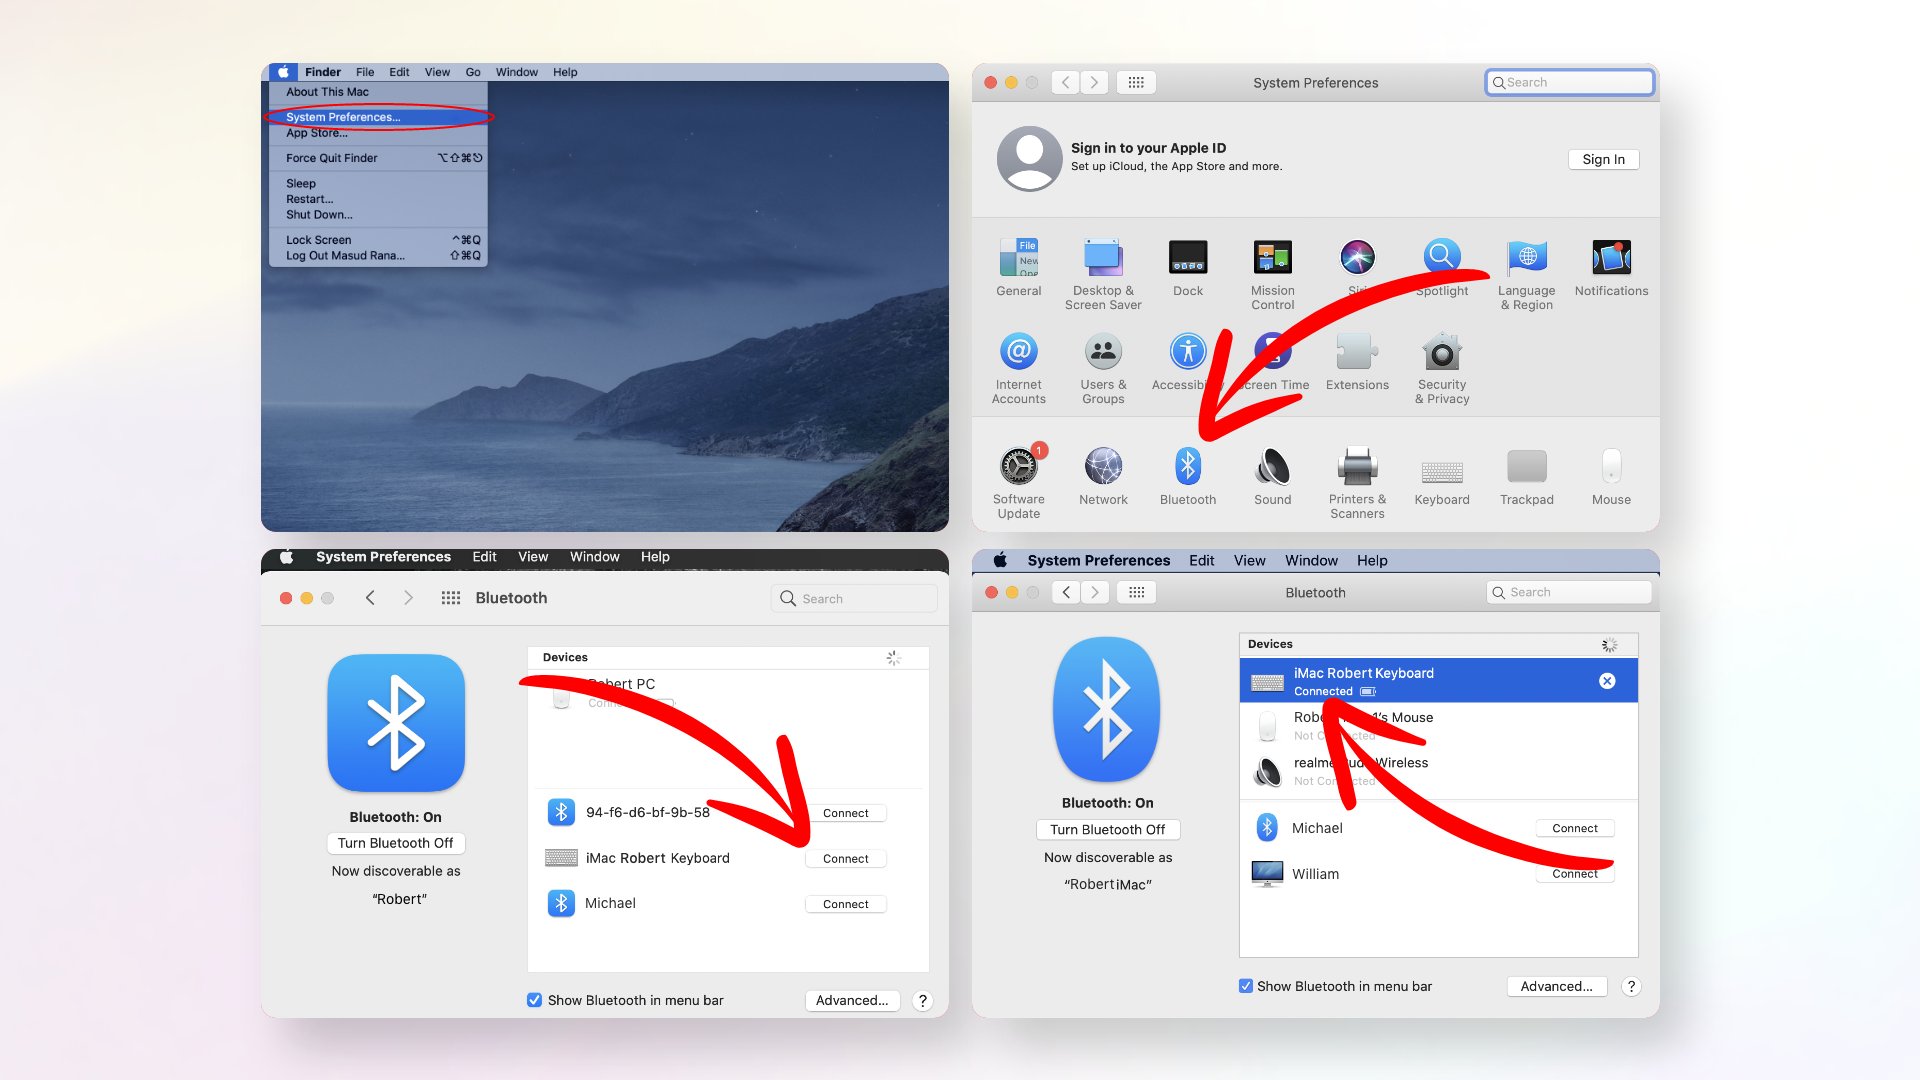
Step 3: Pairing the Keyboard with a Computer
If you have a wireless Logitech keyboard, the next step is to pair it with your computer. Pairing ensures a secure and reliable connection between the keyboard and your computer. Follow these instructions to pair your Logitech keyboard:
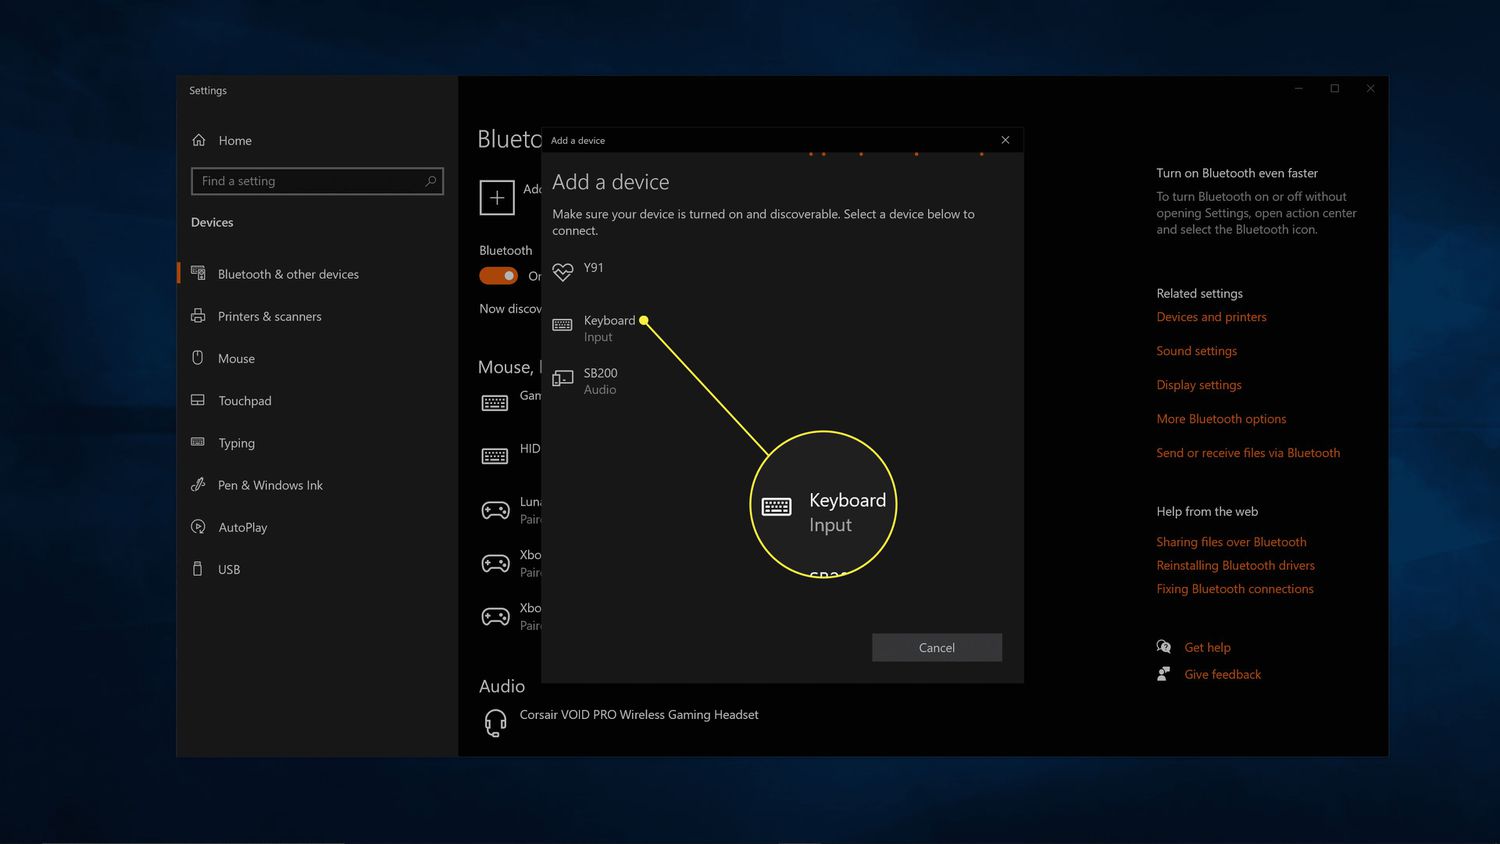
- Bluetooth Pairing: If your Logitech keyboard connects via Bluetooth, ensure that Bluetooth is enabled on your computer. Refer to the keyboard’s user manual or the Logitech support website for specific instructions on how to activate pairing mode on your keyboard. Once in pairing mode, go to your computer’s Bluetooth settings and search for available devices. Select your Logitech keyboard from the list of available devices and follow any on-screen prompts to complete the pairing process.
- USB Receiver Pairing: If your Logitech keyboard uses a USB receiver, it should have been automatically paired during the connection process mentioned earlier. However, in some cases, manual pairing might be required. To do this, ensure that the USB receiver is securely inserted into an available USB port on your computer. Press the connect button on the USB receiver and then press the connect button on your Logitech keyboard. Your keyboard should now be paired with your computer.
Once the pairing is complete, your Logitech keyboard should be ready to use. Test it by typing on the keyboard and verifying that the keystrokes are registered on your computer. If there are any issues with the pairing or the keyboard is not functioning as expected, proceed to the next step for troubleshooting tips.
Step 4: Troubleshooting Tips
If you encounter any issues while connecting or using your Logitech keyboard, here are some troubleshooting tips to help resolve common problems:
- Check Connections: Ensure that all connections are secure. For wired keyboards, make sure the USB cable is properly plugged into the computer. If you have a wireless keyboard with a USB receiver, ensure that it is securely inserted into a USB port. If using Bluetooth, verify that Bluetooth is enabled on both the keyboard and computer.
- Replace Batteries: If you have a wireless Logitech keyboard that uses batteries, check if the batteries need to be replaced. Low battery levels can cause connectivity issues and unresponsiveness. Replace the batteries with fresh ones and try connecting the keyboard again.
- Reinstall Software/Drivers: If your keyboard requires specific software or drivers, try reinstalling them. Uninstall the current software, download the latest version from the Logitech website, and install it again. This can help resolve any compatibility issues or software glitches.
- Restart Computer: Sometimes, a simple restart can resolve connectivity issues. Restart your computer and attempt to connect your Logitech keyboard again. This can refresh system settings and establish a fresh connection between the keyboard and computer.
- Pairing Reset: If you are still facing problems with wireless connectivity, try resetting the pairing between your keyboard and computer. Refer to the user manual or Logitech support website for instructions on how to reset the pairing. After resetting, go through the pairing process again.
- Contact Logitech Support: If all else fails, reach out to Logitech customer support for further assistance. They can provide personalized troubleshooting guidance or advise on any potential hardware issues that may need further attention.
By following these troubleshooting tips, you should be able to resolve most common connectivity issues with your Logitech keyboard. Remember, each Logitech keyboard model may have specific troubleshooting steps, so refer to the user manual or contact Logitech support for model-specific guidance if needed.
Conclusion
Congratulations! You have successfully connected and paired your Logitech keyboard with your computer. By following the steps outlined in this guide, you can now enjoy the comfort and convenience of using your Logitech keyboard for work, gaming, or any other tasks you have at hand.
We began by emphasizing the importance of checking compatibility and ensuring that your computer meets the requirements for your Logitech keyboard. We then discussed the step-by-step process of connecting the keyboard, whether it’s a wired or wireless connection. Pairing the keyboard with your computer was also covered in detail, providing instructions for both Bluetooth and USB receiver pairing methods.
In case you encountered any issues, we also provided troubleshooting tips to help you resolve common problems. Checking connections, replacing batteries, reinstalling software/drivers, restarting the computer, resetting pairing, and seeking assistance from Logitech support were all covered as potential solutions to troubleshoot any connectivity issues you may have encountered.
Remember to refer to the user manual of your specific Logitech keyboard model for any additional instructions or specific troubleshooting steps that may be required. Logitech customer support is also available to provide personalized assistance if needed.
Now that you’ve successfully connected your Logitech keyboard, it’s time to put it to use and enjoy the fantastic typing experience, enhanced productivity, and gaming precision it offers. Whether you’re a professional, a gamer, or a casual user, your Logitech keyboard is designed to meet your unique needs and elevate your computer usage to the next level.
Happy typing!