Introduction
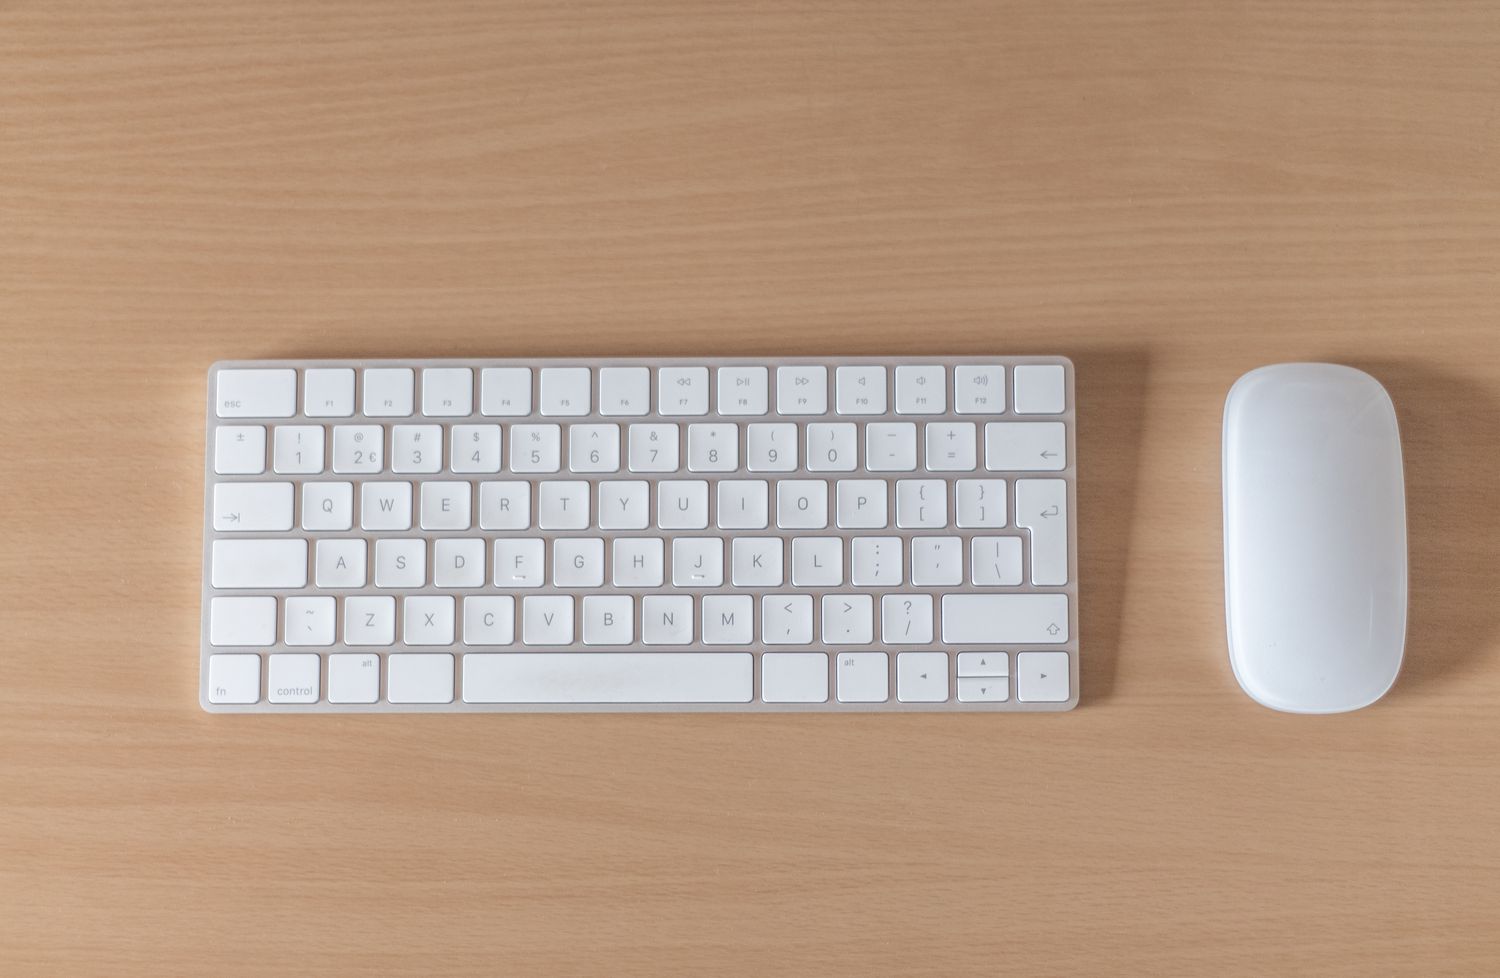
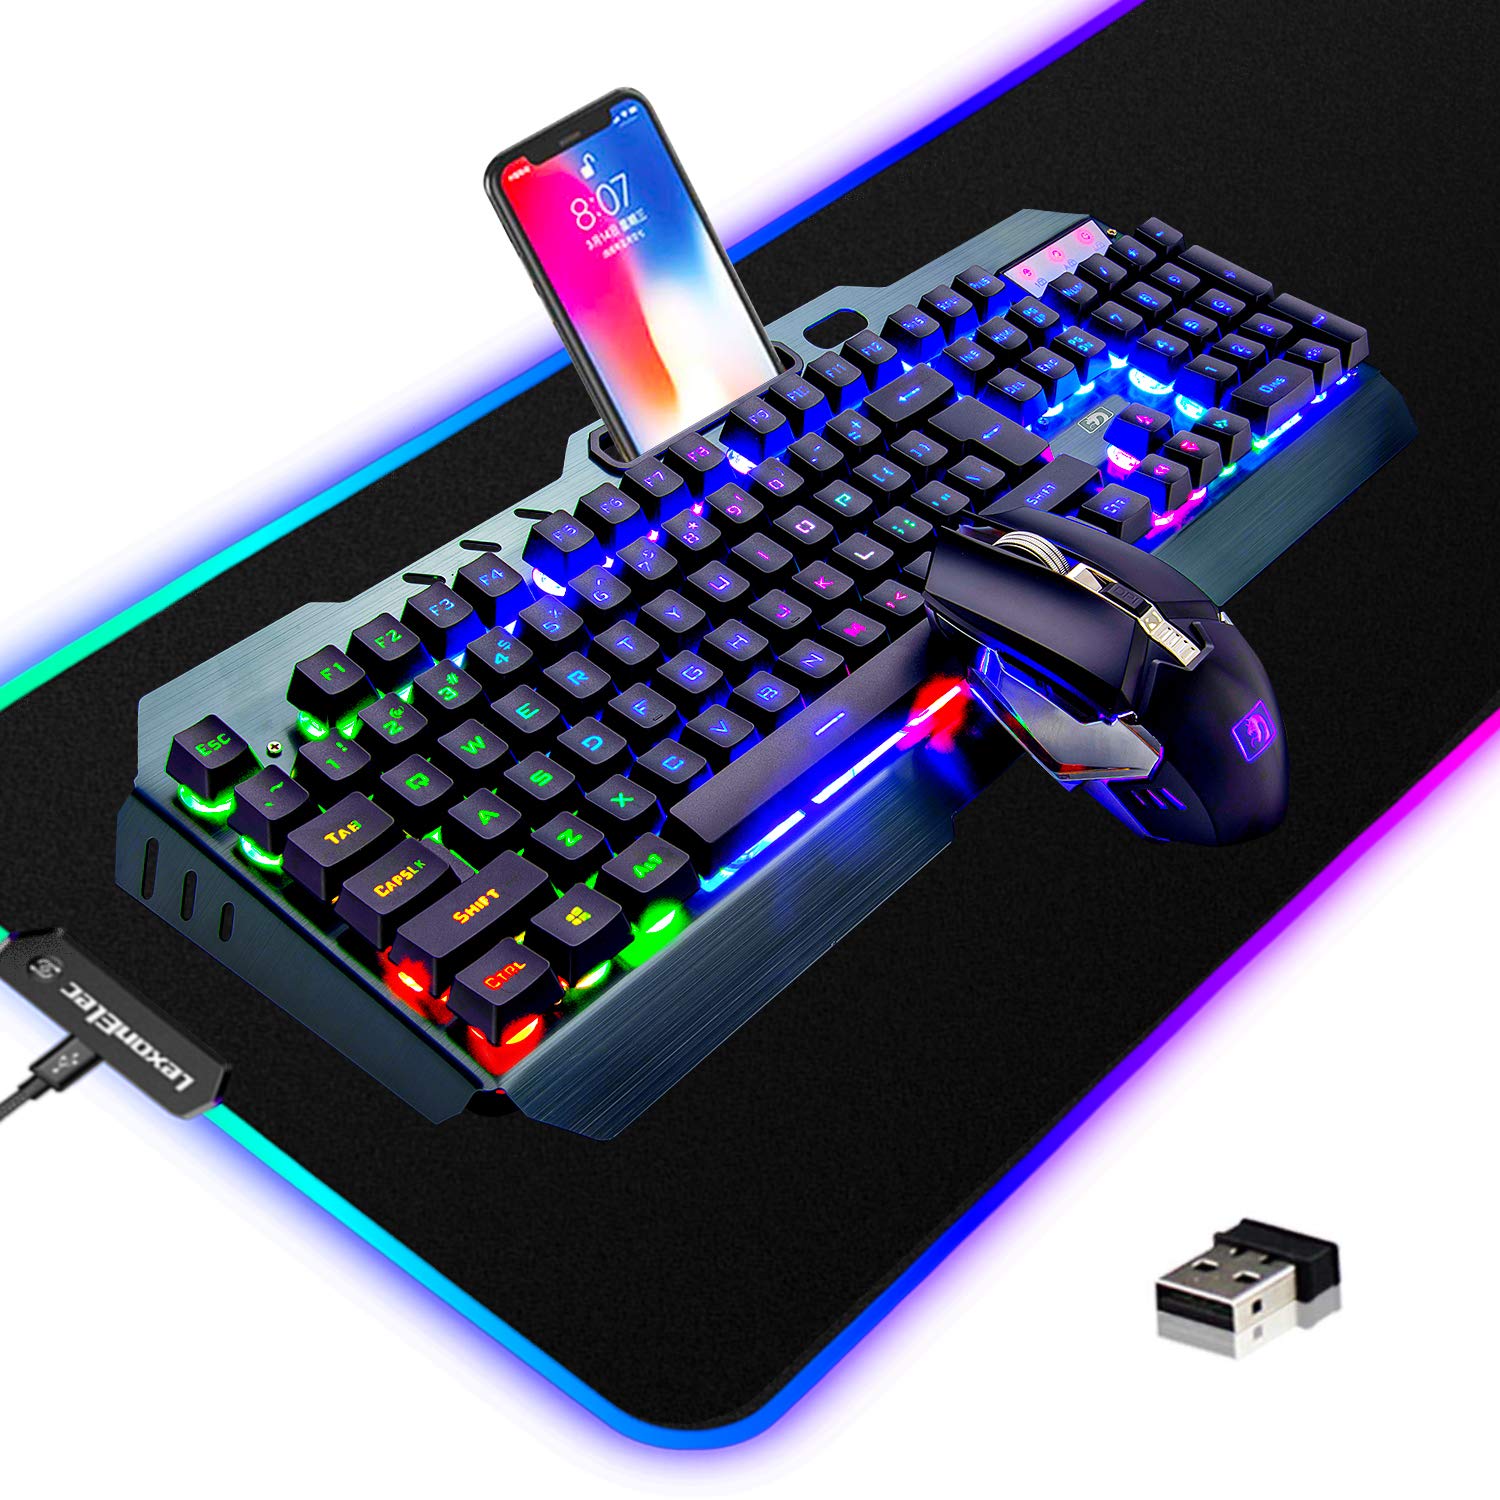
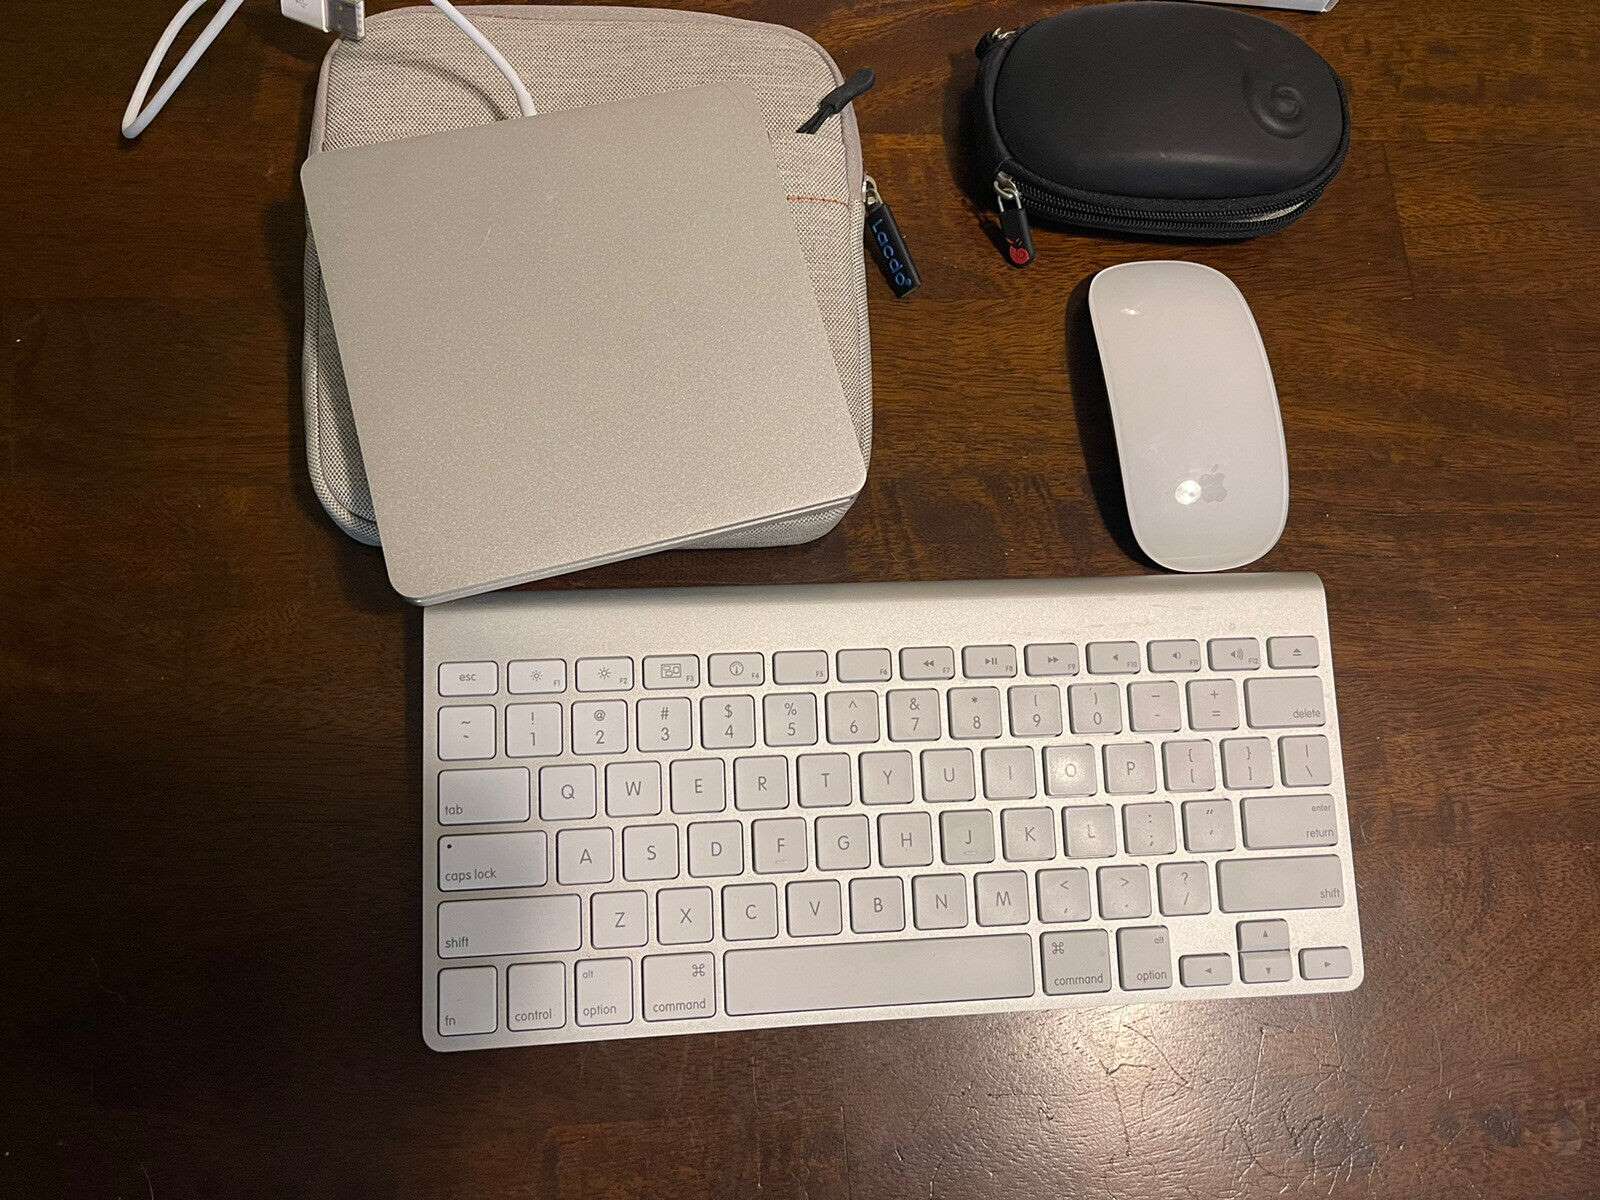
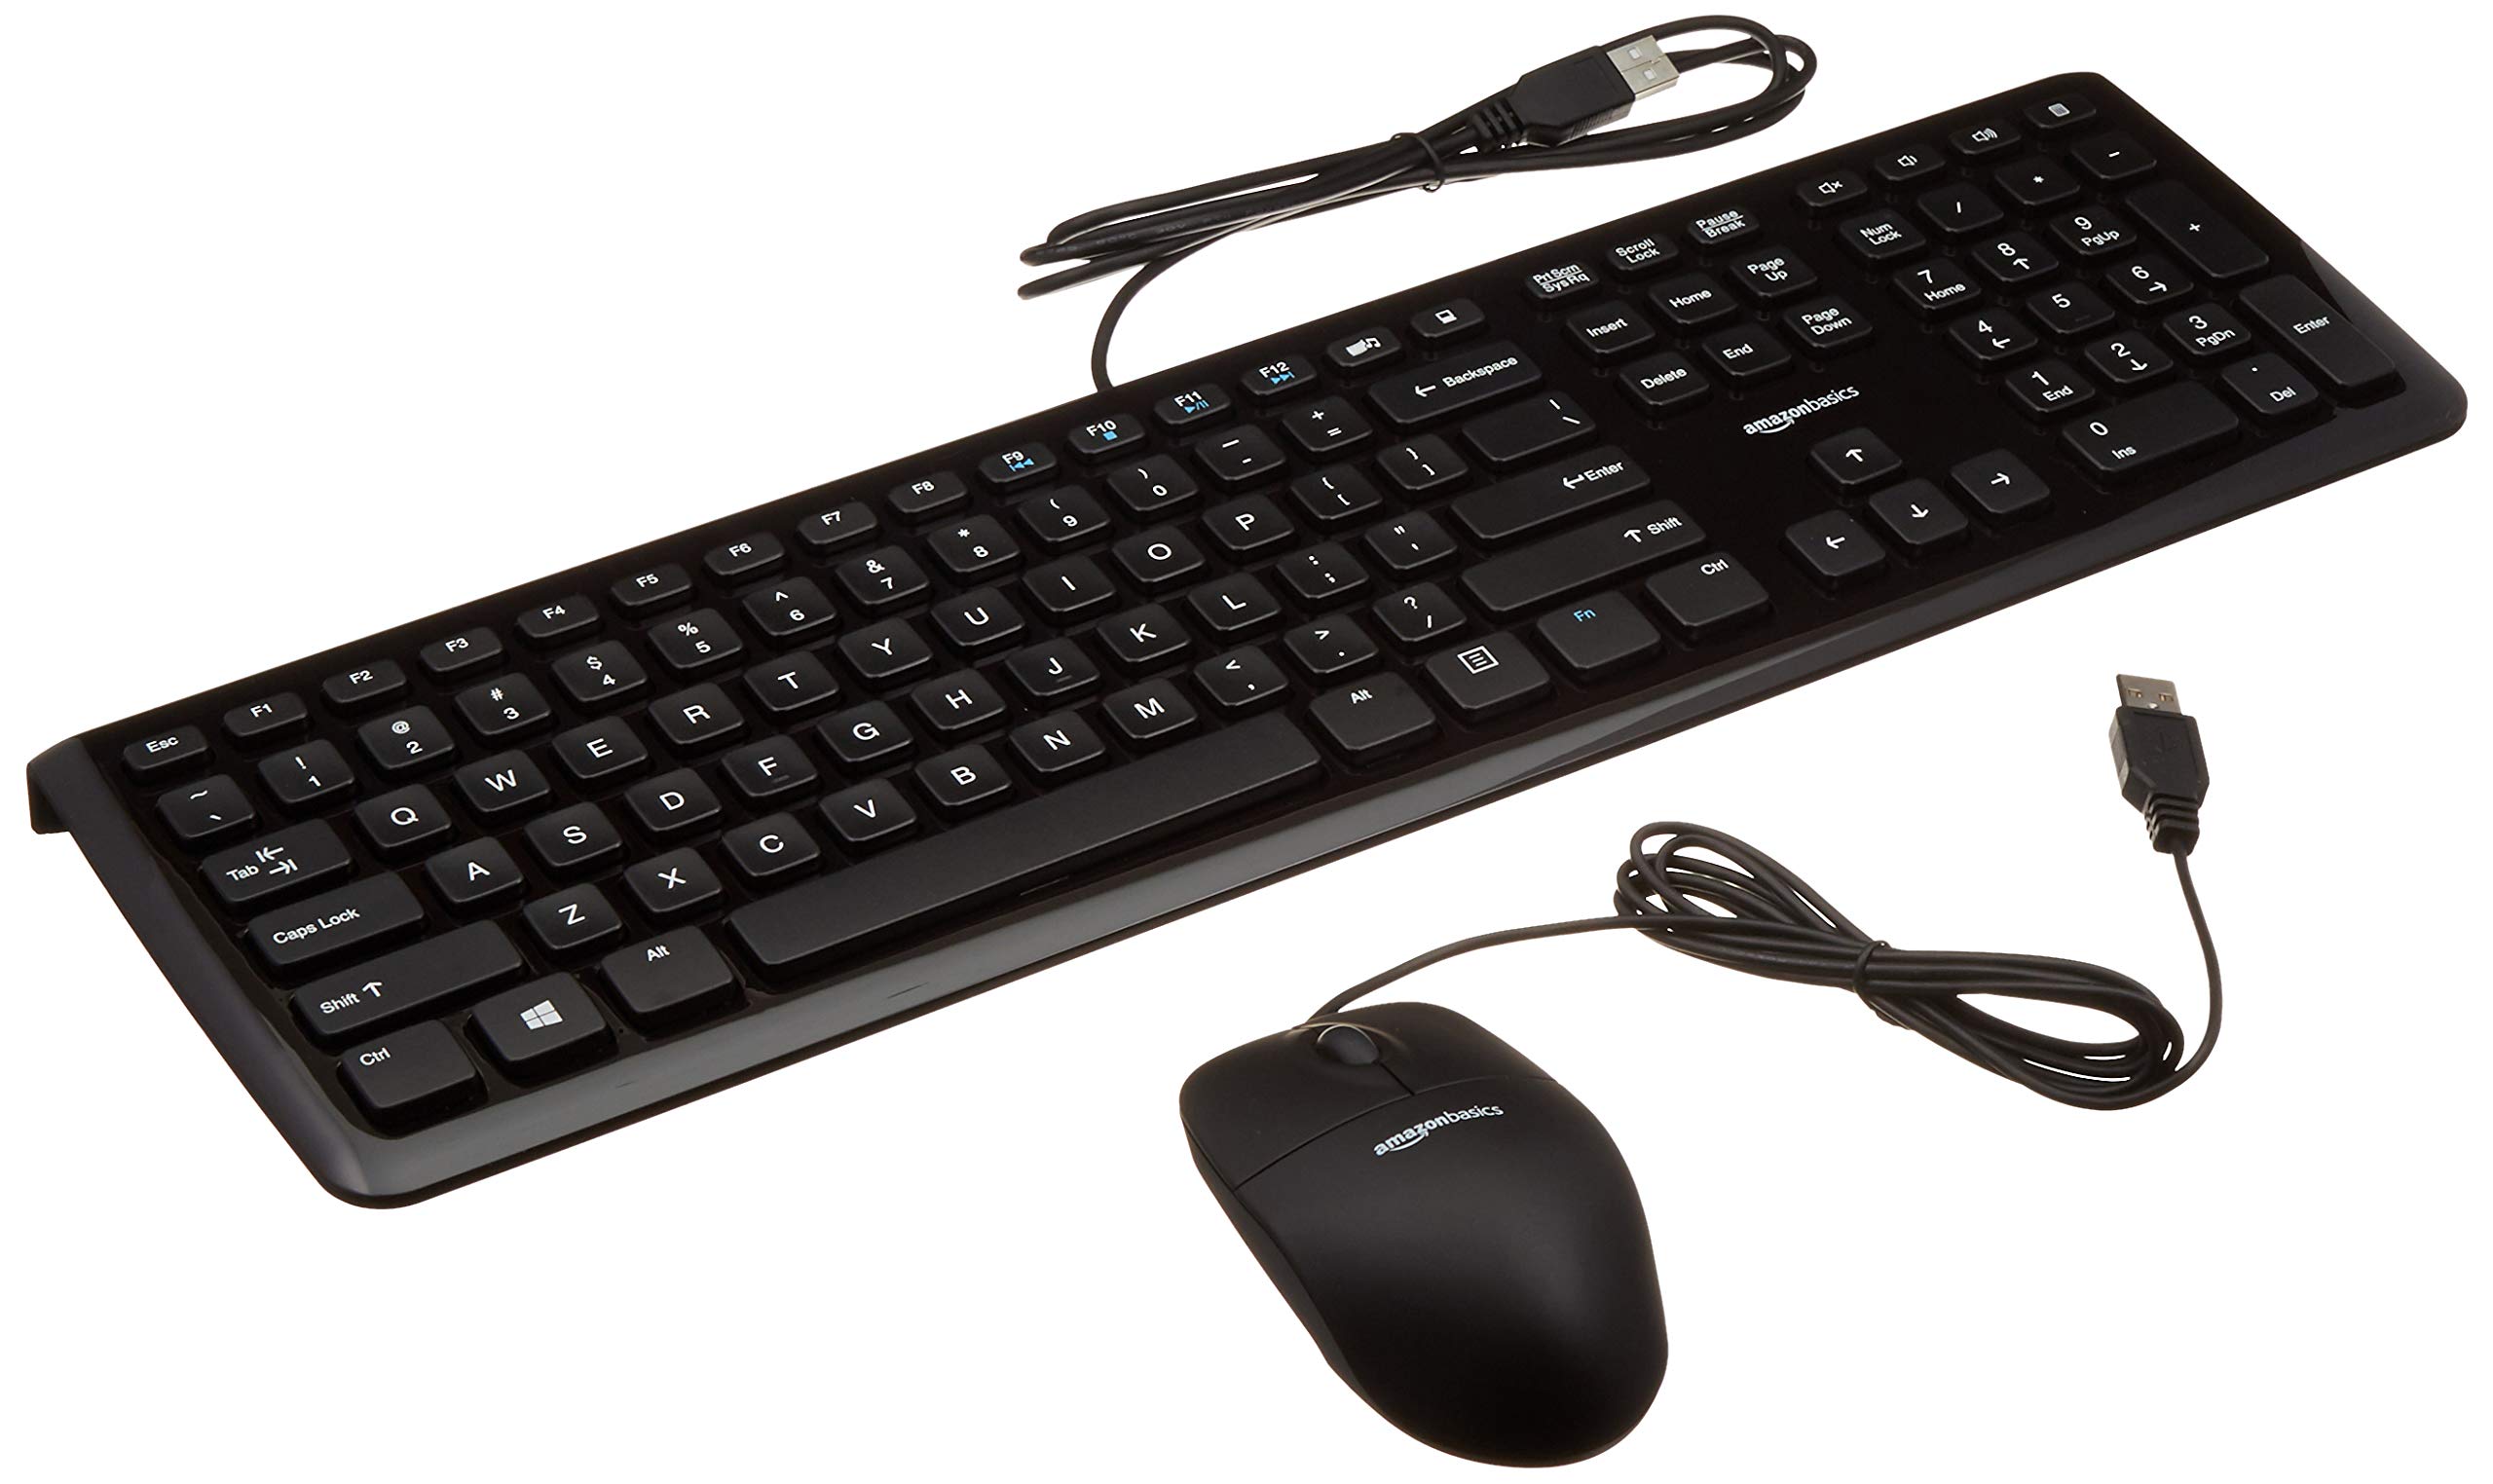
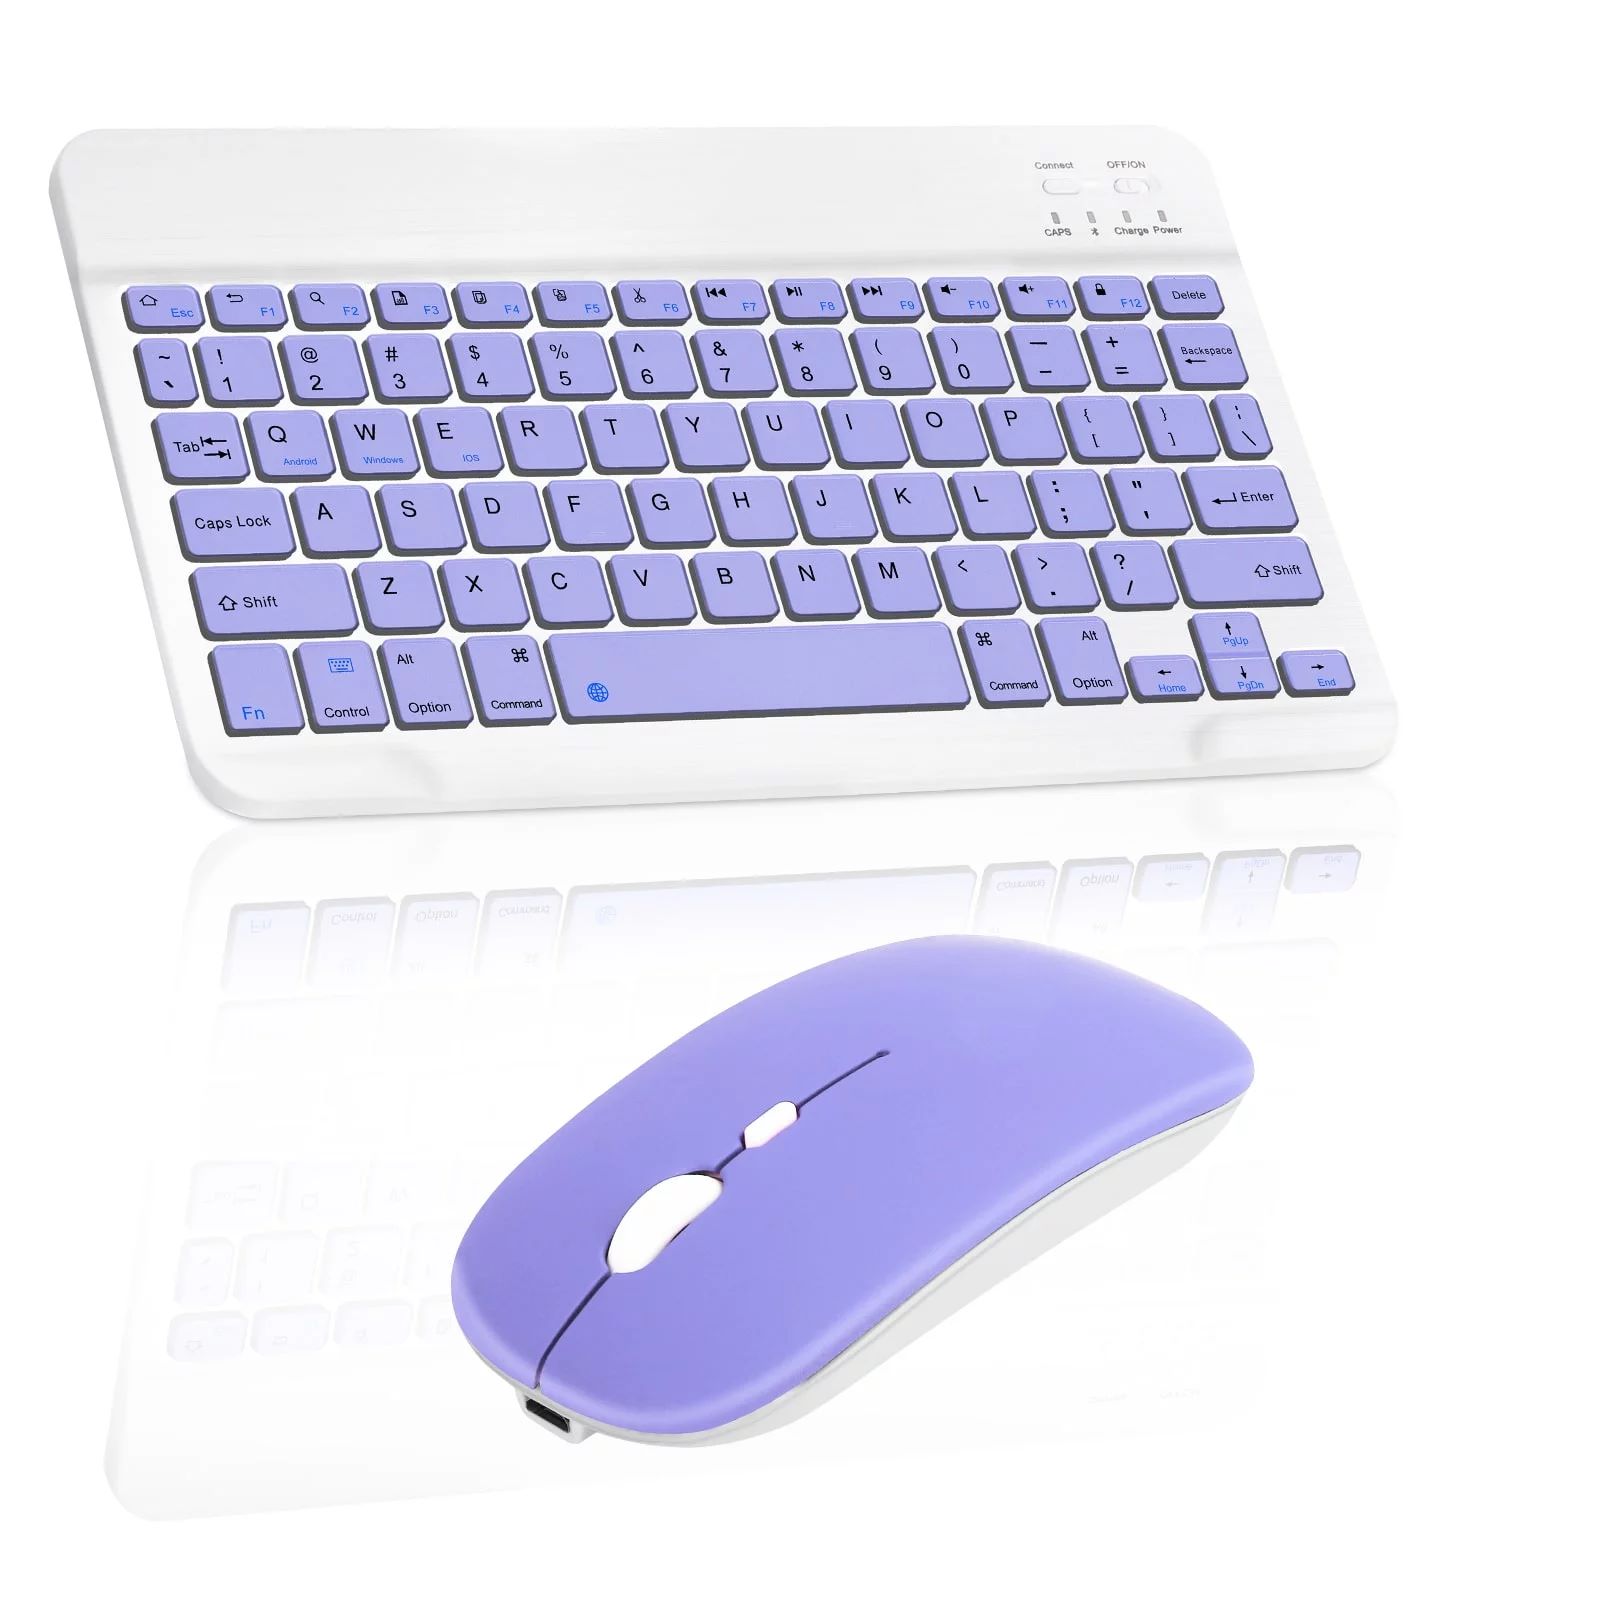
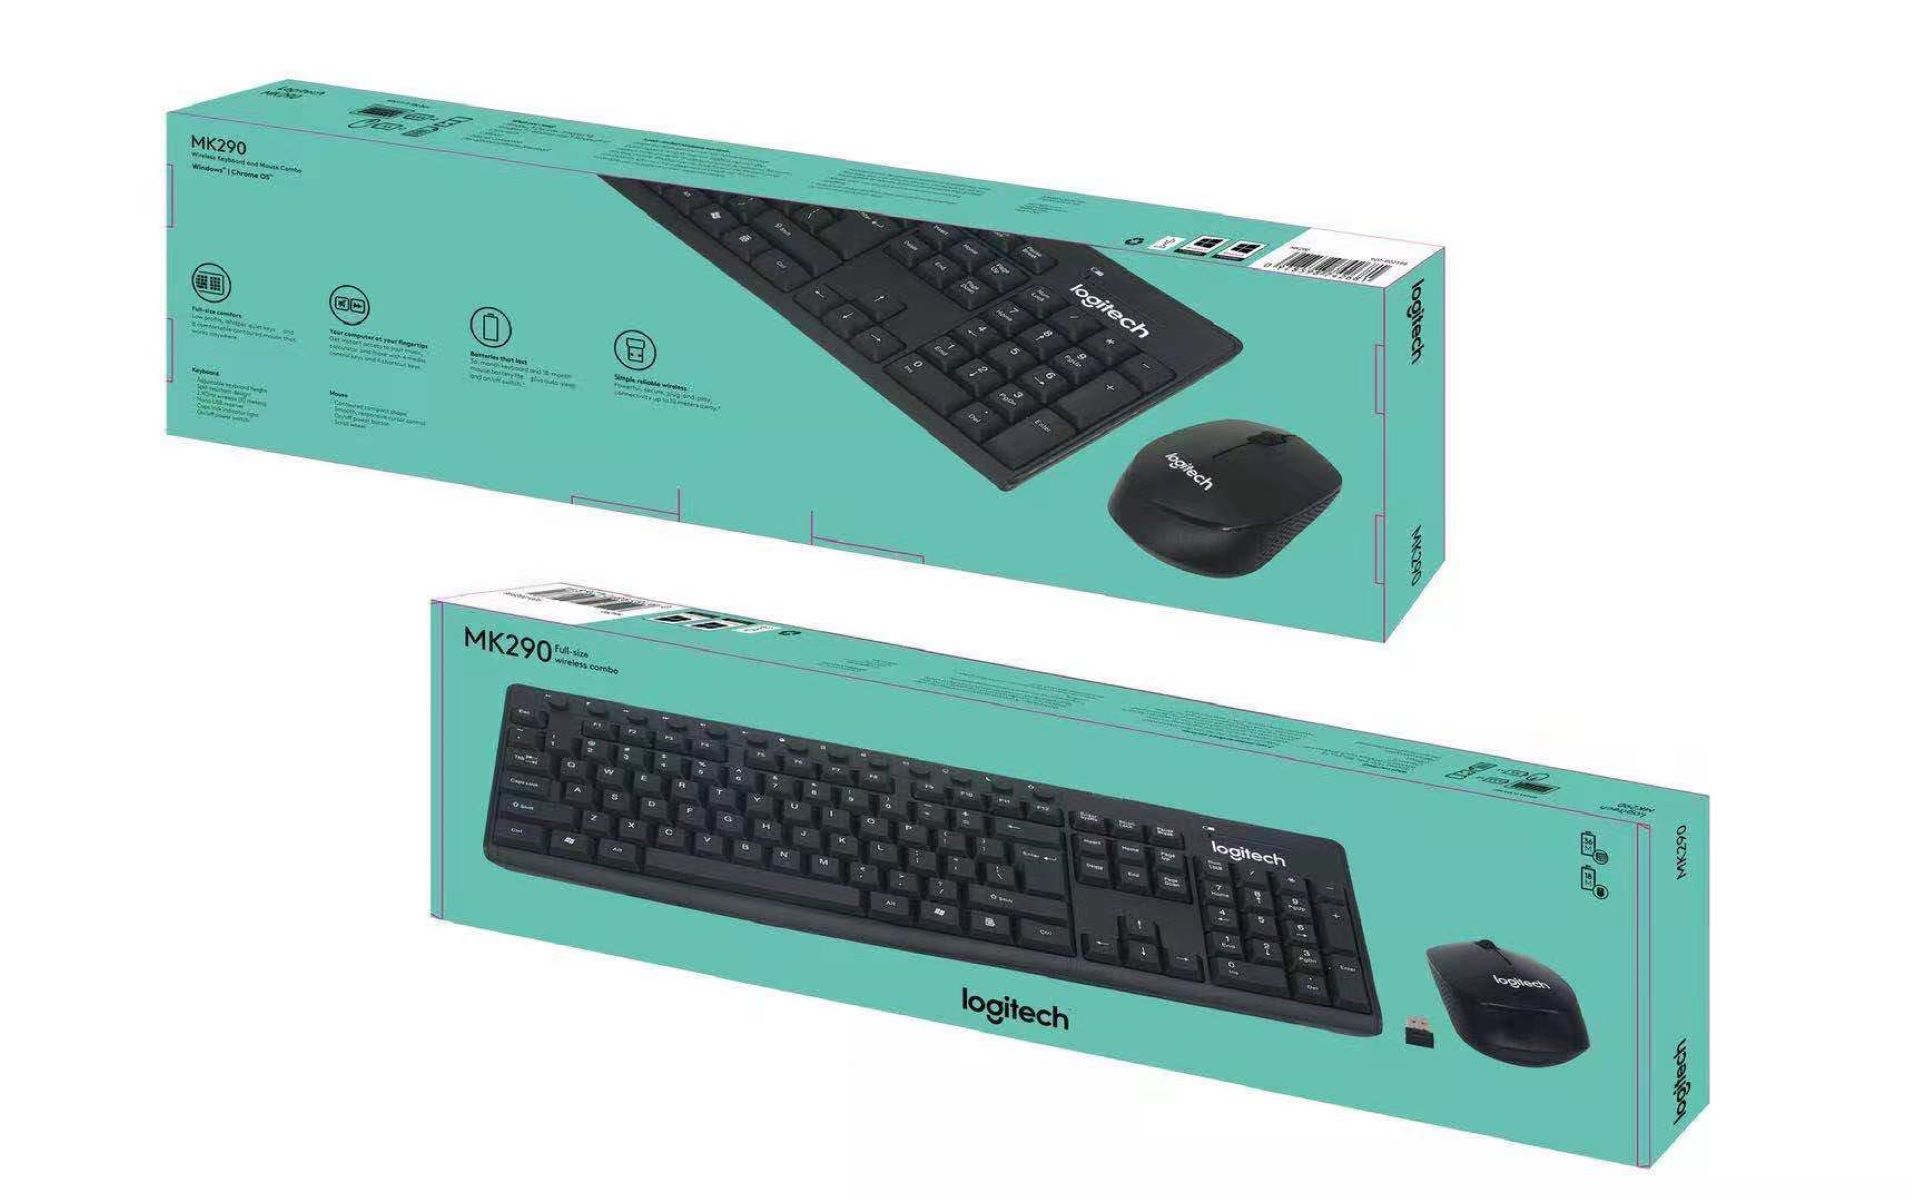
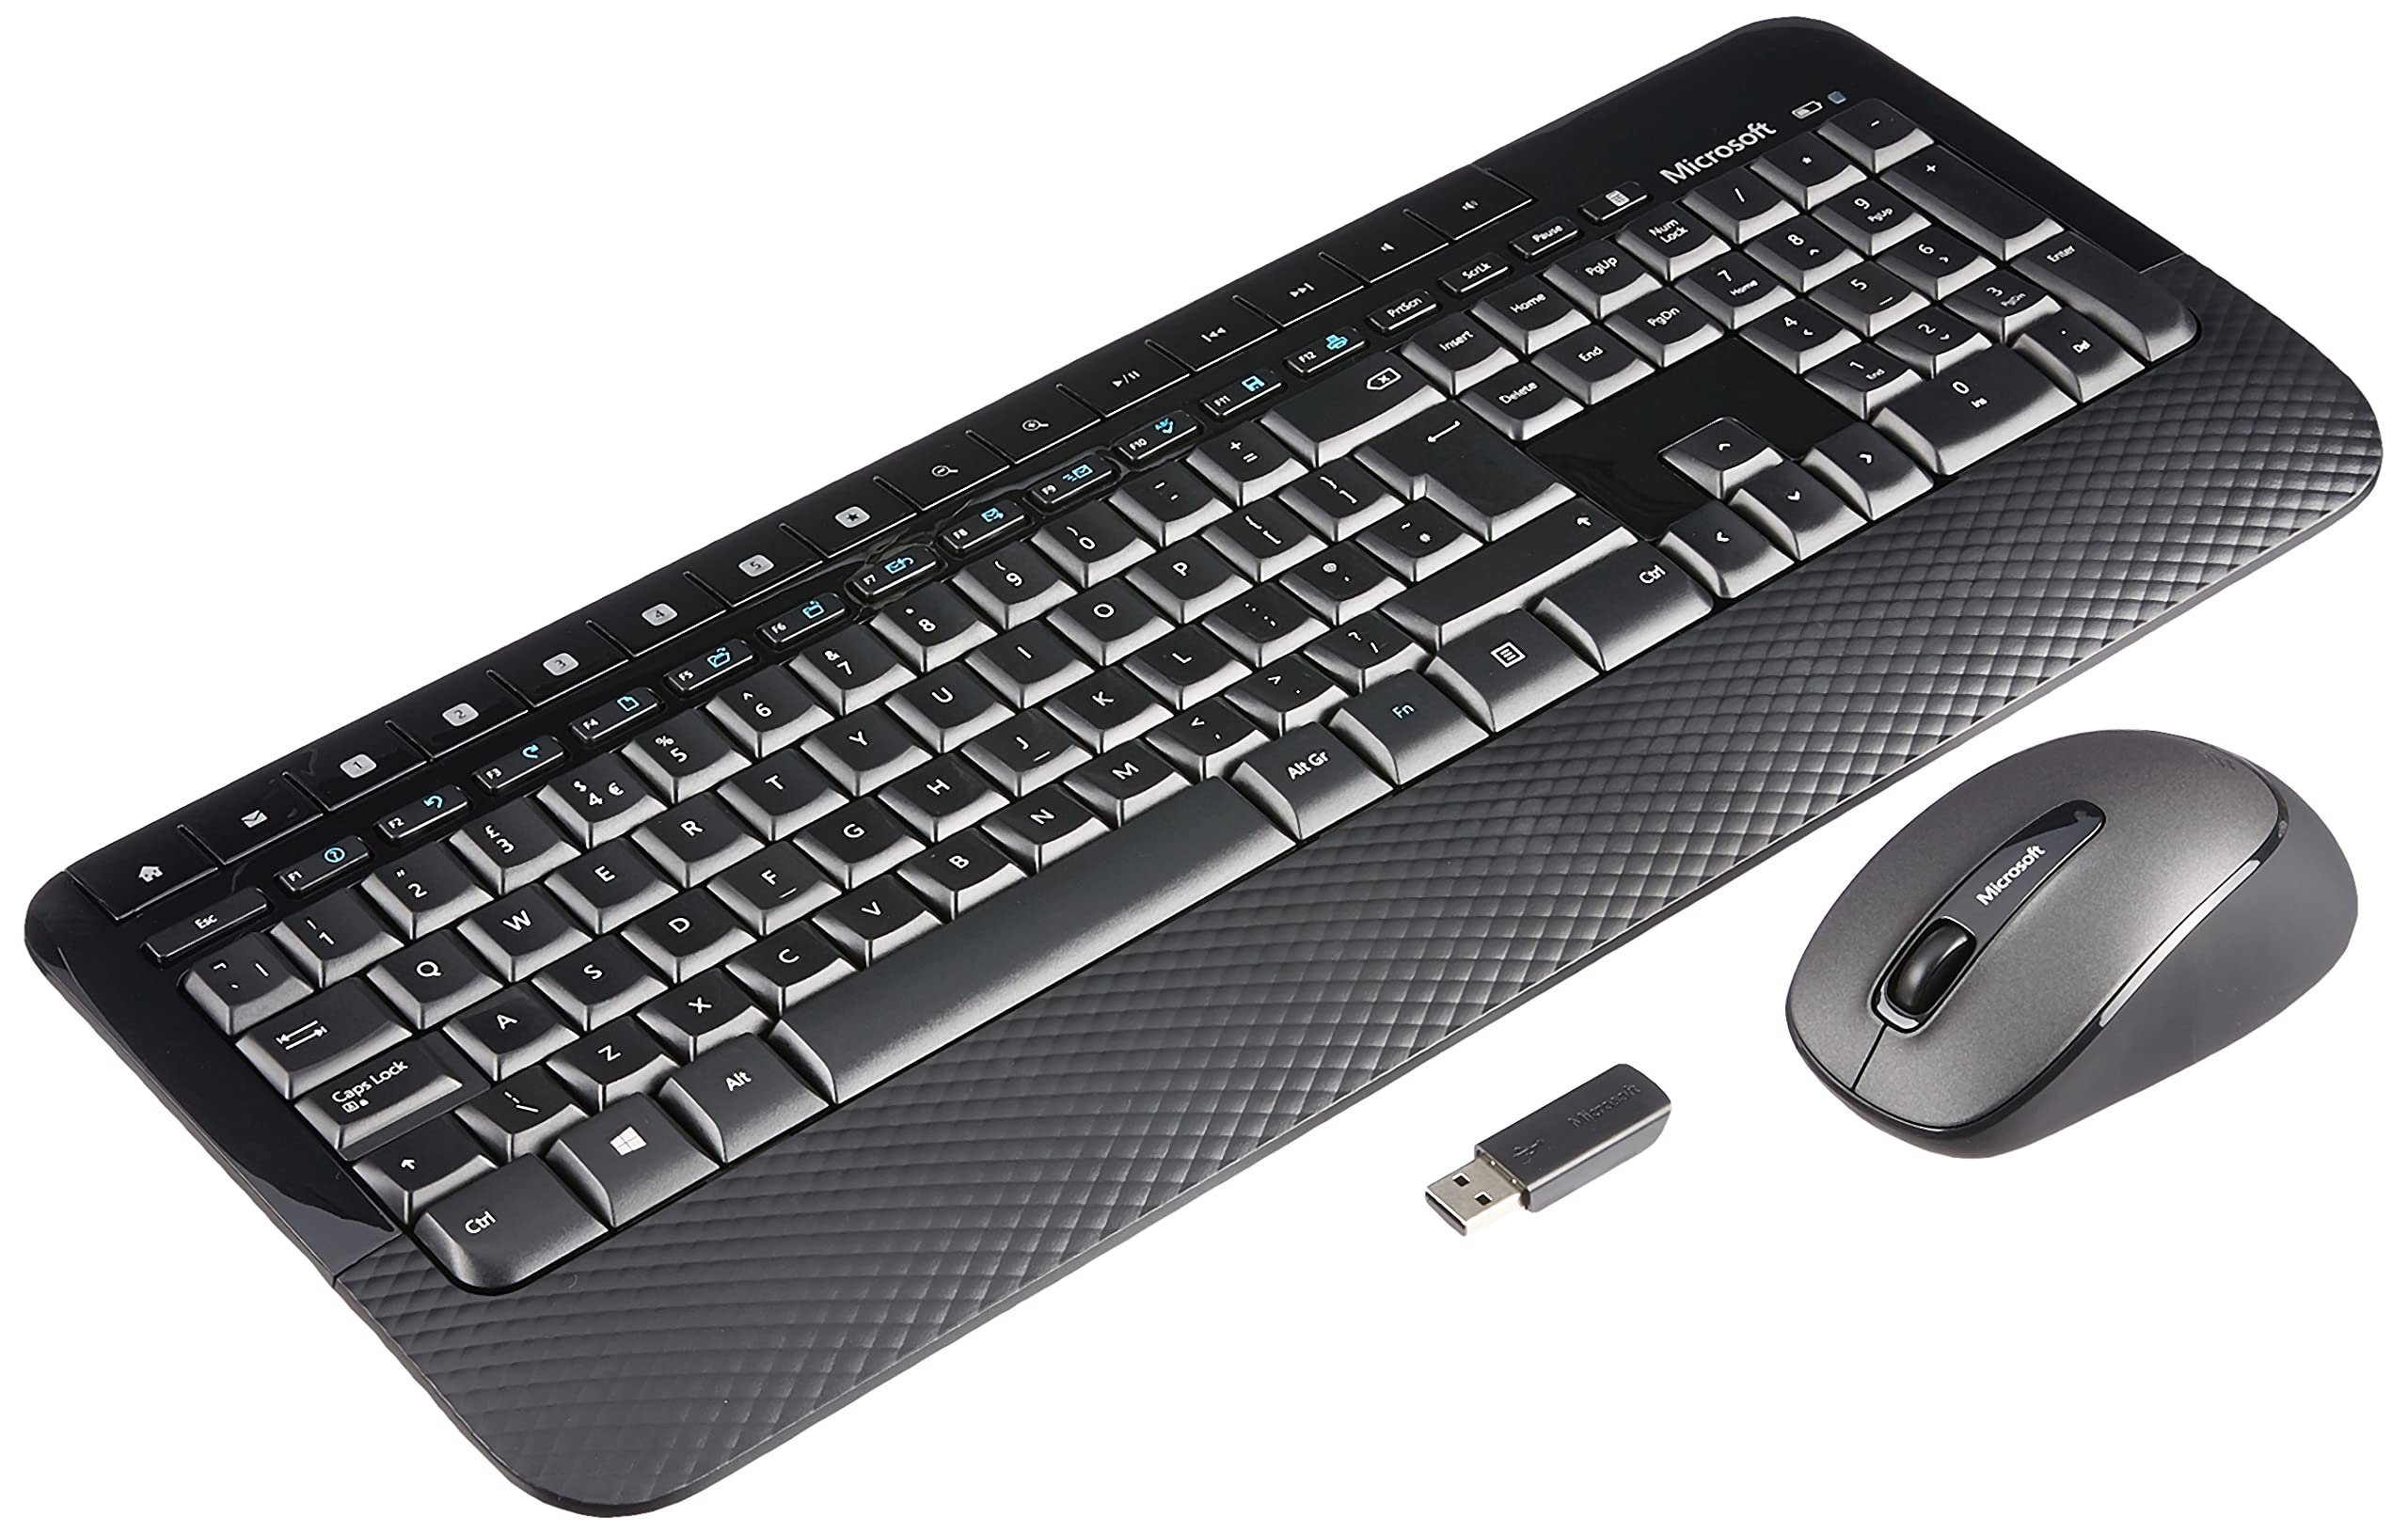
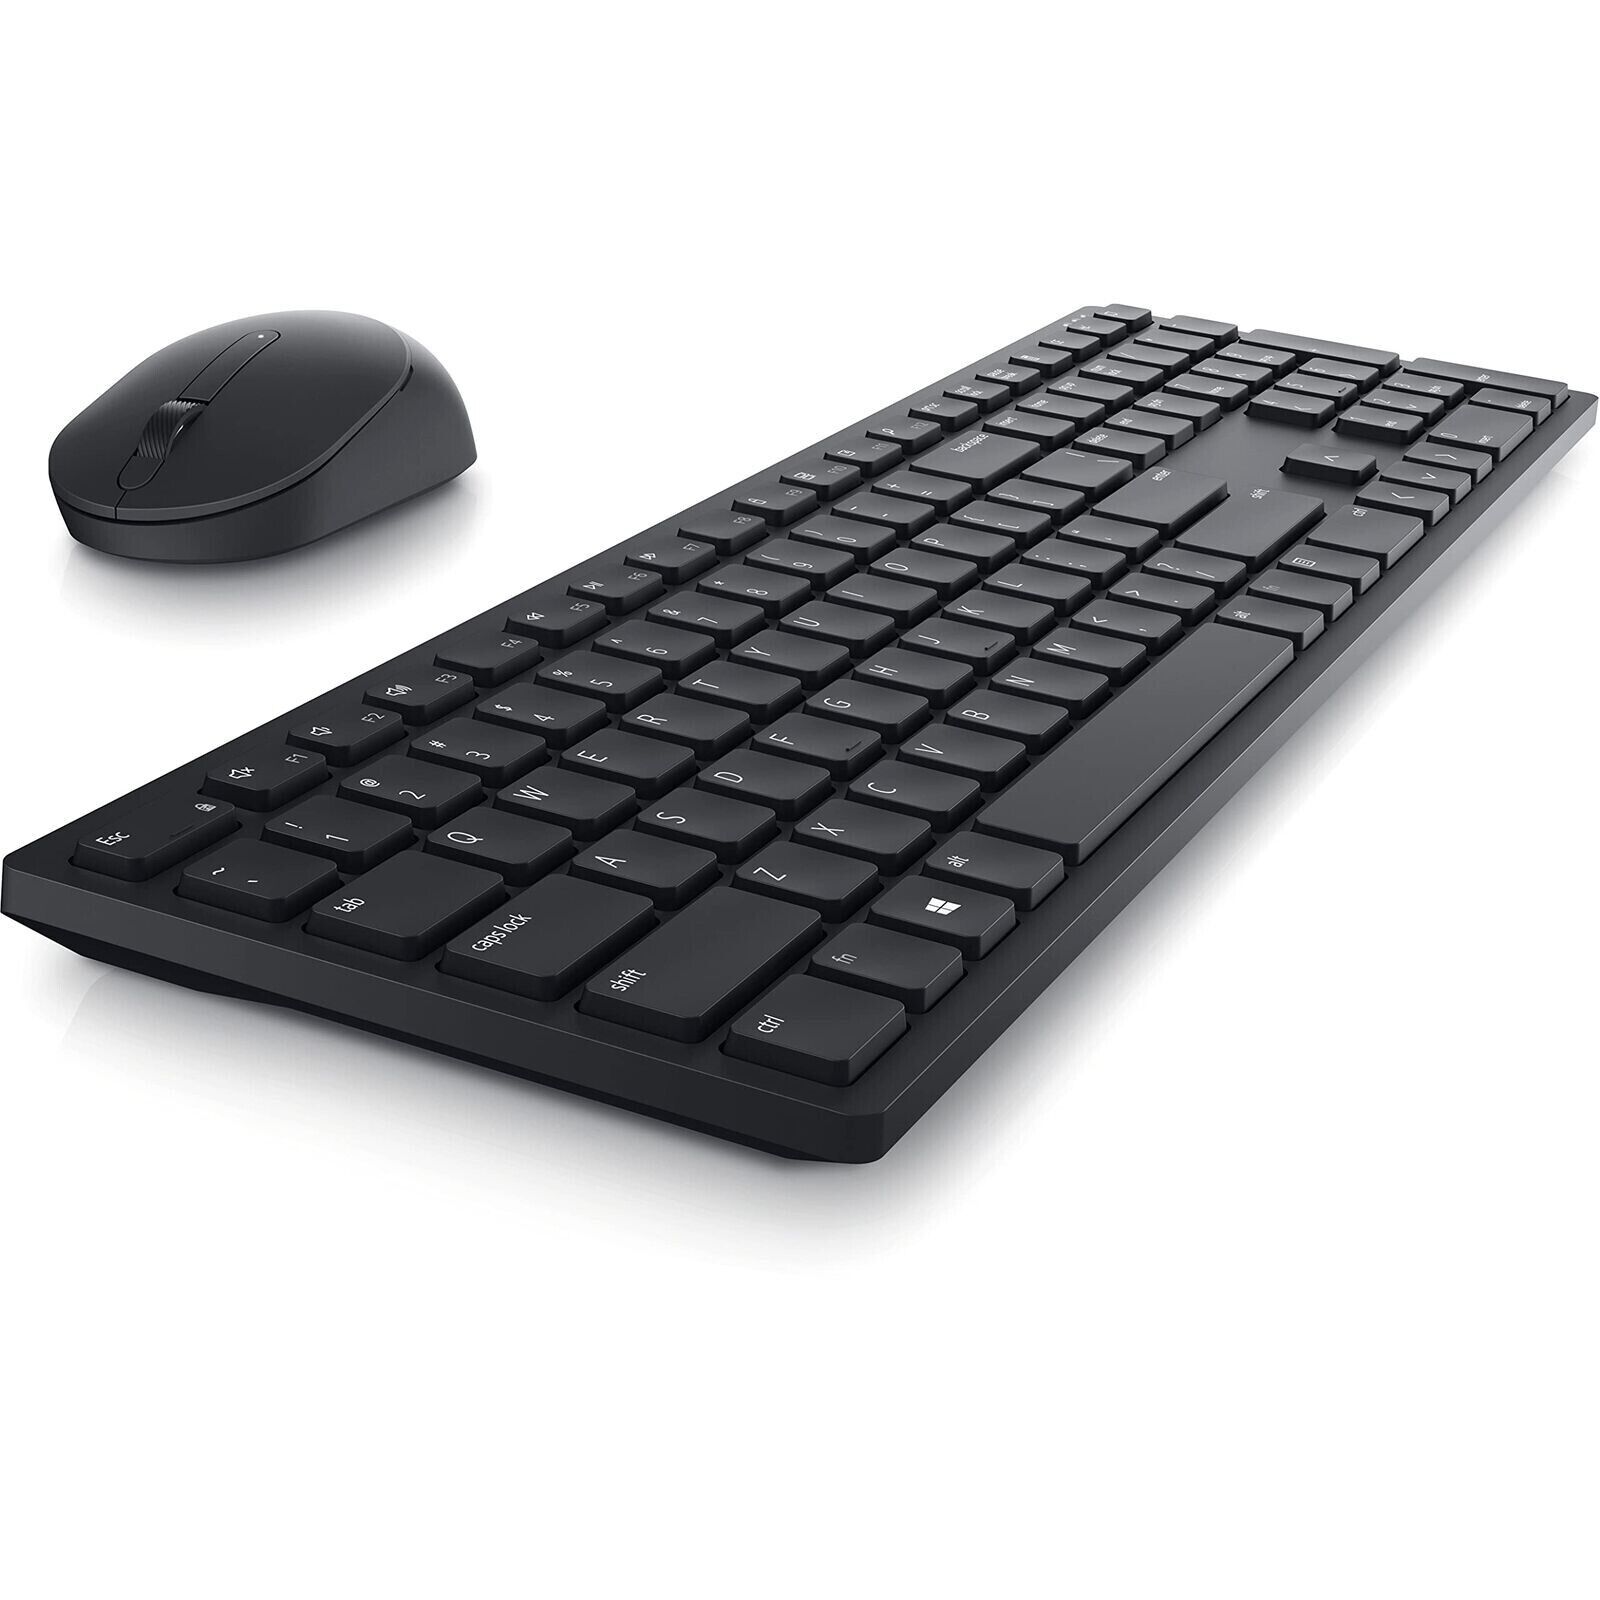
Welcome to the world of wireless technology, where everything seems to be connected seamlessly without the hassle of tangled cords. If you’re tired of dealing with a mess of wires on your desk, it’s time to consider connecting a wireless mouse and keyboard to your computer. Not only does this provide you with the freedom to move around, but it also reduces clutter and makes your workspace more organized.
Wireless peripherals, such as mice and keyboards, use radio frequency (RF) or Bluetooth technology to communicate with your computer, eliminating the need for physical connections. This makes them incredibly convenient for both office and home use. Plus, with advancements in technology, wireless mice and keyboards have become highly responsive and reliable, providing a seamless experience for users.
In this guide, we will walk you through the simple steps to connect a wireless mouse and keyboard to your computer. Whether you’re a tech-savvy individual or a complete beginner, rest assured that the process is straightforward and can be completed in no time. So, let’s dive in and get started on freeing yourself from the limitations of wired peripherals!
Step 1: Check Compatibility
Before you start connecting your wireless mouse and keyboard, it’s important to ensure that they are compatible with your computer system. This will save you the frustration of going through the setup process only to find out that the devices are not compatible.
First, check if your computer supports wireless connectivity. Most modern computers come with built-in Bluetooth capabilities, but if yours doesn’t, you will need to purchase a separate wireless receiver. This small device plugs into a USB port on your computer and allows you to connect wireless peripherals.
Next, check the operating system requirements for your wireless mouse and keyboard. They should be compatible with the version of the operating system you are currently using. This information can usually be found on the product packaging or the manufacturer’s website.
Additionally, make sure that the wireless mouse and keyboard use the same communication technology. Some devices use RF technology, while others utilize Bluetooth. It’s essential to ensure that your computer supports the same communication method as your peripherals.
Lastly, check the power requirements of your wireless mouse and keyboard. Some devices require batteries, while others have built-in rechargeable batteries. Ensure that you have the necessary power source available to keep your peripherals functioning.
By conducting these compatibility checks beforehand, you can proceed with confidence, knowing that your wireless mouse and keyboard will work seamlessly with your computer system.
Step 2: Install Batteries
Once you have confirmed the compatibility of your wireless mouse and keyboard with your computer system, the next step is to install the batteries. Most wireless peripherals require batteries to function, so it’s important to have them ready before proceeding.
Start by locating the battery compartment on your wireless mouse and keyboard. This is usually located on the underside of the devices. Use the designated release button or slide mechanism to open the compartment.
Insert the batteries into the compartment according to the polarity instructions indicated. Pay attention to the correct alignment of the positive (+) and negative (-) ends of the batteries. Ensure that the batteries are securely placed in the compartment.
Once the batteries are inserted, close the compartment securely. Some devices may have a locking mechanism or a slide cover to ensure a tight fit.
It’s important to note that different wireless peripherals have varying battery requirements. Some devices may use standard AA or AAA batteries, while others may require specialized batteries. Refer to the user manual or the product specifications for the correct battery type and quantity.
If your wireless mouse or keyboard has built-in rechargeable batteries, you may need to connect the devices to a power source using the provided charging cable. Follow the instructions provided by the manufacturer to ensure proper charging.
With the batteries installed, your wireless mouse and keyboard are now powered and ready to be connected to your computer. Proceed to the next step to establish a connection between your peripherals and your computer system.
Step 3: Connect the Wireless Receiver
Now that you have installed the batteries in your wireless mouse and keyboard, it’s time to connect the wireless receiver to your computer. The receiver acts as the intermediary between your peripherals and your computer, allowing them to communicate wirelessly.
Locate an available USB port on your computer. This is where you will plug in the wireless receiver. USB ports are usually located on the front or back of your computer tower, or on the side of a laptop.
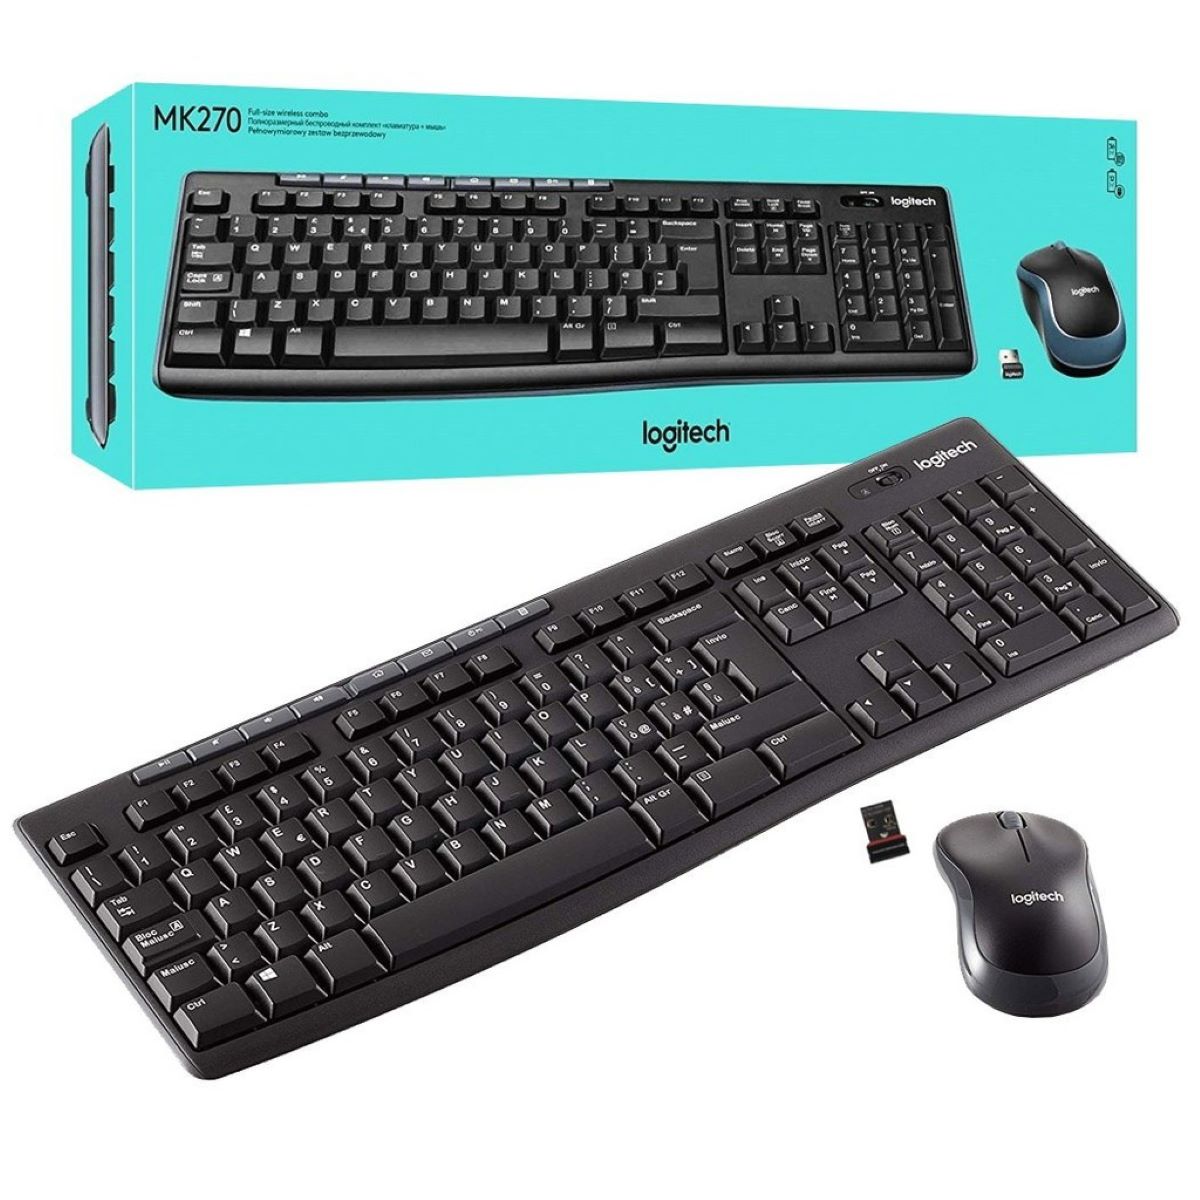
Once you’ve located a suitable USB port, insert the wireless receiver into it. Make sure it is fully inserted to establish a secure connection. If your receiver is a separate device, it may come with an extension cable to help you position it closer to your peripherals for better reception. If needed, connect the extension cable to the receiver before plugging it into the USB port.
Once the receiver is connected, your computer should detect it automatically. It may take a few moments for the computer to recognize the new hardware and install any necessary drivers.
In some cases, you may need to manually install drivers or software that come with your wireless mouse and keyboard. This software is typically provided by the manufacturer and helps optimize the performance of your peripherals. Check the product documentation or the manufacturer’s website for any specific driver installation instructions.
Once the receiver is connected and recognized by your computer, you’re one step closer to enjoying the benefits of a wireless mouse and keyboard. The next step is to turn on your peripherals and establish the connection between them and your computer system.
Step 4: Turn on the Keyboard and Mouse
With the wireless receiver connected to your computer, it’s time to turn on your wireless keyboard and mouse. Follow these simple steps to get them up and running:
1. Mouse: Locate the power switch on your wireless mouse. It is usually located on the underside of the device. Flip the switch to the “On” position to activate the mouse.
2. Keyboard: Similar to the mouse, your wireless keyboard should have a power switch. Look for it on the underside or the top of the keyboard. Flip the switch to the “On” position to turn on the keyboard.
Once you have turned on both the mouse and keyboard, they will start connecting to the wireless receiver automatically. You may notice a brief delay as they establish the connection. During this time, avoid moving the mouse or pressing any keys on the keyboard.
In some cases, you may need to press a sync button on both the transmitter and the receiver to establish the connection. Refer to the user manual of your wireless peripherals for specific instructions on the sync process, if required.
After a few moments, your mouse and keyboard should be successfully connected to your computer system. You can now start using them wirelessly and enjoy the freedom and convenience they provide.
If you encounter any issues with the connection, ensure that the batteries are installed correctly and that they have enough power. Additionally, double-check that the wireless receiver is properly plugged into the USB port.
Now that your wireless mouse and keyboard are connected and powered on, you can proceed to the next step, where you may need to adjust some settings to optimize the performance of your peripherals.
Step 5: Adjust Settings (If Necessary)
Once your wireless mouse and keyboard are connected and functioning, you may want to make some adjustments to optimize their settings and personalize your experience. Here are a few settings you can consider:
1. Pointer Speed: If you find the cursor movement too slow or too fast, you can adjust the pointer speed. This can usually be done through the settings or control panel on your computer system. Experiment with different speeds to find the one that suits you best.
2. Scroll Wheel Behavior: Some wireless mice feature a scroll wheel that can be customized. You can change the scrolling behavior to scroll more or fewer lines at a time. This can be useful for comfortable browsing and navigation.
3. Keyboard Layout and Shortcuts: Depending on your preferences, you may want to customize the layout of your wireless keyboard or assign specific functions to certain keys. Many operating systems allow you to modify keyboard settings, including language layout and programmable shortcuts.
4. Battery Saving Options: To prolong the battery life of your wireless mouse and keyboard, you can explore power-saving options. These settings typically include options such as adjusting the backlight intensity or enabling an automatic sleep mode when the peripherals are inactive.
5. Sensitivity and Programmable Buttons: If your mouse has additional buttons, you can configure their functions according to your needs. This can be particularly helpful for gamers or professionals who require quick access to specific commands or shortcuts.
Remember, not all wireless mice and keyboards come with customizable settings. However, if your devices do offer these options, take some time to explore them and tailor your experience to suit your preferences.
Finally, it’s important to periodically check for software updates for your wireless mouse and keyboard. Manufacturers often release updates to improve performance, fix bugs, and introduce new features. Visit the manufacturer’s website or use their dedicated software, if available, to ensure your devices are up to date.
By adjusting the settings of your wireless mouse and keyboard, you can further enhance your productivity and comfort levels while using them.
Conclusion
Congratulations! You have successfully connected your wireless mouse and keyboard to your computer. The freedom and convenience of a wire-free workspace await you. By following the simple steps outlined in this guide, you have unshackled yourself from the limitations of wired peripherals and embraced the benefits of wireless technology.
Remember to ensure compatibility between your computer system and the wireless devices, install the necessary batteries, connect the wireless receiver, and turn on the keyboard and mouse. Adjusting settings, if necessary, allows you to personalize your experience and optimize the performance of your peripherals.
Now, enjoy the liberty to move and work comfortably without the hassle of tangled wires. Experience enhanced productivity and freedom as you navigate your computer system effortlessly. Whether you’re at home, in the office, or on the go, your wireless mouse and keyboard will be your reliable companions.
Should you encounter any issues or have further questions, refer to the user manual provided by the manufacturer or seek assistance from their customer support. They will be more than willing to help you get the most out of your wireless peripherals.
So, sit back, relax, and revel in the wireless experience that awaits you. Embrace the future of technology, unbound by cords, and unlock the full potential of your computer system with your new wireless mouse and keyboard.


