Introduction
Wireless keyboards have become increasingly popular due to their convenience and flexibility. They allow you to connect to your computer, tablet, or smartphone without the hassle of tangled cords. Whether you’re a professional needing a portable typing solution or a casual user looking for a more comfortable typing experience, connecting a wireless keyboard is a straightforward process.
In this guide, we will walk you through the step-by-step process of connecting a wireless keyboard to your device. We will cover compatibility checks, turning on the keyboard, activating Bluetooth on your device, pairing the keyboard, and testing the connection.
Before we delve into the steps, it’s important to note that the specific process may vary slightly depending on the make and model of your wireless keyboard and device. However, the overall principles and concepts remain the same.
So, if you’re ready to ditch the cables and enjoy the freedom of a wireless keyboard, let’s get started!
Step 1: Check Compatibility
Before connecting a wireless keyboard to your device, it’s important to ensure compatibility between the keyboard and your device. While most modern devices support Bluetooth connectivity, it’s always recommended to double-check.
First, check the user manual or packaging of your wireless keyboard for any specific compatibility requirements. Look for compatibility with your device’s operating system, such as Windows, macOS, iOS, or Android. This information will help you determine whether the keyboard is compatible with your device.
Next, confirm that your device has Bluetooth functionality. Most smartphones, tablets, and computers come equipped with Bluetooth, but it’s still worth confirming. Go to your device’s settings menu and look for the Bluetooth option. If you can find Bluetooth settings, it means your device is Bluetooth-enabled.
If your device lacks Bluetooth connectivity, you may need to consider alternative wireless keyboard options, such as those connected through USB dongles or other wireless technologies.
Additionally, take note of the required batteries for your wireless keyboard. Some keyboards use standard AA or AAA batteries, while others have built-in rechargeable batteries. Make sure you have the necessary batteries or charging cables to power your keyboard.
By checking the compatibility and requirements of your wireless keyboard and device, you can ensure a seamless and frustration-free connection process. Once you’ve confirmed compatibility, you can move on to the next step of connecting your wireless keyboard.
Step 2: Turn on the Keyboard
After confirming compatibility, the next step in connecting your wireless keyboard is to turn it on. Most wireless keyboards have a power switch or button located on the keyboard itself.
Locate the power switch or button on your wireless keyboard and slide it or press it to the “on” position. Some keyboards may have an indicator light that turns on when the keyboard is powered on. This light can be helpful in indicating if the keyboard is receiving power.
If your wireless keyboard is powered by batteries, make sure they are installed correctly and have enough charge. In the case of rechargeable batteries, ensure they are fully charged before turning on the keyboard.
Once you have turned on the keyboard, it should start broadcasting a Bluetooth signal, indicating that it is ready to connect to a device. Keep the keyboard nearby during the pairing process to ensure a strong and stable connection.
If you’re unsure about the location of the power switch or button on your wireless keyboard, refer to the user manual or manufacturer’s website for specific instructions. Remember, each keyboard model may have a slightly different power switch mechanism.
With your wireless keyboard powered on and ready, you’re now prepared to move on to the next step of activating Bluetooth on your device.
Step 3: Activate Bluetooth on Your Device
Before you can connect your wireless keyboard to your device, you need to activate the Bluetooth functionality on your device. Activating Bluetooth allows your device to search for nearby Bluetooth devices, including your wireless keyboard.
To activate Bluetooth on your device, start by accessing the settings menu. The process may vary depending on your device’s operating system, but generally, you can find the Bluetooth settings in the “Settings” or “Connections” menu.
Once you’ve accessed the Bluetooth settings, toggle the Bluetooth switch to the “On” position. This action enables your device to start scanning for available Bluetooth devices in the vicinity.
Now, your device is actively searching for nearby Bluetooth devices, including your wireless keyboard. Some devices may display a list of detected devices, while others automatically start pairing with any nearby Bluetooth devices.
Keep in mind that the process of activating Bluetooth and scanning for devices may differ depending on the device you’re using. If you encounter any difficulties, consult the device’s user manual or the manufacturer’s support website for specific instructions related to Bluetooth activation.
Once Bluetooth is activated on your device, it’s time to move on to the next step: pairing your wireless keyboard with your device.
Step 4: Pair the Keyboard with Your Device
Now that your wireless keyboard and device are ready, it’s time to pair them together. Pairing allows your device and keyboard to establish a secure and encrypted connection.
In the Bluetooth settings menu of your device, you should see a list of available Bluetooth devices. Look for the name or model number of your wireless keyboard in the list. Typically, the keyboard’s name or model number will be displayed on the keyboard itself or in the user manual.
Once you have identified your wireless keyboard in the list, tap or click on it to initiate the pairing process. Your device may display a pairing confirmation screen or ask you to enter a passcode for the keyboard.
Some wireless keyboards may have a dedicated pairing button or combination of buttons that need to be pressed during the pairing process. Refer to your keyboard’s user manual for specific instructions on how to initiate pairing mode.
Follow the on-screen prompts or enter the provided passcode, if necessary. The passcode is typically a series of numbers or characters that helps ensure a secure connection between the keyboard and your device.
Once the pairing process is complete, your device will recognize the wireless keyboard, and it will be listed as a connected device in the Bluetooth settings menu.
Keep in mind that the pairing process may take a few moments. Be patient and wait for your device to establish a stable connection with the keyboard. If the pairing process fails, make sure that the keyboard is in pairing mode and try again.
With the keyboard successfully paired with your device, it’s time to move on to the final step: testing the connection between the keyboard and your device.
Step 5: Test the Connection
After pairing your wireless keyboard with your device, it’s crucial to test the connection to ensure that everything is working correctly. Testing the connection will allow you to verify that the keyboard is properly functioning and that the keystrokes are registering on your device.
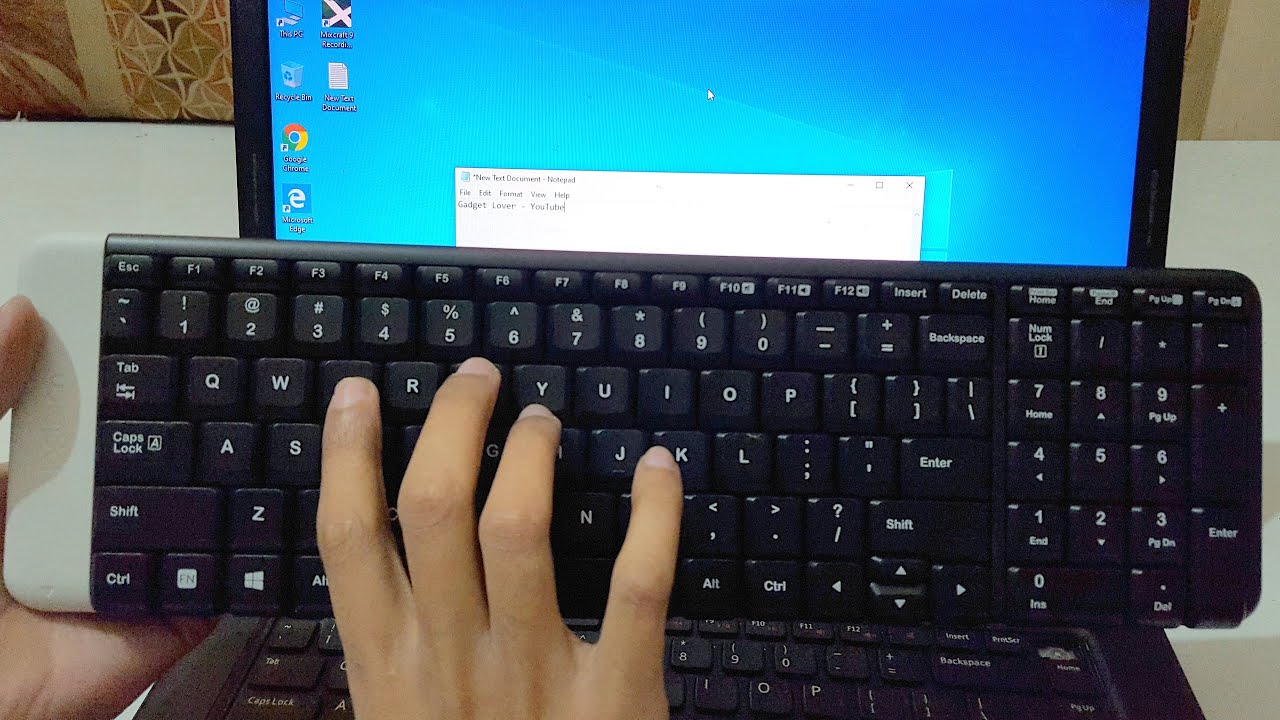
To test the connection, open any application or document that allows you to type, such as a word processor or a messaging app. Place the cursor in the text field or document where you want to type.
Start typing on the wireless keyboard, and observe if the keystrokes appear on your device’s screen. Test different keys on the keyboard, including letters, numbers, and special characters, to ensure that each key is working as expected.
If you encounter any issues, such as delayed keystrokes or unresponsive keys, try the following troubleshooting steps:
- Make sure the wireless keyboard is within the Bluetooth range of your device. Objects between the keyboard and device can interfere with the signal.
- Check the battery level of your wireless keyboard. If the batteries are low, replace them or charge the keyboard if it has a rechargeable battery.
- Restart both the keyboard and your device. Sometimes a simple restart can resolve connectivity issues.
- Verify that the keyboard is still properly paired with your device by checking the Bluetooth settings.
- If none of the above steps resolve the issue, consult the user manual or contact the manufacturer’s support for further assistance.
Once you have tested the connection and confirmed that the keyboard is working correctly, you’re all set. You can now enjoy the convenience and freedom of typing wirelessly with your new keyboard.
Remember to keep your wireless keyboard and device in close proximity for consistent and reliable connectivity. Additionally, always ensure that your device’s Bluetooth is turned on and that the keyboard’s batteries are adequately charged.
Now that you have successfully connected and tested the wireless keyboard, you can comfortably use it for typing, gaming, or any other tasks that require keyboard input.
Conclusion
Connecting a wireless keyboard to your device opens up a world of convenience and flexibility for your typing needs. By following the steps outlined in this guide, you can easily connect a wireless keyboard to your computer, tablet, or smartphone.
We first discussed the importance of checking compatibility between the keyboard and your device, ensuring that they are compatible in terms of operating system and Bluetooth functionality. This step is crucial to ensure a smooth connection process.
Next, we walked through the process of turning on the wireless keyboard, making sure that it is powered on and ready to be connected. Once the keyboard is powered on, it starts broadcasting a Bluetooth signal.
Then, we explored how to activate Bluetooth on your device, allowing it to scan for and detect nearby Bluetooth devices, including your wireless keyboard. Activating Bluetooth varies slightly depending on the device, but it generally involves accessing the settings menu and toggling the Bluetooth switch to the “On” position.
After activating Bluetooth, we covered the process of pairing the keyboard with your device. This involves selecting the keyboard from the list of detected devices and following the on-screen prompts or entering a provided passcode to establish a secure connection.
Finally, we emphasized the importance of testing the connection between the wireless keyboard and your device. This step ensures that the keyboard is functioning correctly and that the keystrokes are registering on your device’s screen.
Remember, if you encounter any issues during the connection process or experience any connectivity problems, refer to the user manual of your keyboard or contact the manufacturer’s support for assistance.
Now that you’ve successfully connected your wireless keyboard, you can enjoy the freedom of typing without the constraints of wires. Whether you’re working, gaming, or simply browsing the internet, a wireless keyboard provides a comfortable and convenient typing experience.
Keep in mind that each wireless keyboard model may have unique features and additional functions. Explore your keyboard’s user manual to unlock its full potential and discover any additional features it may offer.
We hope this guide has been helpful in assisting you with connecting your wireless keyboard. Embrace the wireless revolution and enjoy the flexibility and convenience it brings to your daily computing tasks!


