Introduction
Are you a karaoke enthusiast looking to connect your karaoke machine to your Samsung Smart TV? Look no further! With the advancements in technology, it is now easier than ever before to enjoy karaoke in the comfort of your own home. By connecting your karaoke machine to your Samsung Smart TV, you can have a larger display, better audio quality, and access to a vast library of karaoke songs.
In this step-by-step guide, we will walk you through the process of connecting your karaoke machine to your Samsung Smart TV. Whether you’re a seasoned karaoke veteran or a beginner, this guide will help you set up your karaoke system with ease.
Before we dive into the steps, it’s important to ensure that your Samsung Smart TV is compatible with your karaoke machine. Not all models are equipped to handle karaoke setups, so it’s crucial to check that yours meets the necessary requirements. Once you’ve confirmed compatibility, you can proceed with connecting the karaoke machine and configuring the audio and video settings for an optimal karaoke experience.
So, grab your microphone, tune up your singing voice, and let’s get started on connecting your karaoke machine to your Samsung Smart TV!
Step 1: Check your Samsung Smart TV compatibility
Before you begin connecting your karaoke machine to your Samsung Smart TV, it’s imperative to ensure that your TV model supports the necessary features for a seamless karaoke experience. Not all Samsung Smart TVs have the built-in compatibility to connect external audio and video devices or to access karaoke applications.
To check the compatibility of your Samsung Smart TV, start by locating the model number. You can usually find it on the back or side of the TV or in the TV’s settings menu. Once you have the model number, head to the Samsung website or refer to the user manual to verify if it supports external audio and video connections.
Typically, newer Samsung Smart TVs offer HDMI ports that allow you to connect your karaoke machine easily. Ensure that your TV has at least one available HDMI port. In addition, check if it supports audio output options such as RCA ports or optical audio connections. These ports are essential for connecting the audio output from the karaoke machine to the TV.
If your TV model lacks the necessary ports or features for connecting a karaoke machine, don’t worry. You can still enjoy karaoke by using external devices such as an HDMI audio extractor or an external stereo system connected to the karaoke machine.
Once you have confirmed your Samsung Smart TV’s compatibility with karaoke setups, you can proceed to the next steps of connecting your karaoke machine and setting up audio and video output. With the right compatibility, you can transform your TV into a karaoke hub and enjoy endless singing sessions with family and friends.
Step 2: Connect the karaoke machine to your Samsung Smart TV
Now that you have verified the compatibility of your Samsung Smart TV, it’s time to connect your karaoke machine. The connection process will depend on the available ports and compatibility of your TV model and karaoke machine.
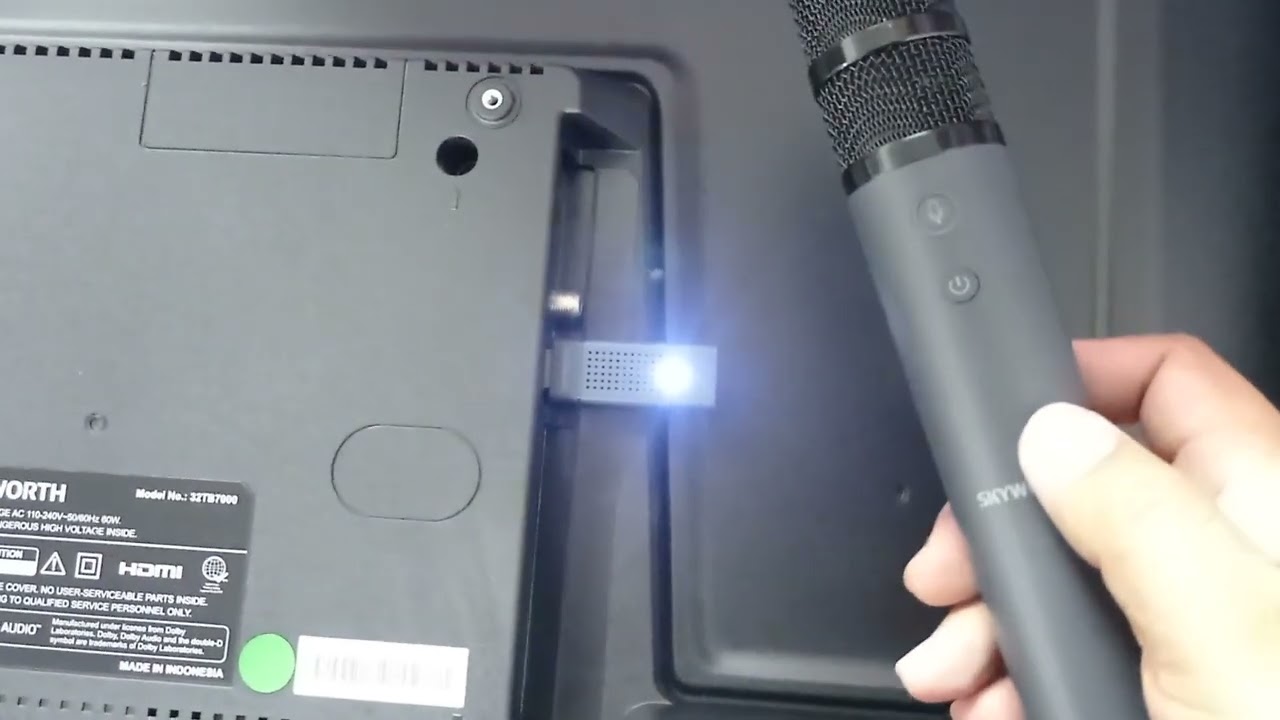
First, locate the HDMI output port on your karaoke machine. It is usually labeled as “HDMI Out” or “HDMI Output.” Connect one end of the HDMI cable to this port.
Next, find an available HDMI input port on your Samsung Smart TV. It is usually labeled as “HDMI 1,” “HDMI 2,” and so on. Connect the other end of the HDMI cable to this port.
Once the HDMI cable is securely connected, power on your karaoke machine and Samsung Smart TV. Use the TV remote to select the corresponding HDMI input source for your karaoke machine.
If your karaoke machine doesn’t have an HDMI output, you can still connect it using alternative methods. For example, you can use composite cables (red, white, and yellow) to connect the audio and video output of the karaoke machine to the corresponding RCA input ports on your TV.
If your karaoke machine has an optical audio output, you can use an optical cable to connect it to the optical audio input on your Samsung Smart TV, if available.
Once you have completed the connections, make sure to switch the TV input to the corresponding source to see if the karaoke machine’s display appears on your Samsung Smart TV screen. If it does, congratulations! You have successfully connected your karaoke machine to your Samsung Smart TV.
Continue to the next step to set up the audio output for your karaoke machine, allowing you to sing your heart out with clear and crisp sound.
Step 3: Set up the audio output for your karaoke machine
Now that you have connected the karaoke machine to your Samsung Smart TV, it’s time to configure the audio output settings. This step ensures that your karaoke songs are played with the best possible sound quality.
Start by accessing the audio settings on your Samsung Smart TV. You can usually do this through the TV’s menu or settings options. Look for the audio output settings or audio mode settings.
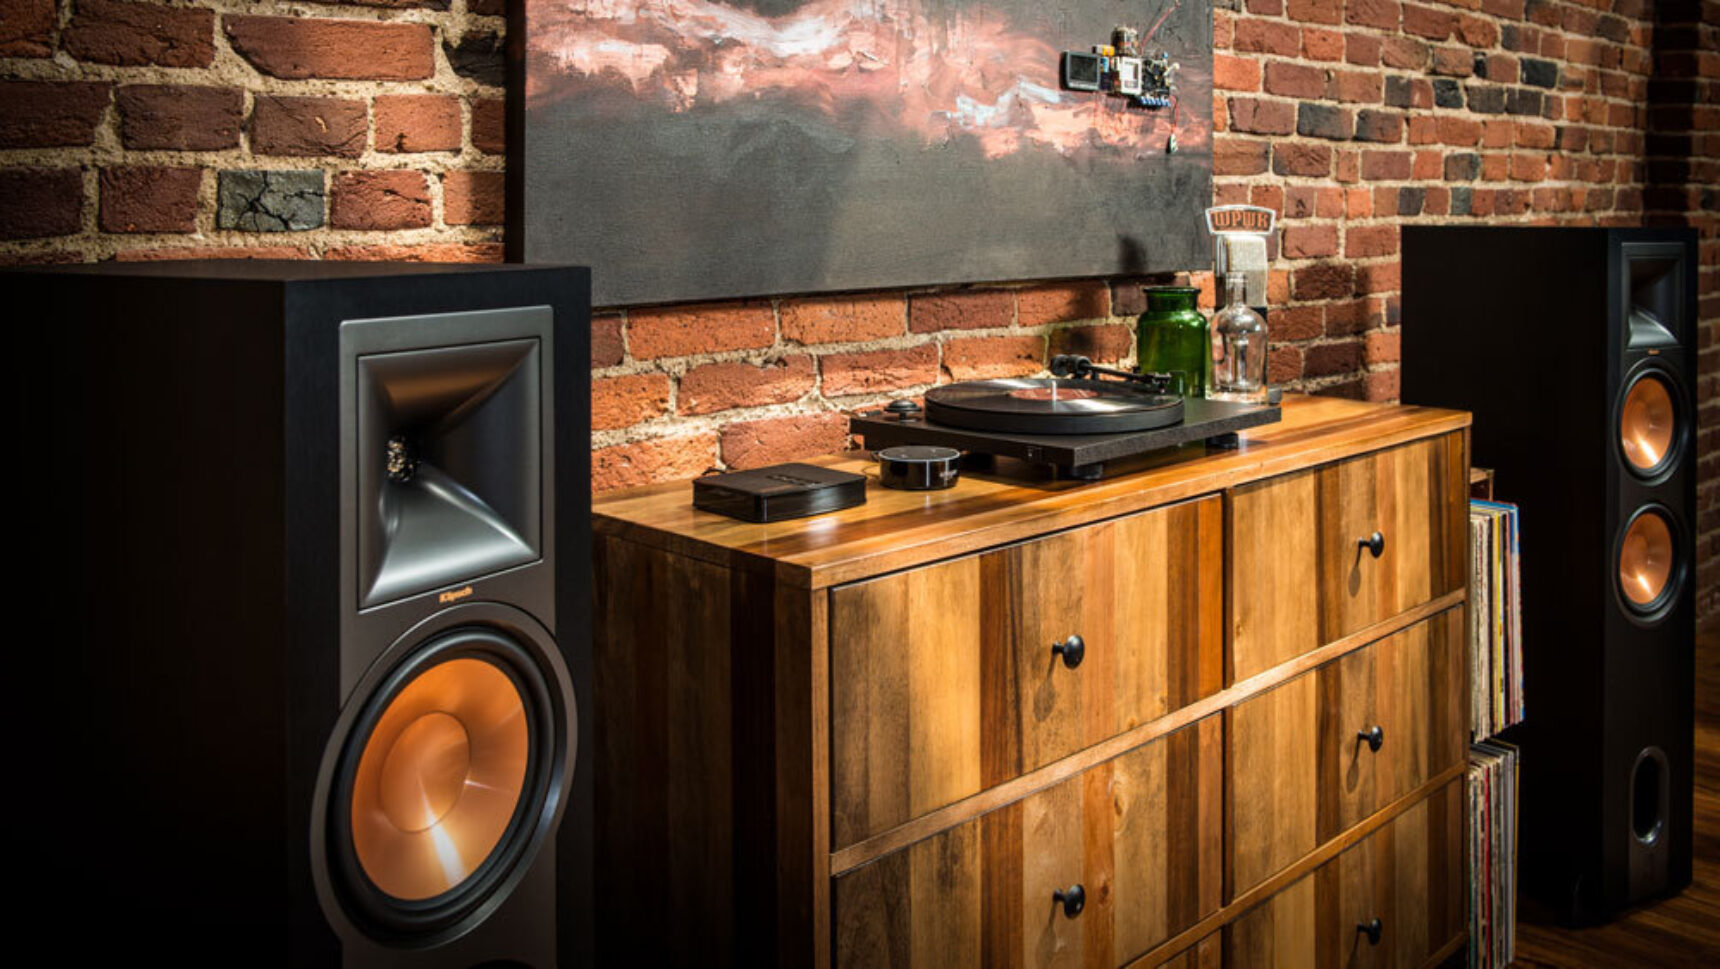
Depending on your TV model, you may have different audio output options. If your karaoke machine is connected using HDMI, select the HDMI audio output as the preferred audio source. This will ensure that the sound output of your karaoke machine is played through the TV’s speakers.
If you have connected the karaoke machine using composite cables or optical audio, select the corresponding audio input option on your Samsung Smart TV to receive the audio signal from the karaoke machine.
Once you have selected the appropriate audio output settings on your TV, you may also want to adjust the audio levels to achieve the desired balance between the karaoke music and your voice. This can usually be done through the TV’s audio settings or using the karaoke machine’s built-in audio controls.
It’s essential to test the audio levels and make any necessary adjustments to ensure that your singing and the background music are well-balanced. Remember to adjust the microphone volume as well, if needed.
Once you’re satisfied with the audio setup, it’s time to move on to the next step and adjust the video settings on your Samsung Smart TV for the ultimate karaoke viewing experience.
Step 4: Adjust the video settings on your Samsung Smart TV
After setting up the audio output for your karaoke machine, it’s crucial to optimize the video settings on your Samsung Smart TV for the best visual experience while singing along to your favorite karaoke tracks.
Start by accessing the video settings on your TV. This can typically be done through the menu or settings options. Look for the display or picture settings.
Adjust the picture mode to “Movie” or “Cinema” mode for a more vibrant and cinematic display. This mode is often optimized for watching movies and provides enhanced color accuracy and clarity.
You may also want to tweak other picture settings like brightness, contrast, and color saturation to match your personal preference and the lighting conditions in your room. It’s recommended to avoid excessive brightness or contrast levels that may lead to distorted visuals.
Additionally, enable any motion smoothing or motion enhancement features on your Samsung Smart TV. These features reduce motion blur and ensure smoother transitions, which can enhance the overall karaoke experience.
If your karaoke machine supports HD or 4K resolution, make sure your Samsung Smart TV is set to the appropriate resolution. This ensures that you can enjoy karaoke videos in their highest quality.
During the karaoke session, you may also want to enable closed captioning or subtitles if available. This allows you to sing along to the lyrics displayed on the screen, making it easier to follow the song.
Once you have adjusted the video settings to your liking, it’s time to connect the microphone(s) and get ready to belt out some tunes!
Step 5: Connect the microphone(s) to your karaoke machine
Now that the audio and video settings are optimized, it’s time to connect the microphone(s) to your karaoke machine. This step ensures that your voice is captured and amplified during your karaoke sessions.
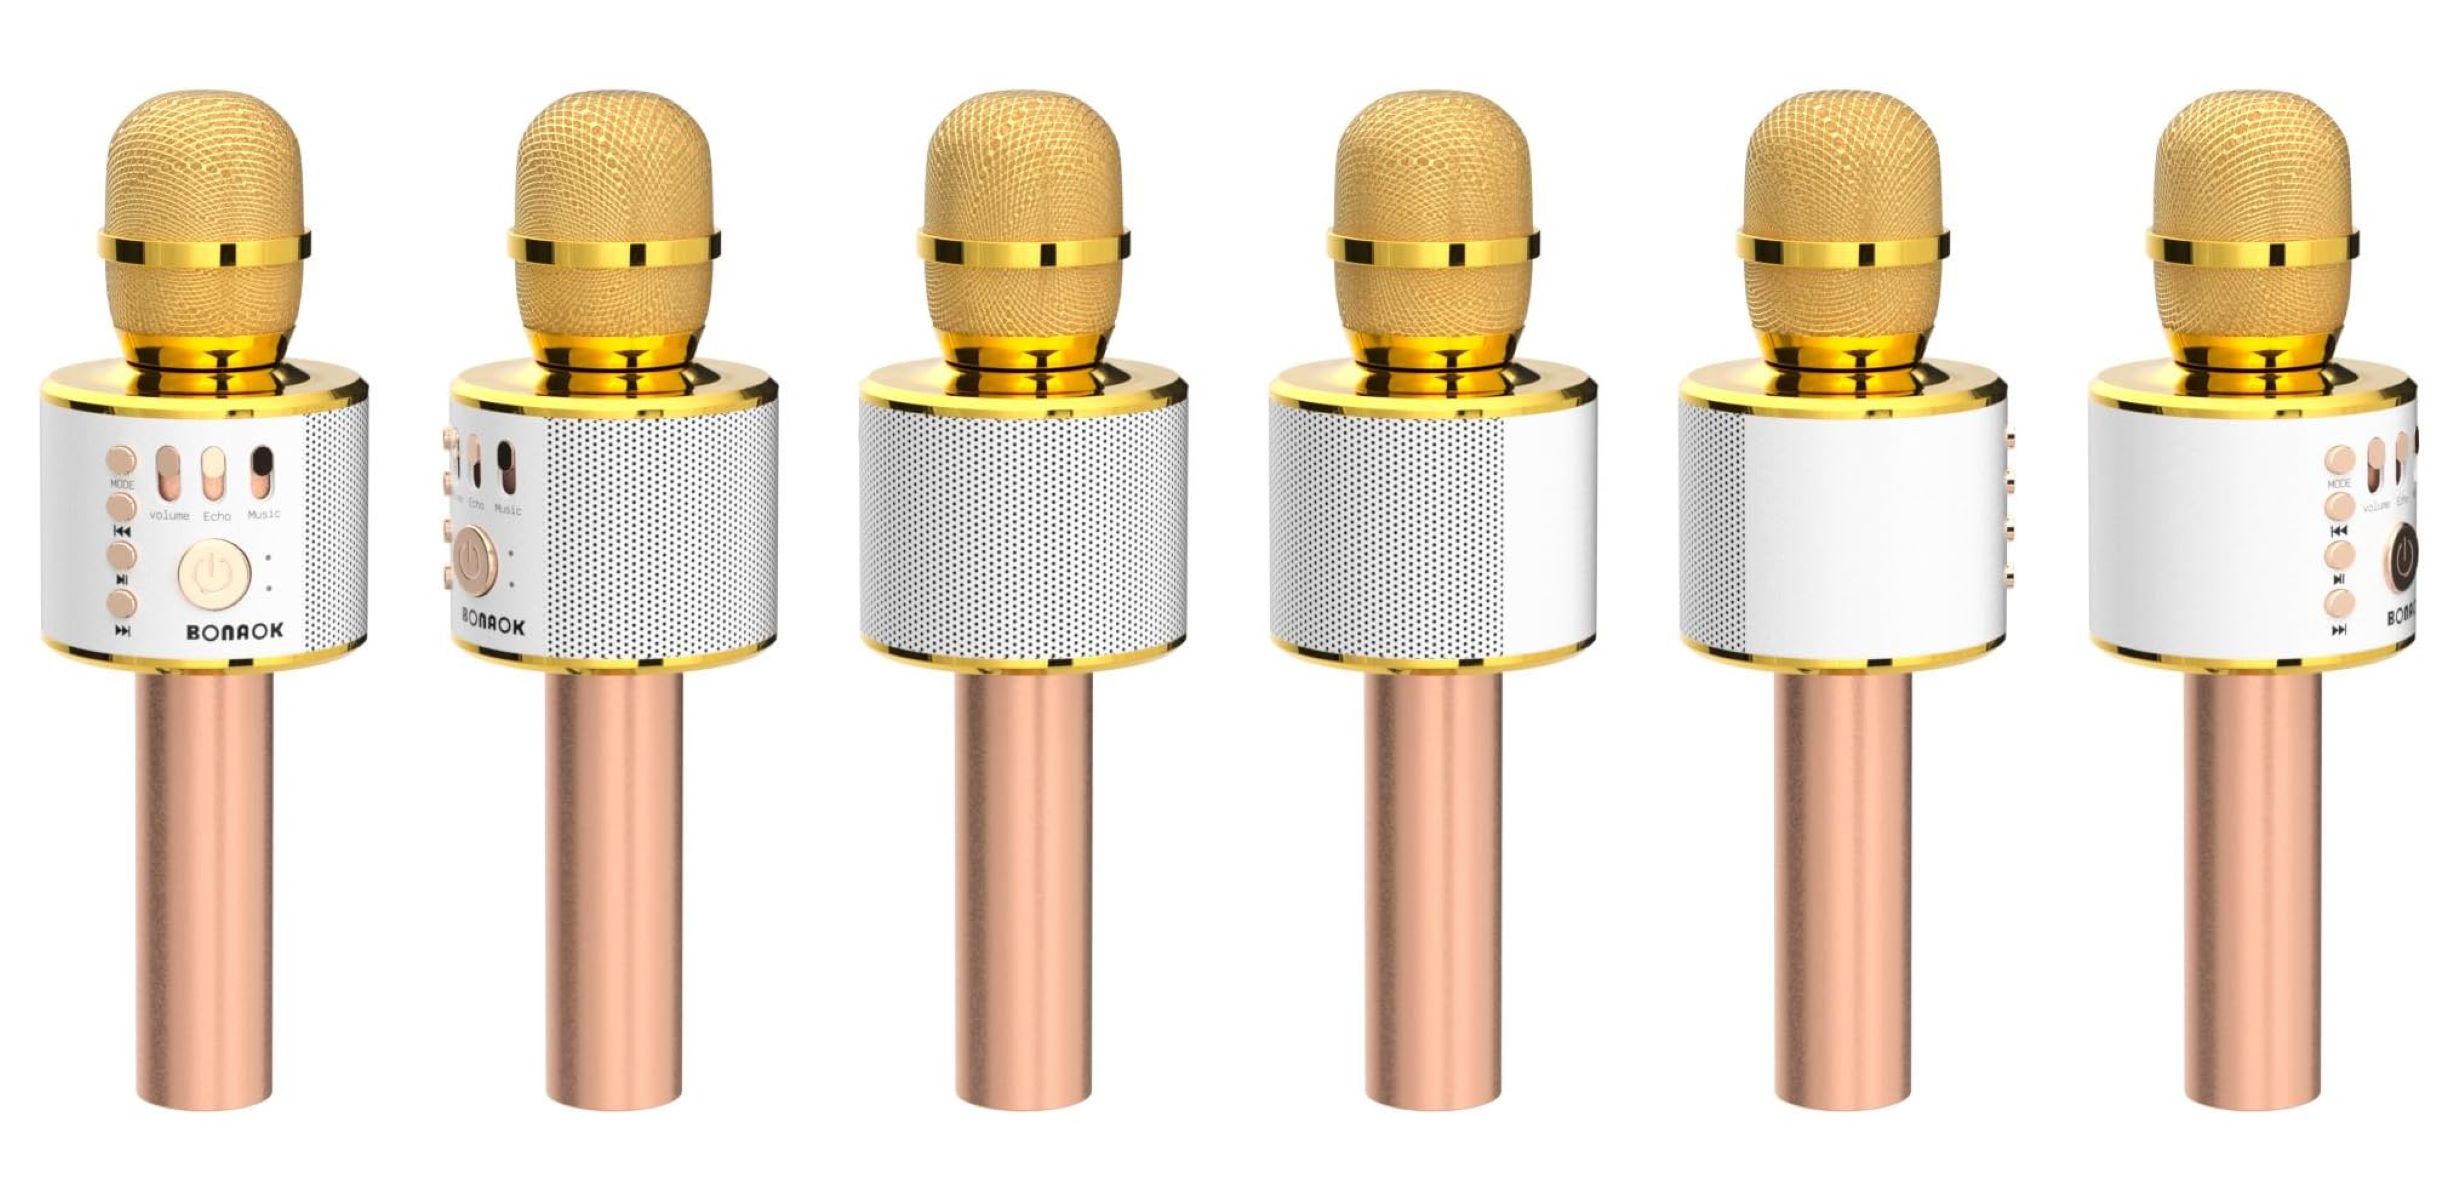
Start by identifying the microphone input on your karaoke machine. It is usually labeled as “Microphone In” or “Mic Input.” Determine the type of microphone you have – wireless or wired.
If you have a wired microphone, plug one end of the microphone cable into the microphone and the other end into the microphone input of the karaoke machine. Ensure that the connection is secure.
If you have wireless microphones, follow the instructions provided with your specific microphone model to pair and connect it to the karaoke machine. Wireless microphones usually require batteries or charging, so ensure they are fully powered before use.
If you have multiple microphones, you may have additional microphone inputs on your karaoke machine. Connect each microphone to a separate input, if available.
Once the microphones are connected, turn on the karaoke machine and test the microphone audio levels. Adjust the microphone volume settings on the karaoke machine to ensure that your voice is clear and balanced with the music.
You can also adjust the microphone echo levels if you prefer a subtle echo effect while singing. However, be cautious not to set it too high, as it can overwhelm your vocals.
It’s a good idea to do a quick microphone test by singing a few lines to ensure that each microphone is working properly and the volumes are set correctly. Make any necessary adjustments to ensure that all microphones are balanced and producing clear sound.
With the microphones successfully connected and tested, it’s time to move on to the next step: testing and adjusting the audio levels to ensure a flawless karaoke experience.
Step 6: Test and adjust the audio levels
After connecting the microphones to your karaoke machine, it’s important to test and adjust the audio levels to ensure that both the music and your vocals are heard clearly during your karaoke sessions.
Start by selecting a karaoke song or instrumental track and play it through your Samsung Smart TV. Adjust the master volume on your karaoke machine to a comfortable level that allows the music to be audible but not overpowering.
Next, take turns singing into each microphone and check the audio output. Make sure that the vocals are clear and distinguishable over the music. If one microphone seems louder or softer than the others, adjust the individual microphone volume controls on your karaoke machine to achieve a balanced sound.
It’s also important to ensure that the microphone volumes are set at an appropriate level, avoiding distortion or feedback. Adjust the microphone sensitivity or gain settings if necessary to prevent any unwanted noise or distortion.
During the testing phase, pay attention to any latency issues between the audio and video playback. If you notice a delay between your vocals and the music, you may need to adjust the audio or video settings on your karaoke machine or Samsung Smart TV to minimize the latency.
Don’t forget to take breaks between testing to give your ears a rest and come back with fresh ears to make any necessary adjustments. The goal is to achieve a well-balanced and enjoyable audio experience for your karaoke sessions.
Keep in mind that the optimal audio levels and settings may vary depending on the karaoke machine and microphones you are using. It’s recommended to refer to your specific karaoke machine’s user manual for detailed instructions on adjusting the audio levels.
Once you are satisfied with the audio levels and have everything dialed in, it’s time to choose and play your favorite karaoke songs on your Samsung Smart TV.
Step 7: Choose and play karaoke songs on your Samsung Smart TV
With your karaoke system all set up and audio levels adjusted, it’s time to dive into the fun part: choosing and playing karaoke songs on your Samsung Smart TV.
There are several ways to access and play karaoke songs on your TV, depending on the features and apps available on your Samsung Smart TV.
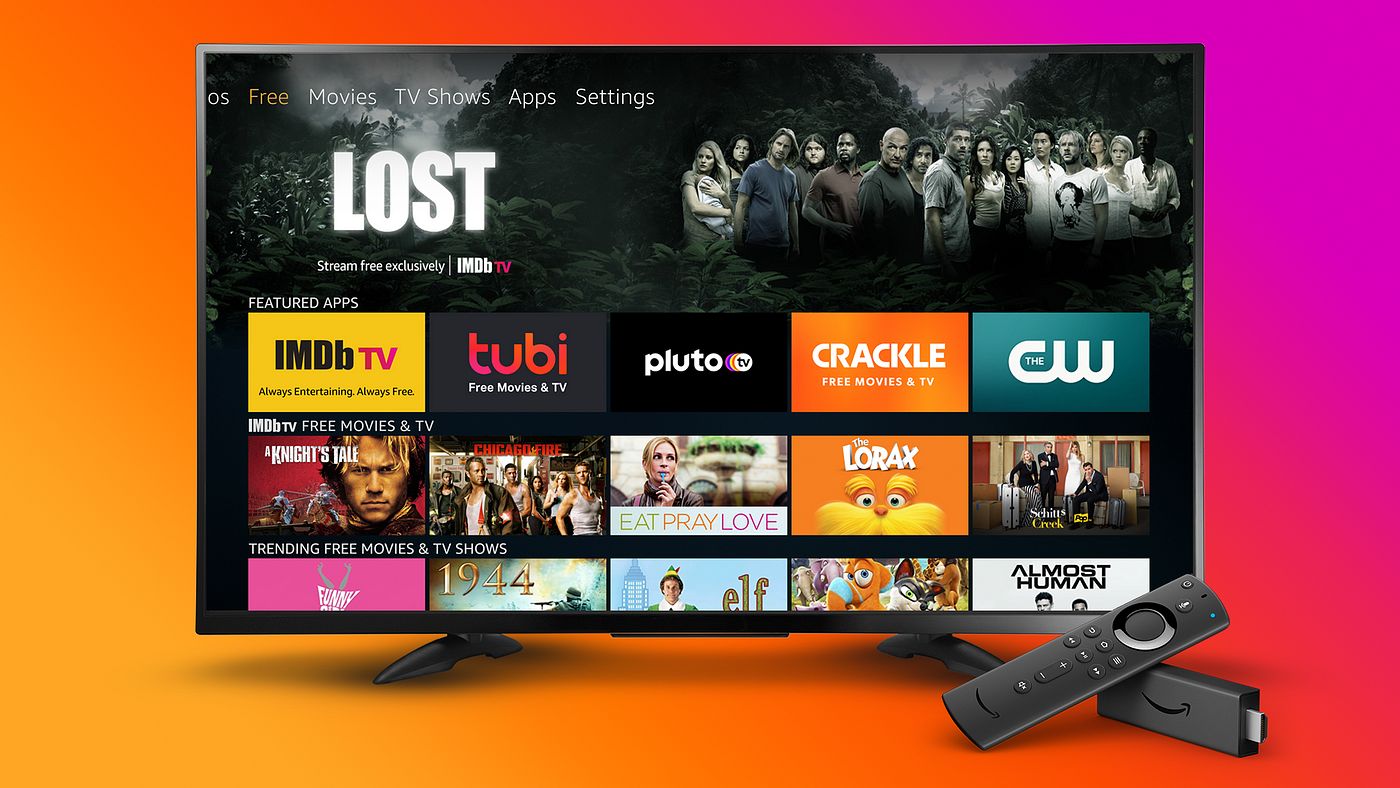
If your TV supports built-in karaoke apps, search for them in the app store or app section of your TV’s menu. Download and install a reputable karaoke app that offers a wide selection of songs.
Once you’ve installed the karaoke app, launch it and explore the song library. Most karaoke apps provide various categories like popular hits, genres, and artist-specific playlists. Browse through the options and select a song that you want to sing.
If you have a subscription to a karaoke streaming service like YouTube Karaoke, Karafun, or Singsnap, you can access their extensive song catalogs on your Samsung Smart TV. Simply open the web browser or corresponding app on your TV and log into your account to enjoy unlimited karaoke songs.
If you have a personal collection of karaoke songs in digital format, you can connect a USB drive or external storage device to your Samsung Smart TV and play the songs directly. Navigate to the USB drive using the TV’s file explorer and select the desired song file to start singing along.
When selecting karaoke songs, consider the difficulty level, song tempo, and your vocal range to ensure an enjoyable singing experience. Experiment with different genres and challenge yourself with new songs to improve your singing skills.
While singing, make use of the on-screen lyrics displayed on your Samsung Smart TV to follow along. This will help you stay in sync with the music and deliver a confident performance.
Remember to have fun, unleash your inner superstar, and enjoy the karaoke experience with friends and family. Don’t be afraid to showcase your vocal talents and make lasting memories through the power of karaoke.
Congratulations! You have successfully connected your karaoke machine to your Samsung Smart TV and are now ready to sing your heart out to an endless playlist of karaoke songs.
Conclusion
Connecting your karaoke machine to your Samsung Smart TV opens up a world of possibilities for enjoying karaoke in the comfort of your own home. Through this step-by-step guide, you have learned how to ensure compatibility between your TV and karaoke setup, connect the karaoke machine to your TV, set up the audio and video output, connect and adjust microphones, and select and play karaoke songs.
By following these steps, you can transform your living room into a karaoke stage, hosting memorable singing sessions with friends and family. The compatibility check ensures you have the necessary features on your TV, while the audio and video settings optimization guarantee a high-quality karaoke experience.
Connecting the microphones and adjusting the audio levels ensure clear and balanced sound, while choosing and playing karaoke songs on your Samsung Smart TV allows you to explore an extensive catalog of hits and sing your heart out.
Remember, the key to a successful karaoke experience is to have fun, let go of inhibitions, and enjoy the music. Sing your favorite songs, challenge yourself with new ones, and create unforgettable memories with your loved ones through the joy of karaoke.
So, gather your friends, grab the microphone, and let the karaoke party begin! With your Samsung Smart TV and karaoke machine connected, there’s no limit to the hours of entertainment and laughter that await you.