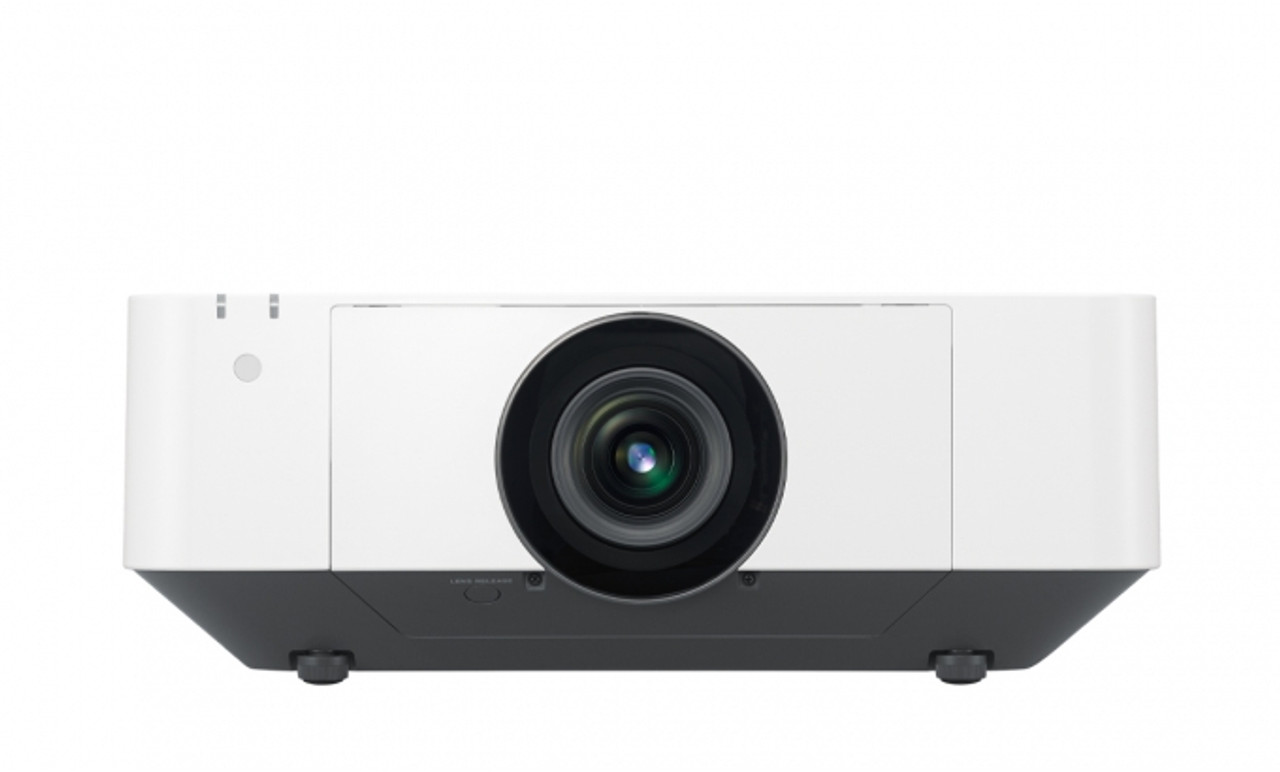
Preparing the Epson Projector
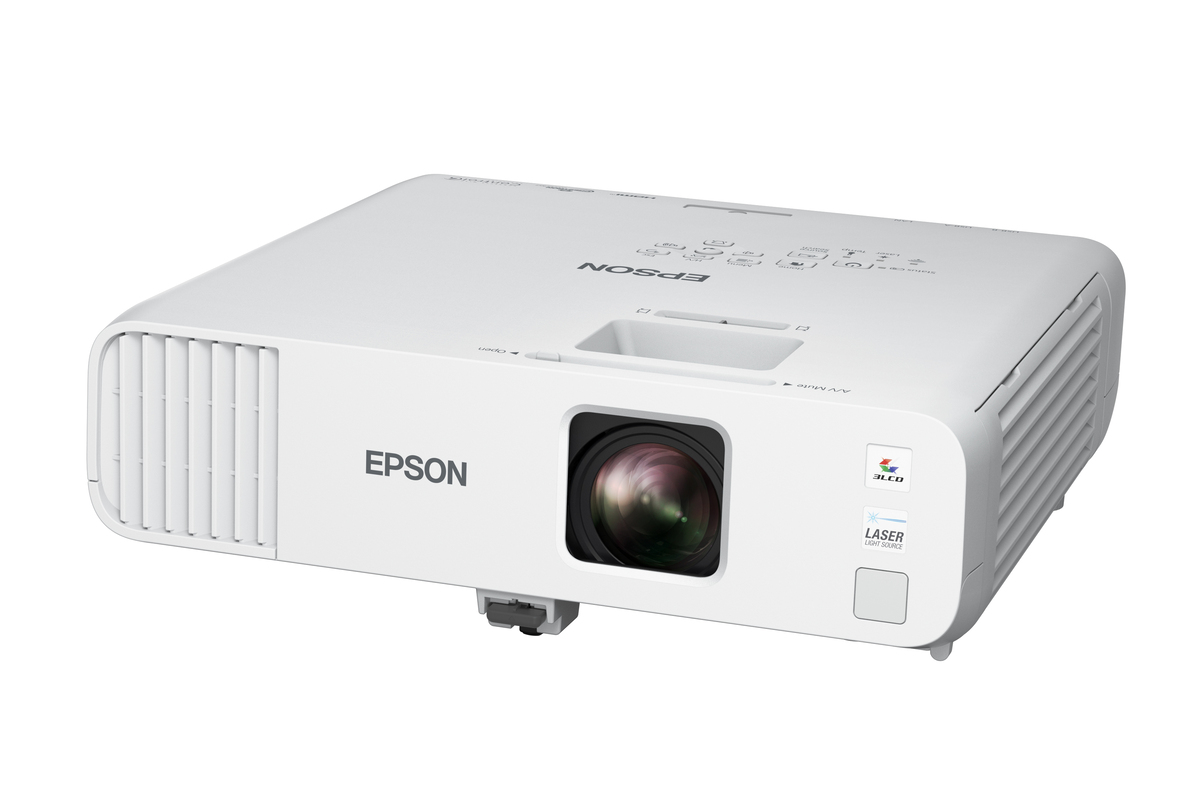
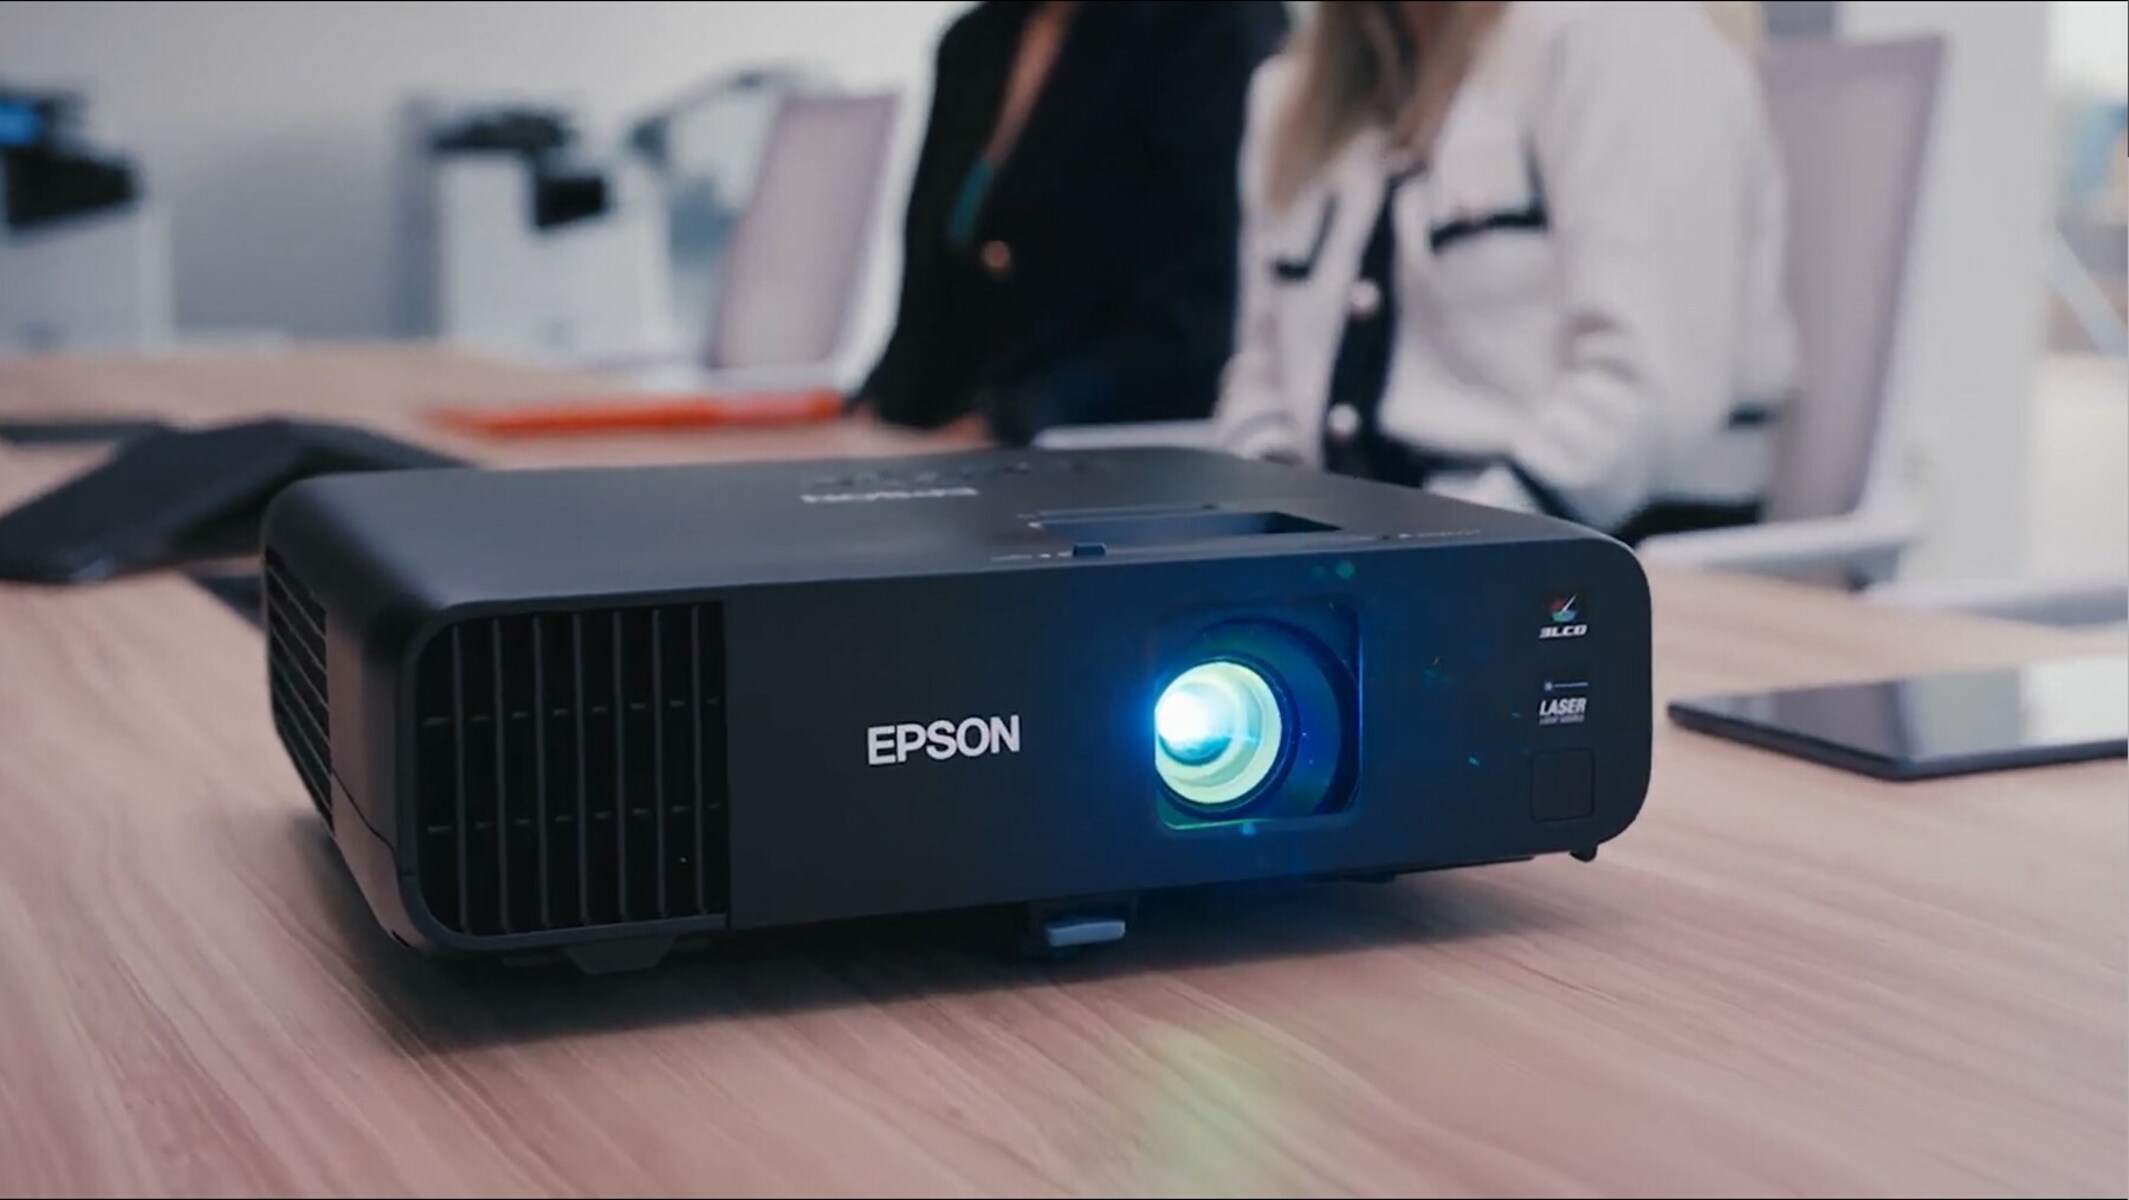
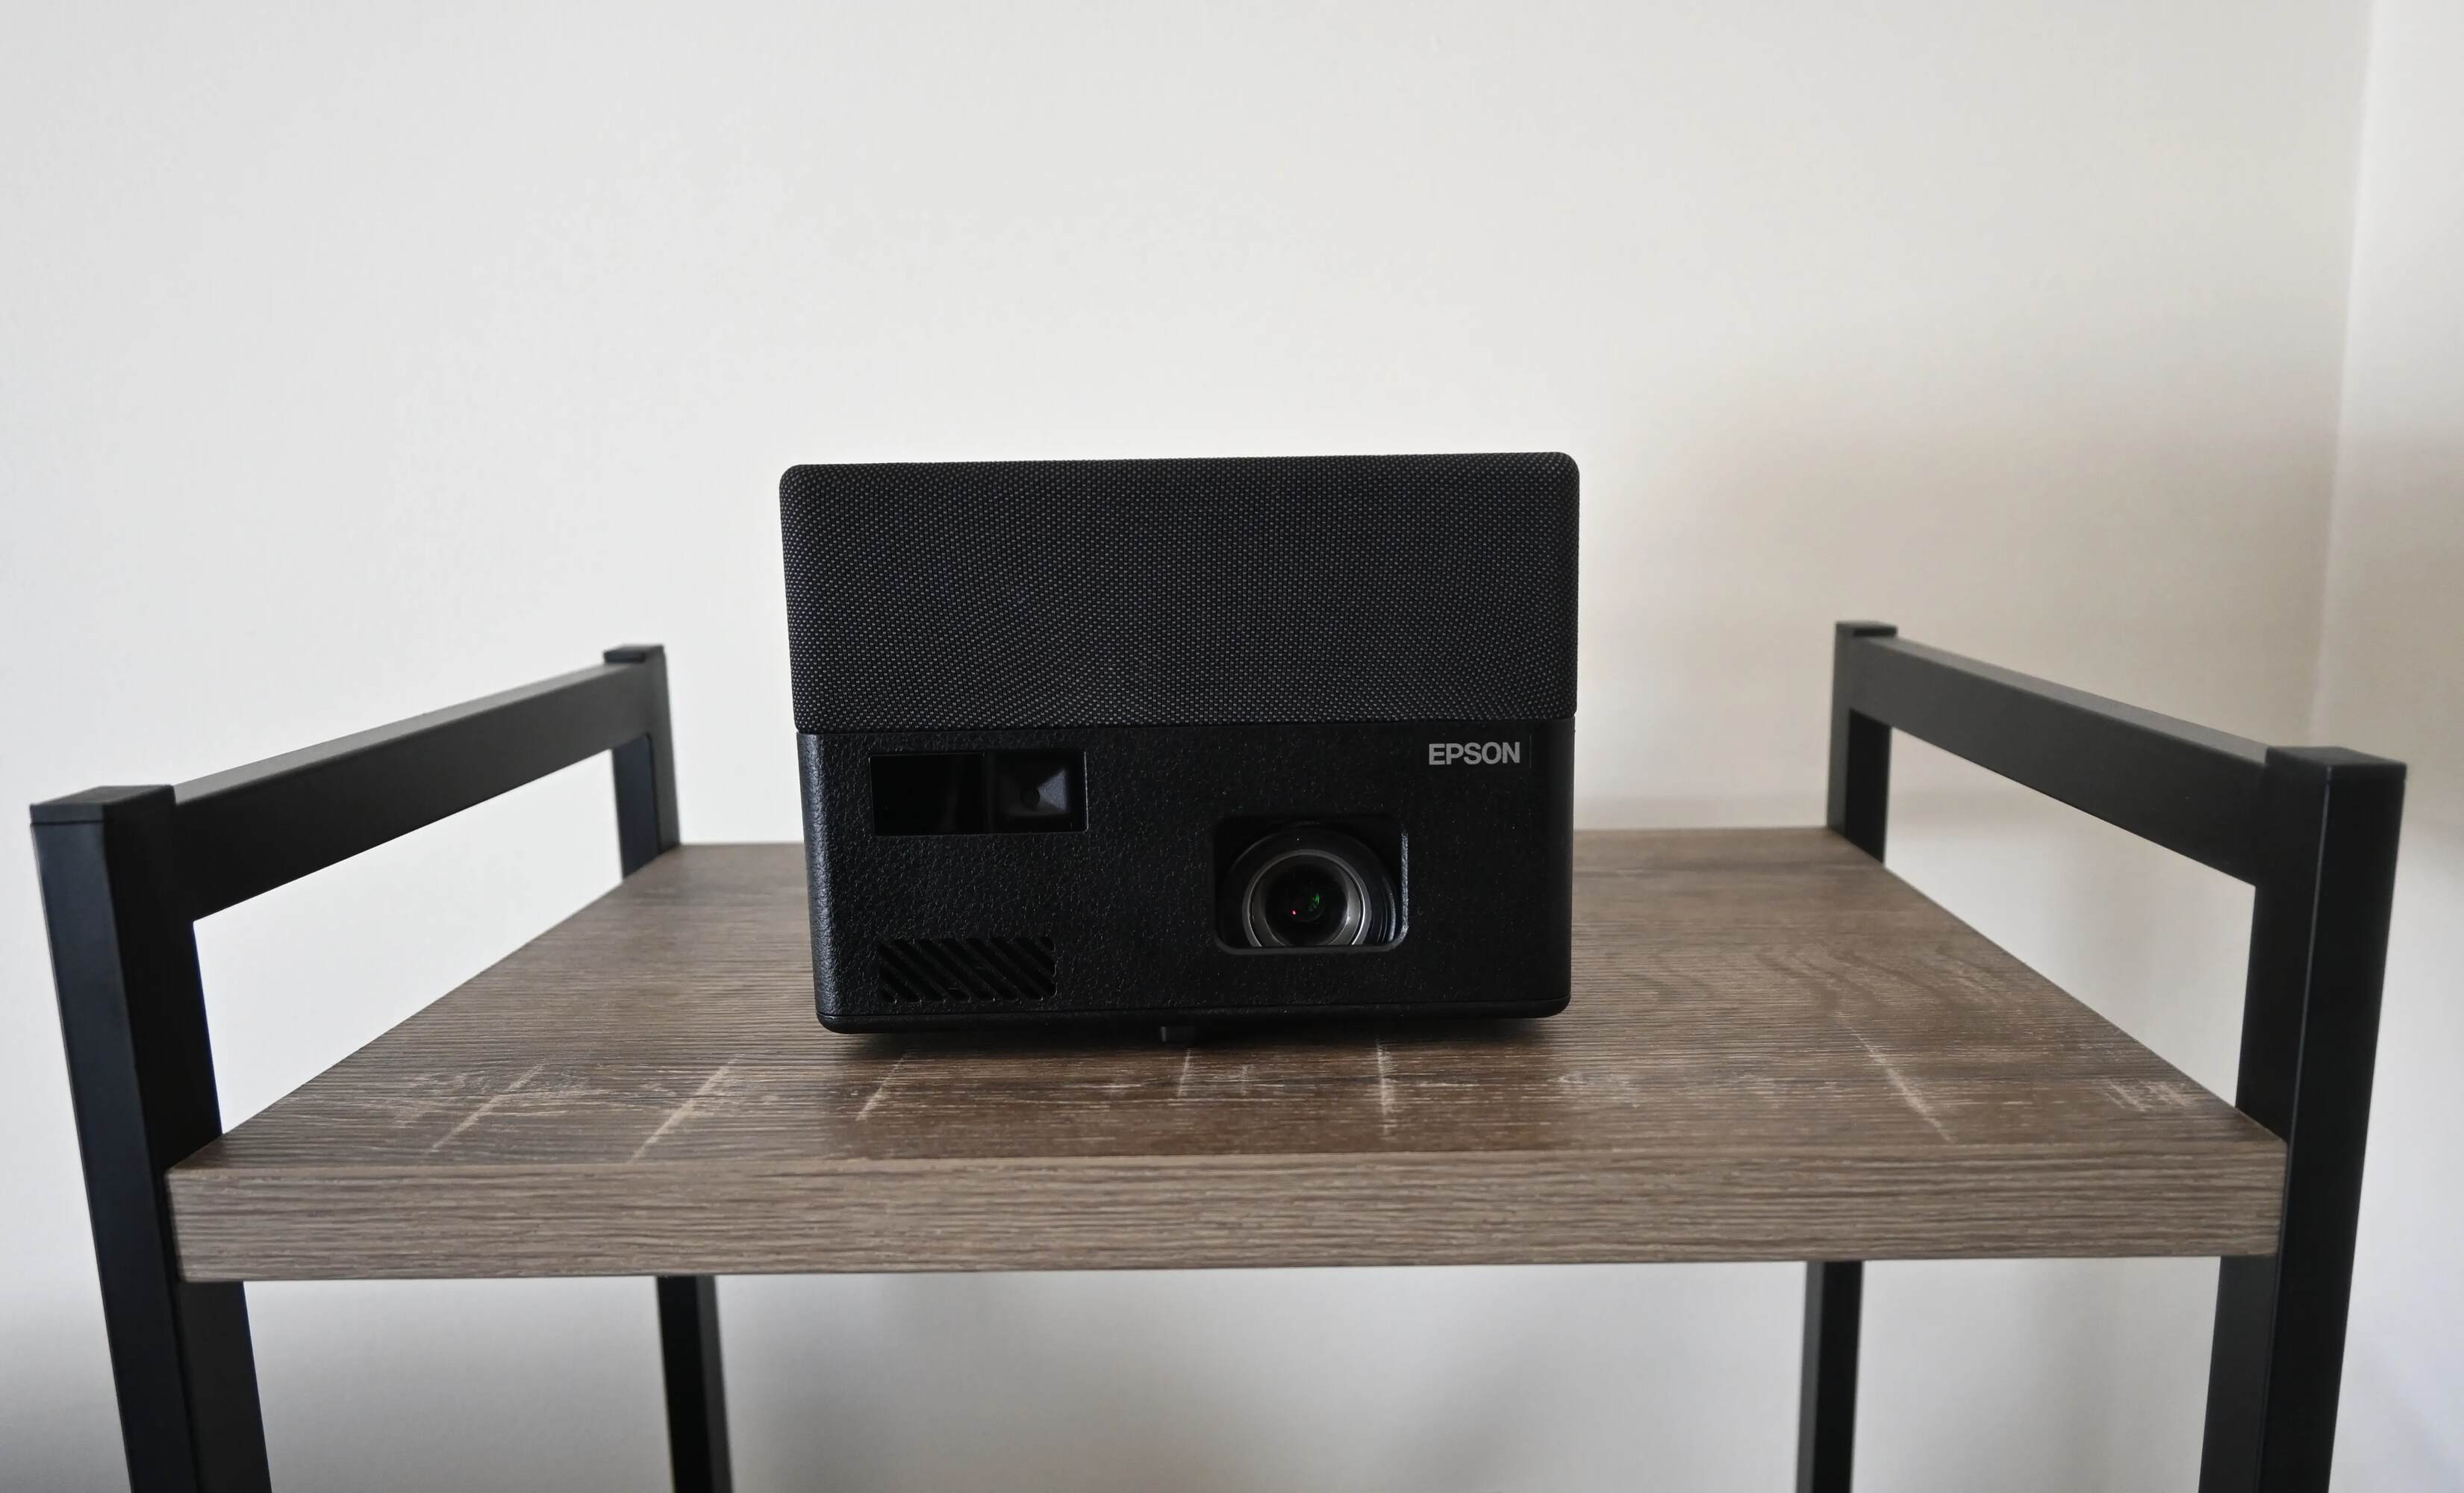
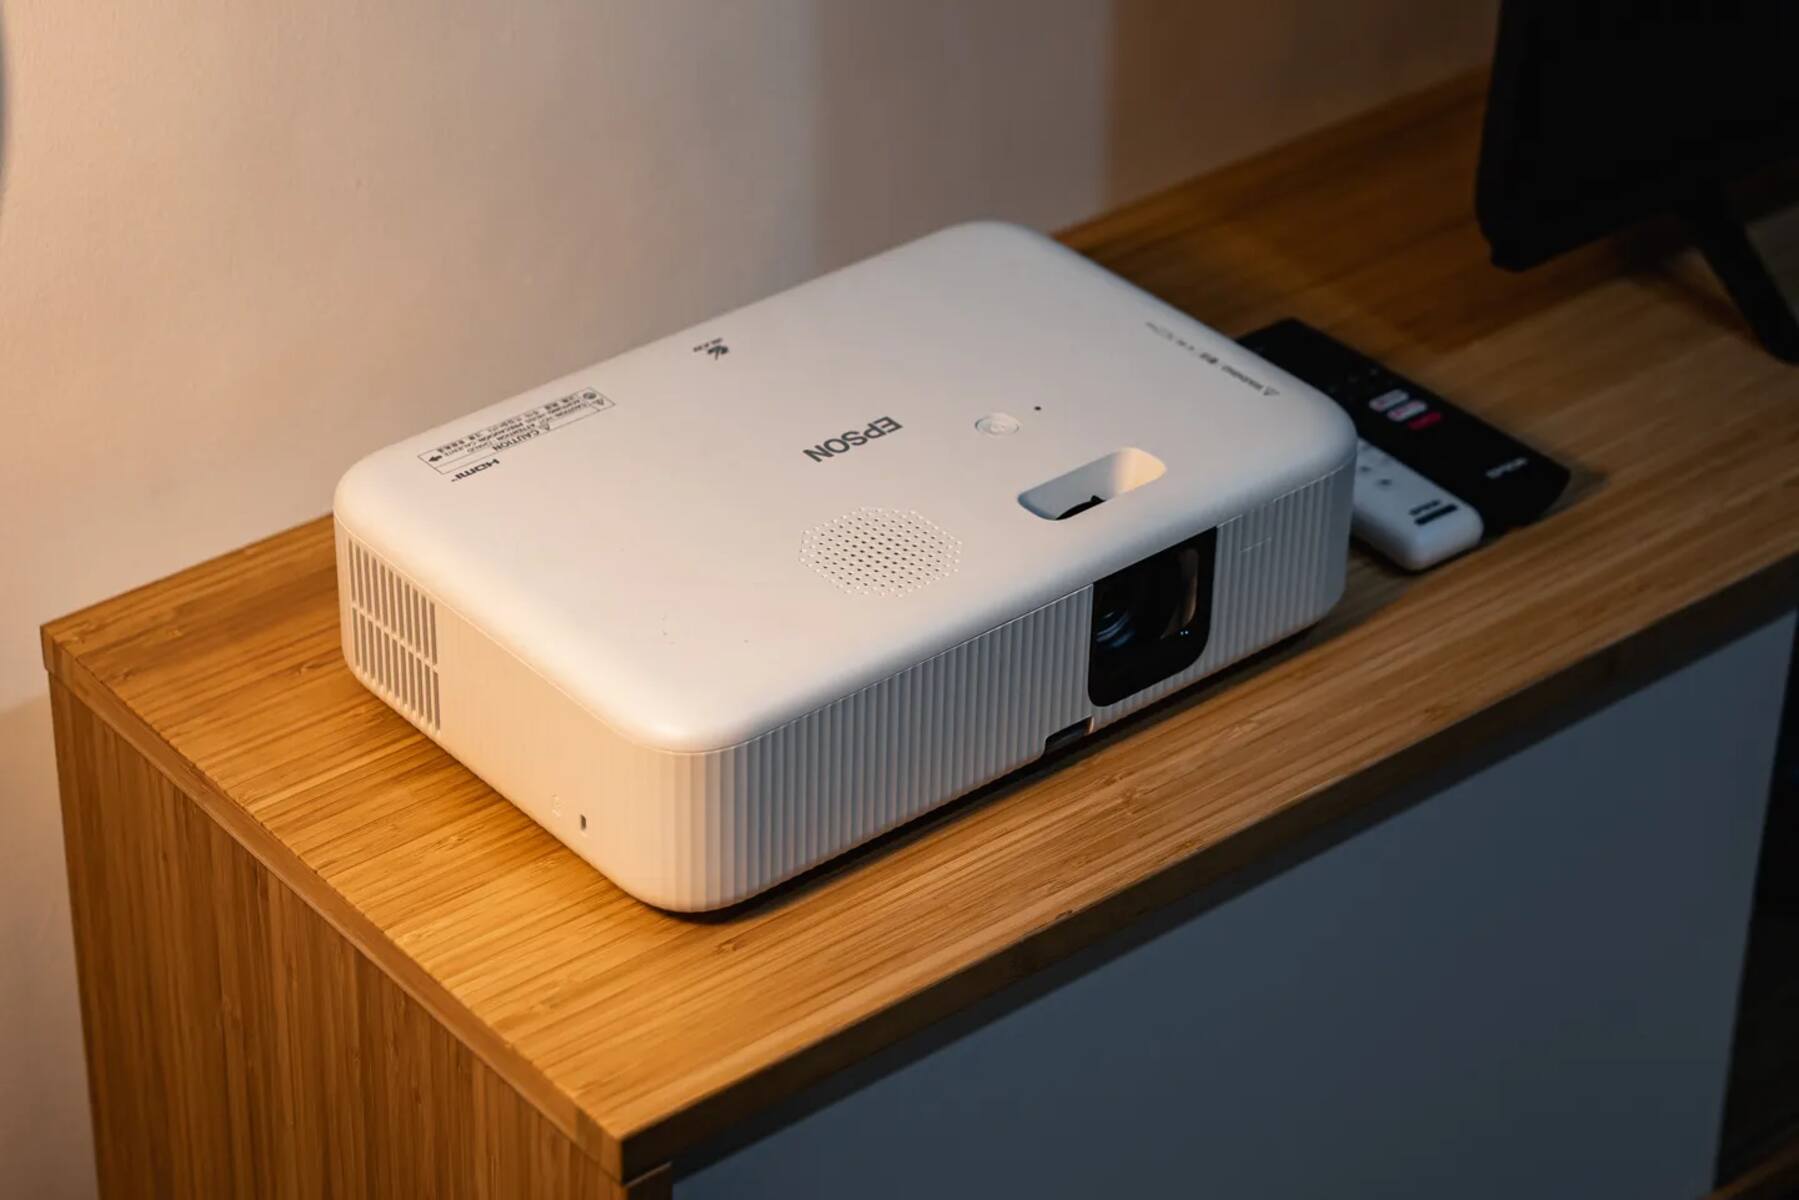
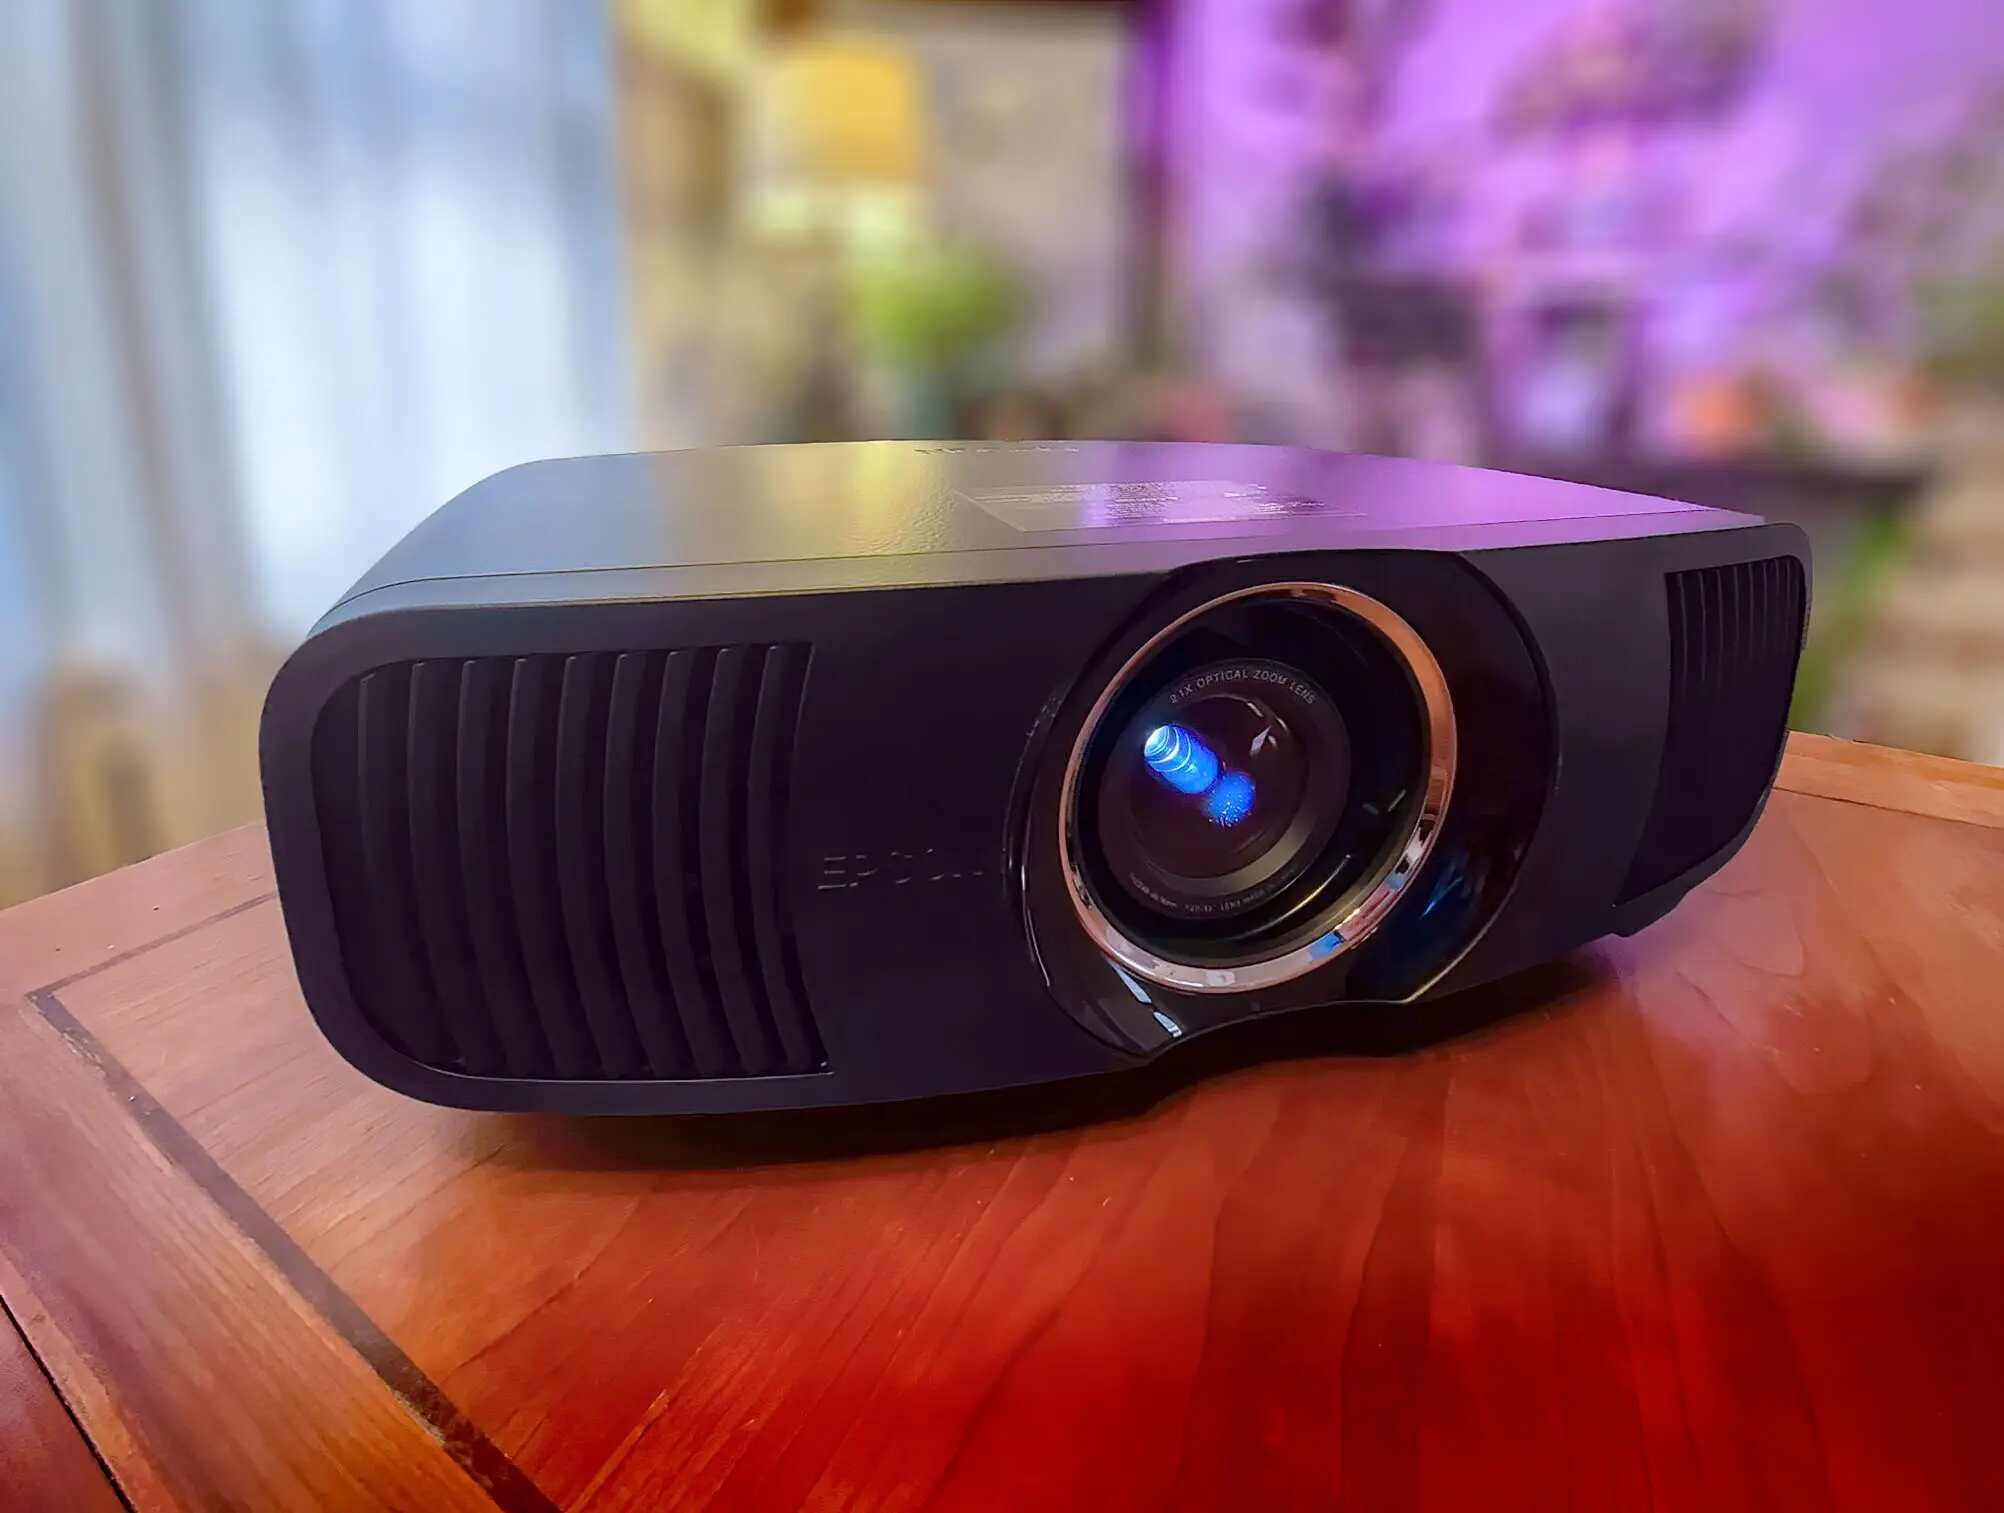
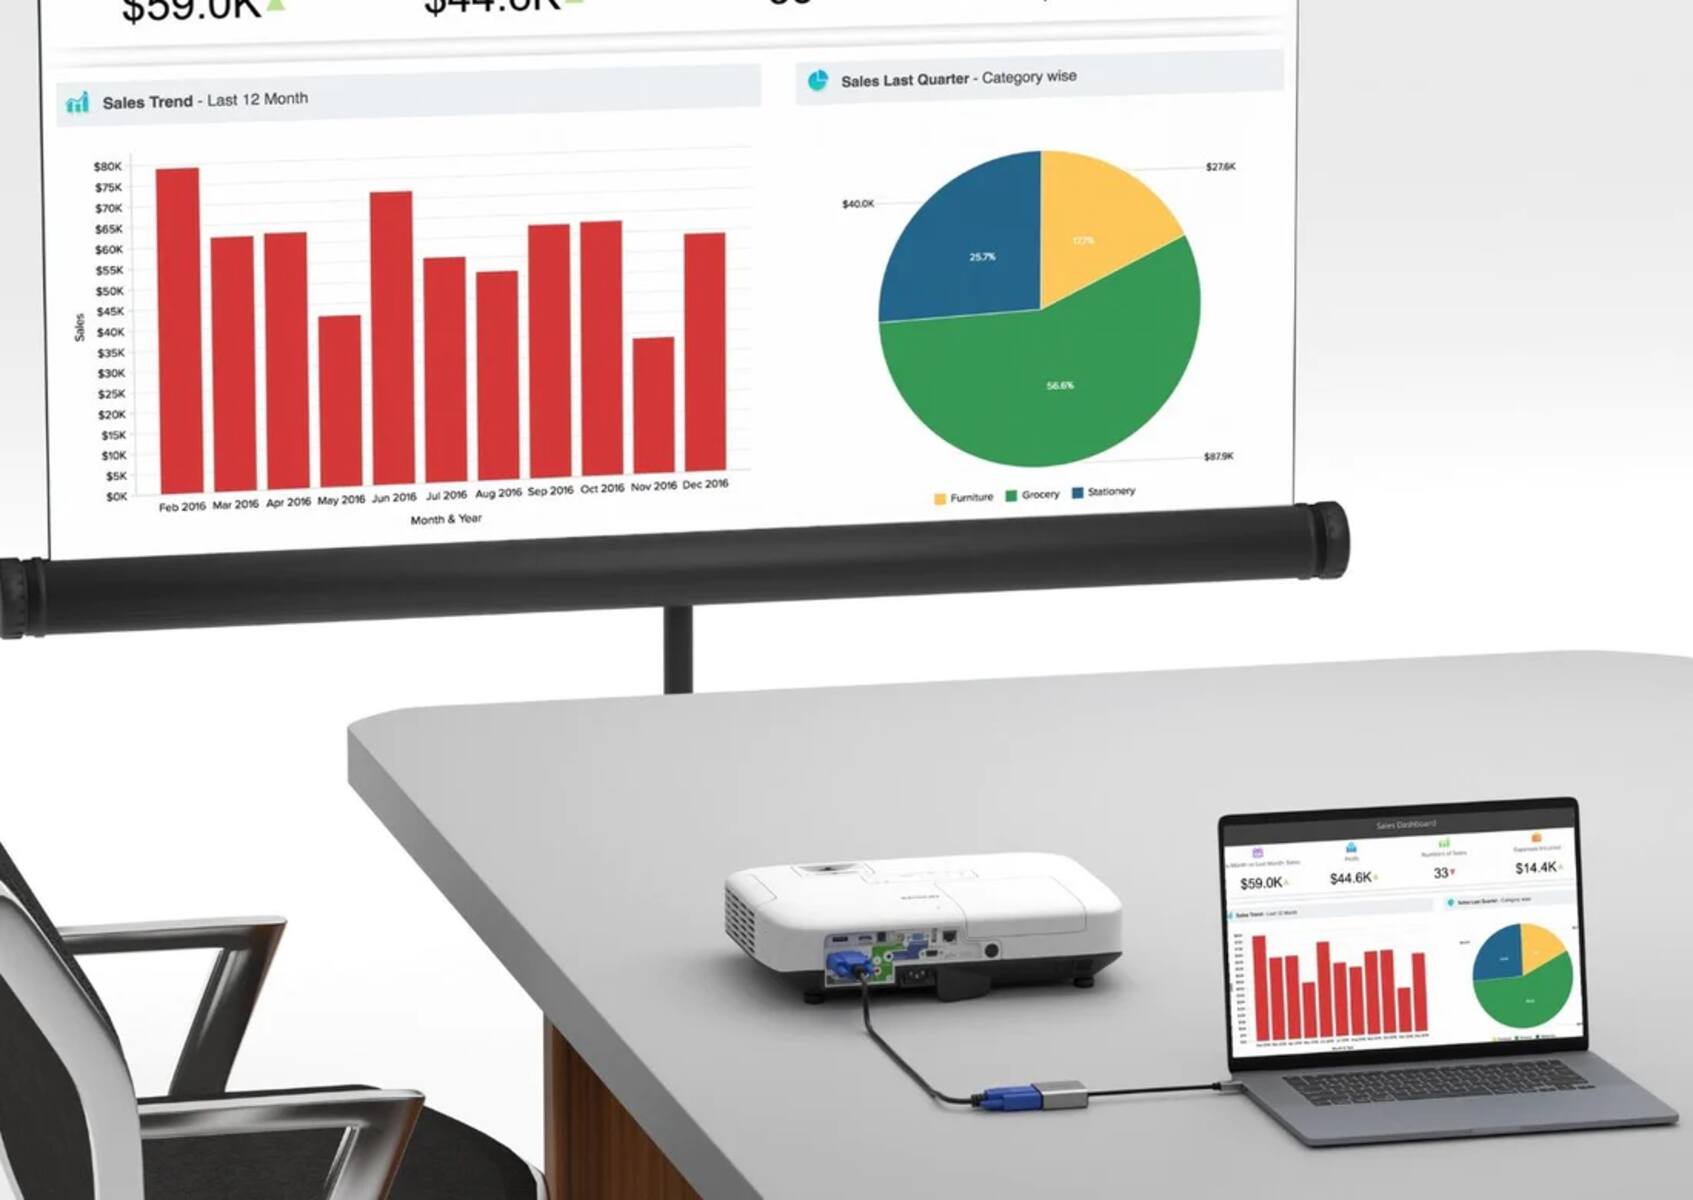
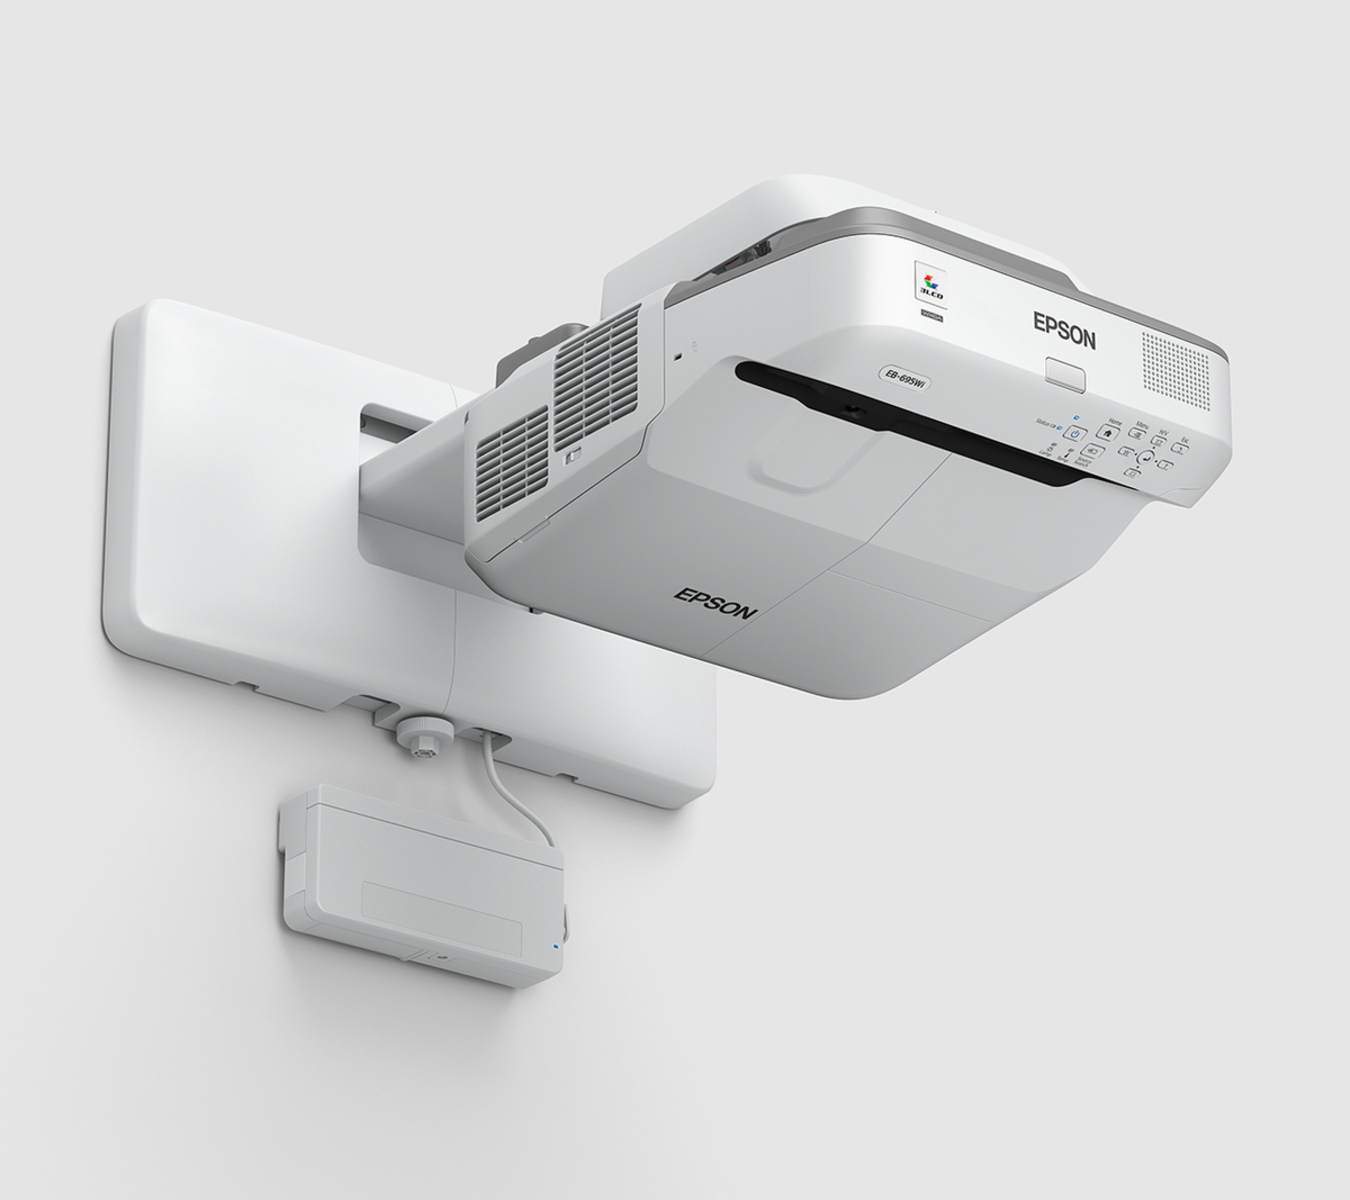
Before you can connect your Epson projector to a speaker, it’s important to ensure that the projector is properly set up. Here are the steps to prepare the Epson projector for audio output:
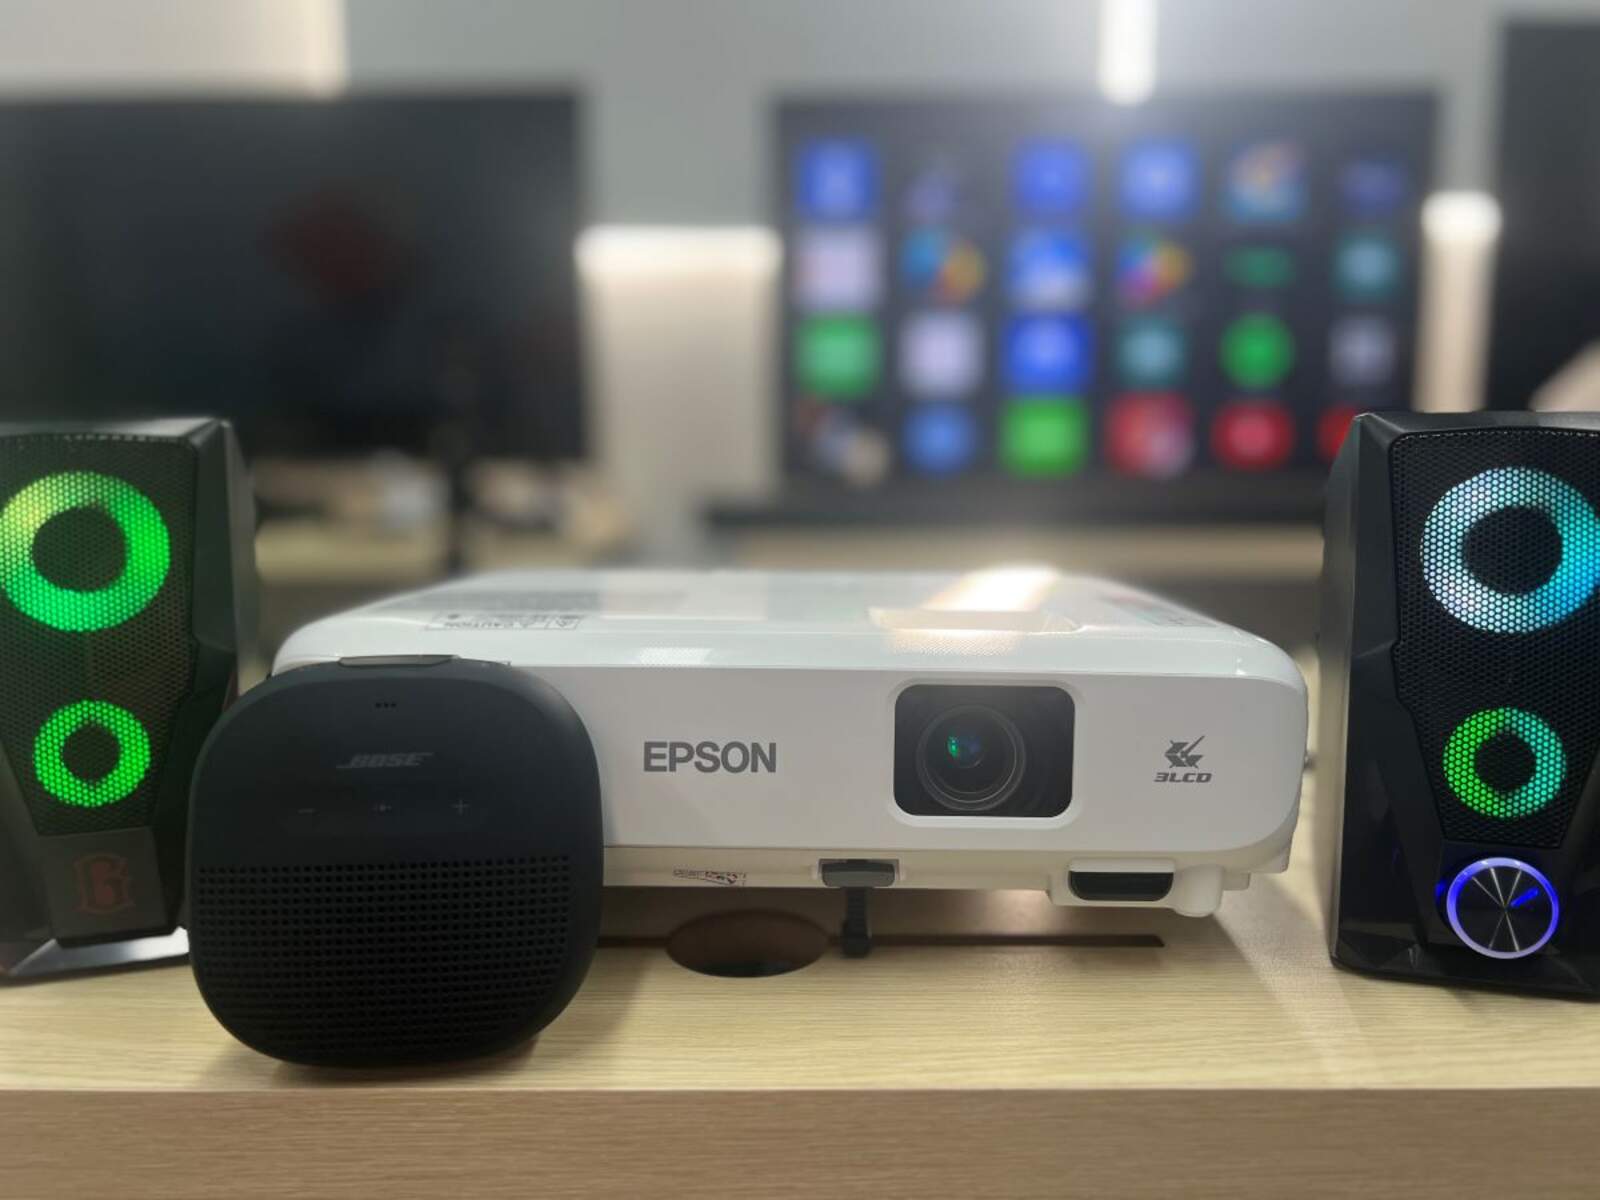
- Choose the right location: Find a suitable location to set up your Epson projector. Make sure there is enough space for both the projector and the speaker, and that they are positioned in close proximity to each other.
- Connect the power: Plug in the power cable of the Epson projector and ensure it is securely connected to a power outlet. Press the power button to turn on the projector.
- Check the audio input ports: Locate the audio input ports on the Epson projector. These are usually labeled as “Audio In” or “Audio Input”. Take note of the type of audio input ports available, as this will determine the type of cable you need to connect to the speaker.
- Prepare the audio cable: Depending on the audio input ports of the projector, you may need an appropriate audio cable. Common types include 3.5mm audio jack, RCA, or HDMI. Ensure you have the right cable that can connect to the speaker’s audio output.
- Gather the necessary accessories: In addition to the audio cable, gather any other accessories you may need, such as adapters or converters, to ensure compatibility between the projector and the speaker.
- Turn off the projector’s internal speaker: Most Epson projectors come with internal speakers, but since you are connecting external speakers, it’s best to disable the internal speaker to prevent audio interference. You can usually find this option in the projector’s audio settings.
By following these steps, you will have your Epson projector prepared and ready to be connected to a speaker. With the projector and speaker set up in the right location and the necessary cables and accessories at hand, you can now proceed to the next step of connecting the Epson projector to the speaker.
Setting up the Speaker
Once you have prepared your Epson projector, the next step is to set up the speaker. Here’s a guide to help you get your speaker ready for connection:
- Choose the appropriate speaker: Select a speaker that is compatible with the Epson projector and meets your audio requirements. Ensure that the speaker has the necessary input ports to connect to the projector.
- Find a suitable location: Determine the ideal placement for the speaker. It should be positioned close to the Epson projector and within reach of the audio cable that will connect the two devices.
- Connect the power: Plug in the power cable of the speaker and ensure it is connected to a power outlet. Check that the speaker is turned on and functioning properly.
- Check the audio output ports: Identify the audio output ports on the speaker. These are typically labeled as “Audio Out” or “Line Out”. Take note of the type and number of output ports available on the speaker.
- Prepare the audio cable: Select the appropriate audio cable that matches the audio output ports of the speaker. Common types include 3.5mm audio jack, RCA, or HDMI. Ensure that the cable is in good condition and ready for connection.
- Check the speaker’s audio settings: Some speakers have built-in controls for adjusting the audio output. Make sure the speaker’s volume is set at an appropriate level and any necessary settings, such as equalizer adjustments, are configured to your preference.
Properly setting up the speaker ensures that it is ready to be connected to the Epson projector, providing optimal audio performance. Remember to place the speaker in a suitable location and ensure all necessary connections and settings are in place before proceeding to the next step.
Connecting the Epson Projector to the Speaker
Now that you have prepared both your Epson projector and the speaker, it is time to connect them together for a seamless audio experience. Follow these steps to establish the connection:
- Identify the audio output port on the Epson projector: Locate the audio output port on the Epson projector that matches the audio input ports on the speaker. This is typically labeled as “Audio Out” or “Audio Output”.
- Insert one end of the audio cable: Take the appropriate audio cable and plug one end into the audio output port of the Epson projector. Ensure that the cable is securely inserted.
- Connect the other end to the speaker: Take the other end of the audio cable and connect it to the corresponding audio input port on the speaker. Again, ensure a secure connection to prevent any audio loss.
- Turn on the speaker: If the speaker has a power switch or button, turn it on to activate the audio output. Make sure the volume is set at an appropriate level.
- Test the audio: Before proceeding with any presentation or video playback, test the audio to ensure it is working properly. Play a sample audio file or video clip to verify that the sound is being transmitted from the Epson projector to the speaker.
By following these steps, you can successfully connect your Epson projector to the speaker, allowing for enhanced audio quality during your presentations or multimedia content. Double-check all the connections and settings to ensure a stable and optimal audio connection between the devices.
Adjusting Audio Settings on the Epson Projector
Once you have connected your Epson projector to the speaker, it’s important to adjust the audio settings on the projector to achieve the best sound quality. Here are the steps to follow:
- Access the projector’s menu: Use the remote control or the buttons on the projector to access the menu settings. Look for the “Audio” or “Sound” section within the menu.
- Choose the audio source: In the audio settings, select the appropriate audio source, such as “External Audio” or “Line Out”. This ensures that the audio output is directed to the connected speaker rather than the built-in projector speaker.
- Adjust the volume: Find the volume control or slider in the audio settings and adjust it to the desired level. Ensure that the volume is neither too high nor too low, to avoid distortion or inaudible sound.
- Explore additional audio settings: Some projectors offer additional audio settings, such as equalizer options or sound modes. Experiment with these settings to find the audio configuration that suits your preference and enhances the overall audio experience.
- Save the audio settings: Once you have adjusted the audio settings to your liking, save the changes. This ensures that the projector retains the settings for future use.
Adjusting the audio settings on the Epson projector is crucial to optimize the sound quality and ensure a pleasant audio experience. Take the time to explore the available settings and fine-tune them based on your personal preferences and the requirements of your presentation or content.
Troubleshooting Common Issues
While connecting the Epson projector to a speaker is usually a straightforward process, there can be certain issues that may arise. Here are some common problems that you may encounter and troubleshooting steps to resolve them:
- No sound from the speaker: Ensure that the speaker is turned on and connected properly to the Epson projector. Check that the volume is not muted or set too low on both the projector and the speaker. Also, verify that the audio output settings on the projector are correctly configured.
- Poor sound quality: If the audio coming from the speaker sounds distorted or muffled, check for loose connections between the projector and the speaker. Additionally, ensure that the audio cable is of good quality and not damaged. Adjusting the audio settings on both the projector and the speaker may also help improve sound quality.
- Audio lag or delay: If you notice a delay between the video and audio output, it may be due to latency issues. Try connecting the speaker to a different audio output port on the projector if available. Alternatively, check if there are any audio syncing settings on the projector that can help minimize the lag.
- Noisy background or interference: If you hear background noise or interference, such as static or buzzing sounds, consider checking the positioning of the cables and devices. Keep the audio cable away from any power cables or other electronic devices that may cause interference.
- Compatibility issues: Ensure that the speaker and the Epson projector are compatible in terms of audio connections and formats. If necessary, use adapters or converters to bridge any compatibility gaps between the two devices.
- Update firmware and drivers: Check for any available firmware updates or driver updates for the Epson projector. Keeping the firmware and drivers up to date can help resolve many compatibility and performance issues.
If you encounter any of these issues while connecting the Epson projector to a speaker, try the troubleshooting steps mentioned. If the problem persists, refer to the user manual of your specific devices or contact the manufacturer’s support for further assistance. Remember to be patient and systematic in identifying and resolving the issues to ensure a smooth audio setup and enjoyable experience.
Conclusion
Connecting your Epson projector to a speaker can greatly enhance the audio experience during presentations, movies, or any multimedia content. By following the steps outlined in this guide, you can easily prepare the Epson projector, set up the speaker, establish the connection, and adjust the audio settings for optimal sound quality.
Remember to choose the right location for your devices, check the audio input and output ports, and use the appropriate audio cables. Additionally, ensure that the speaker is turned on, and its volume is adjusted correctly. Taking these steps will ensure a smooth and seamless audio connection between the Epson projector and the speaker.
In the event of any issues, refer to the troubleshooting section to resolve common problems such as no sound, poor sound quality, audio lag, or compatibility issues. By troubleshooting these issues, you can overcome any challenges and enjoy a high-quality audio experience.
Now that you have learned how to connect your Epson projector to a speaker, you can elevate your audiovisual presentations and enjoy a more immersive multimedia experience. Whether it’s delivering a professional presentation or enjoying your favorite movies, the combination of an Epson projector and a speaker will provide you with enhanced audio that complements the visual display.
So go ahead, follow the steps, and start enjoying crisp and clear sound with your Epson projector and speaker setup!


