Introduction
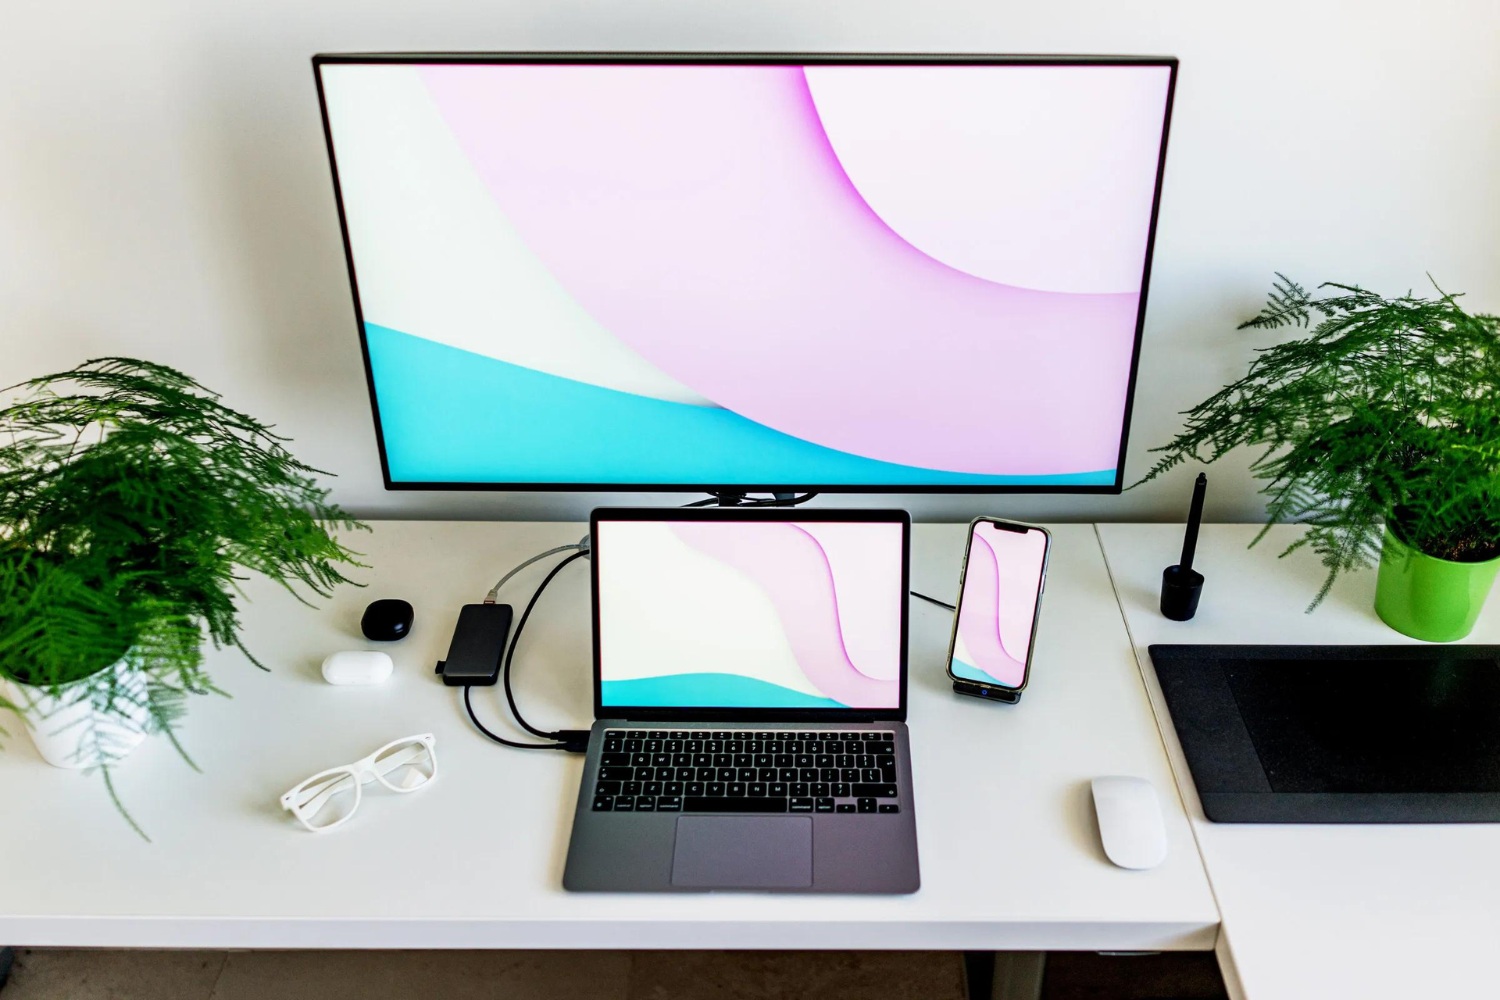
Connecting an external monitor to your Ultrabook can greatly enhance your productivity and expand your viewing experience. Whether you need the extra screen space for multitasking, graphic design, or simply to enjoy a larger display, this guide will take you through the step-by-step process to successfully connect an external monitor to your Ultrabook.
An Ultrabook is a lightweight and portable laptop that typically features a thin design, long battery life, and powerful performance. While Ultrabooks come with built-in screens, sometimes you may need a larger display or want to connect multiple monitors to enhance your workflow. Thankfully, most Ultrabooks come equipped with the necessary ports to connect an external monitor, making it a straightforward process.
Before we dive into the steps, it’s important to note that the specific ports and connectors on your Ultrabook and external monitor may vary. The most common ports on Ultrabooks include HDMI, DisplayPort, and USB-C, while external monitors usually have either HDMI or VGA ports. To ensure a successful connection, you’ll need to check the ports on your Ultrabook and external monitor and acquire the appropriate cables and adapters if needed.
In this guide, we’ll walk you through each step, from checking the ports to adjusting display settings, and troubleshoot any potential issues that may arise along the way. By the end of this guide, you’ll be able to seamlessly connect an external monitor to your Ultrabook and enjoy the benefits of an expanded workspace.
Step 1: Check the ports on your Ultrabook and external monitor
Before you can connect an external monitor to your Ultrabook, you need to first identify the available ports on both your Ultrabook and the external monitor. The type and number of ports may vary depending on the model and brand of your Ultrabook and the monitor.
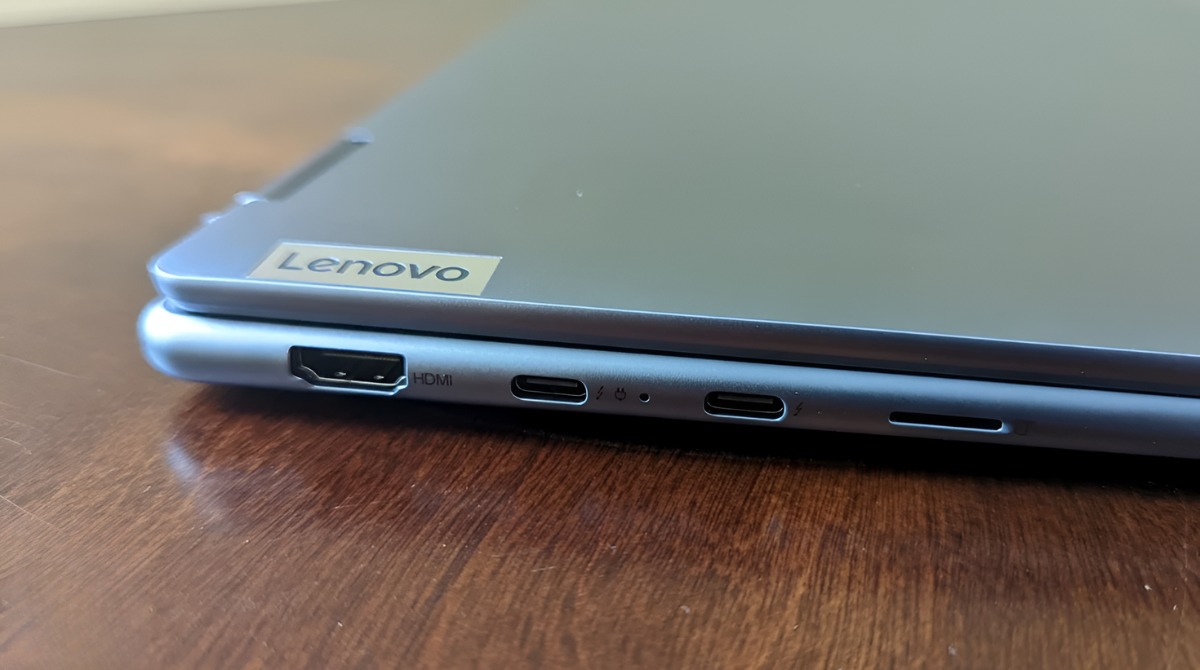
Common video ports on Ultrabooks include HDMI, DisplayPort, and USB-C. HDMI is widely used and provides a high-definition digital connection, while DisplayPort offers excellent video quality and supports higher resolutions. USB-C ports are becoming more common and offer the advantage of versatility as they can be used for video, data transfer, and even charging.
External monitors typically come with HDMI or VGA ports, with some newer models also offering DisplayPort or USB-C options. HDMI is the most common and widely supported port, providing high-definition video and audio signals. VGA, on the other hand, is an older analog format that offers lower resolution and may require a separate audio connection.
To check the ports on your Ultrabook, look for small icons or labels near the edges of the laptop. These port icons usually indicate the supported type, such as HDMI or DisplayPort. It’s important to note that some Ultrabooks may have multiple port options, while others may only have one. If your Ultrabook has a USB-C port, it may support video output, but you may need an adapter to connect it to the external monitor.
For the external monitor, inspect the rear or side panel for the available ports. The ports are often labeled with the corresponding type, such as HDMI or VGA. If your monitor has multiple ports, use the one that matches the port on your Ultrabook for a direct connection. If the ports do not match, you may need an adapter or cable that can convert the signal from one type to another.
By checking the ports on your Ultrabook and external monitor, you’ll have a better understanding of the available options and can proceed with the appropriate cables and adapters in the next step.
Step 2: Get the necessary cables and adapters
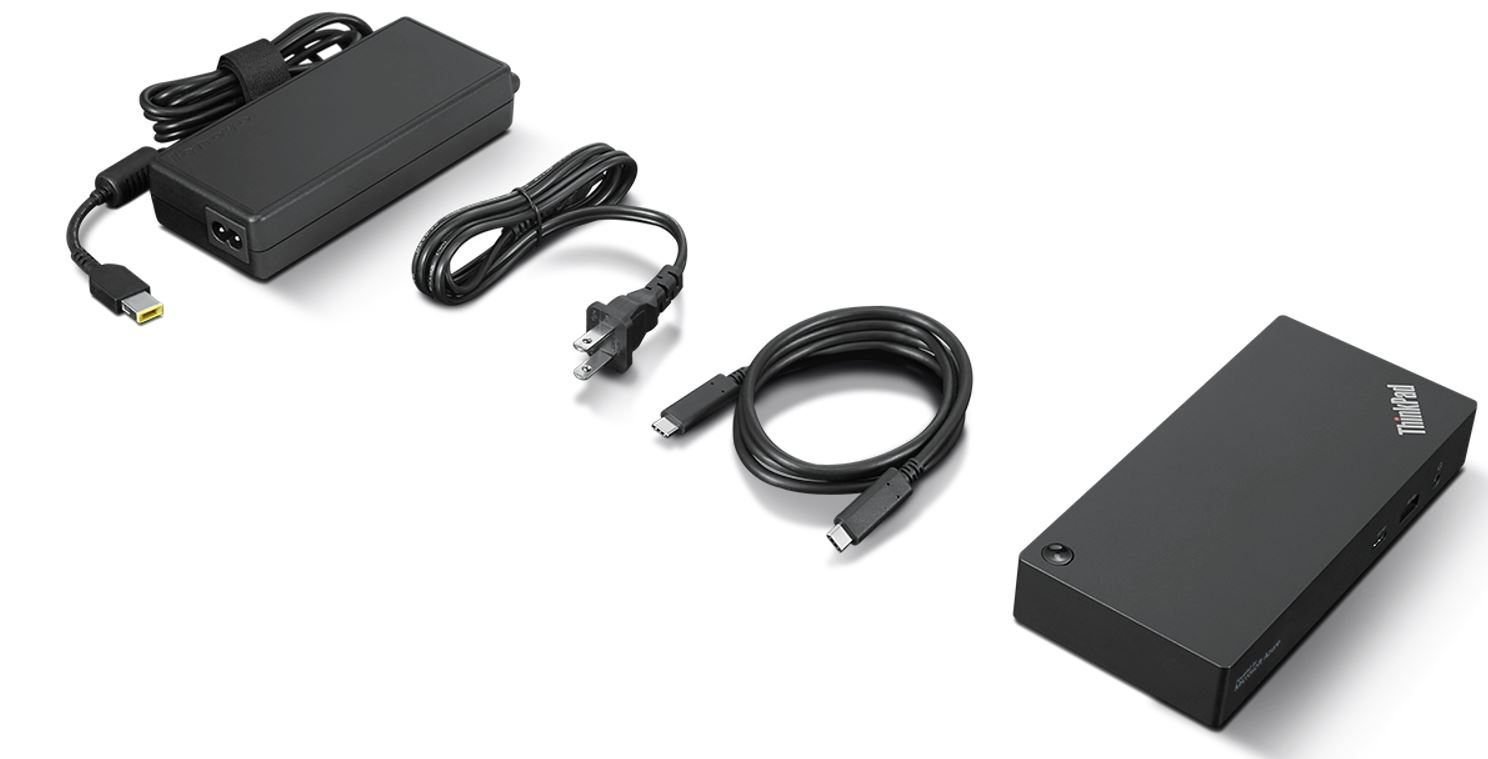
Once you have identified the ports on your Ultrabook and external monitor, the next step is to gather the necessary cables and adapters to establish the connection between the two devices. The cables and adapters you need will depend on the types of ports available on your Ultrabook and monitor.
If both your Ultrabook and monitor have HDMI ports, you’re in luck as HDMI cables offer a straightforward and high-quality connection. Simply purchase an HDMI cable that is long enough to reach from your Ultrabook to the monitor. Make sure to check the version of HDMI supported by your devices to ensure compatibility with your desired resolution and features.
If your Ultrabook has a USB-C port, and your monitor does not have a USB-C port, you’ll need a USB-C to HDMI or USB-C to DisplayPort adapter. These adapters allow you to connect the USB-C port of your Ultrabook to the HDMI or DisplayPort port on the monitor. Make sure to choose an adapter that supports video output and check the resolution and refresh rate compatibility.
For Ultrabooks with DisplayPort ports, you’ll need a DisplayPort cable. Similar to HDMI, ensure that the cable is of sufficient length to connect the Ultrabook and monitor. Some monitors may also have a Mini DisplayPort or Thunderbolt port, in which case you will need a corresponding cable or adapter.
If your Ultrabook only has a VGA port, and your monitor does not have a VGA port, you’ll need a VGA to HDMI or VGA to DisplayPort adapter. These adapters convert the VGA analog signal from your Ultrabook to a digital signal compatible with HDMI or DisplayPort.
It’s worth noting that while HDMI and DisplayPort cables carry both audio and video signals, VGA cables can only transmit video. If audio is required, make sure to check if your monitor has built-in speakers or an audio output and use the appropriate audio cables as needed.
Once you have all the necessary cables and adapters, you’re ready to move on to the next step and physically connect your Ultrabook and external monitor.
Step 3: Connect the cables to your Ultrabook and external monitor
Now that you have acquired the required cables and adapters, it’s time to connect them to your Ultrabook and external monitor. Follow these steps for a successful connection:
- Ensure your Ultrabook and external monitor are powered off before connecting any cables.
- Take one end of the appropriate cable (HDMI, DisplayPort, VGA, or USB-C) and insert it into the corresponding port on your Ultrabook. Make sure the cable is securely plugged in.
- Connect the other end of the cable to the matching port on your external monitor. Again, ensure a secure connection to avoid any potential signal problems.
- If you are using an adapter, connect the cable to the adapter first, and then connect the adapter to your Ultrabook and external monitor accordingly.
- If your Ultrabook or monitor requires additional audio, such as for speakers or headphones, connect the audio cable to the designated audio ports on both devices.
- Once all the cables are connected, power on your Ultrabook and external monitor.
Most Ultrabooks automatically detect the external monitor and adjust the display settings accordingly. However, if the display does not appear or is not configured correctly, proceed to the next step to adjust the display settings.
Ensure that all the cables are securely connected throughout the process to avoid any interruptions in the display signal. If you encounter any difficulties, double-check the connections and try different cables or adapters if necessary.
Now that the physical connection is established, it’s time to move on to the next step and adjust the display settings on your Ultrabook for optimal usage.
Step 4: Adjust display settings on your Ultrabook
After connecting your Ultrabook to the external monitor, it’s essential to adjust the display settings to ensure the best visual experience and maximize your productivity. Follow these steps to adjust the display settings on your Ultrabook:
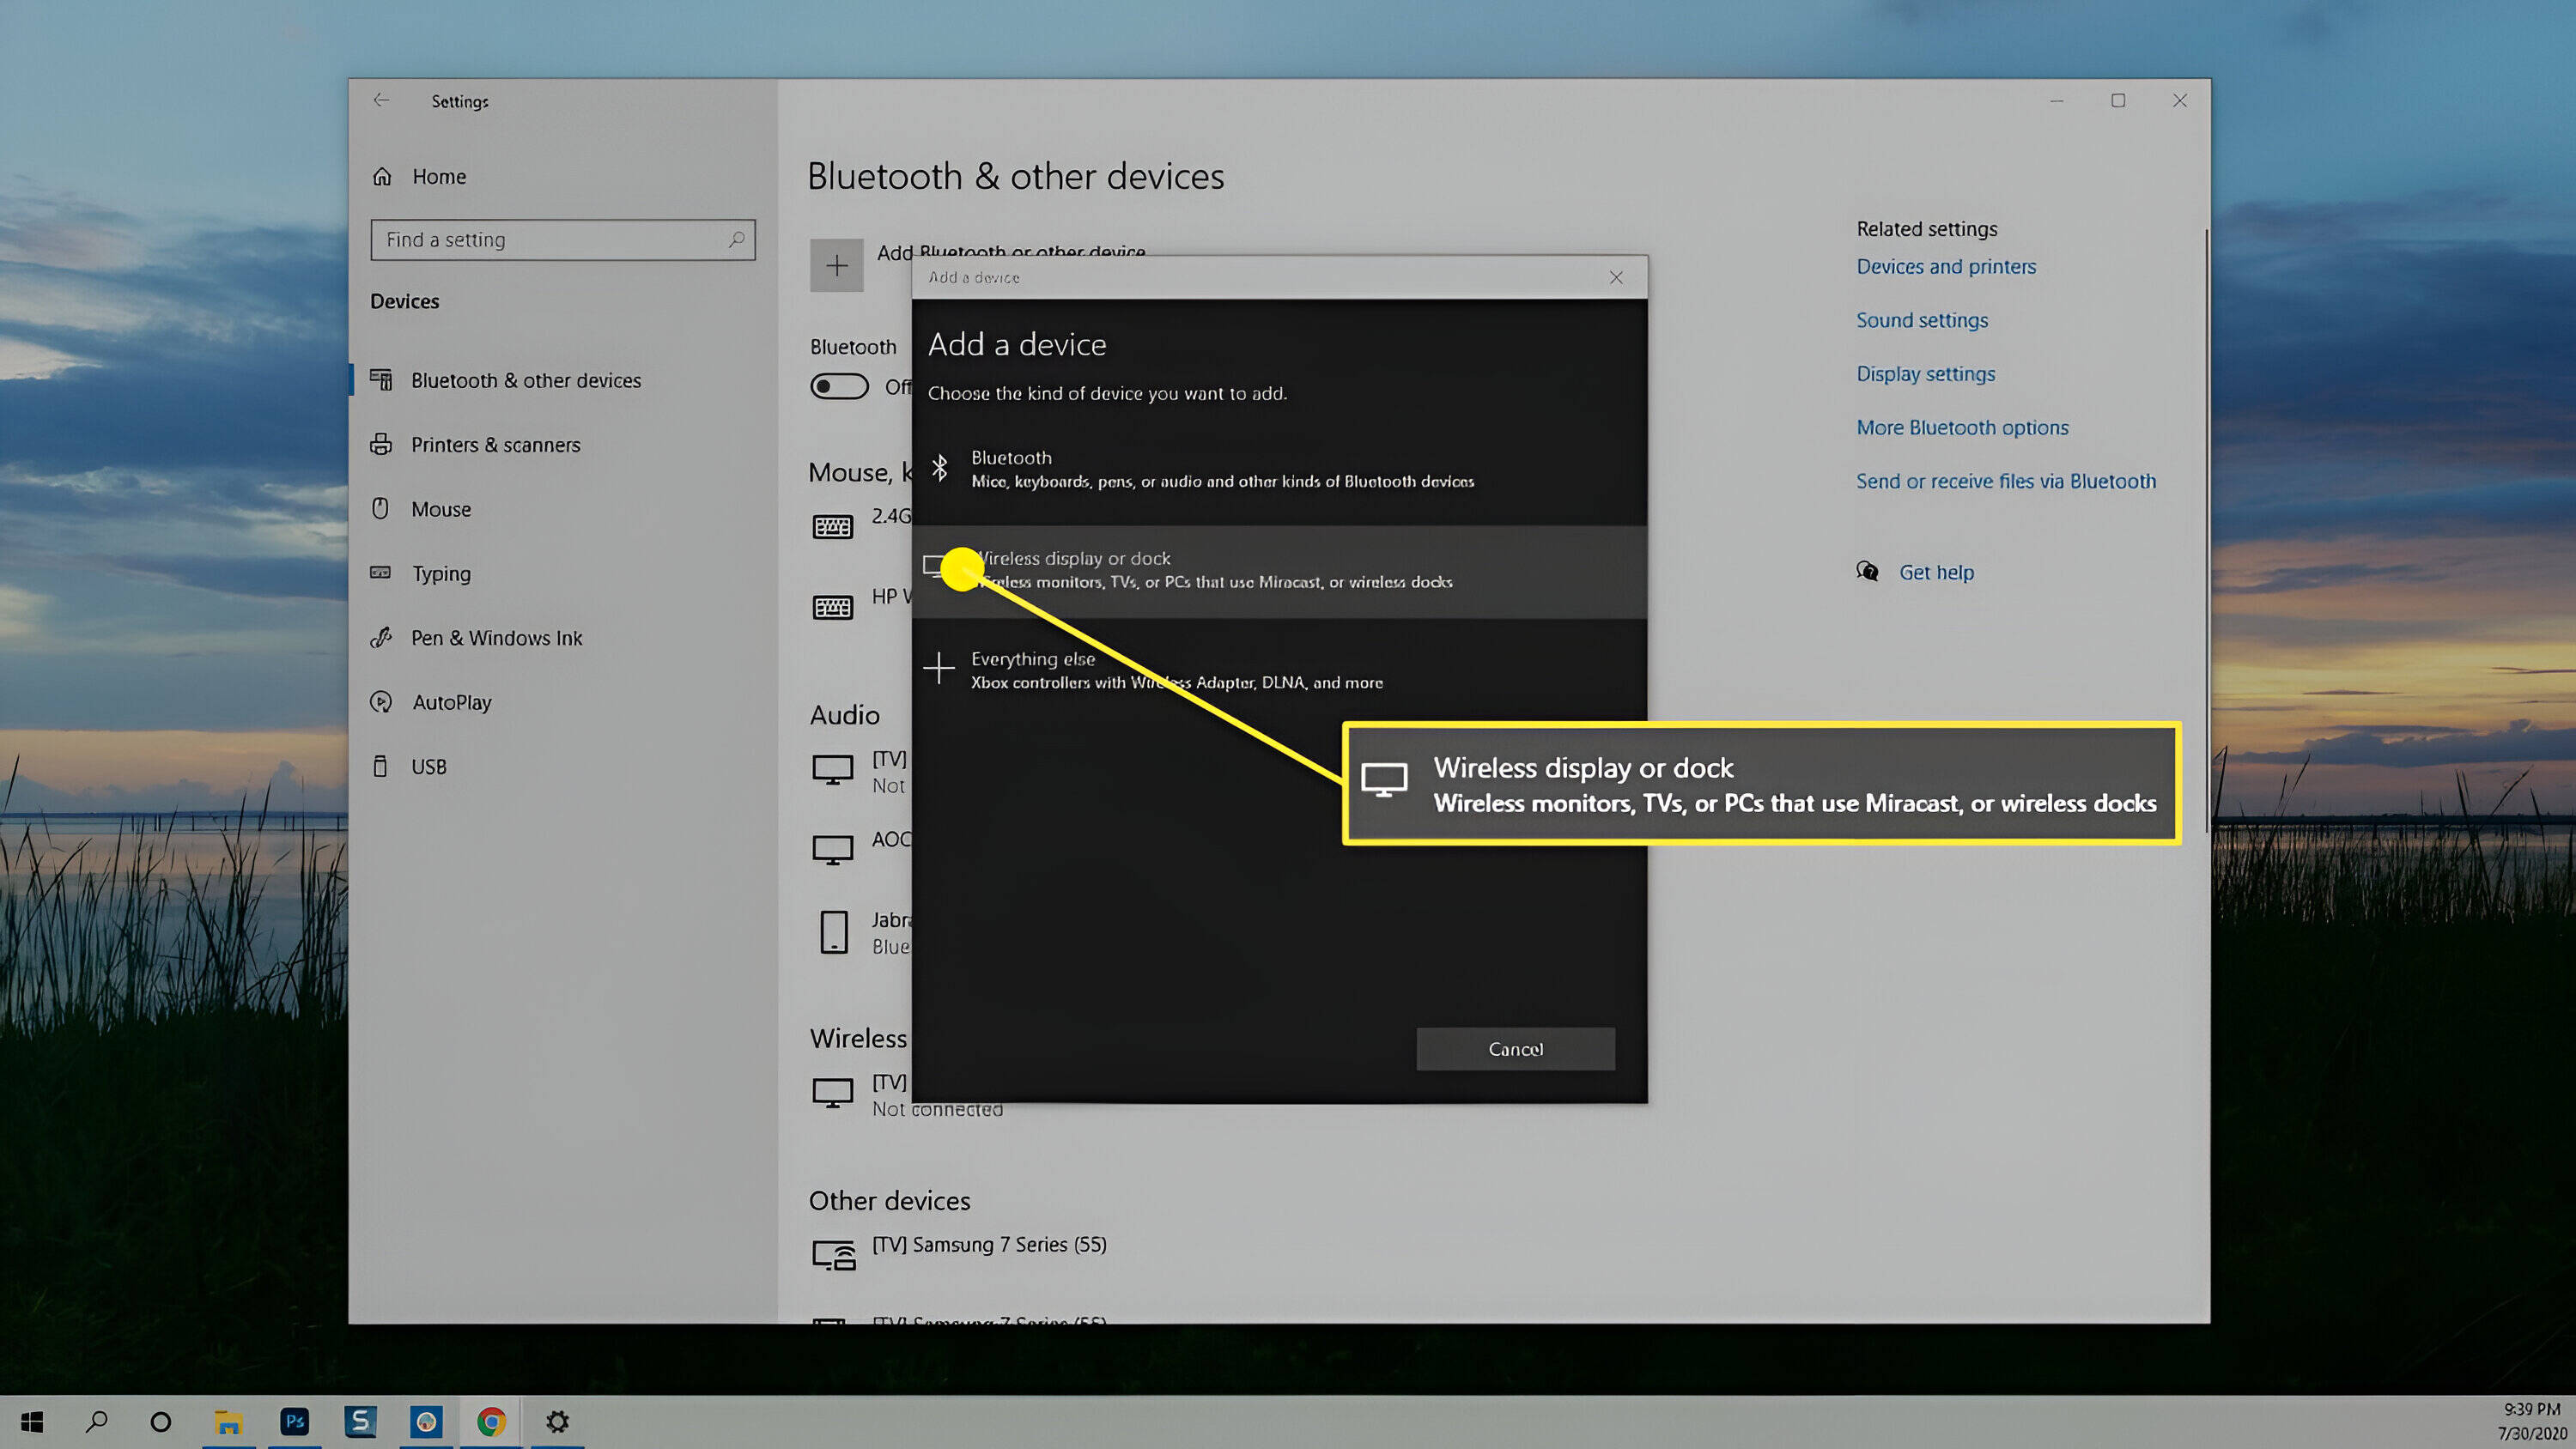
- Right-click on your desktop and select “Display settings” from the context menu. This will open the display settings control panel.
- In the display settings control panel, you will see a visual representation of your Ultrabook’s screen and the connected external monitor. Identify which display you want to adjust.
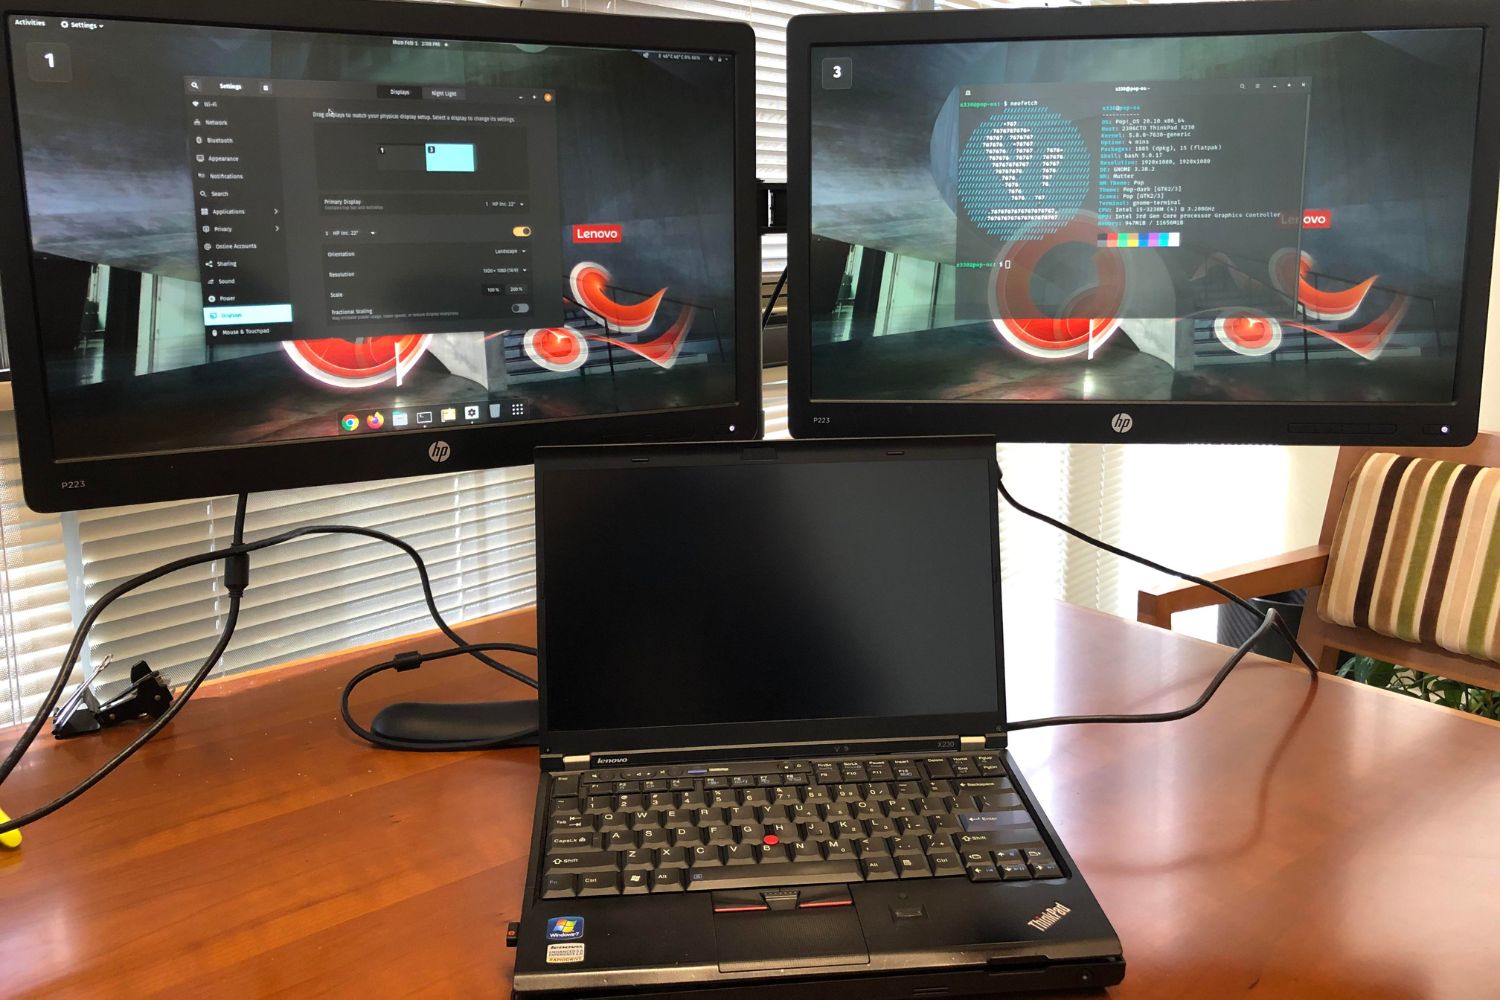
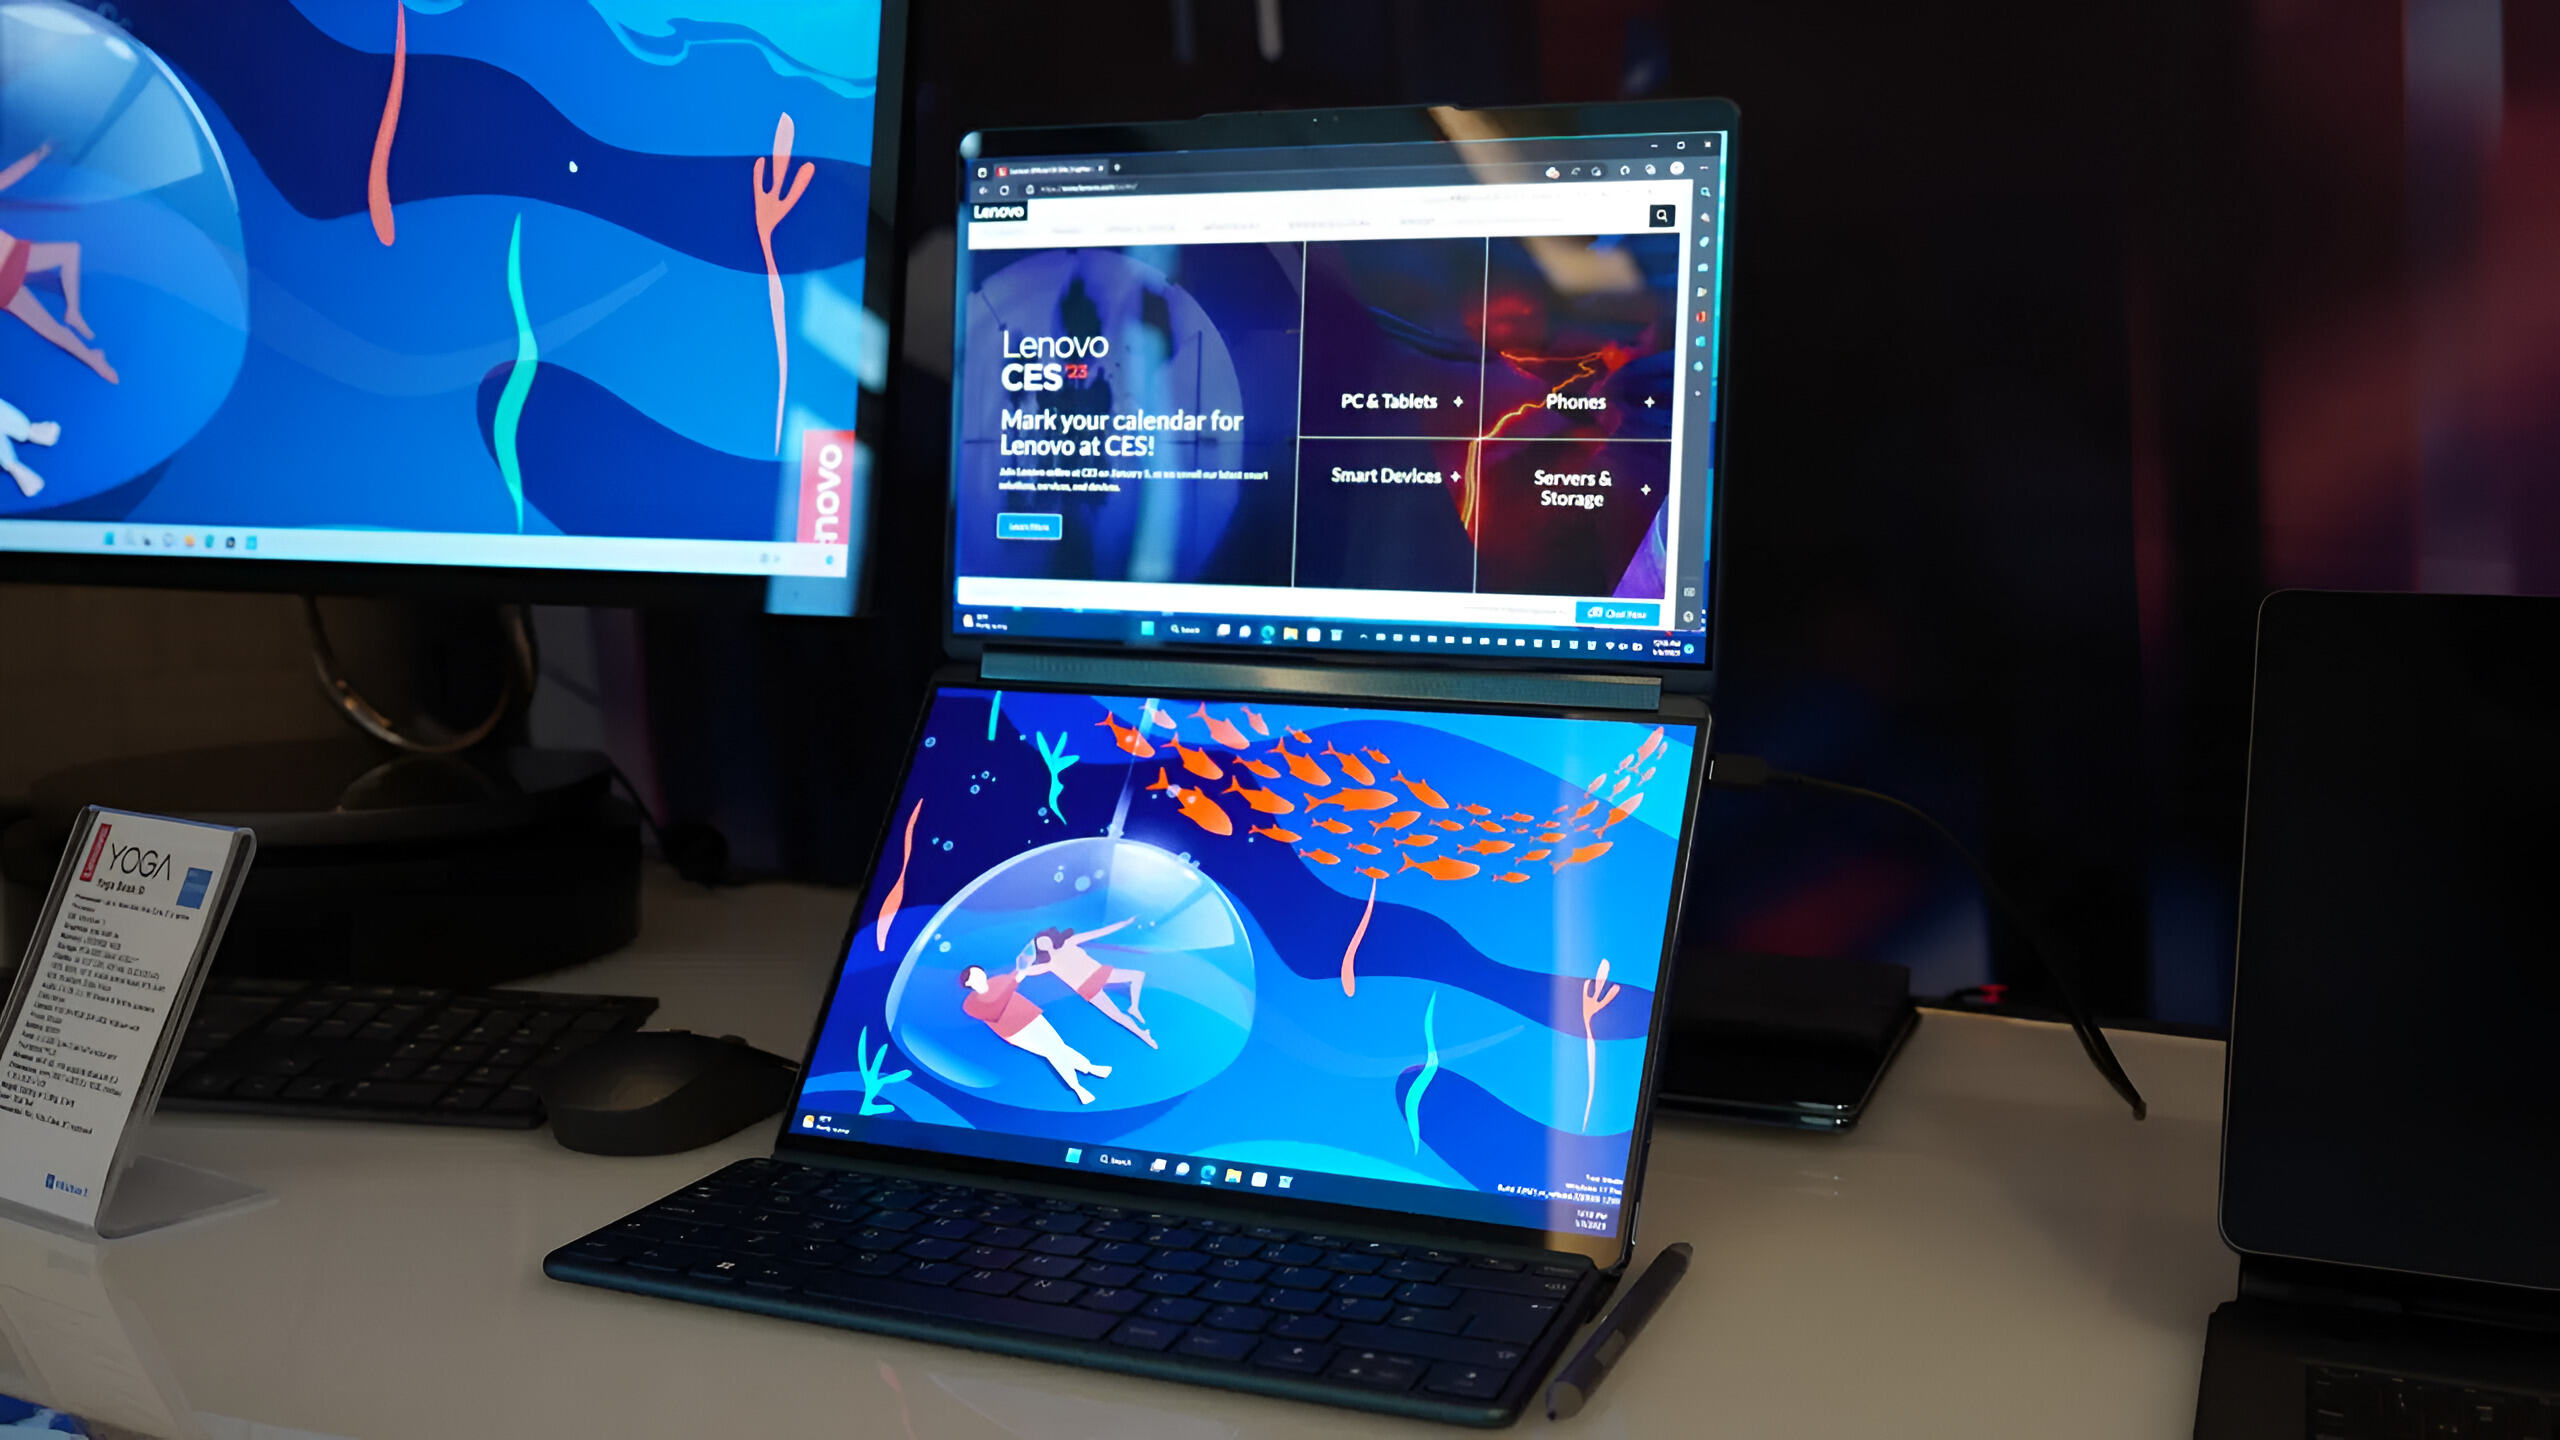
- If you want to extend your desktop across both the Ultrabook screen and the external monitor, select the “Extend these displays” option. This will allow you to use the additional screen space to drag windows and applications between the two screens.
- If you prefer to duplicate the Ultrabook screen on the external monitor, choose the “Duplicate these displays” option. This is useful when you want to share your screen during presentations or when you need to view the same content on both displays.
- Adjust the resolution of the external monitor to match your preferences. Higher resolutions offer more screen real estate, but keep in mind that the performance of your Ultrabook may be affected by higher resolution settings.
- Once you have selected your desired display settings, click on “Apply” to save the changes. The screens may briefly flicker as the adjustments take effect.
- Depending on your Ultrabook’s graphics card and drivers, you may have additional settings to customize the display, such as color calibration, screen rotation, or screen orientation. Explore these options to further enhance your viewing experience if desired.
By adjusting the display settings on your Ultrabook, you can optimize the layout of your screens and tailor them to your specific needs. Whether you choose to extend or duplicate the displays, finding the right resolution and configuration will enhance your productivity and overall enjoyment.
If you encounter any issues during the adjustment process, double-check the cable connections, restart your Ultrabook, and ensure that your graphics drivers are up to date. Sometimes a driver update can resolve any compatibility or display issues.
Now that you have adjusted the display settings, it’s time to move on to the final step and test the connection to ensure everything is working correctly.
Step 5: Test the connection and troubleshoot any issues
After connecting and adjusting the display settings on your Ultrabook and external monitor, it’s crucial to test the connection to ensure everything is functioning properly. Follow these steps to test the connection and troubleshoot any issues that may arise:
- Make sure both your Ultrabook and external monitor are powered on.
- Check if the external monitor displays the content from your Ultrabook. If the screen appears blank or shows an error message, double-check the cable connections and ensure that the correct input source is selected on the external monitor.
- If the external monitor is displaying an image but it doesn’t look right, such as being stretched or blurry, you may need to adjust the resolution and scaling settings on your Ultrabook’s display settings control panel. Experiment with different settings until you find the optimal display configuration.
- Test the functionality of the extended or duplicated displays by dragging windows or applications from your Ultrabook screen to the external monitor and vice versa. Ensure that there are no graphical glitches or abnormalities during this process.
- Check if the audio is working correctly, especially if you have connected audio cables or if your monitor has built-in speakers. Play a video or audio file and verify that the sound is coming from the desired source.
- If you are still experiencing issues, try restarting both your Ultrabook and the external monitor. Sometimes a simple restart can resolve minor connectivity problems.
- If all else fails, consult the user manual or online support resources for your Ultrabook and external monitor. They may have specific troubleshooting steps or firmware updates that can address any compatibility issues.
By thoroughly testing the connection and troubleshooting any issues that arise, you can ensure a seamless and enjoyable experience with your Ultrabook and external monitor setup.
Remember to periodically check for software or driver updates for your Ultrabook and monitor, as these updates can often improve compatibility, performance, and fix any bugs.
With the connection successfully tested and any issues resolved, you can now fully enjoy the benefits of having an external monitor connected to your Ultrabook.
Conclusion
Connecting an external monitor to your Ultrabook can greatly enhance your productivity, provide a larger workspace, and improve your overall viewing experience. By following the steps outlined in this guide, you can easily connect and configure your Ultrabook with an external monitor.
First, make sure to check the available ports on your Ultrabook and external monitor. Identify the types of ports and determine the necessary cables and adapters needed to establish a connection between the two devices.
Next, gather the required cables and adapters, such as HDMI, DisplayPort, VGA, or USB-C, depending on the available ports on your Ultrabook and monitor. Ensure the cables are securely connected to both devices, and if necessary, use adapters to bridge any port compatibility gaps.
Once connected, adjust the display settings on your Ultrabook to extend or duplicate the screen, set the resolution, and customize any additional preferences. Pay attention to any audio requirements if you want to enable sound on your external monitor.
After adjusting the display settings, test the connection by verifying that the external monitor displays the content from your Ultrabook correctly. Troubleshoot any issues that arise, such as flickering screens or incorrect resolutions, by double-checking the connections, restarting devices, and exploring additional settings.
By following these steps, you can successfully connect an external monitor to your Ultrabook and enjoy the benefits of a larger workspace and improved productivity. Take advantage of the extended screen real estate to multitask, work on graphic-intensive projects, or simply enjoy a more immersive media experience.
Remember to periodically check for software or driver updates for your Ultrabook and monitor to ensure optimal compatibility and performance. With a well-connected and properly configured external monitor, you can take your Ultrabook usage to the next level.


