Introduction
Welcome to the world of ultrabooks where portability meets power. These sleek and lightweight laptops are perfect for users on the go who don’t want to compromise on performance. One of the standout features of ultrabooks is their ability to enable mirroring. In this article, we will explore what mirroring is, why you would want to enable it on your ultrabook, and how to do it step by step.
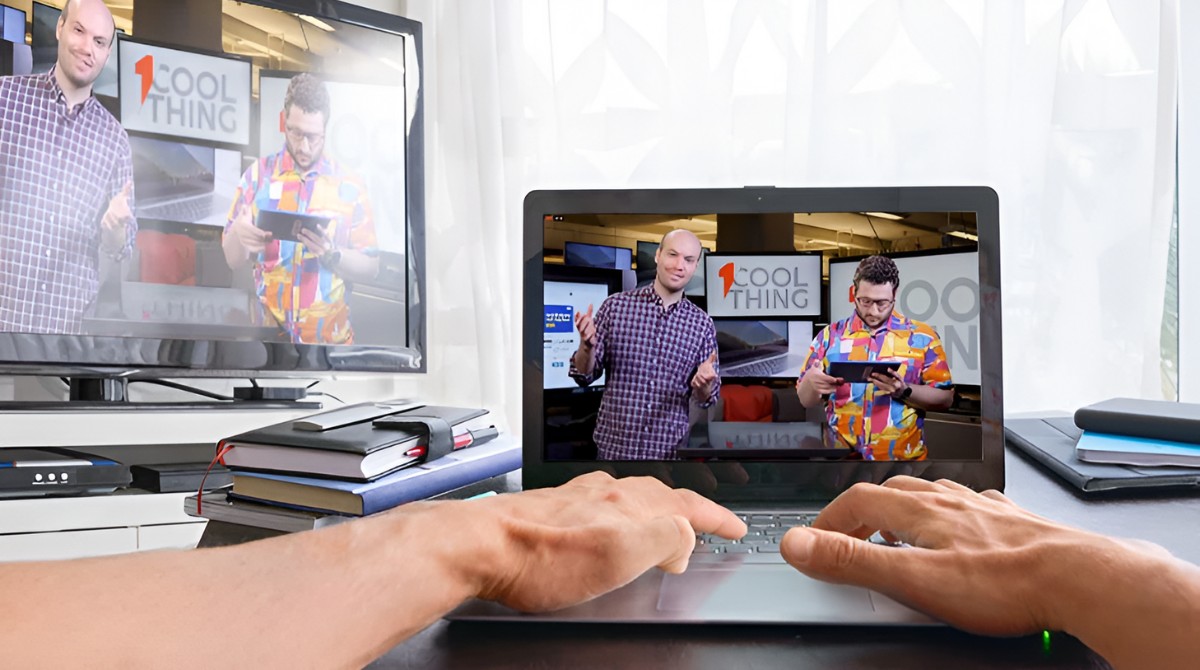
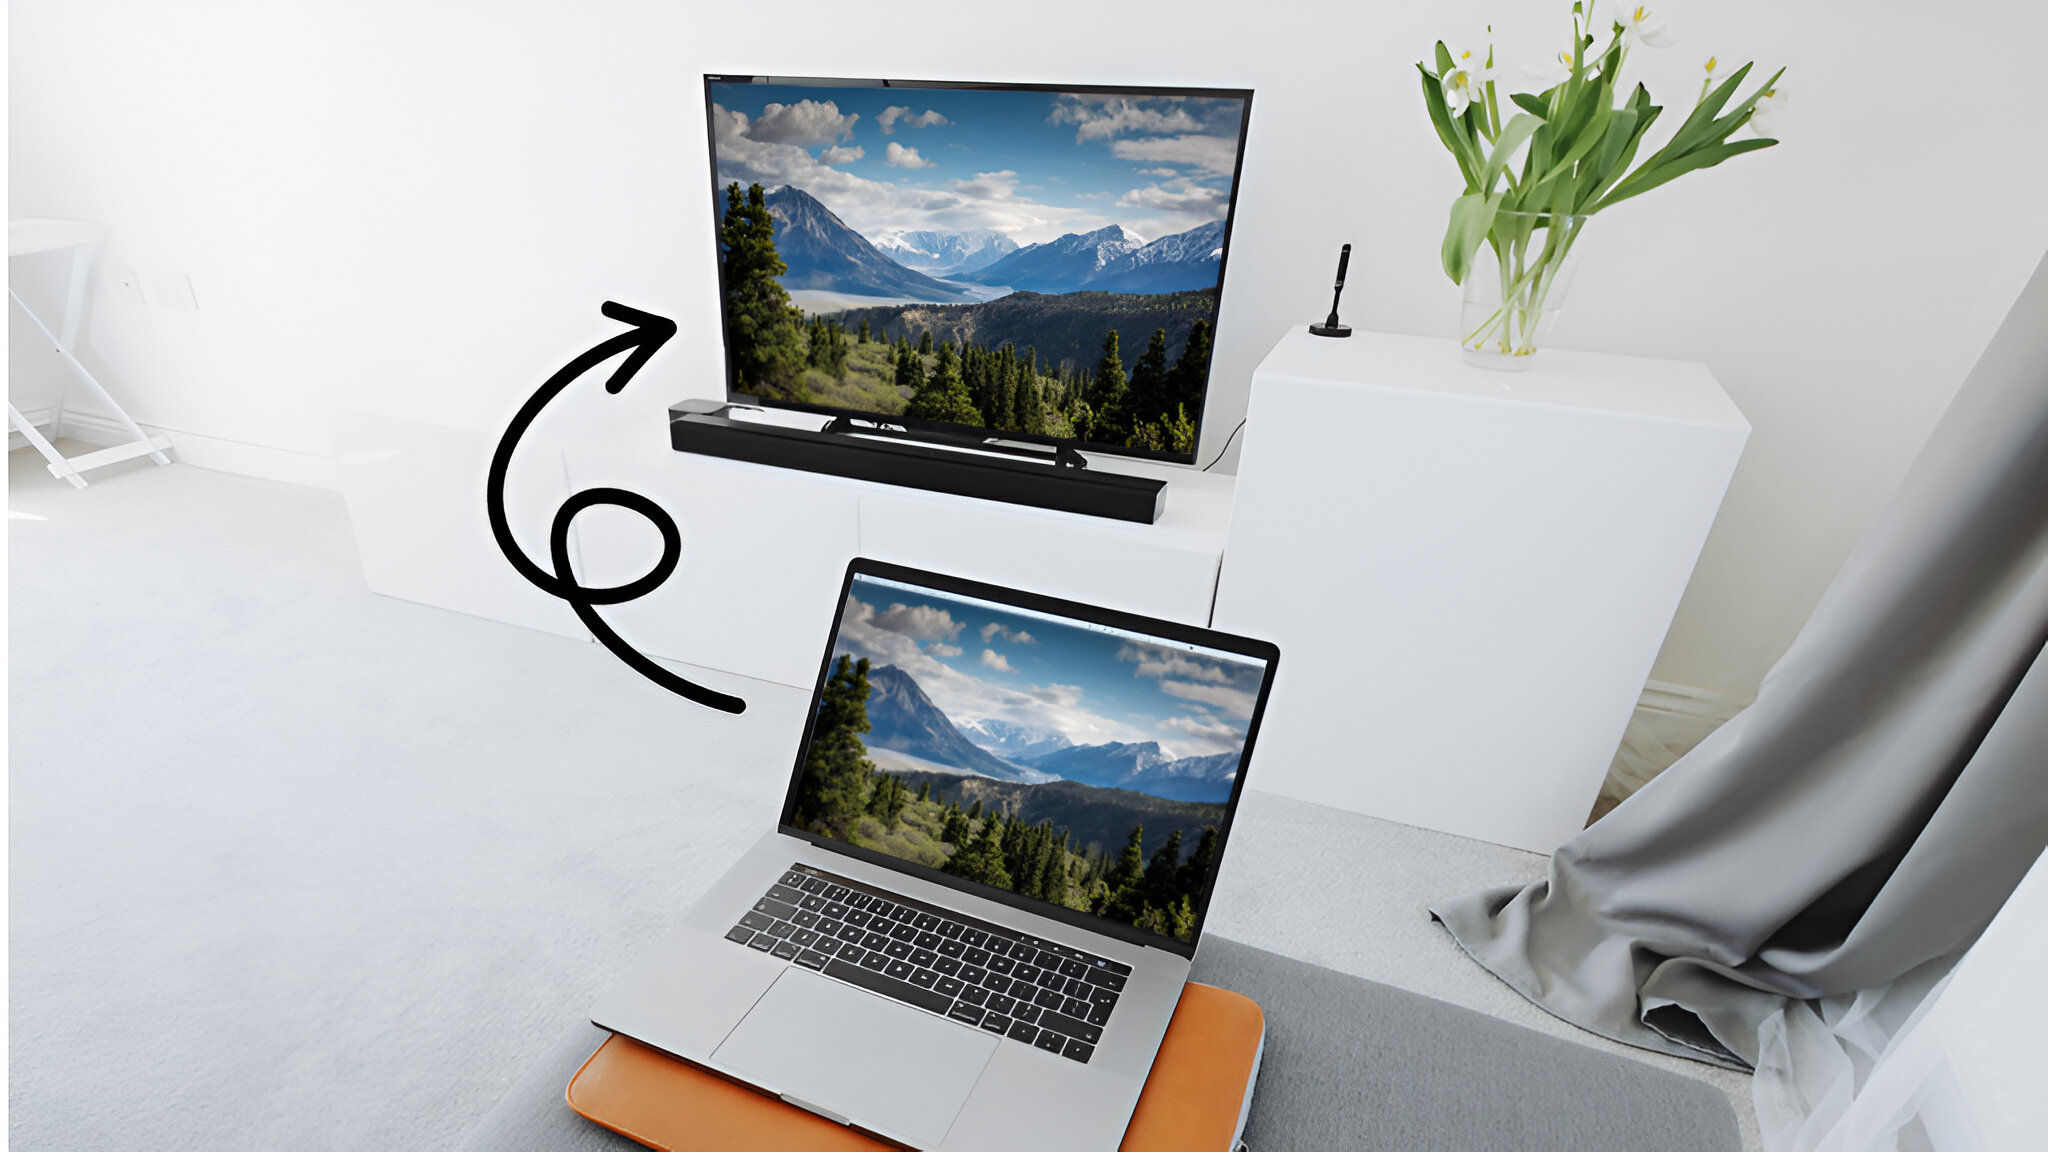
Mirroring, also known as screen mirroring or display mirroring, refers to the process of replicating the content displayed on your ultrabook’s screen onto a larger external display. This means that whatever you see on your ultrabook, such as videos, presentations, or photos, will be mirrored and shown on another display, such as a TV or a projector. This can be particularly useful when you want to share your content with a larger audience or enjoy your multimedia on a bigger screen.
Now you might be wondering, why would you want to enable mirroring on your ultrabook in the first place? Well, there are several advantages to using this feature. Firstly, it allows you to take advantage of the larger screen size of an external display, providing a more immersive and enjoyable viewing experience. Whether you’re showcasing your work to clients or indulging in a movie marathon, mirroring amplifies the visual impact.
Secondly, mirroring offers convenience and flexibility. It enables you to easily connect your ultrabook to various external displays without the need for intricate setups or cables. This means you can effortlessly extend your desktop or duplicate your screen for presentations, gaming, or simply multitasking. With mirroring, you can seamlessly switch between different displays with just a few clicks.
Lastly, mirroring enhances collaboration and productivity. It allows you to effectively collaborate with colleagues during meetings or brainstorming sessions by sharing your screen instantaneously. Moreover, it enables teachers and students to easily share educational content, conduct virtual classes, or deliver dynamic presentations. Mirroring empowers you to create a more interactive and engaging environment.
In the upcoming sections, we will guide you through the process of turning on mirroring on your ultrabook, troubleshooting common issues that may arise, and provide useful tips to ensure a seamless and optimal mirroring experience. Let’s dive in and unlock the full potential of your ultrabook!
What is mirroring?
Mirroring, also known as screen mirroring or display mirroring, is a technology that allows you to duplicate the content shown on your ultrabook’s screen onto another external display, such as a TV, monitor, or projector. This means that whatever you see on your ultrabook, including videos, presentations, or photos, will be replicated and shown simultaneously on the external display.
Mirroring is particularly useful in various scenarios. For example, if you’re giving a presentation to a larger audience, mirroring allows everyone in the room to see the content clearly on a big screen, rather than crowding around a small laptop screen. It provides a more immersive and engaging experience, enhancing the impact of your presentation.
Another common use case for mirroring is when you want to enjoy multimedia content on a larger screen. Instead of huddling around your ultrabook to watch a movie or share photos with friends and family, you can mirror the content to a TV or monitor, creating a cinematic experience or a more enjoyable viewing experience for everyone.
Mirroring also serves as a valuable tool for collaboration and productivity. In business settings, it allows colleagues to view and contribute to presentations, spreadsheets, or documents simultaneously. This promotes teamwork and streamlines decision-making processes. In educational settings, teachers can use mirroring to share educational content or demonstrate concepts to students, making learning more interactive and engaging.
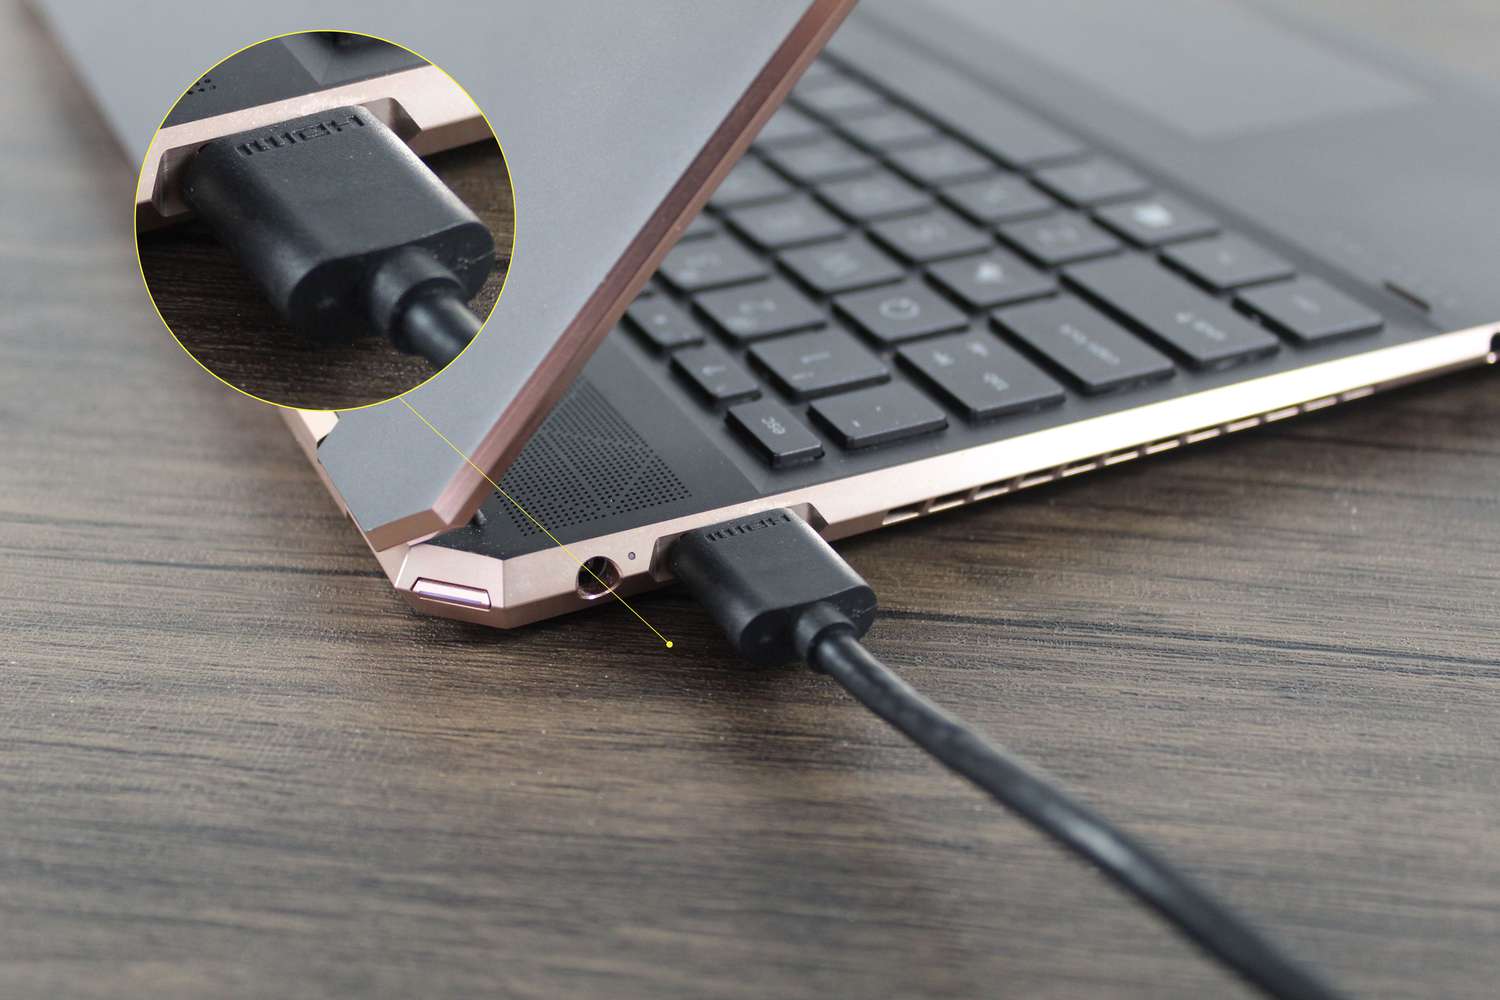
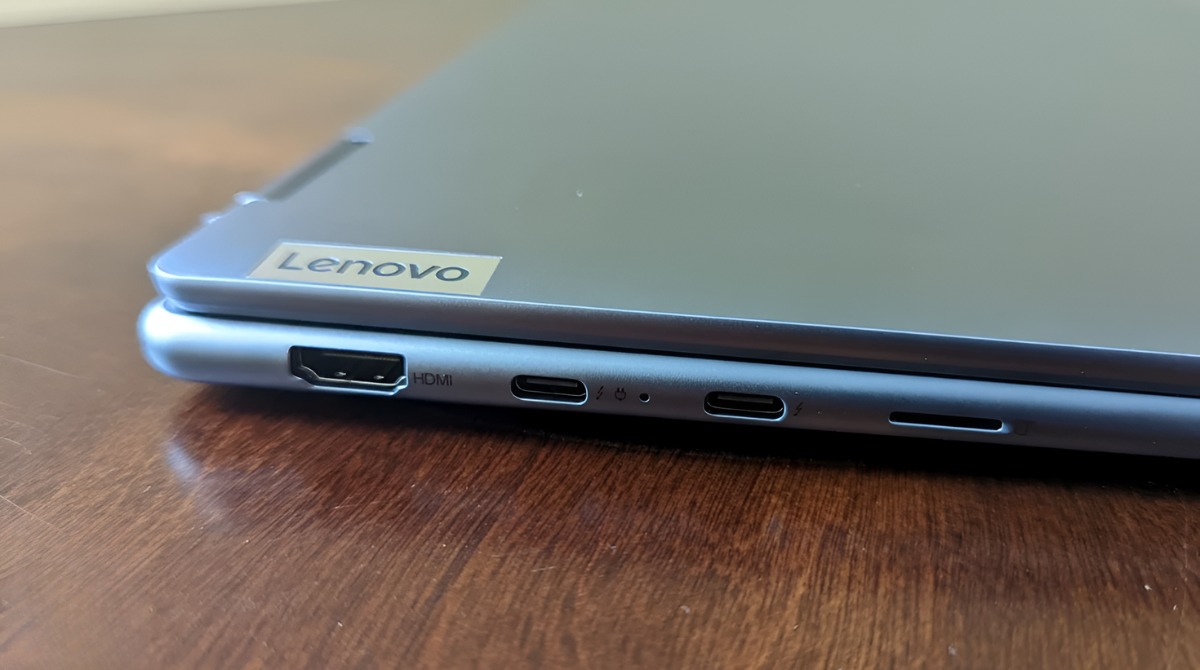
There are two primary methods of enabling mirroring on an ultrabook. The first method involves using a physical cable, such as an HDMI or VGA cable, to connect your ultrabook to the external display. This method ensures a stable and reliable connection, delivering high-quality audio and video output. It requires compatible ports on both your ultrabook and the external display.
The second method utilizes wireless technology, such as Wi-Fi or Bluetooth, to establish a connection between your ultrabook and the external display. This wireless mirroring enables a more flexible and convenient experience, as it eliminates the need for cables and allows you to move freely while mirroring your screen. However, it may be subject to potential connectivity issues or limitations based on the range and compatibility of the wireless technology.
In the next section, we will provide a step-by-step guide on how to turn on mirroring on your ultrabook, detailing both the wired and wireless methods. Follow along to unlock the power of mirroring and elevate your ultrabook usage to the next level!
Why would you want to enable mirroring on your ultrabook?
Enabling mirroring on your ultrabook comes with a multitude of advantages and benefits that enhance your overall computing and multimedia experience. Let’s explore some of the key reasons why you would want to enable mirroring:
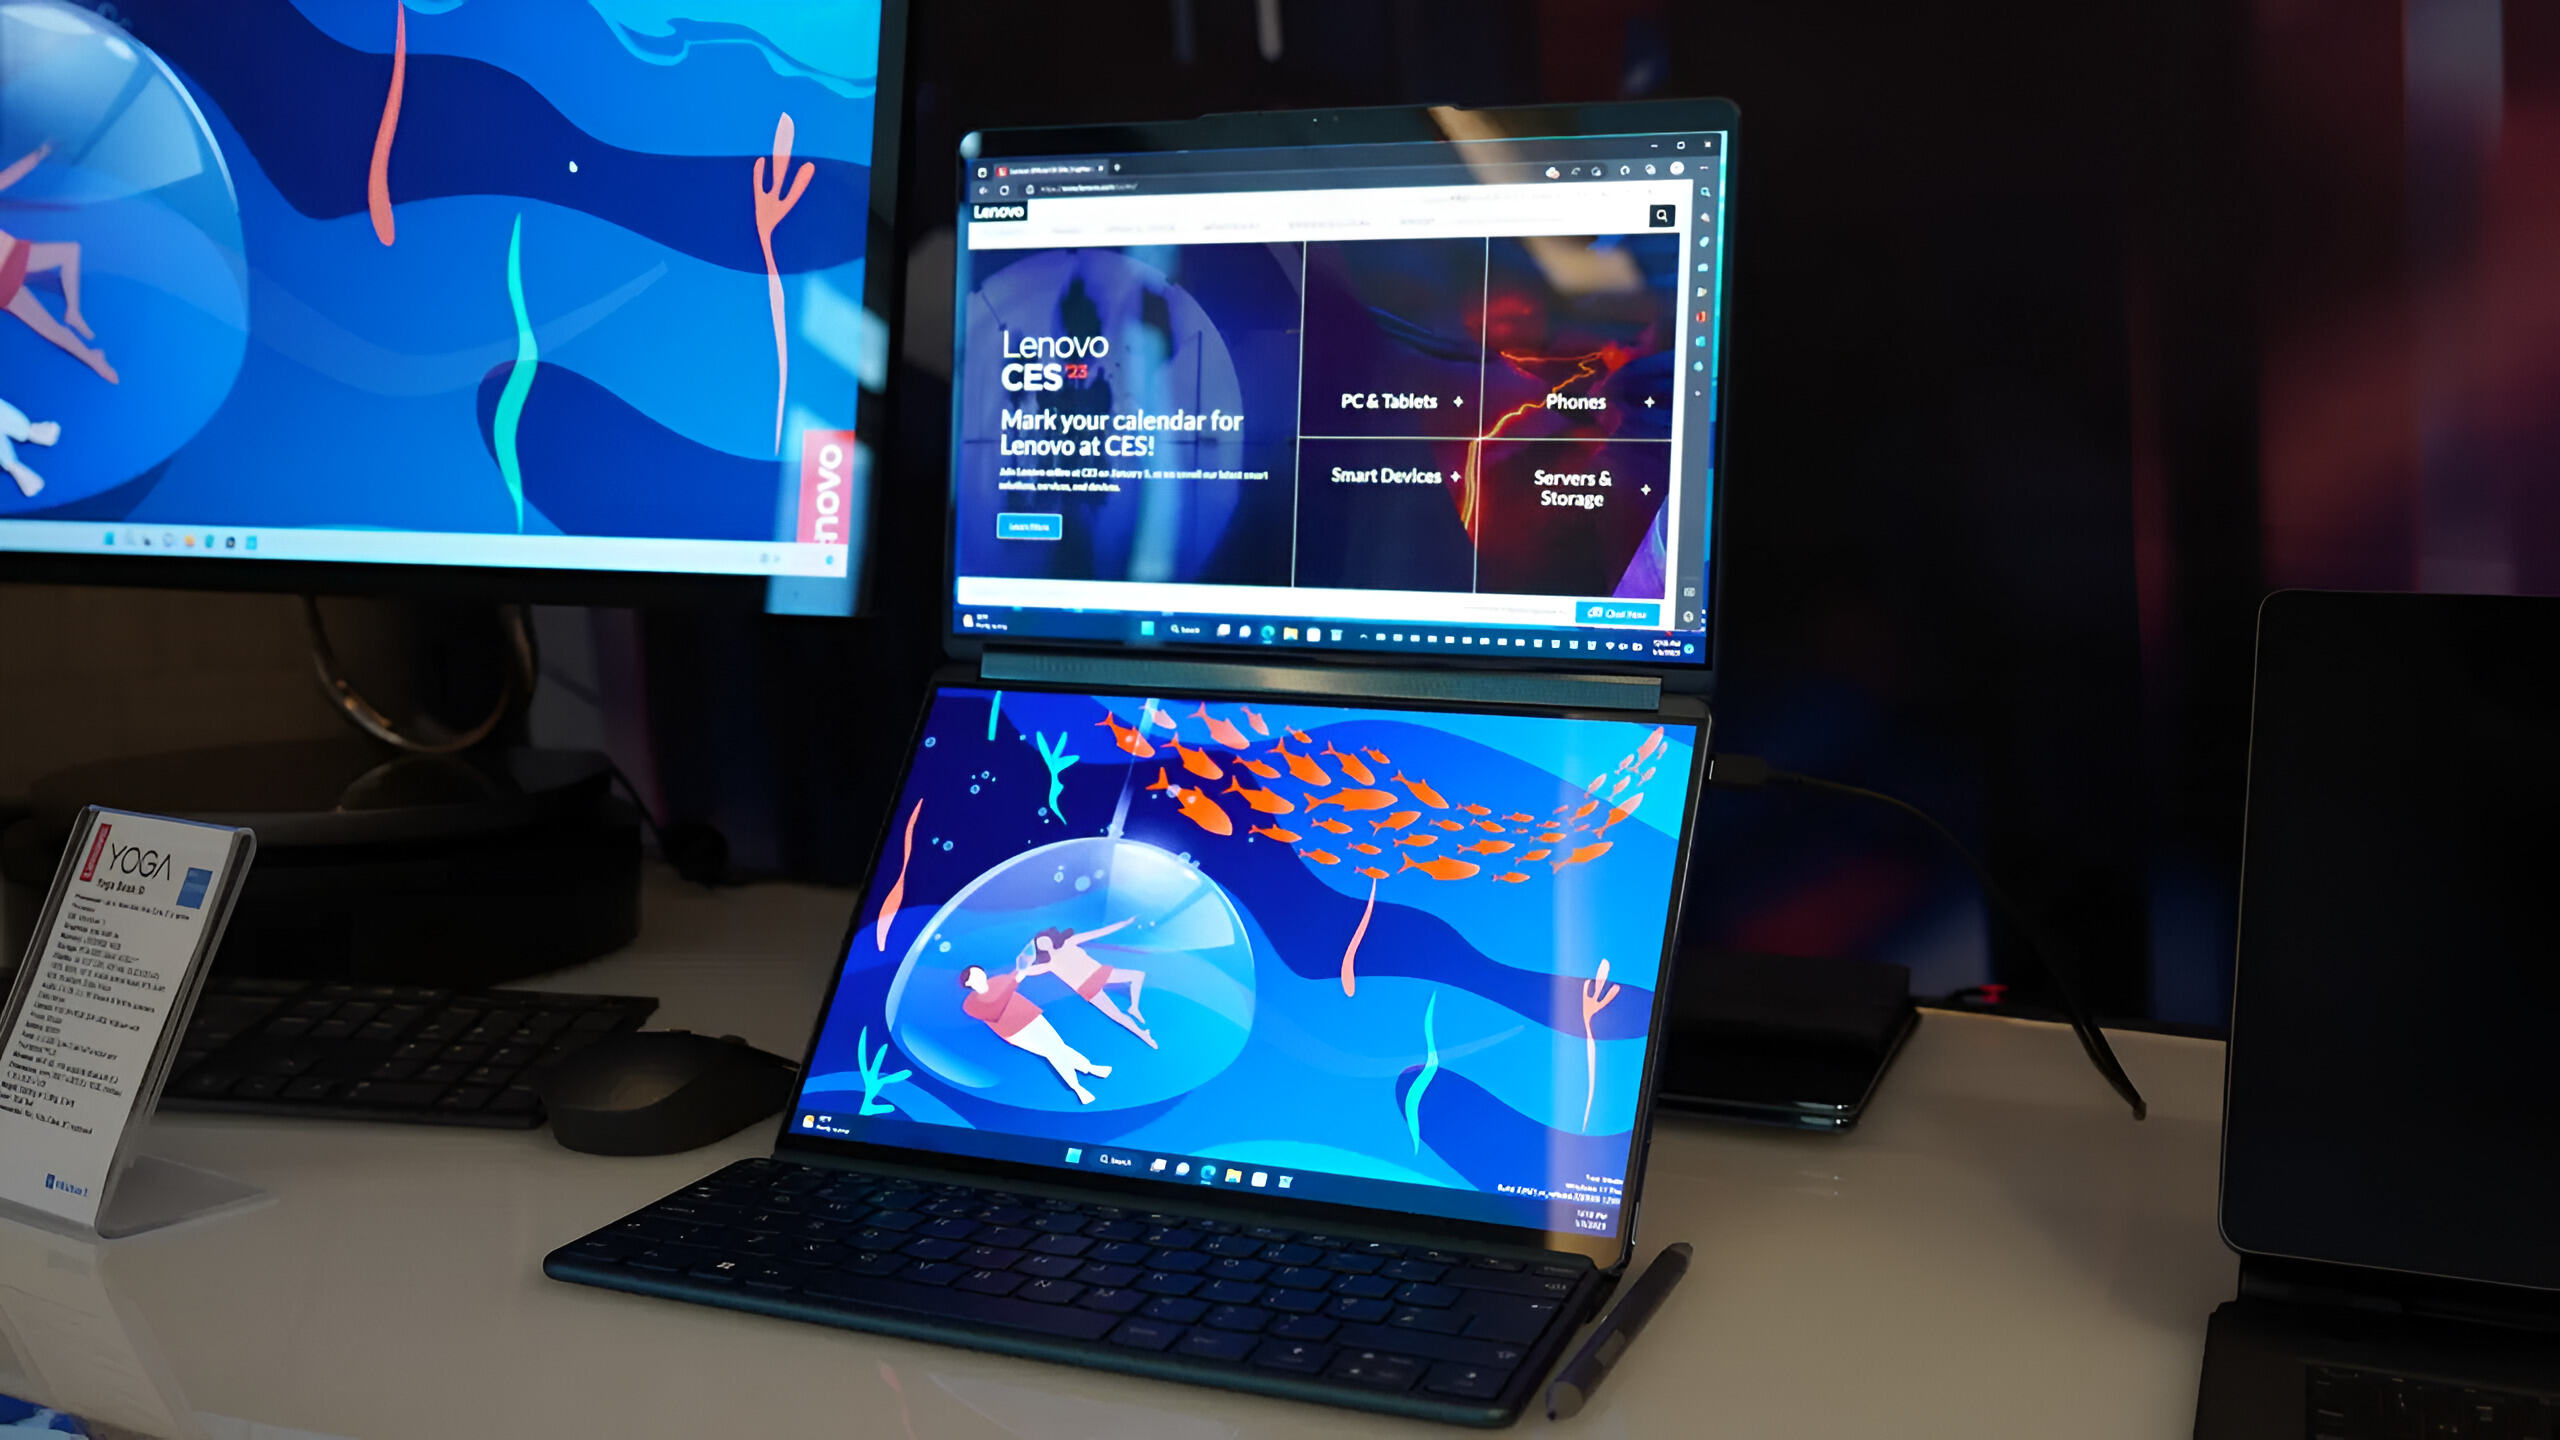
1. Expanding Your Screen Real Estate: One of the primary reasons to enable mirroring is to expand your screen real estate. Ultrabooks often have smaller screens to ensure portability, but when you need a larger display for a presentation or to enjoy content like movies or photos, mirroring allows you to utilize an external display. This gives you a bigger canvas to work with, enhancing productivity and providing a more immersive viewing experience.
2. Sharing Content with a Wider Audience: Whether you’re giving a presentation at work, showcasing a project, or sharing a video or photo slideshow with friends and family, mirroring enables you to share your content with a wider audience. Instead of everyone crowding around your ultrabook screen, mirroring allows everyone to view the content on a larger display simultaneously. It creates a more inclusive and enjoyable experience for everyone involved.
3. Collaborative Work and Presentations: Mirroring is invaluable for collaboration and presentations. In a business setting, enabling mirroring allows you to seamlessly display your work, spreadsheets, or documents on a larger screen, making it easier for colleagues to contribute and collaborate. It enhances teamwork and enables efficient decision-making. Similarly, teachers can utilize mirroring to demonstrate educational content or conduct interactive lessons, creating a more engaged and immersive learning environment.
4. Gaming and Multimedia: If you’re an avid gamer or enjoy multimedia content, mirroring can take your experience to the next level. By mirroring your ultrabook screen onto a TV or a monitor, you can enjoy gaming on a bigger screen, immersing yourself in detailed graphics and engaging gameplay. Additionally, streaming movies or watching videos on a larger display enhances the visual and audio quality, providing a more cinematic experience.
5. Convenience and Flexibility: Mirroring offers convenience and flexibility in various scenarios. Whether you’re working from home, traveling, or giving a presentation on the go, enabling mirroring allows you to connect your ultrabook to different external displays without the need for complex setups or cables. It enables you to extend your desktop, duplicate your screen, or switch between displays effortlessly. This versatility makes mirroring a valuable feature for users who require adaptability and mobility.
As you can see, enabling mirroring on your ultrabook opens up a world of possibilities. It enhances productivity, collaboration, and entertainment, making your computing experience more enjoyable and efficient. In the next section, we will provide a comprehensive step-by-step guide on how to turn on mirroring on your ultrabook, regardless of the method you choose. So, let’s continue and unlock the full potential of mirroring!
Step-by-step guide on how to turn on mirroring on an ultrabook
Enabling mirroring on your ultrabook is a straightforward process. In this section, we will provide a step-by-step guide on how to turn on mirroring using both the wired and wireless methods. Follow these instructions to mirror your ultrabook’s screen onto an external display:
Wired Method:
- Check the available ports on your ultrabook and the external display. Common ports include HDMI, VGA, and DisplayPort. Ensure that your ultrabook and the external display have compatible ports.
- Connect one end of the appropriate cable (HDMI, VGA, or DisplayPort) to the corresponding port on your ultrabook.
- Connect the other end of the cable to the corresponding port on the external display.
- Turn on your ultrabook and the external display.
- On your ultrabook, navigate to the display settings. You can usually access this by right-clicking on the desktop and selecting “Display settings” or “Graphics options.”
- In the display settings, locate the option to enable mirroring or duplicate the display. The exact wording may vary depending on your operating system and graphics drivers.
- Select the mirroring option and confirm your selection.
- Once enabled, your ultrabook’s screen will be mirrored onto the external display. You can adjust the resolution and other display settings if needed.
Wireless Method:
- Ensure that your ultrabook and the external display support wireless mirroring protocols such as Wi-Fi or Bluetooth. Check the user manuals or manufacturer’s website for compatibility information.
- Turn on both your ultrabook and the external display.
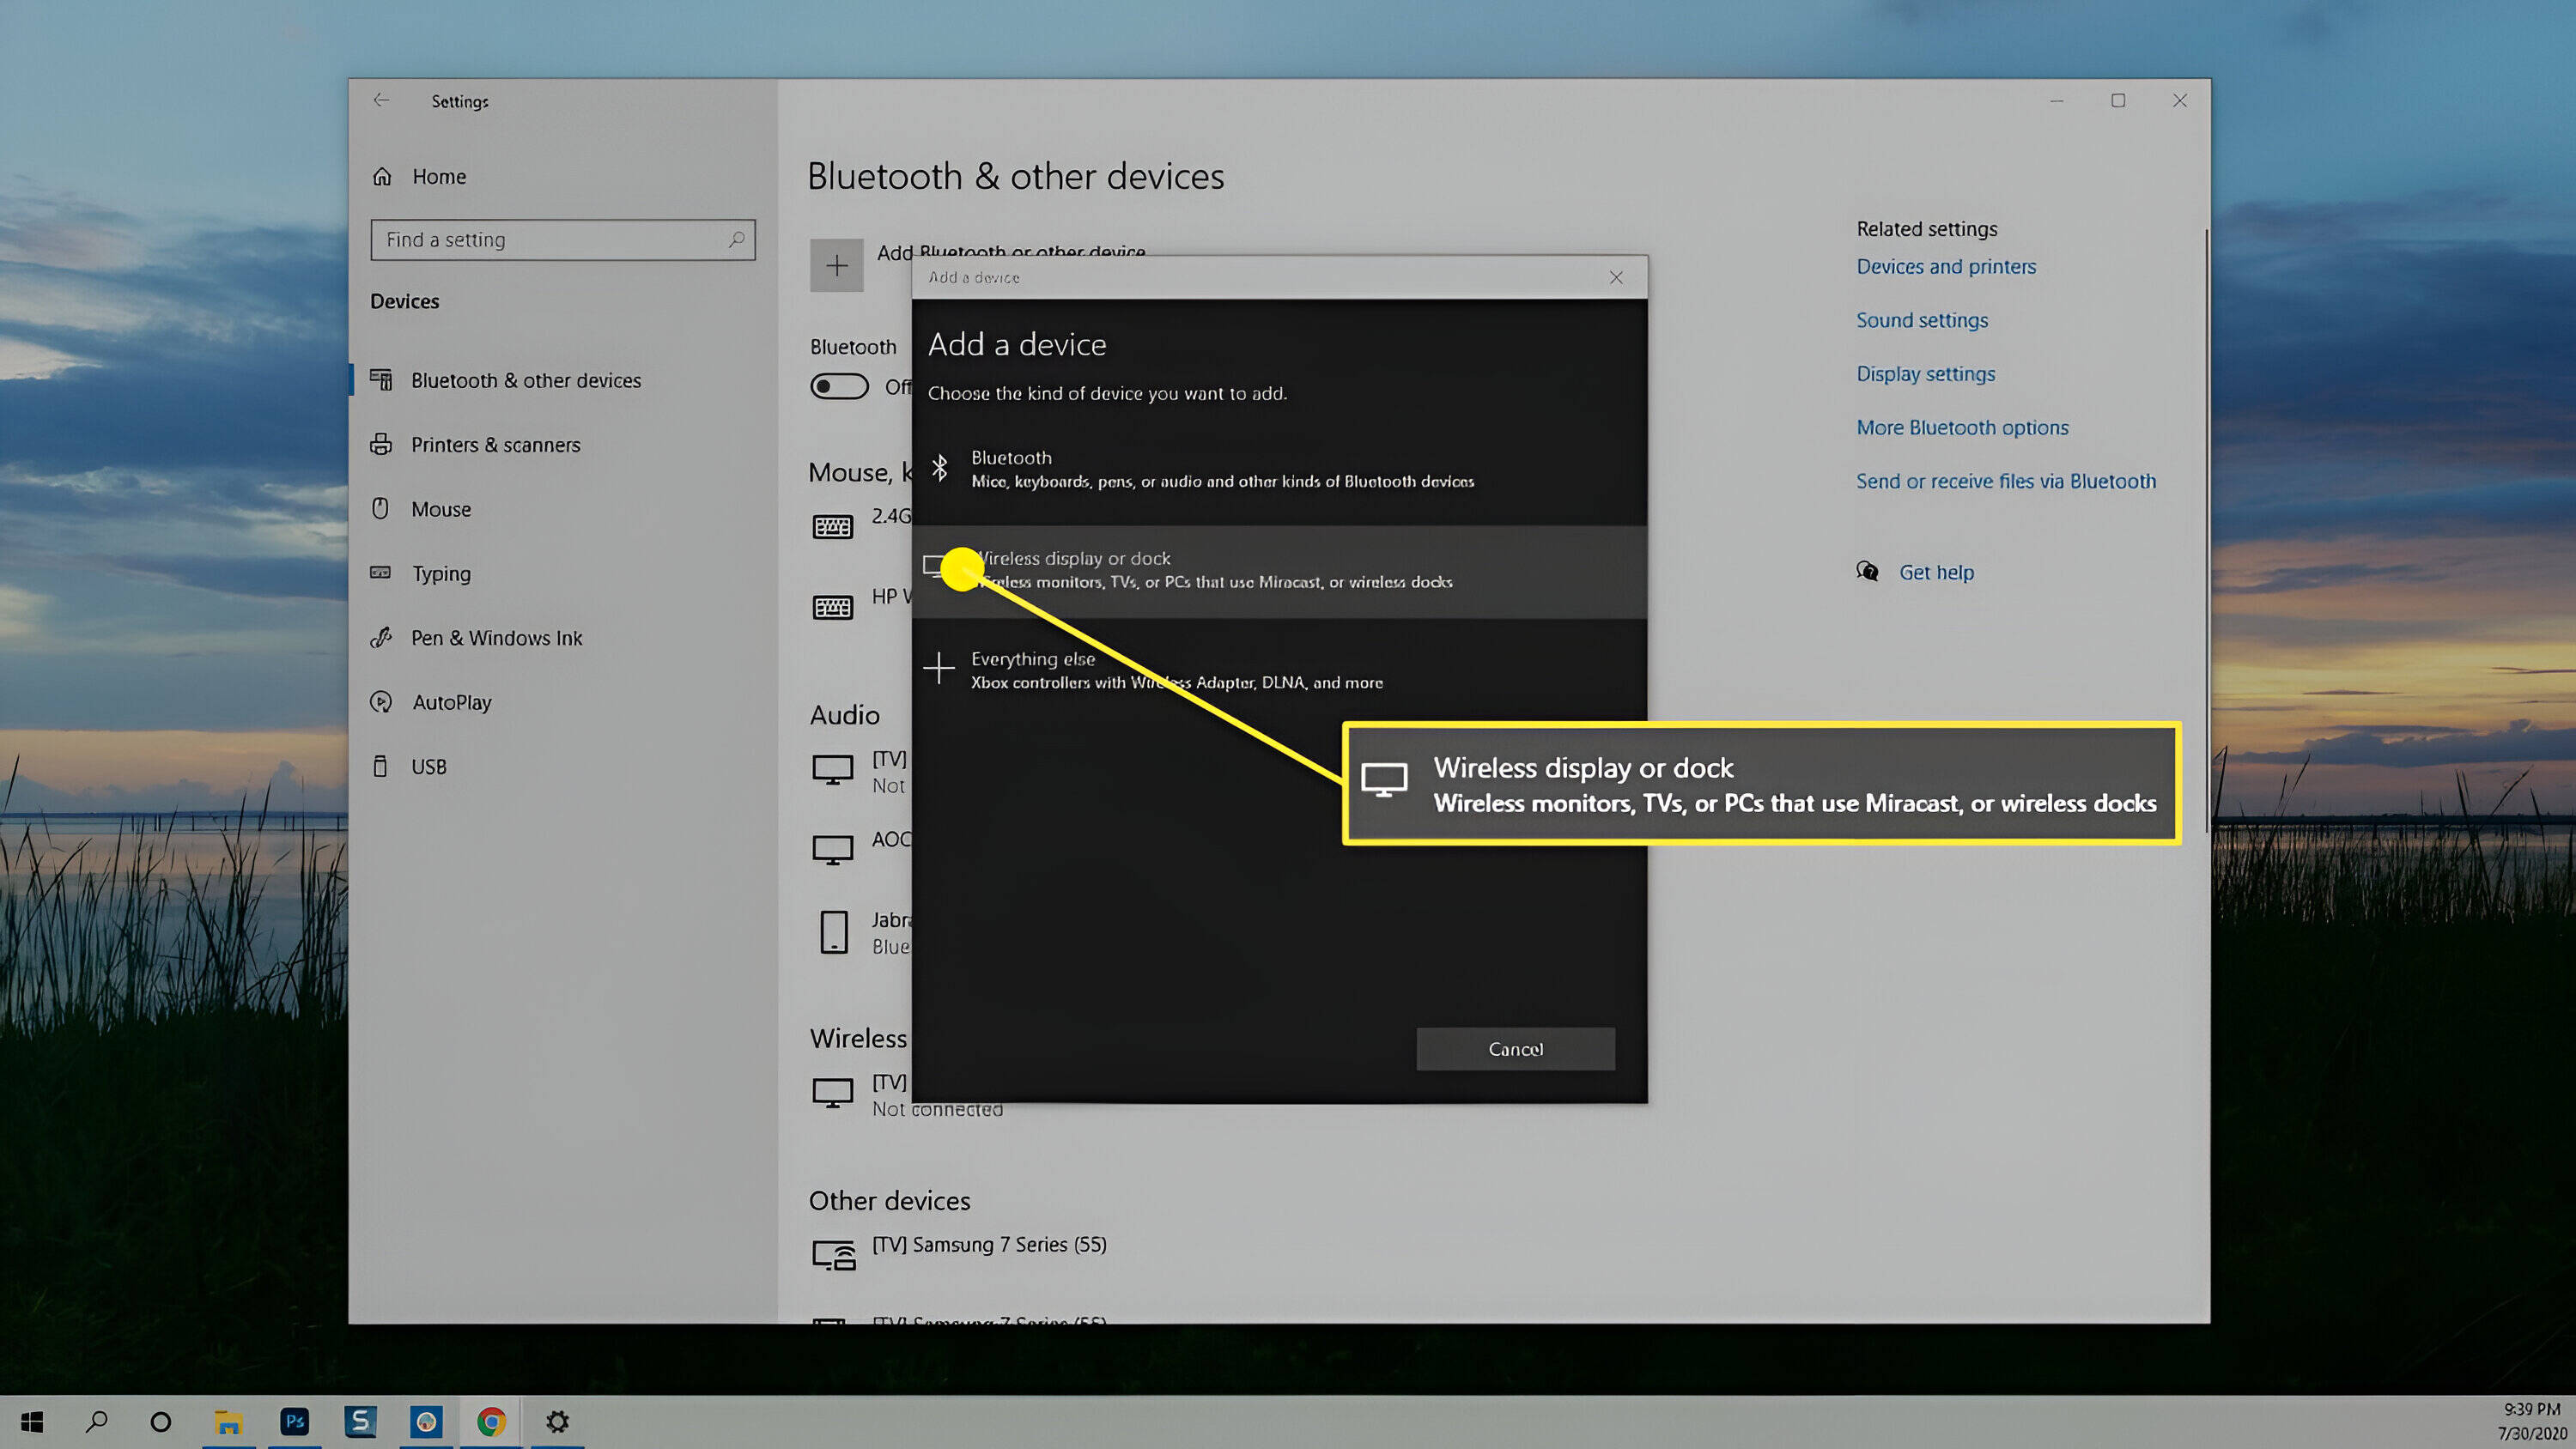
- On your ultrabook, navigate to the Settings menu and look for the “Display” or “Screen Mirroring” option.
- Enable screen mirroring or search for available devices to connect to.
- Select the external display from the list of available devices.
- Follow any on-screen prompts to establish the wireless connection between your ultrabook and the external display.
- Once connected, your ultrabook’s screen will be wirelessly mirrored onto the external display.
Congratulations! You have successfully turned on mirroring on your ultrabook. Whether you opted for the wired or wireless method, you can now enjoy your content on a larger display and make the most of the mirroring feature.
Note: The specific steps may vary depending on your ultrabook model, operating system, and graphics drivers. Consult the user manual or the manufacturer’s website for detailed instructions related to your specific ultrabook.
In the next section, we will discuss some common issues that you may encounter when using mirroring on an ultrabook and provide troubleshooting tips to resolve them. So, let’s move forward!
Troubleshooting common issues with mirroring on an ultrabook
While mirroring on an ultrabook is generally a straightforward process, you may encounter some common issues along the way. In this section, we will discuss these issues and provide troubleshooting tips to help you resolve them:
1. No Display on the External Screen: If the external display isn’t showing any content or is blank, double-check the cable connections. Ensure that the cables are securely plugged into both your ultrabook and the external display. Additionally, make sure that you have selected the correct input source on the external display.
2. Incorrect Screen Resolution: Sometimes, the screen resolution on the external display may be set incorrectly, resulting in distorted or stretched content. To fix this, go to the display settings on your ultrabook and adjust the resolution to match the native resolution of the external display.
3. Audio Output on the External Display: If the audio is not coming from the external display speakers, check the audio settings on your ultrabook. Ensure that the audio output is set to the correct device, which is usually the HDMI or DisplayPort output if using a cable connection. If using wireless mirroring, check the audio output settings correspondingly.
4. Connection Dropouts: When using wireless mirroring, you may experience occasional connection dropouts due to signal interference or distance limitations. To troubleshoot this, make sure that your ultrabook and the external display are within the range of the wireless signal. Additionally, minimize potential sources of interference, such as other electronic devices or physical obstacles.
5. Incompatible Ports: If you’re using the wired method and your ultrabook and external display have incompatible ports, you may need to use an adapter or converter cable to bridge the connection. Consult the manufacturer’s specifications or seek professional assistance to determine the appropriate adapter for your specific requirements.
6. Outdated Drivers or Software: Outdated graphics drivers or software can sometimes cause issues with mirroring functionality. Ensure that you have the latest drivers and software updates installed on your ultrabook. Check the manufacturer’s website for driver downloads and update instructions.
7. System Compatibility: At times, certain ultrabooks may have compatibility limitations when it comes to mirroring. Verify that your ultrabook model supports mirroring and check the specifications or user manual for any specific requirements or limitations.
If you encounter any other issues with mirroring on your ultrabook, consult the user manual or the manufacturer’s support website for additional troubleshooting steps. They may have specific guidance tailored to your ultrabook model and configuration.
By following these troubleshooting tips, you can overcome common issues and ensure a smooth mirroring experience on your ultrabook. In the next section, we will summarize what we have covered and conclude our discussion on mirroring on an ultrabook.
Conclusion
Mirroring on an ultrabook is a powerful feature that offers convenience, flexibility, and enhanced productivity. Whether you need to share your work with a larger audience, collaborate with colleagues, or simply enjoy multimedia on a bigger screen, mirroring turns your ultrabook into a versatile tool.
In this article, we explored what mirroring is and why you would want to enable it on your ultrabook. We provided a step-by-step guide on how to turn on mirroring using both the wired and wireless methods. Additionally, we discussed common issues that may arise during the mirroring process and provided troubleshooting tips to help you resolve them.
By following the instructions and troubleshooting steps outlined in this article, you can unlock the full potential of mirroring on your ultrabook. Whether you’re giving presentations, collaborating with colleagues, enjoying multimedia, or engaging in gaming, mirroring allows you to take your experience to the next level.
Remember to consult your ultrabook’s user manual or the manufacturer’s website for specific instructions and guidance tailored to your device. Additionally, keep your ultrabook’s drivers and software up to date to ensure the best performance and compatibility.
Embrace the power of mirroring on your ultrabook and enjoy the convenience and flexibility it brings to your computing and multimedia activities. Whether you’re a professional, student, or casual user, mirroring takes your ultrabook usage to new heights.
Thank you for reading this guide. We hope it has been informative and helpful in enabling mirroring on your ultrabook. Explore the possibilities and make the most out of your ultrabook’s mirroring capabilities!