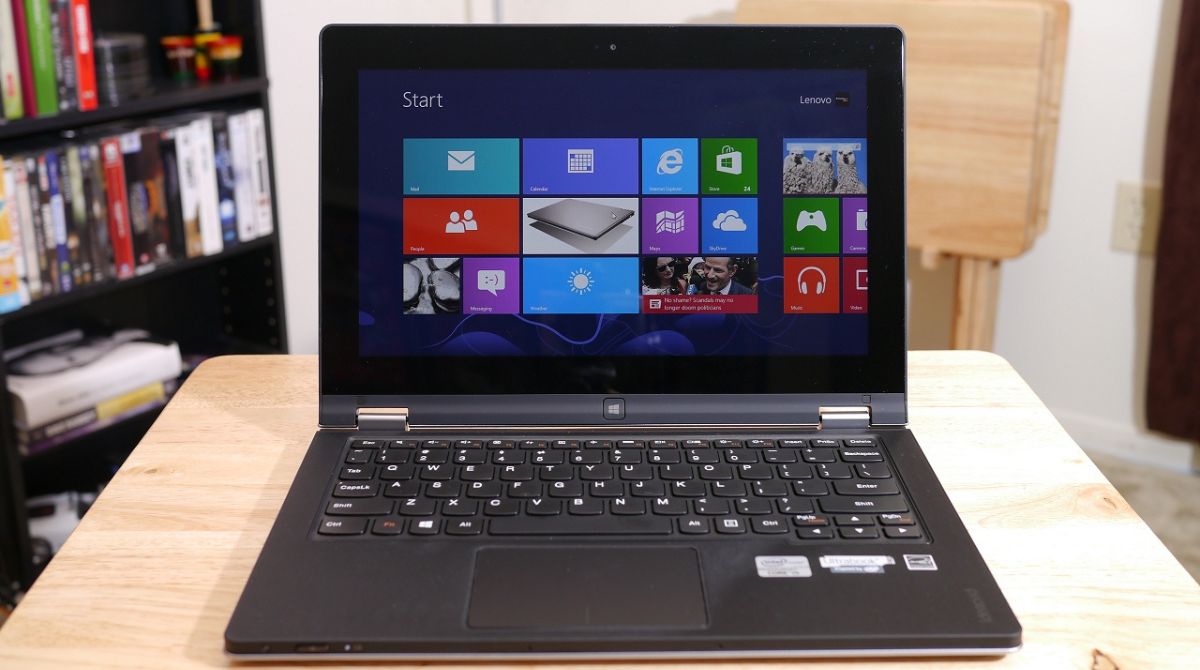
Introduction
Connecting your Lenovo Ultrabook to a wireless TV can open up a world of possibilities, allowing you to enjoy your favorite movies, TV shows, and even your work presentations on a big screen. With the advancement in technology, many wireless TVs now come with built-in screen mirroring features, making it easy to connect your Lenovo Ultrabook wirelessly.
Before you get started and enjoy the benefits of connecting your Lenovo Ultrabook to a wireless TV, it’s essential to ensure compatibility between the devices. Not all Ultrabooks and wireless TVs are compatible with each other, so it’s necessary to check the requirements and specifications before attempting to connect.
In this guide, we will take you through a step-by-step process to connect your Lenovo Ultrabook to a wireless TV. By following these instructions, you’ll be able to enjoy a seamless connection and experience the convenience of wireless screen sharing.
Without further ado, let’s dive into the process and get your Lenovo Ultrabook connected to your wireless TV.
Step 1: Check the compatibility of your Lenovo Ultrabook and wireless TV
Before attempting to connect your Lenovo Ultrabook to a wireless TV, it’s crucial to ensure that both devices are compatible with each other. Compatibility can vary depending on the make, model, and year of production. Here’s a simple checklist to help you determine compatibility:
- Wireless Technology: Check if your wireless TV supports technologies like Wi-Fi Direct, Miracast, or Chromecast. These technologies enable screen mirroring and wireless connectivity.
- Operating System: Verify that your Lenovo Ultrabook’s operating system is compatible with screen mirroring. Common operating systems like Windows, macOS, and Linux usually have built-in screen mirroring capabilities.
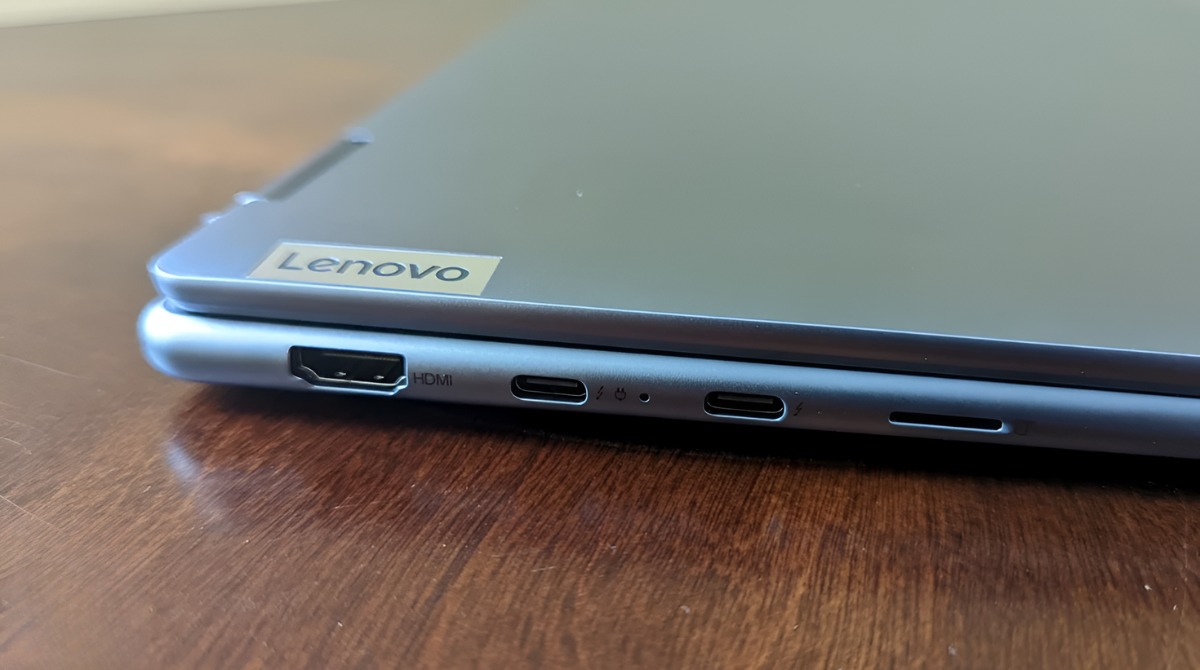
- Hardware: Ensure that your Lenovo Ultrabook has the necessary hardware capabilities to support screen mirroring. Look for features like Intel WiDi (Wireless Display) or similar technologies.
- TV Input Ports: Make sure that your wireless TV has the appropriate input ports. Check if it supports HDMI, VGA, or an alternative wireless display connection option.
- Internet Connection: Some wireless TVs require an active internet connection for screen mirroring. Check if your wireless TV needs to be connected to the internet during the setup process.
By checking these compatibility aspects, you will ensure a higher chance of successful connection between your Lenovo Ultrabook and wireless TV. If any compatibility issues arise, consider connecting your Ultrabook to the TV using HDMI or other physical cables.
Once you’ve verified the compatibility of your devices, you can proceed to the next step: enabling Wi-Fi on your Lenovo Ultrabook.
Step 2: Enable Wi-Fi on your Lenovo Ultrabook
Before you can connect your Lenovo Ultrabook to a wireless TV, you need to make sure that the Wi-Fi capability on your Ultrabook is enabled. Here’s how to do it:
- Open the “Settings” menu on your Lenovo Ultrabook. You can usually find it in the Start menu or by searching for “Settings” in the search bar.
- Within the Settings menu, locate and click on the “Network & Internet” option.
- In the Network & Internet settings, you should see a tab or section labeled “Wi-Fi” or “Wireless Network.” Click on it to access the Wi-Fi settings.
- Ensure that the toggle switch next to Wi-Fi is turned on. If it is already enabled, you can proceed to the next step. Otherwise, click on the switch to enable Wi-Fi connectivity.
- Your Lenovo Ultrabook will then scan for available Wi-Fi networks. Once the list of networks appears, select the network you want to connect to. If you’re unsure which network to choose, look for the same network name as your wireless TV.
- If the selected network is secure, you may be prompted to enter the password. Type in the password correctly and click on the “Connect” button to establish the Wi-Fi connection.
Once Wi-Fi is enabled on your Lenovo Ultrabook and you are connected to a network, you are ready to proceed to the next step: connecting your Ultrabook to the same Wi-Fi network as the wireless TV.
Step 3: Connect your Lenovo Ultrabook to the same Wi-Fi network as the wireless TV
In order to establish a connection between your Lenovo Ultrabook and the wireless TV, both devices need to be connected to the same Wi-Fi network. Follow these steps to ensure they are connected to the same network:
- On your Lenovo Ultrabook, navigate to the Wi-Fi settings. This can typically be found in the system tray or in the Network & Internet settings as mentioned in earlier steps.
- Within the Wi-Fi settings, your Ultrabook will display a list of available Wi-Fi networks. Look for the same network name that you have used on your wireless TV.
- Select the Wi-Fi network and click on the “Connect” button.
- If the network is secure, enter the password correctly to authenticate the connection.
- Once connected, your Lenovo Ultrabook will have established a Wi-Fi connection to the same network as your wireless TV.
Having both devices connected to the same Wi-Fi network is a fundamental step in the process of connecting your Lenovo Ultrabook to the wireless TV and allows for seamless communication between the devices. Now that both devices are connected to the same network, let’s move on to the next step: enabling screen sharing on your wireless TV.
Step 4: Enable screen sharing on your wireless TV
Before you can connect your Lenovo Ultrabook to your wireless TV, you need to enable the screen sharing feature on your TV. The process may vary depending on the brand and model of your TV, but here are some general steps to follow:
- Turn on your wireless TV and navigate to the settings menu. This can usually be accessed via a dedicated button on your remote or through the TV’s on-screen menu.
- In the settings menu, look for an option related to “Screen Mirroring,” “Miracast,” “Wireless Display,” or a similar name. This option allows you to enable screen sharing on your TV.
- Select the screen sharing option and make sure it is set to “On” or “Enabled.” Some TVs may require you to choose between different screen sharing protocols, such as Miracast or Chromecast. If given the option, select the appropriate protocol for your Ultrabook.
- Once you have enabled screen sharing on your wireless TV, it will start searching for available devices to connect with. Keep your TV in this mode as you proceed to the next step.
Enabling screen sharing on your wireless TV is a crucial step in establishing the connection with your Lenovo Ultrabook. By following these steps, you are now ready to move on to the next step: connecting your Lenovo Ultrabook to the wireless TV using screen mirroring.
Step 5: Connect your Lenovo Ultrabook to the wireless TV using screen mirroring
Now that screen sharing is enabled on your wireless TV, you can proceed to connect your Lenovo Ultrabook to the TV using screen mirroring. Follow these steps to establish the connection:
- On your Lenovo Ultrabook, open the “Action Center” or “Notification Center.” This can usually be accessed by clicking on the notification icon in the system tray or swiping from the right side of the screen.
- In the Action Center, look for the “Connect” or “Project” option. Click or tap on it to open the screen mirroring settings.
- Your Ultrabook will start scanning for available wireless displays. Wait for your wireless TV to appear in the list of devices.
- Select your wireless TV from the list of devices. This will initiate the connection process.
- On your TV, you may be prompted to accept or confirm the connection request from your Ultrabook. Follow the on-screen instructions to establish the connection.
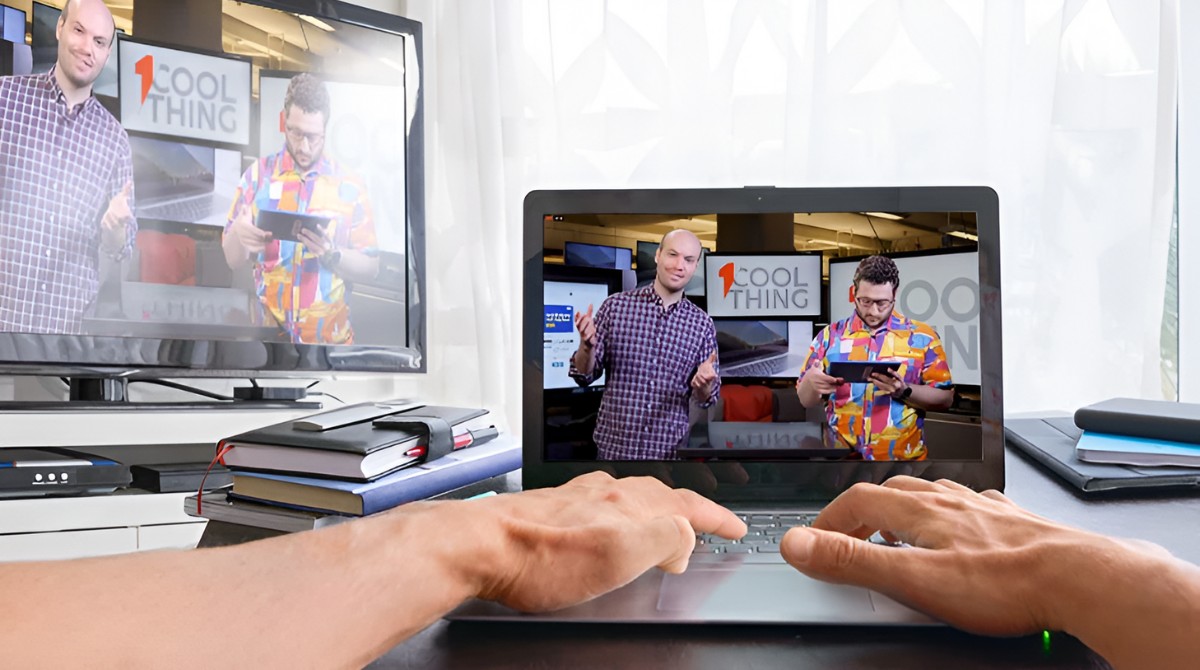
- Once the connection is established, your Lenovo Ultrabook’s screen will be mirrored on the wireless TV, allowing you to see the same content on both devices.
Congratulations! You have successfully connected your Lenovo Ultrabook to your wireless TV using screen mirroring. Now, you can enjoy your favorite movies, videos, presentations, and more on the big screen of your TV.
Keep in mind that the specific steps and options may vary depending on the operating system and model of your Lenovo Ultrabook. However, the general process remains similar across most devices.
In the next step, we’ll cover how to adjust the display settings to optimize your viewing experience on the wireless TV.
Step 6: Adjust the display settings and enjoy your content on the wireless TV
After successfully connecting your Lenovo Ultrabook to the wireless TV, it’s time to make some adjustments to the display settings to ensure a seamless and enjoyable viewing experience. Follow these steps to optimize the display settings:
- Access the display settings on your Lenovo Ultrabook. You can usually do this by right-clicking on the desktop and selecting “Display settings” or by navigating through the Control Panel or System Preferences.
- In the display settings, you can adjust the resolution, screen orientation, and other visual settings according to your preference. Make sure to select the display option that corresponds to your wireless TV.
- Configure the display mode to extend or duplicate the screen. The extension mode allows you to use your Ultrabook’s screen as a separate display, while the duplicate mode mirrors the content on both screens.
- Ensure that the aspect ratio and scaling settings are correctly adjusted to match the capabilities of your wireless TV. This will help avoid any image distortion or cutoff.
- Depending on your Ultrabook’s graphics card and drivers, you may have additional settings for color calibration, brightness, contrast, and other visual enhancements
With the display settings properly adjusted, you can now enjoy your favorite content on the big screen of your wireless TV. Play movies, stream videos, give presentations, or simply navigate through your Ultrabook’s desktop as the display is mirrored on the TV.
Remember to keep your devices connected to the same Wi-Fi network whenever you want to use screen mirroring. If you encounter any issues during the setup or have difficulties with the display settings, refer to the user manual for your Ultrabook and wireless TV or visit the manufacturer’s support website for assistance.
Now that you have successfully connected and configured your Lenovo Ultrabook to the wireless TV, it’s time to sit back, relax, and enjoy a new level of entertainment and productivity on the big screen.
Conclusion
Connecting your Lenovo Ultrabook to a wireless TV opens up a world of possibilities for entertainment and productivity. By following the step-by-step process outlined in this guide, you can seamlessly connect your Ultrabook to a wireless TV and enjoy your favorite content on a bigger screen.
We started by emphasizing the importance of checking the compatibility of your Lenovo Ultrabook and wireless TV to ensure a successful connection. Then, we proceeded to enable Wi-Fi on your Ultrabook and connect it to the same Wi-Fi network as your TV. Once both devices were connected, we enabled screen sharing on the wireless TV and connected the Ultrabook to the TV using screen mirroring. Finally, we adjusted the display settings to optimize the viewing experience.
It’s important to note that the specific steps and options may vary depending on the brand and model of your Ultrabook and TV. Refer to the user manual or manufacturer’s website for detailed instructions tailored to your specific devices.
By connecting your Lenovo Ultrabook to a wireless TV, you can enjoy watching movies, streaming videos, giving presentations, and even collaborating on work projects with ease. The wireless connection eliminates the need for cables and provides you with the flexibility to move around while still being connected to the TV.
So, go ahead and give it a try! Unlock the full potential of your Lenovo Ultrabook and enjoy a bigger and more immersive viewing experience on your wireless TV.