Introduction
Welcome to the world of high-tech presentations! Whether you’re preparing for a business meeting or simply want to enjoy a movie night with friends, connecting your Samsung Ultrabook to a projector is essential for displaying your content on the big screen. By doing so, you can take advantage of the larger display and share your ideas or multimedia files with a wider audience.
While the idea of connecting your Samsung Ultrabook to a projector may seem daunting at first, rest assured that it doesn’t have to be a complicated process. In this article, we will guide you through the step-by-step instructions on how to connect your Samsung Ultrabook to a projector, making sure you can seamlessly share your presentations, videos, and images in no time.
Before we dive into the details, it’s important to note that the specific steps may vary slightly depending on the model and age of your Samsung Ultrabook, as well as the type of projector you’re using. However, the basic principles outlined in this guide should apply to most scenarios, so you’ll be well-equipped to handle the connection process.
In the following sections, we will explore different methods of connecting your Samsung Ultrabook to a projector. You will learn about the compatibility considerations, the necessary cables and adapters, and how to establish a wired or wireless connection.
But first, let’s determine the compatibility between your Samsung Ultrabook and the projector you intend to use. Ensuring they are compatible will save you time and frustration, as it will guarantee a smooth connection and optimal performance.
Determine the projector’s compatibility with Samsung Ultrabook
Before connecting your Samsung Ultrabook to a projector, it is crucial to determine whether they are compatible with each other. This compatibility check will ensure that you can establish a successful connection and avoid any potential compatibility issues.
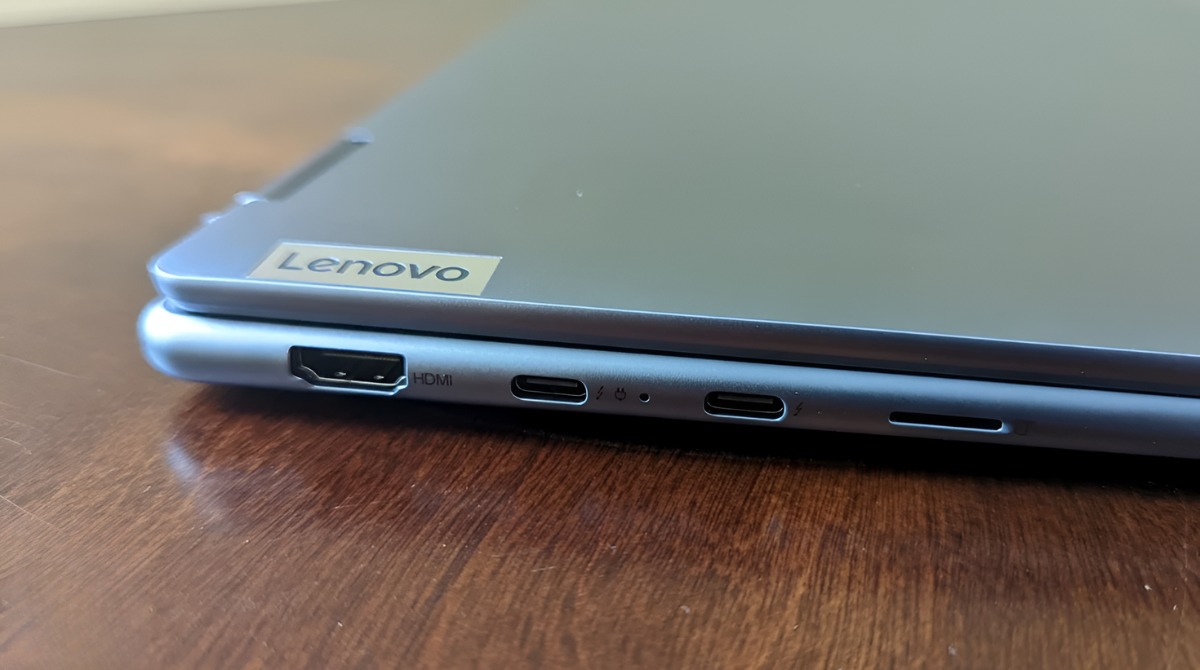
The first thing you need to consider is the ports available on both your Samsung Ultrabook and the projector. Take a look at the ports on the side or back of your Ultrabook to identify what type of video output it supports. Common video output options include HDMI, VGA, and DisplayPort.
Next, check the inputs available on the projector. Most projectors have a variety of input options, but the most common ones are HDMI, VGA, and DisplayPort. It is important to note that the input ports on the projector should match the output ports on your Samsung Ultrabook for a seamless connection.
Once you have identified the available ports, check if your Ultrabook and projector support the same video resolution. This information can usually be found in their respective user manuals or on the manufacturer’s website. Matching the resolutions ensures that the content displayed on the projector remains sharp and clear.
Furthermore, consider the aspect ratio of your Ultrabook and the projector. The aspect ratio refers to the proportional relationship between the width and height of the display. Common aspect ratios include 4:3, 16:9, and 16:10. Ensuring that the aspect ratios of your devices are compatible will prevent any distortion or cropping of the projected image.
Lastly, keep in mind any additional compatibility requirements that may be specific to your Ultrabook or projector. For example, some projectors may require specific drivers or software to be installed on your Ultrabook for optimal performance. Check the manufacturer’s instructions or website for any additional information.
By following these compatibility checks, you will be able to establish a smooth and hassle-free connection between your Samsung Ultrabook and the projector. In the next section, we will discuss the cables and adapters you may need to complete the connection process.
Gather the necessary cables and adapters
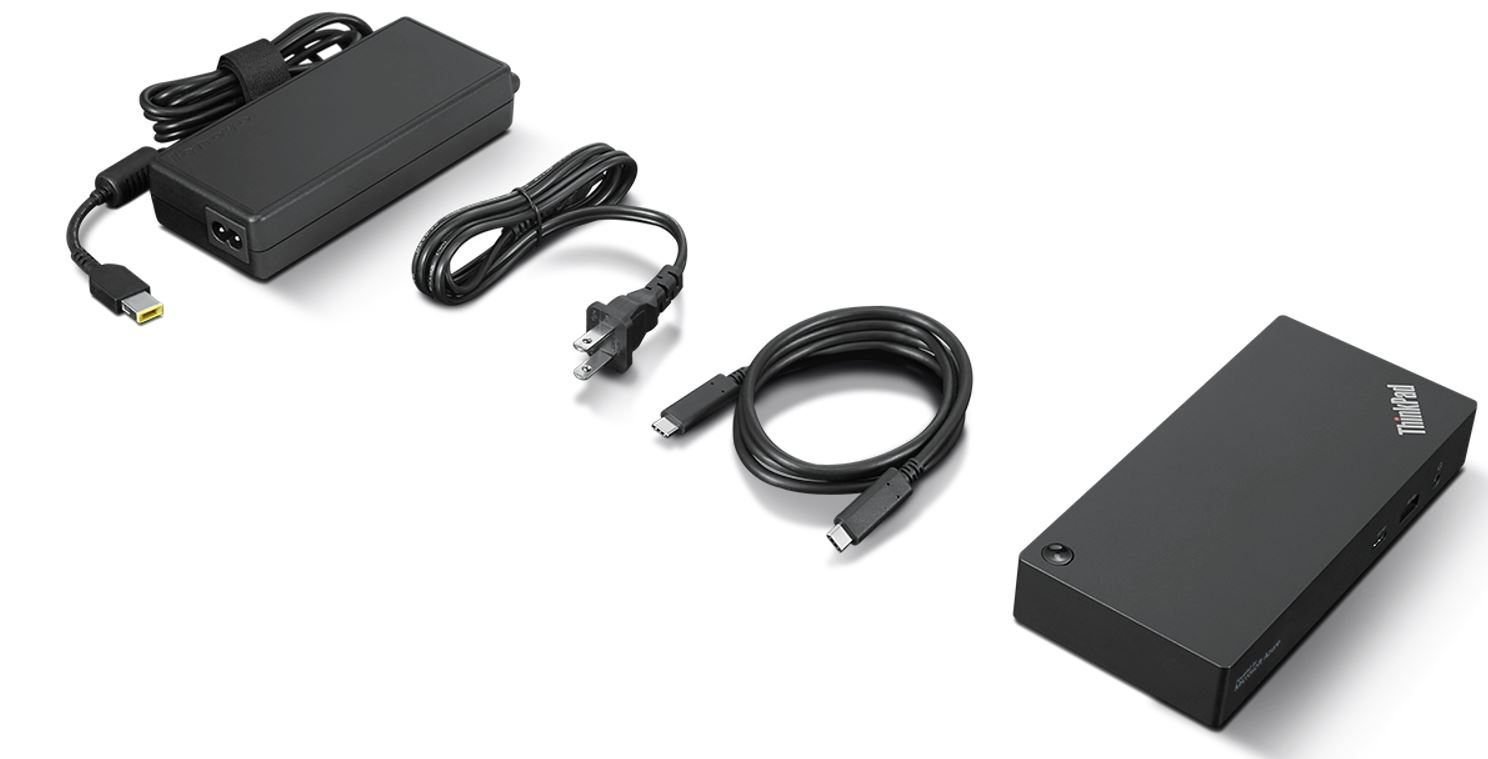
Connecting your Samsung Ultrabook to a projector requires the use of appropriate cables and adapters. Before you begin the connection process, make sure you have the necessary equipment at hand to ensure a successful setup. Here are the cables and adapters you may need:
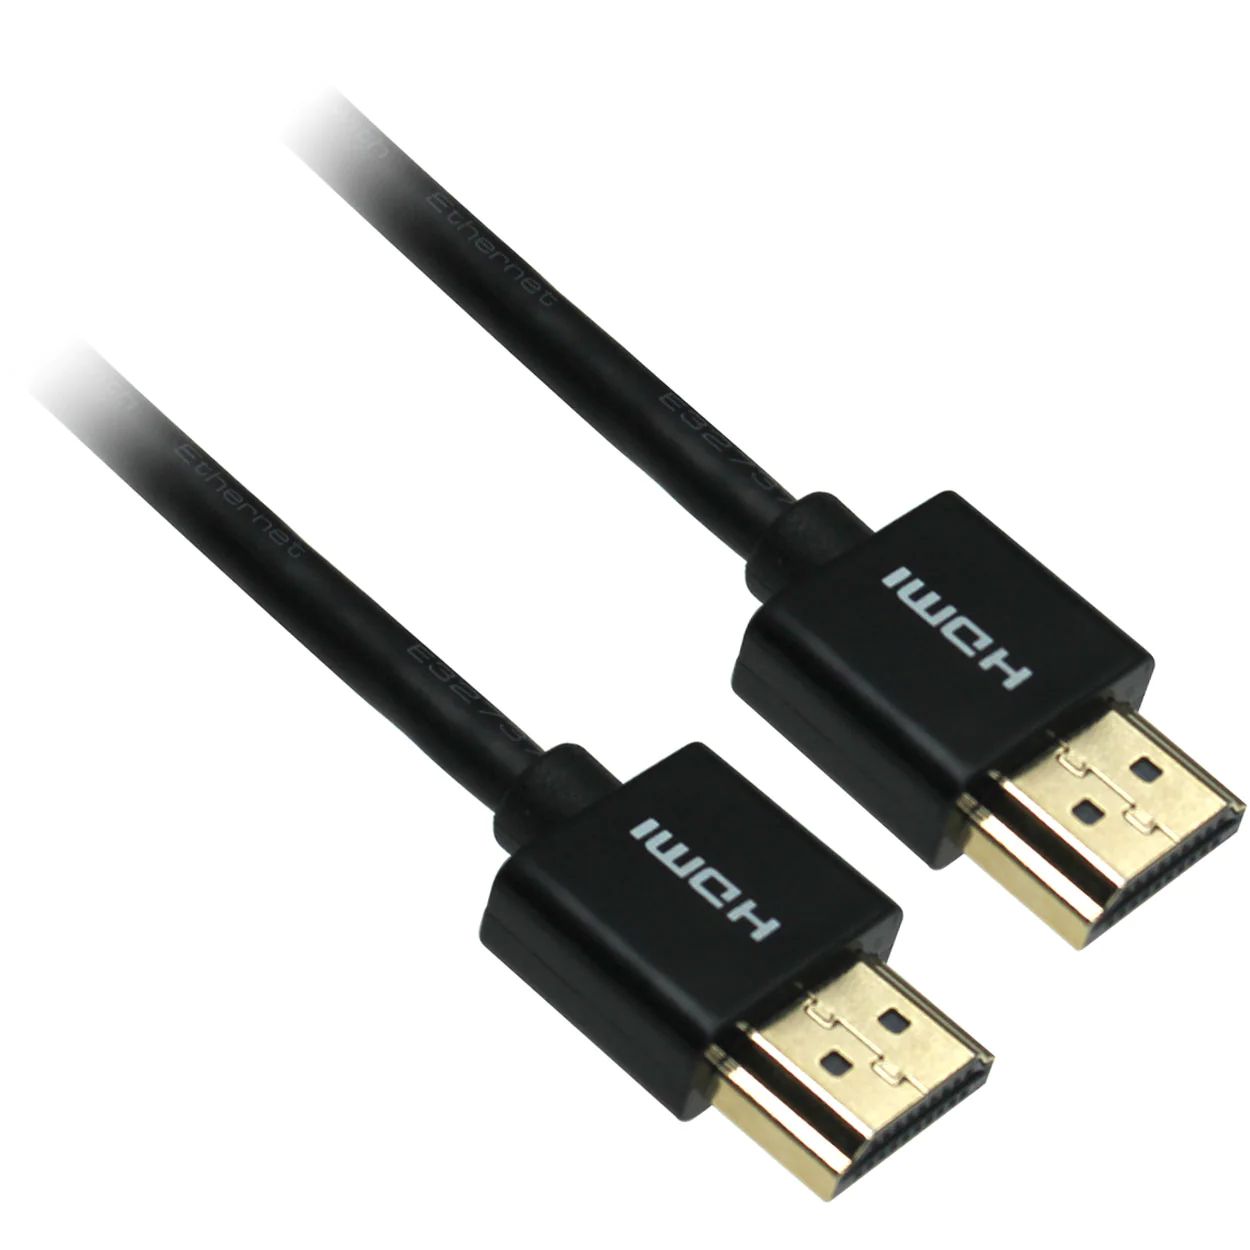
1. HDMI cable: If your Samsung Ultrabook and the projector both have HDMI ports, an HDMI cable is the simplest and most straightforward option for connecting the two devices. HDMI cables support high-definition video and audio signals, providing a high-quality viewing experience.
2. VGA cable: VGA cables are commonly used for video connections and are suitable if your Samsung Ultrabook or the projector only have VGA ports. Although VGA cables do not transmit audio signals, you can use a separate audio cable to connect the audio output of your Ultrabook to the projector or an external speaker.
3. DisplayPort cable: If your Samsung Ultrabook and the projector both have DisplayPort ports, using a DisplayPort cable is a reliable choice. DisplayPort cables transmit high-resolution audio and video signals, delivering crisp visuals and clear sound.
4. DVI cable: Some projectors may have DVI ports instead of HDMI or VGA. If your Ultrabook also has a DVI port, you can use a DVI cable to establish the connection. Like VGA cables, DVI cables do not transmit audio, so you will need to use a separate audio cable.
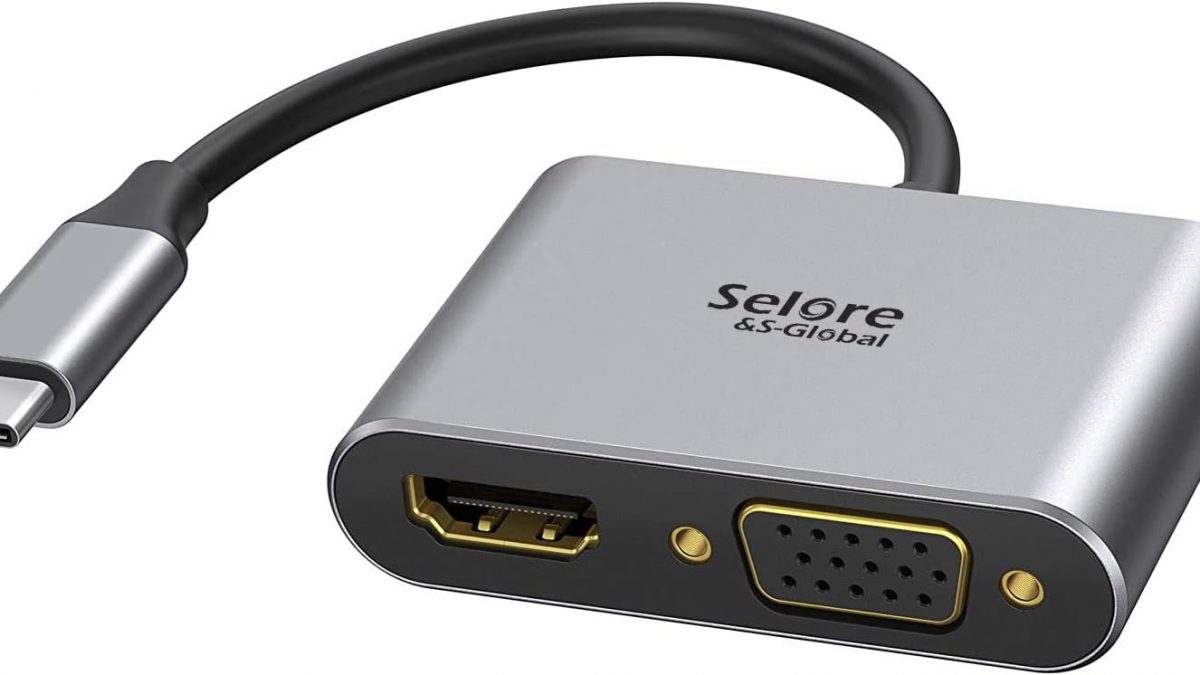
5. USB-C to HDMI or VGA adapter: If your Samsung Ultrabook only has a USB-C port and the projector does not have a USB-C input, you will need an adapter. A USB-C to HDMI or VGA adapter connects to the USB-C port on your Ultrabook, allowing you to plug in an HDMI or VGA cable into the adapter and then to the projector.
6. Audio cable: In case your chosen cable does not transmit audio, or if you prefer to connect the audio separately, you may need an audio cable. Depending on the available audio ports on both your Ultrabook and the projector, you may need a 3.5mm AUX cable, a RCA cable, or an optical cable.
It is essential to ensure that the cables and adapters you choose are of good quality to maintain the integrity of the video and audio signals. Look for cables and adapters that are built with durability and reliability in mind to avoid any interruptions during your presentation or multimedia experience.
Now that you have gathered the necessary cables and adapters, let’s move on to the next section to learn how to connect your Samsung Ultrabook to the projector using an HDMI cable.
Connect the Samsung Ultrabook to the projector using an HDMI cable
Connecting your Samsung Ultrabook to a projector using an HDMI cable is one of the most common and convenient methods. HDMI cables transmit both high-definition video and audio signals, providing a seamless experience for presentations, movies, or other multimedia content.
Follow these steps to establish the connection:
- Start by ensuring that your Samsung Ultrabook and the projector are turned off. This will prevent any potential damage to the devices during the connection process.
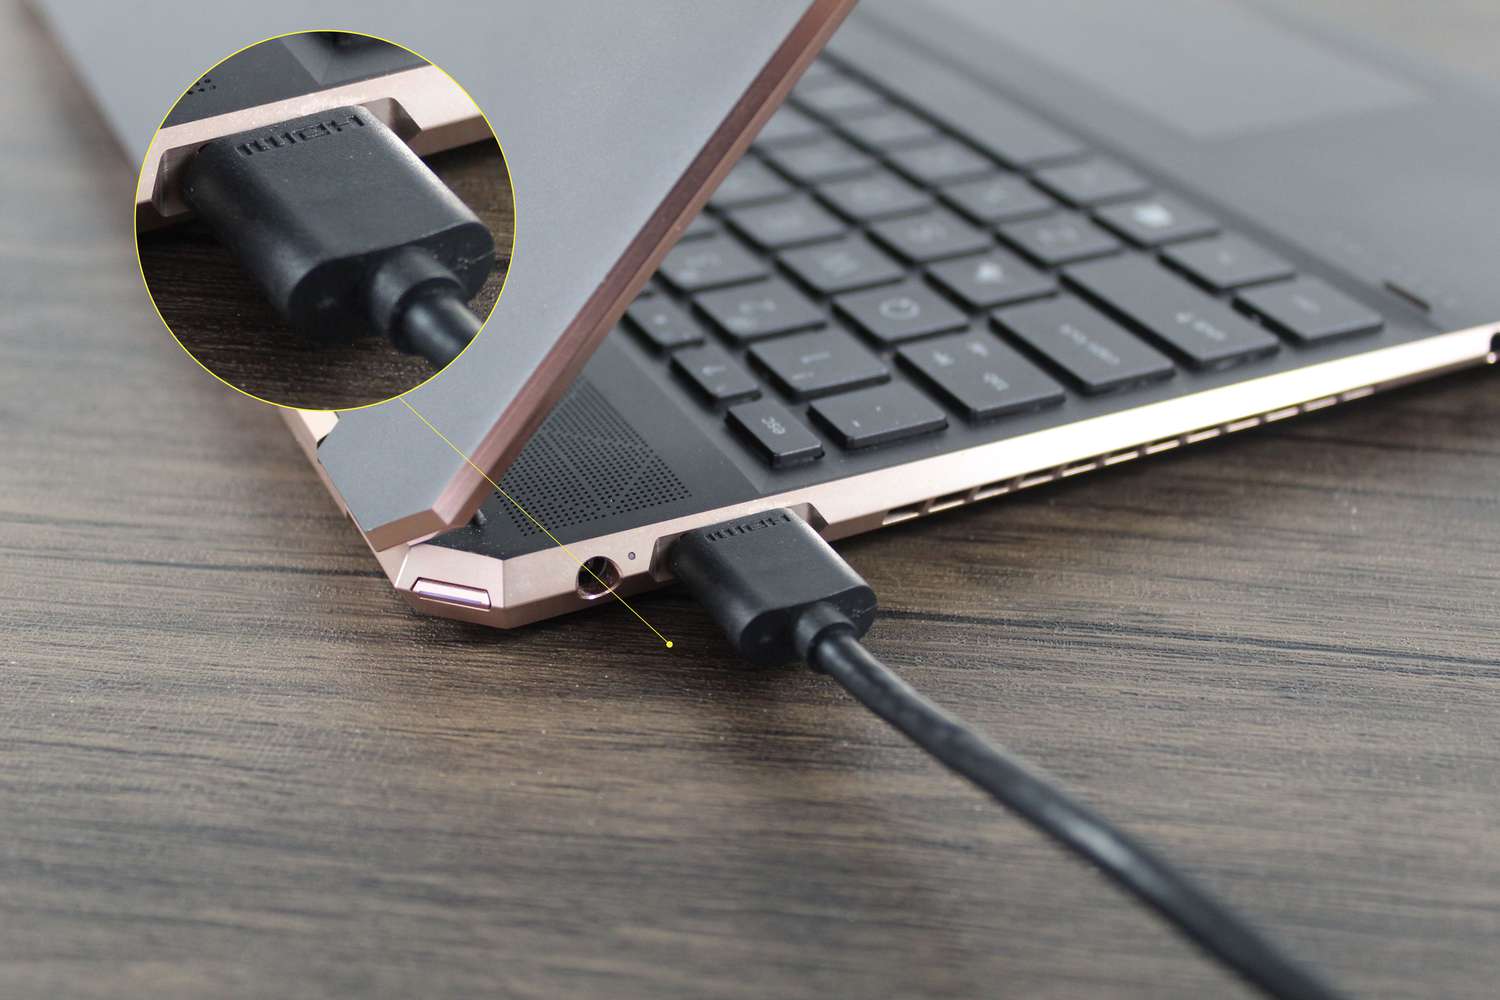
- Locate the HDMI port on your Samsung Ultrabook. It is usually labeled with the HDMI symbol (an “H” inside a square). Connect one end of the HDMI cable to this port.
- Now, find the HDMI input port on the projector. It is typically located on the side or back and is labeled as “HDMI In” or with the HDMI symbol. Connect the other end of the HDMI cable to this port.
- Once the HDMI cable is securely connected to both devices, power on your Samsung Ultrabook and the projector.
- On your Samsung Ultrabook, press the “Windows” key + “P” to bring up the display options. This shortcut opens the “Project” menu.
- Select the “Duplicate” option. This will mirror the screen of your Ultrabook onto the projector, displaying the same content on both screens.
- Within a few moments, the projector should recognize the HDMI connection and display the screen of your Samsung Ultrabook.
If the desired content is not being projected, you may need to adjust the display settings on your Samsung Ultrabook. Right-click on the desktop and select “Display settings” or “Screen resolution.” Ensure that the correct display is selected and adjust the resolution if needed.
Remember to have the audio settings properly configured as well. On your Ultrabook, go to the sound settings and choose the HDMI output as the default audio device. This will ensure that the audio is transmitted through the HDMI cable and played through the projector’s speakers or external speakers connected to it.
With the HDMI connection established and the display and audio settings adjusted, your Samsung Ultrabook will now be seamlessly connected to the projector. You can now enjoy your presentations, videos, and other multimedia content on the big screen.
In the next section, we will explore an alternative method of connecting your Samsung Ultrabook to the projector using a VGA cable.
Connect the Samsung Ultrabook to the projector using a VGA cable
If your Samsung Ultrabook or the projector does not have an HDMI port, or if you prefer to use a VGA connection, you can easily connect them using a VGA cable. While VGA cables do not transmit audio signals, they are still a reliable option for displaying video content on the projector.
Follow these steps to connect your Samsung Ultrabook to the projector using a VGA cable:
- Make sure that both your Samsung Ultrabook and the projector are turned off before starting the connection process. This will prevent any damage to the devices.
- Locate the VGA port on your Samsung Ultrabook. It is usually labeled with the VGA symbol (three lines, with the middle line bent at a right angle). Connect one end of the VGA cable to this port.
- Now, find the VGA input port on the projector. It is typically located on the side or back of the projector and is labeled as “VGA In” or with the VGA symbol. Connect the other end of the VGA cable to this port.
- Once the VGA cable is securely connected to both devices, power on your Samsung Ultrabook and the projector.
- On your Samsung Ultrabook, press the “Windows” key + “P” to bring up the display options. This shortcut opens the “Project” menu.
- Select the “Duplicate” option. This will mirror the screen of your Ultrabook onto the projector, displaying the same content on both screens.
- Within a few moments, the projector should recognize the VGA connection and display the screen of your Samsung Ultrabook.
Note that VGA cables transmit video signals only, so you will need to connect the audio separately. Locate the audio output port on your Samsung Ultrabook, which is typically a 3.5mm headphone jack. Connect one end of an audio cable (e.g., a 3.5mm AUX cable) to this port, and the other end to the audio input on the projector or to external speakers connected to the projector.
After connecting the audio cable, ensure that the audio settings on your Samsung Ultrabook are properly configured. Go to the sound settings and select the audio output as the connected speakers or the projector’s audio input, depending on your setup.
With the VGA and audio connections in place, you can now power on your devices and start enjoying your presentations, videos, or other multimedia content on the projector.
In the next section, we will discuss an alternative approach to connecting your Samsung Ultrabook to the projector: using a wireless connection.
Connect the Samsung Ultrabook to the projector using a wireless connection
If you prefer a cable-free setup or your Samsung Ultrabook and the projector support wireless connectivity, you have the option to connect them using a wireless connection. This method allows for greater flexibility and convenience, as it eliminates the need for cables and adapters.
Follow these steps to connect your Samsung Ultrabook to the projector wirelessly:
- Ensure that both your Samsung Ultrabook and the projector are connected to the same Wi-Fi network. This is essential for establishing a wireless connection between the two devices.
- On your Samsung Ultrabook, open the “Settings” menu and navigate to the “Display” or “Project” settings.
- Select the “Connect to a wireless display” or similar option. This will initiate a search for available wireless displays in the vicinity.
- On the projector, locate the wireless display settings or look for an option that enables wireless connectivity.
- Select the name of your Samsung Ultrabook from the list of available wireless displays on the projector.
- If prompted, enter the passcode or PIN displayed on the projector screen to establish the connection.
- Within a few moments, the projector should recognize your Samsung Ultrabook and begin mirroring the display wirelessly.
It is important to note that the specific steps and options for establishing a wireless connection may vary depending on the brand and model of your Samsung Ultrabook and the projector. Refer to the user manuals or manufacturer’s website for detailed instructions if needed.
With the wireless connection established, you can now project your Samsung Ultrabook’s screen onto the larger display of the projector. Enjoy the freedom of moving around without being constrained by cables, making it ideal for interactive presentations or sharing content with a diverse audience.
Remember to adjust the display and audio settings on your Samsung Ultrabook as necessary. This includes selecting the appropriate display and audio output options to ensure a seamless and synchronized experience between your Ultrabook and the projector.
In the next section, we will discuss how to adjust the display settings on your Samsung Ultrabook to optimize the viewing experience on the projector.
Adjust display settings on the Samsung Ultrabook
After successfully connecting your Samsung Ultrabook to the projector, it’s important to adjust the display settings to ensure optimal viewing and performance. By making a few adjustments, you can enhance the clarity, resolution, and aspect ratio of the projected image.
Here are some steps to adjust the display settings on your Samsung Ultrabook:
- Right-click on the desktop and select “Display settings” or “Screen resolution” from the context menu. Alternatively, you can access the display settings through the Control Panel or Settings menu.
- In the display settings, you will see a section labeled “Display” or “Multiple displays”. Here, you can choose how you want the display to appear on the Ultrabook and the projector.
- Select the option that suits your needs. For example, you can choose to extend the display, which allows you to use the Ultrabook screen as an additional workspace while the projector displays separate content.
- Adjust the resolution to match the native resolution of the projector. This can help ensure that the content is displayed crisply and clearly. Look for the option that allows you to set the resolution or choose the recommended resolution for the projector.
- Check the aspect ratio and adjust it if necessary. Match the aspect ratio of the Ultrabook to the native aspect ratio of the projector for a properly proportioned display. Common aspect ratios include 4:3, 16:9, and 16:10.
- Preview the changes by selecting the “Apply” or “OK” button. This will apply the new display settings to the Ultrabook and projector.
In addition to adjusting the display settings on your Samsung Ultrabook, you may also need to configure the audio settings. Ensure that the audio is set to the appropriate output device, whether it is the Ultrabook’s speakers or the projector’s speakers.
Take some time to test the display and audio settings by playing a video or launching a presentation. Check if the content is displayed properly on the projector and if the audio is transmitted correctly to the speakers.
If any issues arise, double-check the connections and refer to the user manual or online support resources for further troubleshooting steps specific to your Samsung Ultrabook model and projector.
By adjusting the display settings on your Samsung Ultrabook, you can ensure that the content is displayed accurately on the projector, providing a seamless and visually appealing experience for your audience.
In the next section, we will discuss some common connection issues and troubleshooting methods to help you overcome potential obstacles.
Troubleshooting common connection issues
While connecting your Samsung Ultrabook to a projector is generally a straightforward process, it is not uncommon to encounter some connection issues along the way. In this section, we will address some common problems that you may encounter and provide troubleshooting methods to help you resolve them.
1. No signal or blank screen:
If the projector does not display any image or shows a blank screen, ensure that all cables are securely connected. Check that the projector and the Ultrabook are powered on and set to the correct input/output sources. If necessary, toggle through the display options on your Ultrabook (e.g., “Windows” key + “P”) to select the desired display mode.
2. No audio:
If you are experiencing no audio or sound from the projector’s speakers, ensure that the audio cable or HDMI cable is securely connected and that the audio settings on your Ultrabook are correctly configured. Make sure the volume on both the Ultrabook and the projector is turned up, and check that the audio output is set to the appropriate device.
3. Incorrect display or resolution:
If the projected image appears distorted, pixelated, or has incorrect colors, verify that the resolution settings on both the Ultrabook and the projector match. Adjust the resolution to the native resolution of the projector to ensure optimal image quality. Additionally, check if the aspect ratio of the Ultrabook matches the aspect ratio supported by the projector to avoid image stretching or distortion.
4. Display flickering or cutting out:
If the projected display intermittently flickers or cuts out, first check the cable connections to ensure they are snug and secure. If the issue persists, try using a different cable or adapter to rule out any potential cable-related problems. Additionally, check for any software or driver updates for your Samsung Ultrabook and the projector, as outdated software can sometimes cause display issues.
5. Wireless connection problems:
If you are using a wireless connection, ensure that both your Samsung Ultrabook and the projector are connected to the same Wi-Fi network. Make sure the wireless display settings are configured correctly on your Ultrabook, and select the correct wireless display option on the projector. If you encounter issues, try restarting your devices, restarting the Wi-Fi router, or moving closer to the router to improve the wireless signal strength.
If you continue to experience connection problems after attempting these troubleshooting steps, consult the user manuals for your Samsung Ultrabook and the projector for specific instructions. Additionally, reach out to the manufacturer’s support resources or forums for further assistance.
Remember, troubleshooting connection issues may require a bit of patience and experimentation. By following the troubleshooting methods listed above, you can overcome common obstacles and ensure a successful connection between your Samsung Ultrabook and the projector.
In the final section, we will wrap up the article with a brief recap of the key points discussed throughout the guide.
Conclusion
Connecting your Samsung Ultrabook to a projector allows you to display your presentations, videos, and other multimedia content on a larger screen, making it easier to share and engage with your audience. Throughout this guide, we explored various methods of connecting your Samsung Ultrabook to a projector, including using HDMI, VGA, and wireless connections.
We began by discussing the importance of determining the projector’s compatibility with your Samsung Ultrabook, ensuring that the ports, resolutions, and aspect ratios align for a seamless connection. We also highlighted the need to gather the necessary cables and adapters, such as HDMI, VGA, or USB-C adapters, depending on the available ports on your devices.
We then provided step-by-step instructions on how to connect your Samsung Ultrabook to the projector using an HDMI cable, VGA cable, or wireless connection. Adjusting the display settings and resolving common connection issues were also covered to ensure optimal performance and troubleshoot any problems that may arise.
Remember to ensure that you have high-quality cables and adapters to maintain the integrity of the signals transmitted between your Ultrabook and the projector. Additionally, familiarize yourself with the specific instructions and configurations for your Samsung Ultrabook and the projector, as they may vary depending on the models and brands involved.
By following the guidelines outlined in this guide, you can confidently connect your Samsung Ultrabook to a projector and enjoy the enhanced visual experience it provides.
We hope this guide has been helpful in assisting you with connecting your Samsung Ultrabook to a projector. Now, gather your materials, choose the appropriate connection method, and get ready to impress your audience with stunning visuals and captivating presentations!