Introduction
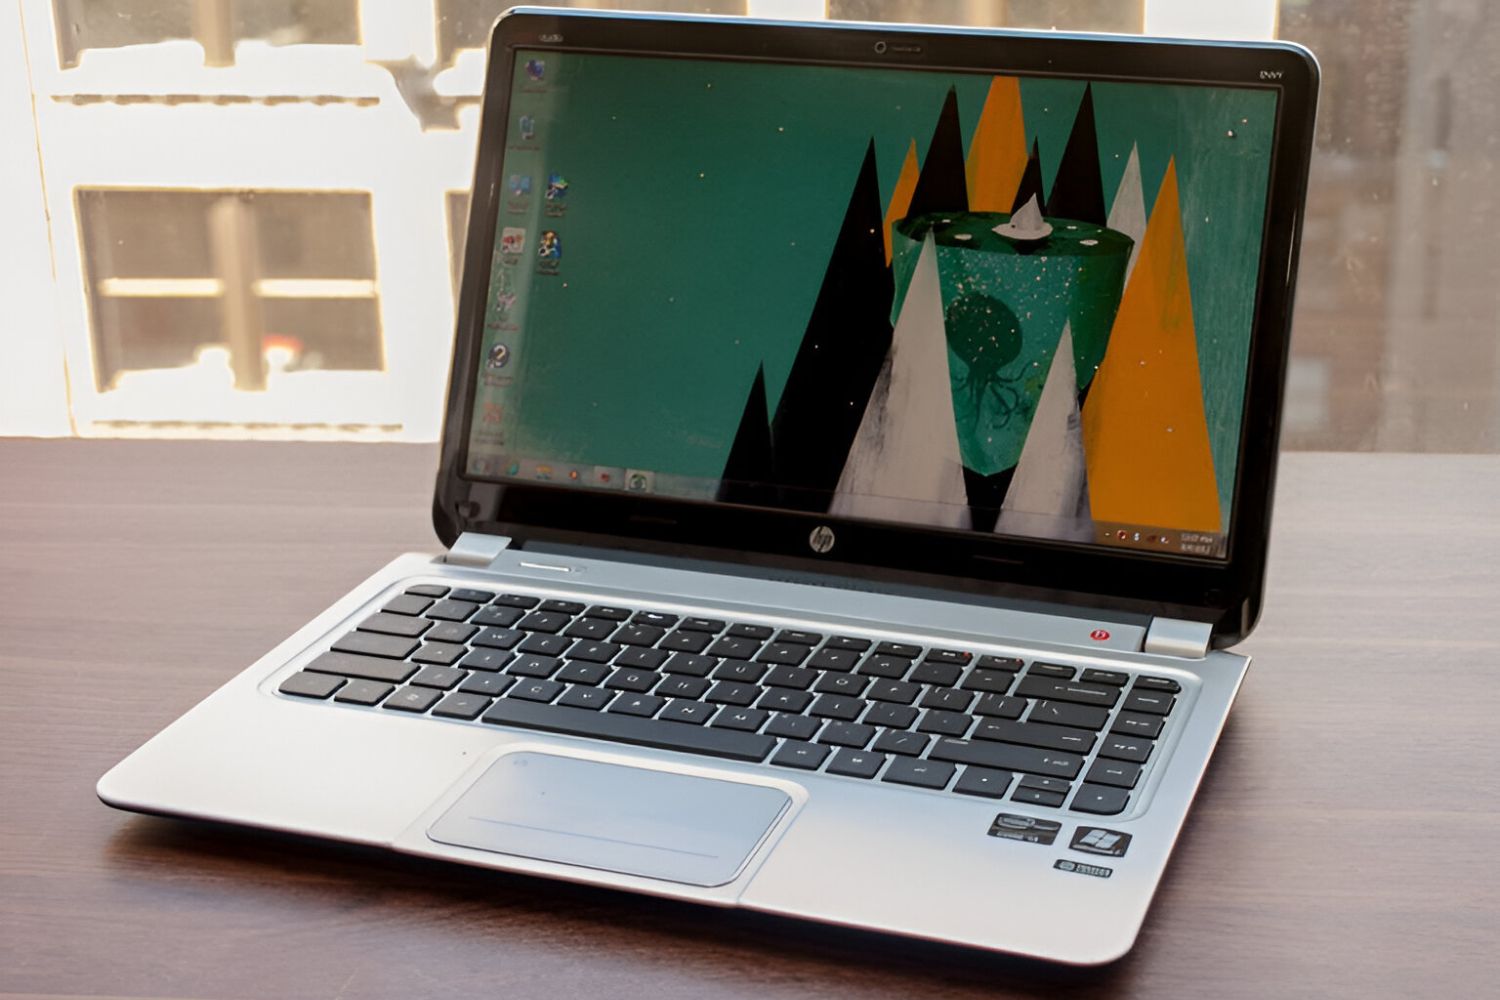
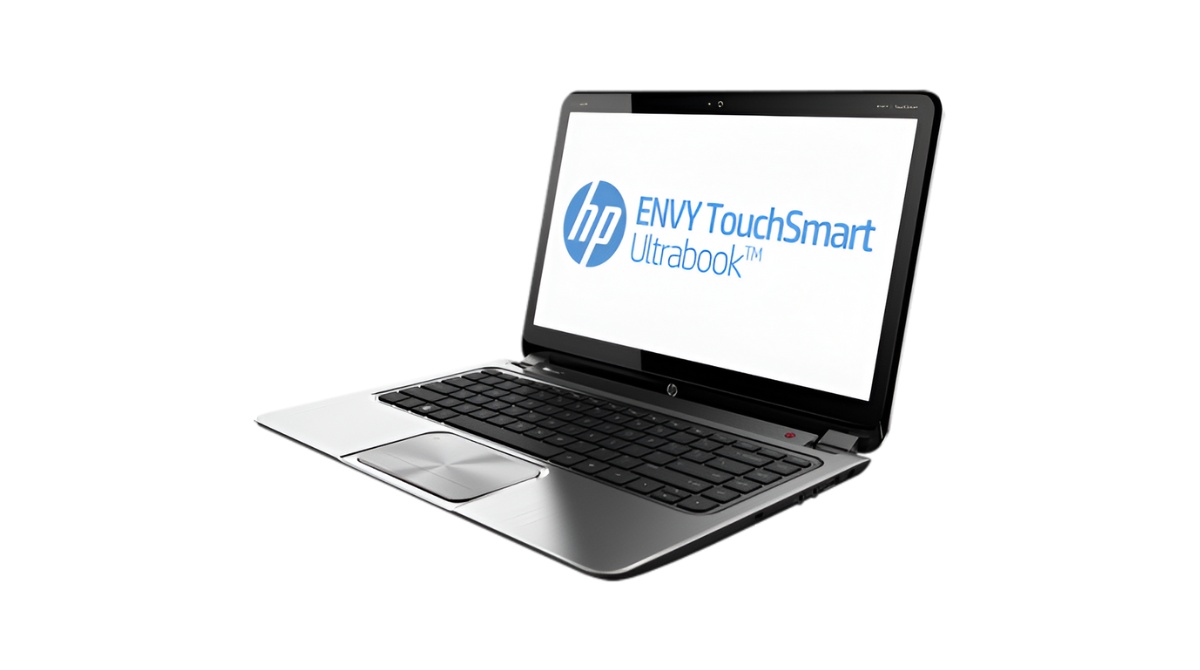
Welcome to our guide on how to reset the HP Ultrabook 4 1030Us. Whether you’re experiencing software issues, want to start fresh, or are planning to sell or give away your Ultrabook, performing a reset can help resolve many issues and ensure your data is securely wiped. In this article, we will walk you through the step-by-step process of resetting your HP Ultrabook 4 1030Us.
Resetting your Ultrabook can be a beneficial troubleshooting solution, as it reverts your device back to its original factory settings. This means all your personal files, apps, and settings will be removed, so it’s essential to back up any important data before proceeding with the reset.
By following the outlined steps, you can easily perform a reset on your HP Ultrabook 4 1030Us and have it up and running like new in no time. Let’s dive into the details and get started on resetting your device!
Step 1: Back up your files
Before you initiate a reset on your HP Ultrabook 4 1030Us, it’s crucial to back up any important files or data you have on your device. Resetting your Ultrabook will remove all personal files, applications, and settings. By backing up your files, you can ensure that nothing important is lost in the process. Here’s how you can back up your files:
- External Storage: Connect an external hard drive or USB flash drive to your Ultrabook. Copy and paste your important files, documents, photos, videos, and any other data you want to save onto the external storage device.
- Cloud Storage: Utilize popular cloud storage services like Google Drive, Dropbox, or Microsoft OneDrive. Upload your files to your cloud storage account, ensuring that they are safely stored in the cloud.
- Network Transfer: If your Ultrabook is connected to a local network, you can transfer your files to another device within the network. This can be done through file-sharing options or using network backup software.
Remember to double-check and verify that all your important files are successfully backed up before proceeding to the next step. Once you have completed the backup process, you can be confident that your data is safely stored, regardless of the reset process.
Step 2: Power off your HP Ultrabook 4 1030Us
Now that you have successfully backed up your files, it’s time to power off your HP Ultrabook 4 1030Us before performing the reset. Follow these simple steps:
- Save your work: Make sure to save any open documents or unfinished work before proceeding. Close all running programs to ensure that nothing gets lost during the shutdown process.
- Shut down your Ultrabook: Locate the power button on your Ultrabook, usually located on the top or side of the device. Press and hold the power button until the screen turns off and any indicator lights are no longer illuminated.
- Disconnect from power: Once your Ultrabook is powered off, unplug the AC adapter from the device. This step ensures that your Ultrabook is disconnected from any power source, preventing any potential electrical issues during the reset process.
Ensuring that your Ultrabook is properly powered off and disconnected from power is an important step in the reset process. By following these steps, you can proceed confidently to the next stage of resetting your HP Ultrabook 4 1030Us.
Step 3: Turn on your Ultrabook and press the F11 key
After powering off your HP Ultrabook 4 1030Us, it’s time to turn it back on and access the startup menu. To do so, follow these steps:
- Press the power button: Locate the power button on your Ultrabook and press it briefly to turn on the device. Be patient as it boots up to the startup screen.
- Press the F11 key: On the startup screen, repeatedly press the F11 key on your keyboard. This will prompt the Ultrabook to enter the Advanced Startup Options menu.
Keep in mind that different models and versions of the HP Ultrabook may require different keys to access the Advanced Startup Options menu. If the F11 key doesn’t work, refer to the user manual or contact HP support for the specific key combination for your device.
By pressing the F11 key at the right time, you will successfully enter the Advanced Startup Options menu, where you can proceed with the next steps to reset your HP Ultrabook 4 1030Us.
Step 4: Select “Troubleshoot” from the startup menu
Once you have successfully accessed the Advanced Startup Options menu on your HP Ultrabook 4 1030Us, it’s time to select the “Troubleshoot” option. Follow these steps:
- Use the arrow keys: After entering the Advanced Startup Options menu, use the arrow keys on your keyboard to navigate through the options.
- Select “Troubleshoot”: Navigate to the “Troubleshoot” option and press Enter to access the troubleshooting options.
The “Troubleshoot” option in the startup menu allows you to access various troubleshooting tools and options, including the option to reset your Ultrabook. It is an essential step in the reset process, as it provides you with the necessary tools to resolve any software issues and proceed with the reset.
Note that depending on your Ultrabook’s model and firmware settings, the layout and available options in the Advanced Startup Options menu may vary. Be sure to select the option that corresponds to “Troubleshoot” to continue with the reset process.
Step 5: Click on “Reset this PC”
After selecting the “Troubleshoot” option from the Advanced Startup Options menu, you will be presented with a range of troubleshooting tools and options for your HP Ultrabook 4 1030Us. To proceed with the reset, follow these steps:
- Choose “Reset this PC”: Within the Troubleshoot menu, locate and click on the “Reset this PC” option. This will initiate the reset process for your Ultrabook.
- Select reset type: You will be presented with different reset options, such as keeping your personal files or removing everything. Choose the option that suits your needs and preferences. If you want a complete reset with no personal files left behind, select the “Remove everything” option.
By clicking on “Reset this PC”, you are taking the necessary step to initiate the reset process. It’s essential to carefully consider the reset type that you choose, as it will determine the extent of your device’s reset and the amount of data that will be removed.
Take your time to review the available options and select the appropriate reset type for your needs. Once you have made your selection, you can proceed to the next step of the reset process for your HP Ultrabook 4 1030Us.
Step 6: Choose the desired reset option
After clicking on “Reset this PC” in the Troubleshoot menu, you will be presented with different reset options for your HP Ultrabook 4 1030Us. Depending on your preferences and requirements, you can choose the reset option that best suits your needs. Follow these steps to select your desired reset option:
- Review reset options: Take a moment to carefully review the available reset options on the screen. These options may include keeping your personal files or removing everything.
- Select your reset preference: Choose the reset option that aligns with your goals. If you want to retain your personal files while removing apps and settings, select the “Keep my files” option. If you want a full reset with all files removed, select the “Remove everything” option.
- Confirm your selection: Once you have chosen your desired reset option, follow the on-screen instructions to confirm your selection. This may involve agreeing to the terms and conditions or providing additional authentication if required.
Choosing the desired reset option ensures that the reset process aligns with your specific needs. Whether you want to keep your personal files or start fresh with a clean slate, this step allows you to customize the reset process to your liking. Take your time to consider your options and select the reset option that suits you best.
Step 7: Wait for the reset process to complete
After selecting your desired reset option for your HP Ultrabook 4 1030Us, it’s time to initiate the reset process and patiently wait for it to complete. Follow these steps:
- Initiate the reset: Once you have confirmed your reset option, the reset process will begin. Your Ultrabook will automatically start resetting to its factory settings.
- Wait for the process to complete: The reset process may take some time, depending on the size of your files and the speed of your device. It’s essential to be patient and let the process run its course. Avoid interrupting the process by turning off your Ultrabook or disconnecting it from power.
- Follow on-screen instructions: During the reset process, your Ultrabook may prompt you for additional actions or instructions. Make sure to carefully read and follow any on-screen prompts to prevent any complications.
While waiting, your Ultrabook may restart multiple times as part of the reset process. This is normal, so refrain from interfering with the restarts or forcefully shutting down your device.
Once the reset process is complete, your HP Ultrabook 4 1030Us will be restored to its original factory settings. All personal files, applications, and settings will be removed. You can then proceed to set up your Ultrabook again and customize it to your preferences.
Conclusion
Resetting your HP Ultrabook 4 1030Us can be a valuable solution when you encounter software issues, want to start fresh, or plan to sell or give away your device. By following the step-by-step guide outlined above, you can easily perform a reset and restore your Ultrabook to its original factory settings.
Remember, before initiating the reset, it’s crucial to back up any important files or data to ensure nothing valuable is lost during the process. Take the time to review the available reset options and select the one that aligns with your needs, whether you want to keep your personal files or start with a clean slate.
During the reset process, be patient and avoid interrupting the process by turning off your Ultrabook or disconnecting it from power. Follow any on-screen prompts and instructions that may appear to ensure a smooth and successful reset.
Once the reset is complete, you can set up your Ultrabook again and personalize it with your preferred settings and applications. Enjoy the fresh start and improved performance that comes with resetting your HP Ultrabook 4 1030Us.
Remember, if you encounter any difficulties or have specific questions regarding the reset process, don’t hesitate to consult the user manual or reach out to HP support for further assistance.