Introduction
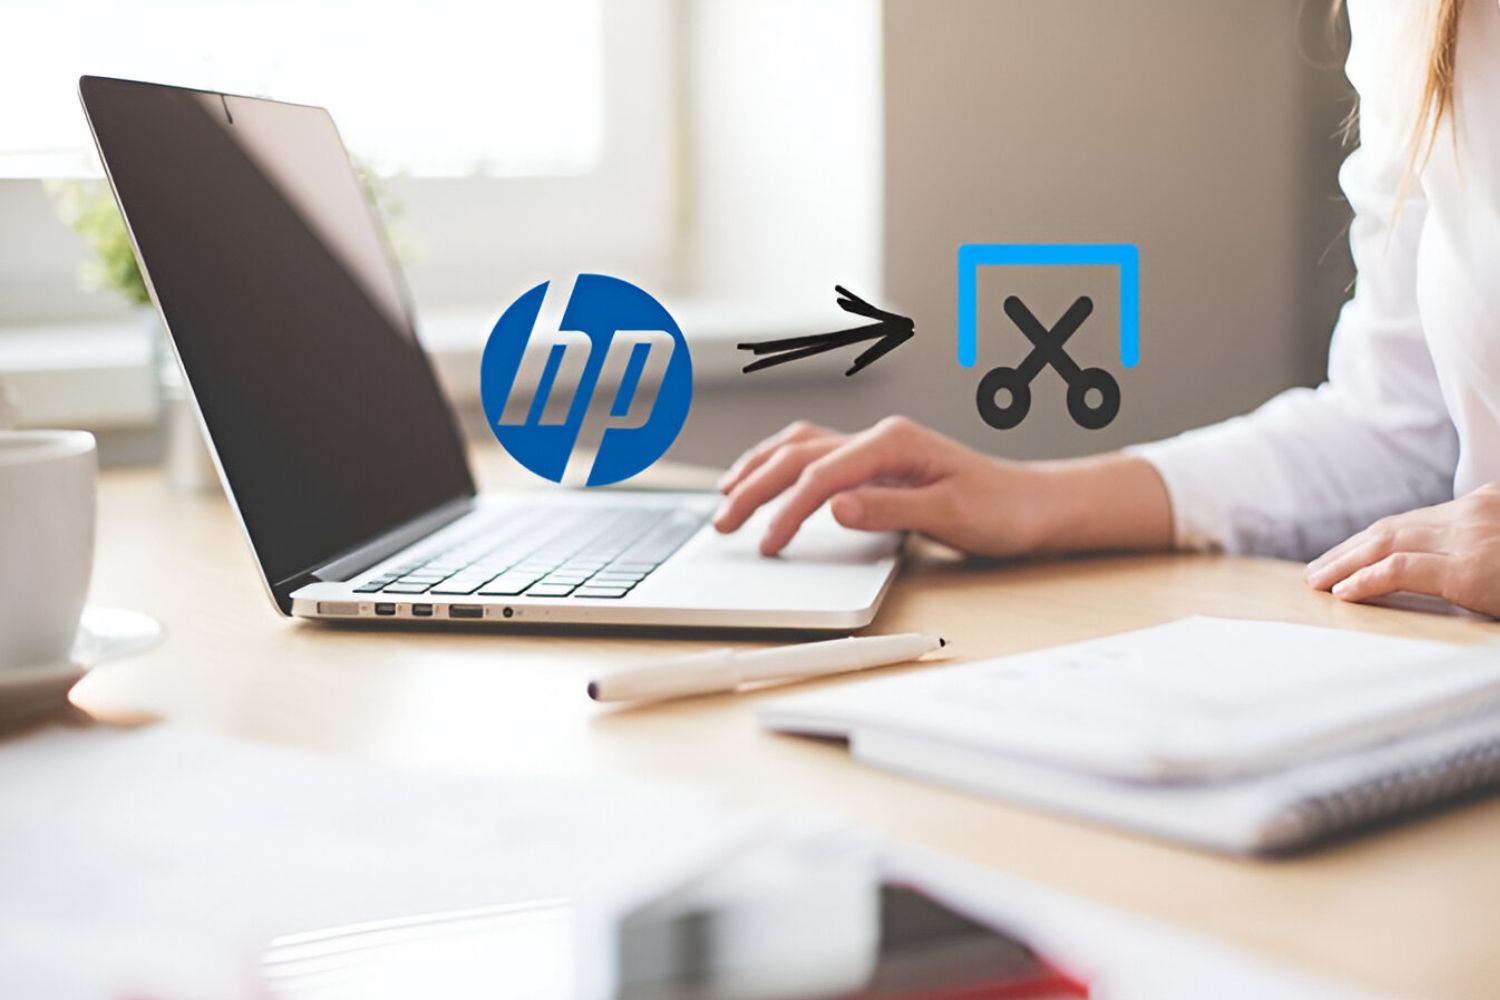
Printing documents from an HP Ultrabook laptop can be a straightforward process if you follow the right steps. Whether you need to print a business report, an assignment for school, or any other essential document, having a reliable and efficient printing setup is essential. In this guide, we will walk you through the necessary steps to run print from an HP Ultrabook, ensuring that you can conveniently print your documents whenever you need to.
Before getting started, it is important to note that Ultrabooks, like any other laptops, do not have built-in printers. Therefore, you will need to connect your HP Ultrabook to an external printer to print your documents. You can use either a wired or wireless printer, depending on your preference and the printer’s compatibility.
This guide will focus on the general steps needed to print from an HP Ultrabook. However, it is important to refer to the specific user manual of your printer and HP Ultrabook for any unique instructions or troubleshooting tips specific to your devices.
Now, let’s get started with the step-by-step process of running print from an HP Ultrabook.
Step 1: Check Printer Compatibility
Before you can start printing from your HP Ultrabook, it is important to ensure that your printer is compatible with your laptop. While most printers in the market today are compatible with Windows or macOS, it is always advisable to double-check the specifications to avoid any compatibility issues.
To check the compatibility, start by locating the model number of your printer. This can usually be found on the front or back of the printer, as well as on the printer’s packaging or the user manual. Once you have the model number, visit the official website of the printer manufacturer.
On the manufacturer’s website, search for the specific model of your printer and check the system requirements. This will specify the operating systems that are supported by the printer. Verify that your HP Ultrabook’s operating system is listed as compatible with the printer. If it is not, you may need to consider installing the necessary drivers or using a different printer that is compatible with your Ultrabook.
If your HP Ultrabook is running Windows, you can also check the list of compatible printers by going to the Control Panel and navigating to the “Devices and Printers” section. Here, you will be able to see a list of printers that are compatible with your computer.
Remember, compatibility is crucial to ensure proper communication between your Ultrabook and the printer. If the printer is not compatible, you may not be able to install the necessary drivers or experience issues when trying to print.
Once you have confirmed that your printer is compatible with your HP Ultrabook, you can proceed to the next step of installing the printer driver.
Step 2: Install Printer Driver
After ensuring that your printer is compatible with your HP Ultrabook, the next step is to install the printer driver. A printer driver is a software that allows communication between your computer and the printer, enabling you to send print jobs seamlessly.
To install the printer driver, you have a few options:
- CD Installation: If your printer came with a CD, insert it into your Ultrabook’s CD/DVD drive. The CD should contain the necessary software and drivers to install the printer. Follow the on-screen instructions to complete the installation. If the CD does not automatically launch, you can manually run the setup file.
- Manufacturer’s Website: Visit the official website of the printer manufacturer and search for your printer’s model. Locate the “Support” or “Drivers” section and download the appropriate printer driver for your HP Ultrabook’s operating system. Once downloaded, run the installation file and follow the prompts to install the driver.
- Windows Update: In some cases, Windows may automatically detect the printer and install the necessary drivers through Windows Update. Connect your printer to your Ultrabook using a USB cable, then go to the Control Panel and navigate to “Devices and Printers.” Click on “Add a Printer” and follow the instructions to install the printer driver.
During the installation process, you may be prompted to choose between a wired or wireless connection, depending on the capabilities of your printer. Select the appropriate option based on your printer’s connectivity features.
Once the driver installation is complete, your HP Ultrabook will be ready to communicate with the printer for printing tasks. However, for wireless printers, an additional step is required to establish a connection.
In the next step, we will guide you through the process of connecting your printer to your HP Ultrabook.
Step 3: Connect Printer to HP Ultrabook
Once you have installed the printer driver on your HP Ultrabook, the next step is to connect the printer to your laptop. The method of connection may vary depending on whether you have a wired or wireless printer.
If you have a wired printer, follow these steps:
- Ensure that your printer is turned off.
- Using a USB cable, connect one end to the USB port on your HP Ultrabook and the other end to the USB port on the printer.
- Turn on your printer and wait for it to be recognized by your Ultrabook. It may take a few moments for the computer to detect the printer.
- Once the printer is detected, it will be ready for use. You can now proceed to print your documents as needed.
If you have a wireless printer, the process is slightly different:
- Ensure that your printer is connected to the same Wi-Fi network as your HP Ultrabook.
- On your Ultrabook, open the Control Panel and navigate to “Devices and Printers.”
- Click on “Add a Printer” and select the option to add a network printer.
- Wait for your computer to detect the printer. Once it appears in the list, select it and click on “Next” to install the printer.
- Follow the on-screen instructions to complete the installation. Your wireless printer should now be connected to your HP Ultrabook.
It’s worth noting that the exact steps for connecting a wireless printer may vary depending on the brand and model. Consult the printer’s manual for specific instructions if needed.
With your printer successfully connected to your HP Ultrabook, you are now ready to print your documents. In the next step, we will guide you on how to print a test page to ensure everything is functioning correctly.
Step 4: Print a Test Page
To ensure that your printer and HP Ultrabook are properly connected and working, it is recommended to print a test page. This will help you verify that your printing setup is functioning correctly before printing important documents.
To print a test page, follow these steps:
- Open the document or file you want to print, or simply open a blank document to test the printing functionality.
- Click on “File” in the top menu and select “Print.”
- In the print settings window, make sure that the correct printer is selected from the list of available printers. You can confirm the printer by checking its name or model number.
- Adjust any additional print settings as needed, such as the number of copies, page range, or paper size.
- Click on the “Print” button to start the printing process.
- Wait for the printer to process the print job and for the test page to be printed.
- Retrieve the printed test page from the printer’s output tray and inspect it for any issues. The test page should contain text, graphics, or patterns to confirm that the printer is working correctly.
If the test page prints successfully without any issues, congratulations! Your HP Ultrabook is now successfully connected to your printer, and you can confidently proceed to print any documents or files as needed.
If the test page doesn’t print as expected, there may be some troubleshooting steps you can take to resolve the issue. Check for any error messages on the printer’s display or refer to the printer’s user manual for troubleshooting guidelines. You may need to check the printer’s ink or toner cartridges, paper jams, or connectivity settings to ensure everything is functioning properly.
By following these steps and successfully printing a test page, you can ensure that your printer and Ultrabook are ready to fulfill your printing needs. In the next step, we will discuss some common printer issues and how to troubleshoot them.
Step 5: Troubleshooting Common Printer Issues
While connecting and using a printer with your HP Ultrabook is usually a seamless process, there may be times when you encounter some common printer issues. Here are a few troubleshooting tips for addressing these problems:
1. Paper Jams: If you experience a paper jam, carefully remove any jammed paper from the printer. Check for any torn pieces of paper that may have been left behind. Make sure to follow the printer’s manual on how to properly clear paper jams to avoid causing any damage to the printer.
2. Printer Offline: If your printer shows as offline, try restarting both your HP Ultrabook and the printer. This can help refresh the connection and resolve any temporary glitches. If the issue persists, check the printer’s connectivity settings and make sure it is connected to the same network as your Ultrabook.
3. Print Quality Issues: If you notice blurry or faded prints, first check the ink or toner levels in the printer and replace them if necessary. Additionally, check the print settings on your Ultrabook. Ensure that you have selected the appropriate print quality settings for your desired output.
4. Driver Issues: If you are experiencing issues with the printer driver, try reinstalling or updating the driver. Visit the manufacturer’s website to download the latest driver version for your printer model. Uninstall the current driver from your Ultrabook before installing the new one.
5. Wireless Connection Problems: If you are using a wireless printer and experiencing connection issues, check if the printer and your Ultrabook are connected to the same Wi-Fi network. Ensure that there are no obstacles or interference affecting the wireless signal. You may also try restarting your router to reset the connection.
If you have tried these troubleshooting tips and are still experiencing issues, it is recommended to refer to the printer’s user manual for further instructions or contact the manufacturer’s support team for assistance. They will have in-depth knowledge of your specific printer model and can provide more targeted assistance.
Remember, patience and persistence are crucial when troubleshooting printer issues. With some troubleshooting and proper maintenance, you can ensure that your printer and HP Ultrabook work together seamlessly to meet your printing needs.
Conclusion
Congratulations! You have successfully learned how to run print from an HP Ultrabook. By following the steps outlined in this guide, you can now connect your printer to your Ultrabook and print documents with ease. Remember, it is important to ensure printer compatibility, install the necessary printer driver, connect the printer to your Ultrabook, and test the printing functionality with a test page.
If you encounter any common printer issues along the way, refer to the troubleshooting tips provided to overcome them. By troubleshooting these issues, you can maintain a smooth and efficient printing experience.
Always keep your printer’s user manual handy for specific instructions and guidance related to your printer model. Additionally, consult the user guide or support documentation for your HP Ultrabook for any specific printer configuration settings or troubleshooting resources.
With your HP Ultrabook and printer working together seamlessly, you are now ready to print important documents, reports, assignments, and more. Enjoy the convenience and efficiency of having a reliable printing setup at your fingertips.
Remember to regularly check for updates to your printer driver and software to ensure optimal performance and compatibility with your HP Ultrabook. Keeping your devices up-to-date will help prevent any potential printing issues in the future.
We hope this guide has been helpful to you in setting up and running print from your HP Ultrabook. Feel free to revisit this guide or seek additional support if needed. Happy printing!