Introduction
Welcome to our guide on how to replace the hard drive on the Sony Vaio T13 Ultrabook. Whether you’re upgrading to a larger storage capacity or replacing a faulty drive, this step-by-step tutorial will walk you through the process.
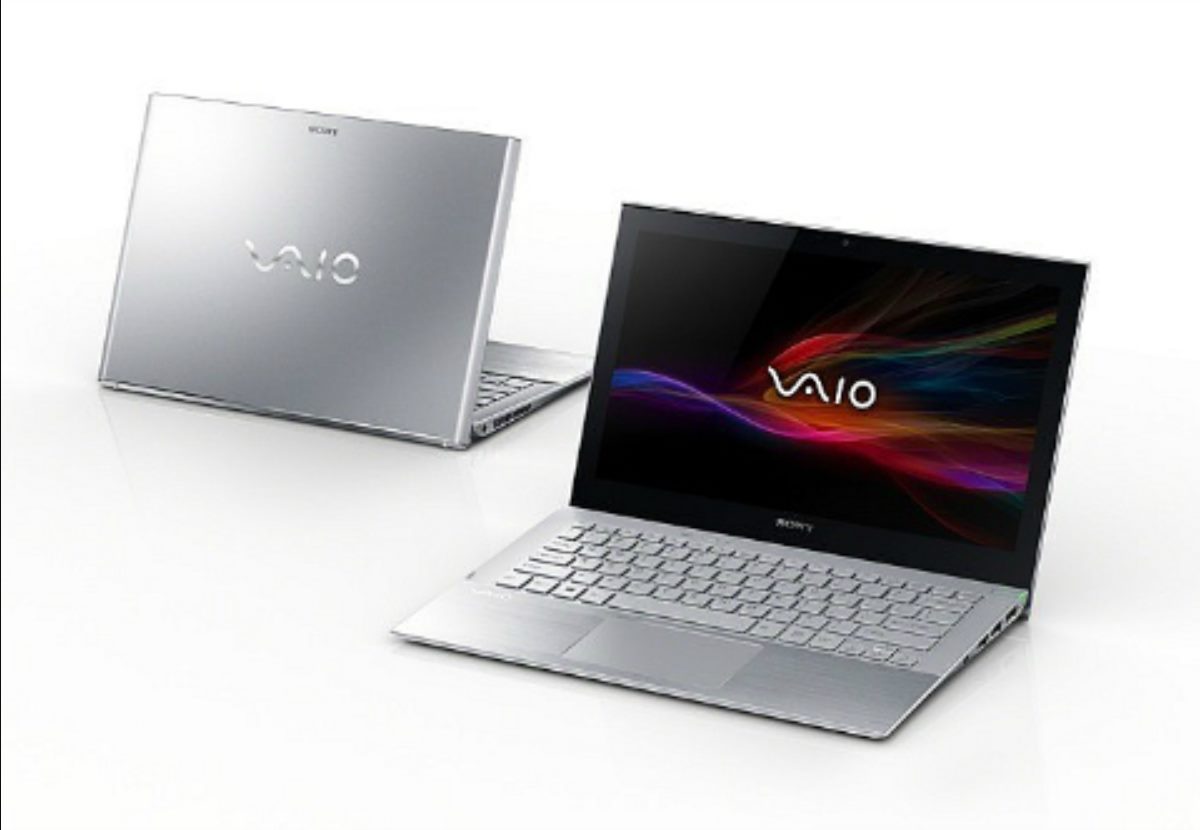
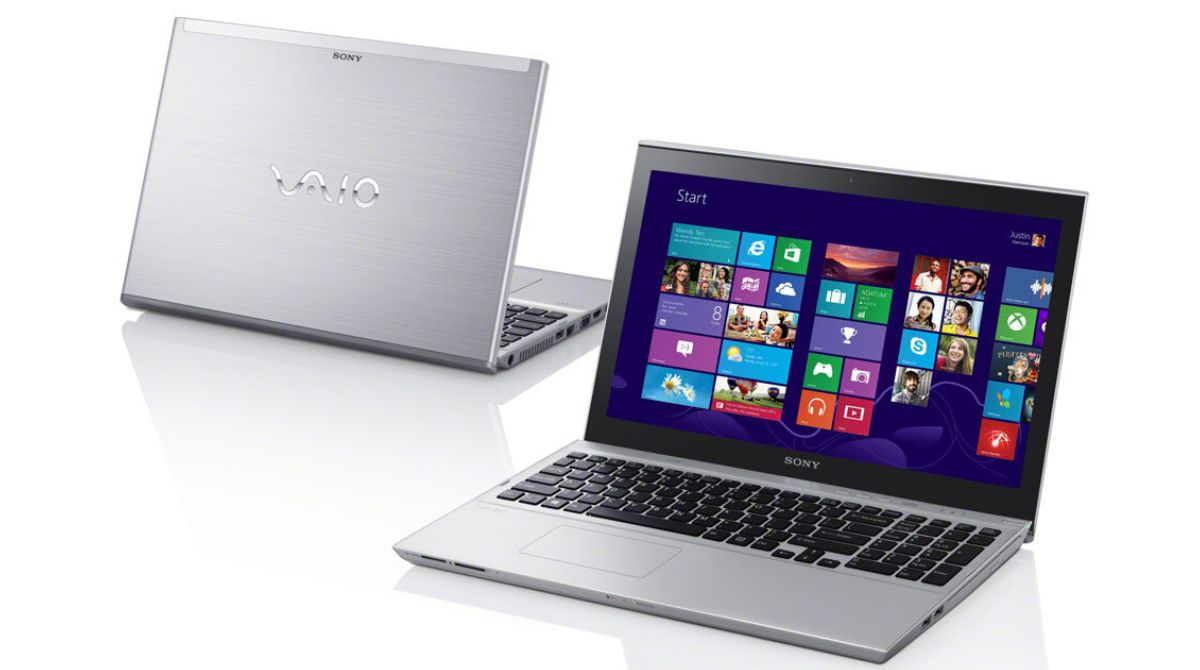
The Sony Vaio T13 Ultrabook is known for its sleek design and powerful performance, but like any computer, the hard drive can fail over time. By replacing the hard drive, you can restore your ultrabook’s storage capabilities and ensure the longevity of your device.
Before we begin, it’s important to note that replacing the hard drive requires careful handling and technical knowledge. If you’re uncomfortable with computer hardware or unsure about any step, we recommend seeking assistance from a professional technician.
In this guide, we’ll provide detailed instructions and tips to help you successfully replace the hard drive on your Sony Vaio T13 Ultrabook. We’ll cover everything from gathering the necessary tools and materials to restoring your data onto the new drive.
So, let’s get started with the first step – gathering the necessary tools and materials. By making sure you have everything you need upfront, you can save time and avoid any unnecessary delays during the process. Remember to power off your ultrabook and disconnect it from the power source before proceeding with any hardware modifications.
Step 1: Gather necessary tools and materials
Before you begin replacing the hard drive on your Sony Vaio T13 Ultrabook, it’s essential to gather all the necessary tools and materials. Having everything you need at hand will help streamline the process and ensure a successful installation. Here are the items you’ll need:
- Screwdriver set: Make sure you have a small Phillips head screwdriver that fits the screws on the bottom casing of your ultrabook.
- New hard drive: Purchase a replacement hard drive that is compatible with your Sony Vaio T13 Ultrabook. It is recommended to choose a drive with the same form factor (2.5-inch) and an appropriate storage capacity for your needs.
- External storage device: To backup and restore your data from the old hard drive, you’ll need an external storage device such as a USB flash drive or an external hard drive.
- Data transfer cable or enclosure (optional): If you prefer to clone your old hard drive to the new one, you may need a data transfer cable or an enclosure that allows you to connect the new hard drive externally to your ultrabook.
- Anti-static wrist strap (optional): Although not mandatory, an anti-static wrist strap can help protect your ultrabook and the new hard drive from static electricity that may damage sensitive components.
Once you have gathered these tools and materials, you’re ready to proceed with the hard drive replacement process. It’s always a good idea to double-check that you have everything before starting to ensure a smooth and efficient experience.
Now that you have everything you need, let’s move on to the next step: backing up your data before replacing the hard drive.
Step 2: Back up your data
Before replacing the hard drive on your Sony Vaio T13 Ultrabook, it’s crucial to back up your data to prevent any loss or corruption during the process. This way, you can easily transfer your files, documents, and settings to the new hard drive once it’s installed. Here’s how you can back up your data:
- Connect an external storage device: Plug in your USB flash drive or connect your external hard drive to your ultrabook using the appropriate cable.
- Open the backup software: Depending on your operating system, you can use built-in backup tools like “Backup and Restore” on Windows or “Time Machine” on MacOS. You can also opt for third-party backup software like Acronis True Image or Carbon Copy Cloner.
- Select the files to back up: Choose the files, folders, and documents that you want to include in the backup. It’s recommended to back up your entire user folder to ensure that all personal data is preserved.
- Start the backup process: Follow the on-screen instructions in the backup software to start the backup process. This may take some time depending on the size of your data.
- Verify the backup: Once the backup is complete, double-check that all essential files and folders have been successfully copied to the external storage device. This will ensure that you can restore your data without any issues later on.
Backing up your data is crucial as it provides a safety net in case anything goes wrong during the hard drive replacement process. It’s always better to be safe than sorry, and taking the time to back up your data will give you peace of mind.
Now that you’ve successfully backed up your data, you’re ready to move on to the next step: powering off and disconnecting your ultrabook before proceeding with the hardware modifications.
Step 3: Power off and disconnect the ultrabook
Before you begin replacing the hard drive on your Sony Vaio T13 Ultrabook, it’s important to power off the device and disconnect it from any power sources. This step ensures your safety and prevents any accidental damage to the internal components.
Follow these steps to power off and disconnect your ultrabook:
- Save your work: If you have any open files or important documents, save them and close all programs before proceeding.
- Shut down the ultrabook: Click on the “Start” button in Windows or the Apple menu in MacOS, then select “Shut Down” to turn off your ultrabook properly.
- Unplug the power adapter: Disconnect the power adapter from the ultrabook and remove it from the electrical outlet.
- Remove any peripheral devices: If you have any external devices connected to your ultrabook, such as USB drives or headphones, unplug them from the ports.
- Turn the ultrabook upside down: Carefully flip your ultrabook over, so the bottom casing is facing up.
- Remove the battery (optional): Some Sony Vaio T13 models have a removable battery. If yours is removable, locate the battery release latch and slide it to release the battery. Gently lift the battery out of its compartment.
By following these steps, you have successfully powered off your ultrabook and disconnected it from any power sources. This ensures that you can safely proceed with the hardware modifications without risking any electrical damage.
In the next step, we will guide you through removing the bottom casing of your ultrabook to gain access to the hard drive compartment.
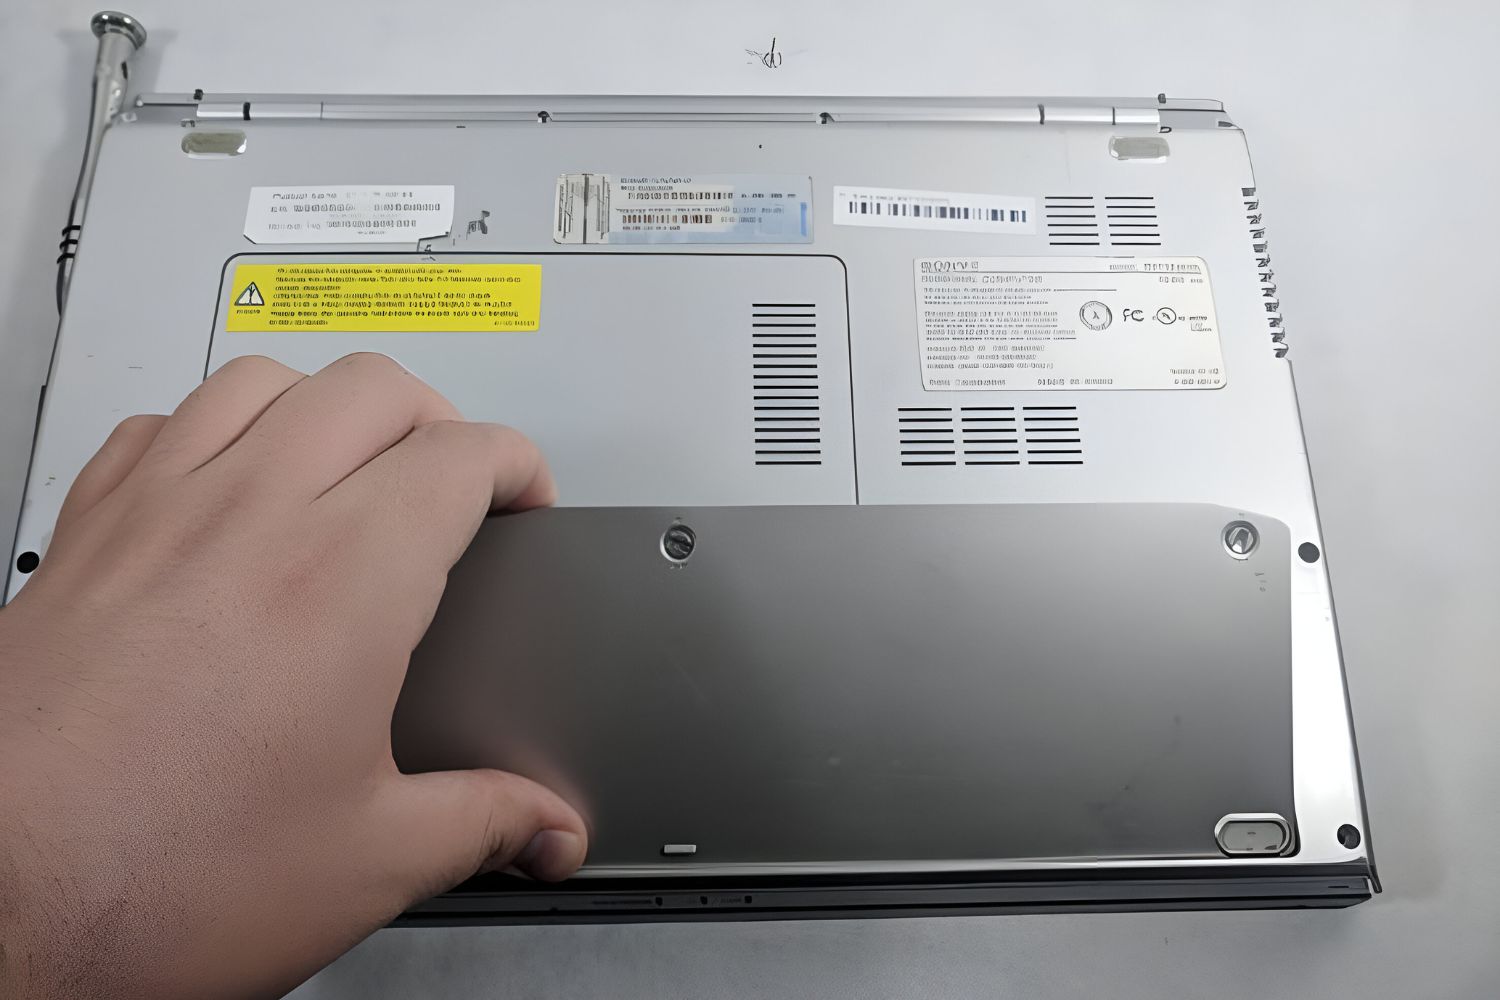
Step 4: Remove the bottom casing of the ultrabook
With your Sony Vaio T13 Ultrabook powered off and disconnected, you’re ready to remove the bottom casing. This will give you access to the internal components, including the hard drive compartment. Follow these steps to remove the bottom casing:
- Locate the screws: Flip your ultrabook over and examine the bottom casing. You’ll notice several screws securing the casing in place. Take note of their locations.
- Use the appropriate screwdriver: Select the appropriate size and type of screwdriver (typically a small Phillips head) that matches the screws on the bottom casing.
- Remove the screws: Carefully unscrew each of the screws on the bottom casing, ensuring not to misplace them. Set them aside in a secure location.
- Gently pry open the casing: Once the screws are removed, use your fingers or a non-metallic prying tool to gently separate the bottom casing from the rest of the ultrabook. Start from one corner and gradually work your way around, applying light pressure to release any clips or latches holding the casing in place.
- Completely remove the bottom casing: Once all clips and latches have been disengaged, carefully lift off the bottom casing and set it aside.
Be cautious while removing the bottom casing to avoid damaging any internal components. Take your time and apply gentle pressure when prying open the casing to ensure a smooth removal process.
With the bottom casing successfully removed, you now have access to the internal components of your Sony Vaio T13 Ultrabook, including the hard drive. In the next step, we will guide you through locating and disconnecting the current hard drive in preparation for the installation of a new one.
Step 5: Locate and disconnect the hard drive
Now that you have removed the bottom casing of your Sony Vaio T13 Ultrabook, it’s time to locate and disconnect the current hard drive. Follow these steps to complete this process:
- Identify the hard drive: Look for a rectangular-shaped component within the ultrabook that matches the size and appearance of a typical 2.5-inch hard drive. The hard drive is usually secured in a drive bay or a metal bracket with screws.
- Disconnect the hard drive cable: Locate the SATA data cable and power cable connected to the hard drive. Gently detach these cables by carefully pulling them straight out of their respective connectors.
- Remove the mounting screws: Identify the screws that secure the hard drive in place. Use a screwdriver to unscrew each one in a counterclockwise direction. Set the screws aside in a safe place for later use.
- Take out the hard drive: Once the screws are removed, gently slide the hard drive out of its bay or metal bracket. Be careful not to apply too much force or bend any components.
During this process, be cautious not to touch any other internal components of the ultrabook and avoid unnecessary static electricity buildup. You can use an anti-static wrist strap to further reduce the risk of damaging sensitive electronics.
With the hard drive successfully disconnected and removed, you are now ready to install the new hard drive. In the next step, we will guide you through the process of installing the new hard drive in your Sony Vaio T13 Ultrabook.
Step 6: Install the new hard drive
Now that you have successfully disconnected the old hard drive from your Sony Vaio T13 Ultrabook, it’s time to install the new hard drive. Follow these steps to ensure a proper installation:
- Prepare the new hard drive: If your new hard drive doesn’t come preformatted, you may need to format it before use. Connect the new hard drive to a computer using a data transfer cable or enclosure, and format it using the appropriate software.
- Align the new hard drive: Take your new hard drive and align it with the drive bay or metal bracket in the same position as the old hard drive. Ensure that the connectors on the new hard drive are facing outward and accessible.
- Secure the new hard drive: Once aligned, use the mounting screws that you set aside earlier to secure the new hard drive in place. Tighten the screws in a clockwise direction, but be careful not to overtighten them.
- Connect the cables: Attach the SATA data cable and power cable to the new hard drive. Make sure the cables are securely connected to the respective ports on the hard drive.
Ensure that the SATA data cable and power cable are properly seated in their respective connectors to prevent any data or power connection issues. Double-check the connections before proceeding.
With the new hard drive securely installed and the cables connected, you have successfully completed the installation process. In the next step, we will guide you through reassembling the ultrabook by putting the bottom casing back on.
Step 7: Reassemble the ultrabook
Now that you have installed the new hard drive in your Sony Vaio T13 Ultrabook, it’s time to reassemble the device by putting the bottom casing back on. Follow these steps to ensure a proper reassembly:
- Align the bottom casing: Take the bottom casing and align it with the edges of the ultrabook. Ensure that all the clips and latches on the casing align properly with the corresponding slots on the ultrabook.
- Press the casing firmly: With the casing aligned, press firmly on all edges and corners to snap the clips and latches back into place. Start from one corner and gradually work your way around the casing until it is securely attached.
- Insert and tighten the screws: Retrieve the screws that you set aside earlier and insert them into their respective holes on the bottom casing. Use the appropriate screwdriver to tighten each screw in a clockwise direction. Be cautious not to overtighten and strip the screw threads.
- Double-check the reassembly: Once all the screws are tightened, give the bottom casing a final inspection to ensure that it is securely attached to the ultrabook. Gently press on various areas of the casing to check for any loose or uneven sections.
It’s important to reassemble the ultrabook carefully and securely to ensure that all components are properly aligned and protected. Take your time during this process to avoid any accidental damage to the internal hardware.
With the ultrabook successfully reassembled, you’re one step closer to restoring your data on the new hard drive. In the next step, we will guide you through the process of restoring your backed-up data onto the newly installed hard drive.
Step 8: Restore your data
Now that you have reassembled your Sony Vaio T13 Ultrabook, it’s time to restore your data onto the newly installed hard drive. Follow these steps to ensure a successful data restoration:
- Connect the external storage device: Plug in the USB flash drive or connect the external hard drive containing your backed-up data to your ultrabook.
- Open the backup software: Launch the same backup software or utility that you used to create the backup.
- Select the restore option: Look for the restore option within the backup software. This will allow you to choose the files and folders you want to restore from the backup.
- Choose the files to restore: Select the files, folders, and settings you want to restore onto the new hard drive. You can either restore individual files or choose to restore the entire backup.
- Start the restoration process: Follow the on-screen instructions provided by the backup software to begin the restoration process. This may take some time, depending on the size of your backup and the speed of your computer.
- Verify the data restoration: Once the restoration process is complete, verify that your files, documents, and settings have been successfully restored on the new hard drive. Open a few files or applications to ensure they are functioning correctly.
Ensure that you follow the instructions provided by the backup software carefully to prevent any data loss or corruption during the restoration process. It’s always a good practice to double-check that all essential data has been successfully restored before proceeding.
Congratulations! You have now successfully replaced the hard drive on your Sony Vaio T13 Ultrabook and restored your data onto the new drive. Your ultrabook should now be ready for use with an upgraded or replacement hard drive.
Remember to keep your old hard drive in a safe place in case you need to access any additional data from it in the future. Additionally, you may need to reinstall any software or applications that were not included in your backup.
Thank you for following this step-by-step guide. We hope it has been helpful in guiding you through the process of replacing the hard drive on your Sony Vaio T13 Ultrabook. If you have any questions or need further assistance, don’t hesitate to seek help from a professional technician.
Conclusion
Congratulations on successfully replacing the hard drive on your Sony Vaio T13 Ultrabook! By following the step-by-step guide provided, you’ve gained the knowledge and skills necessary to upgrade or replace the hard drive in your ultrabook.
Remember, replacing the hard drive requires careful handling and technical knowledge. If you’re not comfortable performing these tasks, it is always recommended to seek assistance from a professional technician to ensure a smooth and error-free process.
Throughout this guide, we covered various steps, including gathering the necessary tools and materials, backing up your data, powering off and disconnecting your ultrabook, removing the bottom casing, locating and disconnecting the old hard drive, installing the new hard drive, reassembling the ultrabook, and finally, restoring your data onto the new hard drive.
By following these steps, you’ve not only gained a deeper understanding of the process but also ensured the longevity and improved performance of your ultrabook. The new hard drive will provide you with ample storage space for your files, documents, and applications.
Remember to keep your old hard drive in a safe place for any future needs, and consider investing in an external storage device to back up your data regularly. This will help protect your valuable files and ensure that you can easily restore them in case of any unforeseen circumstances.
We hope this guide has been informative and helpful in assisting you with the hard drive replacement process on your Sony Vaio T13 Ultrabook. If you have any further questions or need additional assistance, don’t hesitate to seek help from experts or reach out to the manufacturer’s support team.
Thank you for choosing our guide, and we wish you continued success with your Sony Vaio T13 Ultrabook and its new hard drive!