Introduction
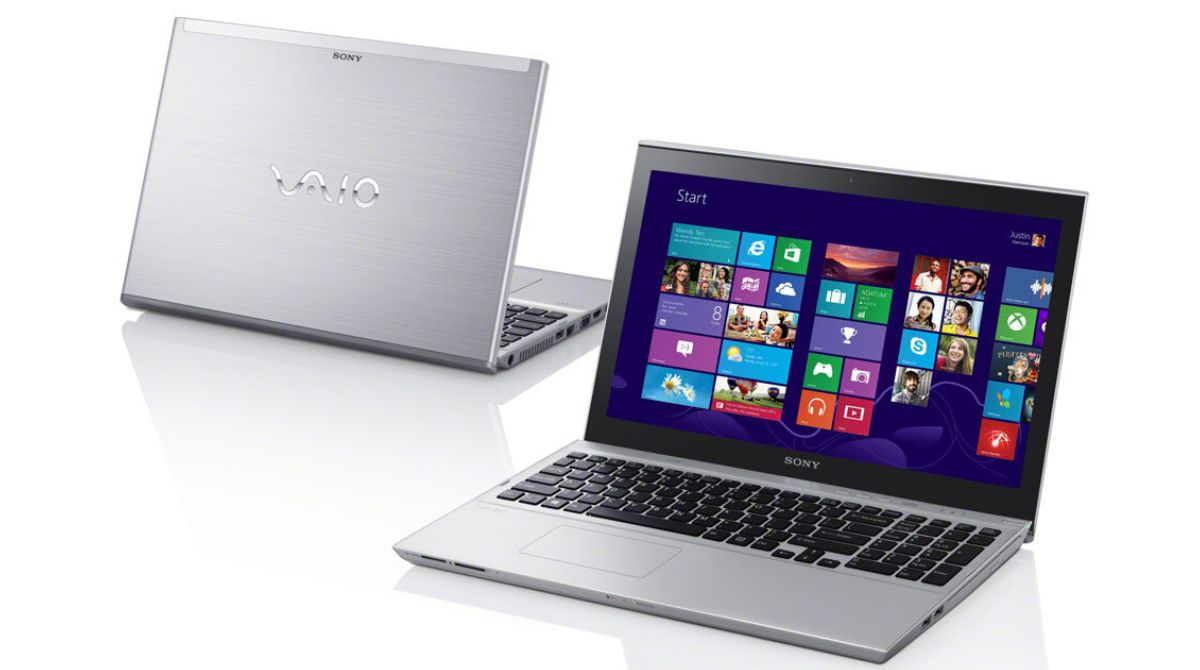
The Sony Vaio T Series Ultrabook is a sleek and powerful device that offers exceptional performance and portability. Whether you are a tech enthusiast or a casual user, there may come a time when you need to access the BIOS (Basic Input/Output System) on your Sony Vaio T Series Ultrabook. The BIOS is a crucial component of your computer that controls various hardware settings and allows you to make important changes.
Getting into the BIOS can be useful in several scenarios. You may need to change the boot order, enable or disable certain hardware components, or adjust power management settings. Additionally, accessing the BIOS can be necessary when troubleshooting or performing a system update. Knowing how to access the BIOS on your Sony Vaio T Series Ultrabook is essential to perform these tasks efficiently.
In this article, we will explore various methods to access the BIOS on your Sony Vaio T Series Ultrabook. Whether you are a novice or experienced user, we have you covered with step-by-step instructions for each method. So, let’s dive in and discover the different ways to access the BIOS on your Sony Vaio T Series Ultrabook.
Why access BIOS on Sony Vaio T Series Ultrabook?
Accessing the BIOS on your Sony Vaio T Series Ultrabook can provide you with a range of benefits and options to optimize your computer’s performance and troubleshoot various issues. Let’s take a closer look at the reasons why you might need to access the BIOS.
1. Hardware Configuration: The BIOS allows you to configure various hardware settings on your Sony Vaio T Series Ultrabook. You can modify parameters such as CPU and memory timings, fan speeds, and power management options. By accessing the BIOS, you can fine-tune these settings to suit your specific needs, maximizing your device’s performance and efficiency.
2. Boot Order Configuration: The BIOS enables you to manipulate the boot order of your Sony Vaio T Series Ultrabook. This is particularly useful when you want to prioritize the booting sequence of different devices, such as the hard drive, CD/DVD drive, or USB drive. Changing the boot order can help you install or boot from specific media, such as an operating system installation disk or a bootable USB device.
3. Troubleshooting: Sometimes, you might encounter issues with your Sony Vaio T Series Ultrabook that require troubleshooting at the BIOS level. Accessing the BIOS can help you identify and resolve problems related to hardware, such as faulty memory modules or incompatible devices. You can also check for any error messages or diagnostic information provided by the BIOS that can assist in diagnosing and resolving the issue.
4. System Updates: Updating the BIOS can provide enhanced compatibility, improved system stability, and added features for your Sony Vaio T Series Ultrabook. Accessing the BIOS allows you to check for and install available updates for the firmware of your device. Keeping the BIOS up to date ensures optimal performance and compatibility with the latest hardware and software technologies.
5. Security Features: The BIOS also offers security features for your Sony Vaio T Series Ultrabook. You can set a password to prevent unauthorized access to the BIOS and secure your device. Accessing the BIOS allows you to manage these security settings, ensuring that your personal and confidential information remains protected.
Now that you understand why accessing the BIOS on your Sony Vaio T Series Ultrabook is important, let’s explore the different methods you can use to enter the BIOS interface.
Method 1: Using the Assist button
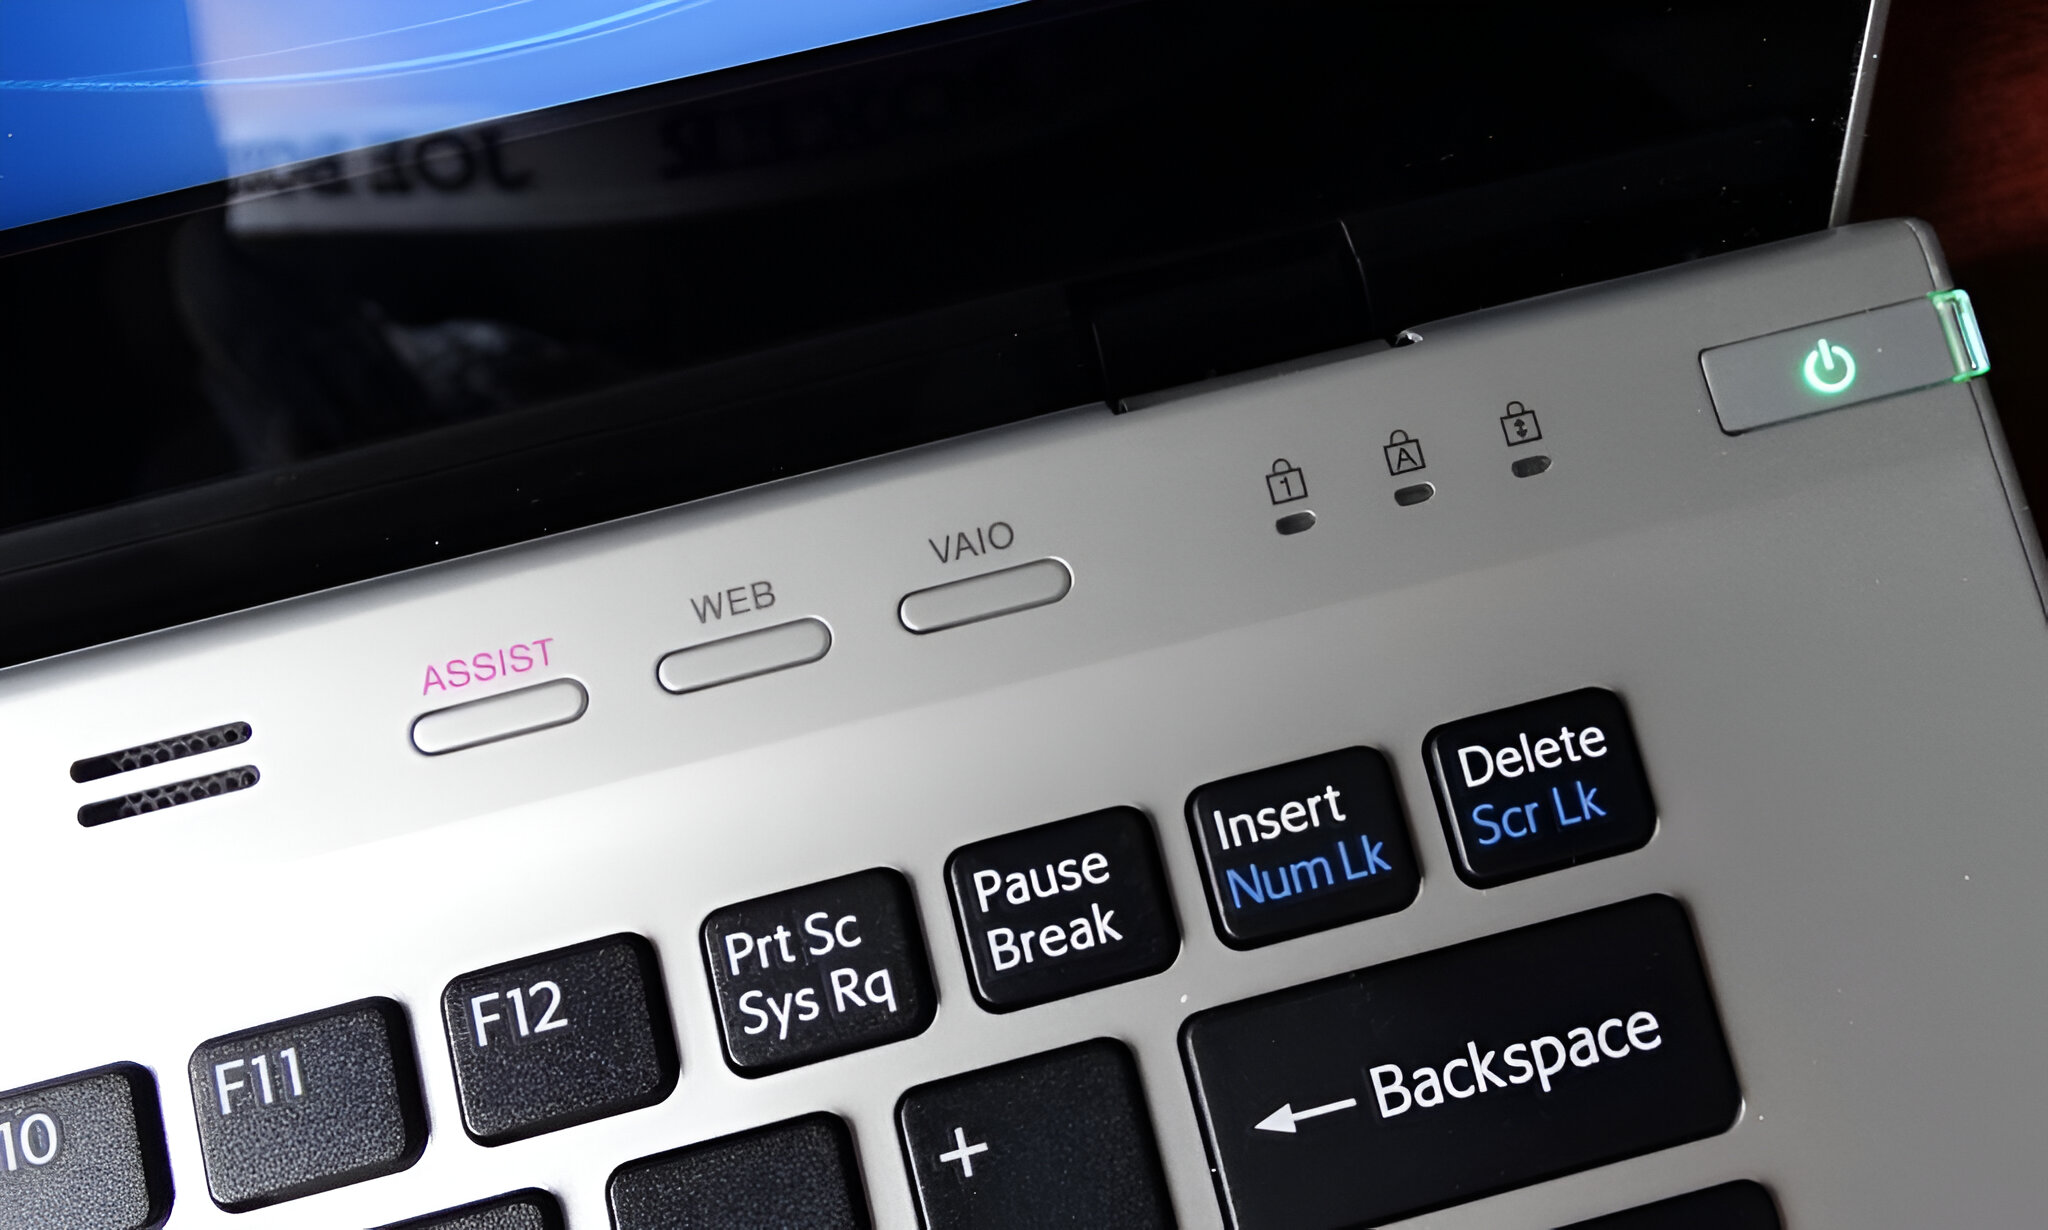
One of the simplest and most convenient ways to access the BIOS on your Sony Vaio T Series Ultrabook is by using the Assist button. This dedicated hardware button is specifically designed to provide quick access to various system functions, including the BIOS. Here’s how you can use it:
1. Start with your Sony Vaio T Series Ultrabook turned off. Make sure it is not in sleep or hibernation mode.
2. Locate the Assist button on your Sony Vaio T Series Ultrabook. It is usually located at the top-right corner of the keyboard or near the power button.
3. Press the Assist button once. This will power on your device and bring up the VAIO Assist screen.
4. On the VAIO Assist screen, you will see various options to troubleshoot and access different system functions. Use the keyboard arrow keys to navigate to the BIOS Setup option.
5. Once you have selected the BIOS Setup option, press Enter. This will take you directly into the BIOS interface of your Sony Vaio T Series Ultrabook.
6. Now, you can make any necessary changes to the BIOS settings, such as modifying hardware configurations or adjusting boot order.
7. When you’re done with the modifications, save the changes and exit the BIOS. The specific keys to save and exit the BIOS may vary depending on your Sony Vaio T Series Ultrabook model, but commonly, you can use the F10 key to save and exit.
That’s it! You’ve successfully accessed the BIOS on your Sony Vaio T Series Ultrabook using the Assist button. Remember to be cautious while making changes in the BIOS and only modify settings if you are confident about the changes you are making.
Now, let’s move on to the next method of accessing the BIOS on your Sony Vaio T Series Ultrabook.
Method 2: Using the VAIO Care software
If the Assist button method is not available or doesn’t work on your Sony Vaio T Series Ultrabook, you can try accessing the BIOS through the VAIO Care software. Here’s how:
1. Start by turning on your Sony Vaio T Series Ultrabook and letting it boot into the operating system.
2. Once you are on the desktop, look for the VAIO Care software. It is typically pre-installed on Sony Vaio laptops and can be found in the Start menu or on the desktop.
3. Launch the VAIO Care software by double-clicking on its icon.
4. In the VAIO Care software, you will find various tools and options for maintaining and optimizing your Sony Vaio T Series Ultrabook. Look for the “Recovery & restore” or “Advanced tools” section.
5. Within the “Recovery & restore” or “Advanced tools” section, you should find an option named “Start Advanced Recovery Tools” or something similar. Click on it.
6. A new window or menu will appear with several advanced tools. Look for the option that says “Start BIOS setup.” Click on it to access the BIOS interface.
7. You will be taken directly into the BIOS setup of your Sony Vaio T Series Ultrabook. Here, you can navigate through the different settings and make any necessary modifications.
8. After you have made the required changes, save the settings and exit the BIOS. The specific keys to save and exit may vary depending on your Sony Vaio T Series Ultrabook model, but commonly, you can use the F10 key to save and exit.
That’s it! You have successfully accessed the BIOS on your Sony Vaio T Series Ultrabook using the VAIO Care software. Remember to proceed with caution and only make changes if you are familiar with the BIOS settings and their implications.
Now, let’s move on to the next method of accessing the BIOS on your Sony Vaio T Series Ultrabook.
Method 3: Using the Advanced Startup options
If the previous methods don’t work or aren’t available on your Sony Vaio T Series Ultrabook, you can try accessing the BIOS through the Advanced Startup options. Follow these steps:
1. Start by ensuring that your Sony Vaio T Series Ultrabook is turned off.
2. Turn on your laptop and immediately press and hold the F11 key. Keep holding it until you see the “Choose an option” screen.
3. On the “Choose an option” screen, select “Troubleshoot.”
4. In the Troubleshoot menu, choose “Advanced options.”
5. Under the Advanced options, select “UEFI Firmware Settings” or “Startup Settings” (the exact wording may vary).
6. Click on the “Restart” button to reboot your Sony Vaio T Series Ultrabook and access the BIOS.
7. After the restart, you will see a list of startup options. Press the corresponding key (usually F2 or Del) to enter the BIOS setup.
8. You will now be in the BIOS interface of your Sony Vaio T Series Ultrabook, where you can customize various settings as needed.
9. Once you have made the desired changes, save the settings and exit the BIOS. The specific keys to save and exit may vary depending on your Sony Vaio T Series Ultrabook model, but commonly, you can use the F10 key to save and exit.
By following these steps, you can access the BIOS on your Sony Vaio T Series Ultrabook through the Advanced Startup options. Remember to exercise caution while making changes in the BIOS and only modify settings if you are confident about the changes you are making.
Now, let’s move on to the next method of accessing the BIOS on your Sony Vaio T Series Ultrabook.
Method 4: Using the Reboot to UEFI option
If the previous methods don’t apply to your Sony Vaio T Series Ultrabook, you can try accessing the BIOS through the “Reboot to UEFI” option. Follow these steps:
1. Start by ensuring that your Sony Vaio T Series Ultrabook is powered on and running the Windows operating system.
2. From the Windows Start menu, click on the “Power” button.
3. While holding down the Shift key, click on the “Restart” option. This will initiate a reboot of your laptop.
4. As your Sony Vaio T Series Ultrabook restarts, it will bring up the Advanced Startup options.
5. On the Advanced Startup menu, select “Troubleshoot.”
6. In the Troubleshoot menu, choose “Advanced options.”
7. Under the Advanced options, select “UEFI Firmware Settings” or a similar option.
8. Click on the “Restart” button, which will initiate another reboot of your Sony Vaio T Series Ultrabook and take you directly into the BIOS.
9. Once you are in the BIOS interface, you can navigate through the different settings to make any required modifications.
10. After making the necessary changes, save the settings and exit the BIOS. The specific keys to save and exit may vary depending on your Sony Vaio T Series Ultrabook model, but commonly, you can use the F10 key to save and exit.
By following these steps, you can access the BIOS on your Sony Vaio T Series Ultrabook using the “Reboot to UEFI” option. Remember to exercise caution while making changes in the BIOS and only modify settings if you are confident about the changes you are making.
Now, let’s move on to the next section, where we will summarize the different methods we have discussed for accessing the BIOS on your Sony Vaio T Series Ultrabook.
Conclusion
Accessing the BIOS on your Sony Vaio T Series Ultrabook is an essential skill that allows you to customize hardware settings, troubleshoot issues, and perform system updates. Throughout this article, we explored four different methods to access the BIOS:
1. Using the Assist button: This method provides a quick and convenient way to access the BIOS by pressing the dedicated Assist button on your Sony Vaio T Series Ultrabook.
2. Using the VAIO Care software: If the Assist button method is not available, you can access the BIOS through the VAIO Care software, which provides access to advanced tools.
3. Using the Advanced Startup options: By rebooting your Sony Vaio T Series Ultrabook and accessing the Advanced Startup options, you can navigate to the UEFI Firmware Settings and enter the BIOS interface.
4. Using the Reboot to UEFI option: This method involves restarting your laptop and selecting the UEFI Firmware Settings option from the Advanced Startup menu to directly enter the BIOS.
Remember to exercise caution while making changes in the BIOS and only modify settings if you are confident about the changes you are making.
By mastering these methods, you can confidently access the BIOS on your Sony Vaio T Series Ultrabook and unlock its full potential. Whether you need to configure hardware, troubleshoot issues, or install system updates, having access to the BIOS gives you the power to optimize your device’s performance.
We hope this article has provided you with valuable insights and step-by-step instructions to help you access the BIOS on your Sony Vaio T Series Ultrabook. Now, go ahead and explore the different settings and customization options available within the BIOS, and make the most out of your Sony Vaio T Series Ultrabook!