Introduction
Welcome to this guide on how to connect AirPods with an iPhone! If you recently got a pair of AirPods, you may be eager to start using them with your iPhone. The good news is that setting up your AirPods with your iPhone is a quick and straightforward process. In just a few simple steps, you’ll be able to enjoy your favorite music, podcasts, and more, wirelessly.
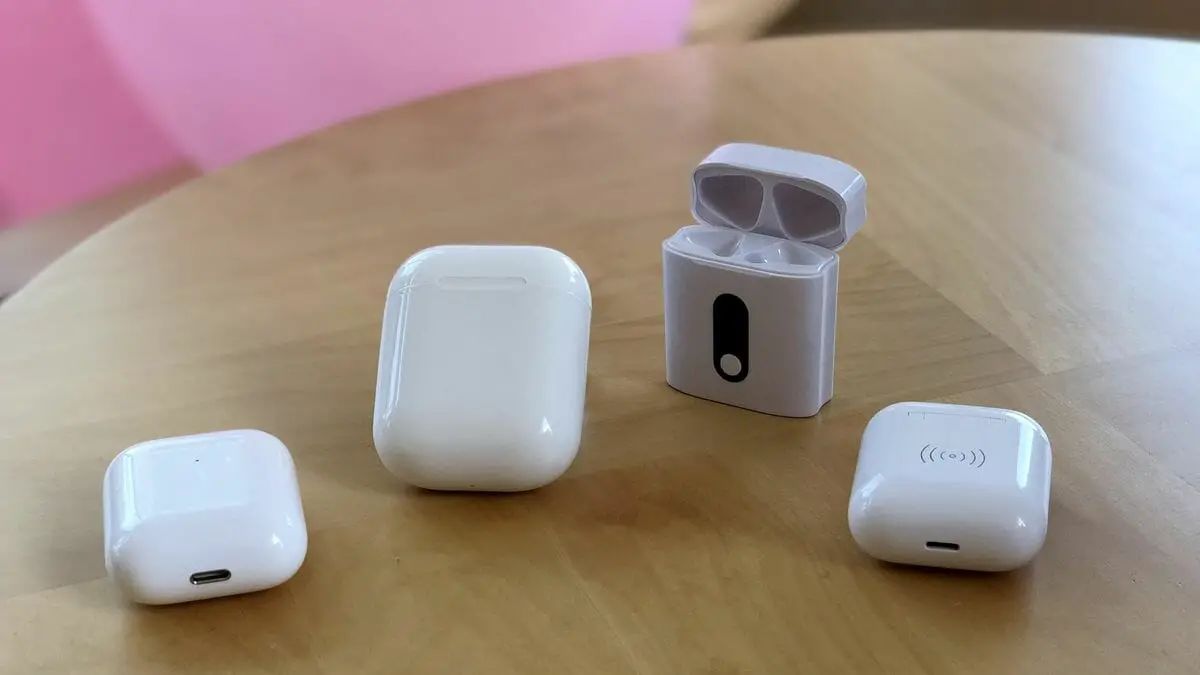
Apple’s AirPods are wireless earbuds that offer a seamless listening experience. With their sleek design and advanced features, they have become incredibly popular among iPhone users. Whether you’re a tech enthusiast or simply looking for a convenient way to listen to audio on the go, AirPods are a great choice.
In this guide, we will walk you through the step-by-step process of connecting your AirPods to your iPhone. By the end, you’ll have a clear understanding of how to pair your AirPods and start enjoying a wireless listening experience.
Before we dive into the steps, it’s essential to ensure that your AirPods are fully charged. Although they come with a charging case, it’s always a good idea to charge them before the initial setup to avoid any interruptions. Once your AirPods are ready to go, let’s proceed to the next steps.
Step 1: Make sure AirPods are charged
Before connecting your AirPods to your iPhone, it’s crucial to ensure that they are adequately charged. An insufficient charge may result in a less-than-optimal listening experience or difficulty in establishing a connection.
To check the battery level of your AirPods, open the AirPods case near your iPhone. A small pop-up window will appear on your iPhone’s screen, displaying the battery percentage of both the AirPods and the charging case. If the battery level is low, it’s recommended to charge the AirPods using the included Lightning cable or by placing them in the charging case.
If you’re using the AirPods for the first time, make sure to charge them for at least 15 minutes before proceeding with the setup. This will ensure that they have enough power to complete the pairing process successfully.
Keep in mind that the charging case itself also needs to be charged. To charge the case, connect the Lightning cable to the Lightning port at the bottom of the case and plug it into a power source. The LED light on the front of the case will indicate the charging status. Once both the AirPods and the case are sufficiently charged, you’re ready to move on to the next step.
By making sure your AirPods are charged, you’ll be able to enjoy uninterrupted, wireless listening on your iPhone. Let’s proceed to the next step to start connecting your AirPods.
Step 2: Unlock your iPhone
Before you can connect your AirPods to your iPhone, make sure to unlock your device. This step ensures that you have access to the necessary settings and can complete the pairing process smoothly.
To unlock your iPhone, press the power button or use the Touch ID (if available) or Face ID feature to authenticate and unlock your device. Once you’ve successfully unlocked your iPhone, you’ll have access to all the settings needed to connect your AirPods.
If you’re using an older iPhone model with a Home button, simply press the Home button and use your passcode to unlock the device. For newer iPhone models without a Home button, swipe up from the bottom of the screen or press the side button (Power/Lock button) to wake up the device and authenticate using Face ID or your passcode.
It’s essential to unlock your iPhone before proceeding to the next steps, as the necessary settings to connect Bluetooth devices are only accessible once the device is unlocked. Once you’ve unlocked your iPhone, you’re ready to move on to the next step and start the AirPods pairing process.
By ensuring that your iPhone is unlocked, you’ll have a seamless experience connecting your AirPods. With your iPhone ready to go, let’s proceed to the next step and open the AirPods case.
Step 3: Open the AirPods case
To connect your AirPods to your iPhone, you’ll need to open the AirPods case. The case serves as both a protective holder for your AirPods and a charging station.
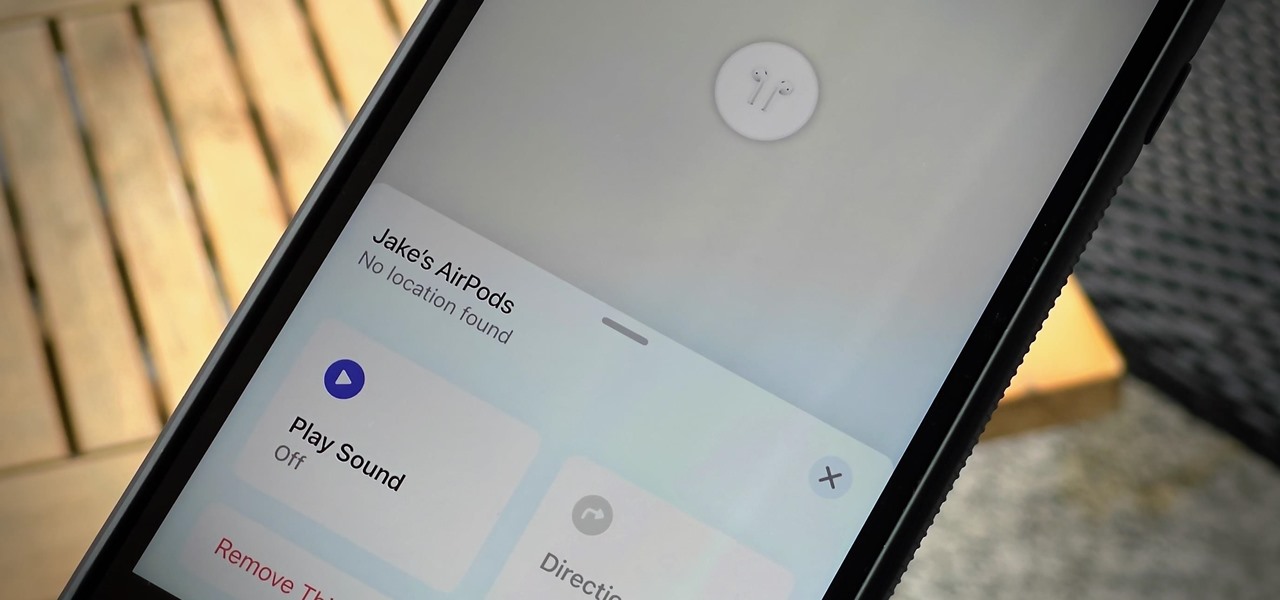
Gently locate the lid of the AirPods case and open it. You’ll find the AirPods nestled snugly inside, ready for pairing. As you open the case, you’ll notice a small LED light between the AirPods slots. This light indicates the pairing status and battery level of your AirPods.
If the LED light blinks white, it means that your AirPods are ready to connect to your iPhone. If the LED light doesn’t appear, it could mean that your AirPods need charging or that there’s an issue you need to address. Make sure both the AirPods and the charging case are adequately charged before proceeding. If you’re still having trouble, refer to the user manual or contact Apple Support for assistance.
Now that you’ve opened the AirPods case and ensured that everything is ready, it’s time to move on to the next step: enabling Bluetooth on your iPhone.
Step 4: Enable Bluetooth on your iPhone
Before you can connect your AirPods to your iPhone, you need to ensure that Bluetooth is enabled on your device. Bluetooth is the wireless technology that allows your iPhone to connect with other compatible devices, such as your AirPods.
To enable Bluetooth on your iPhone, follow these simple steps:
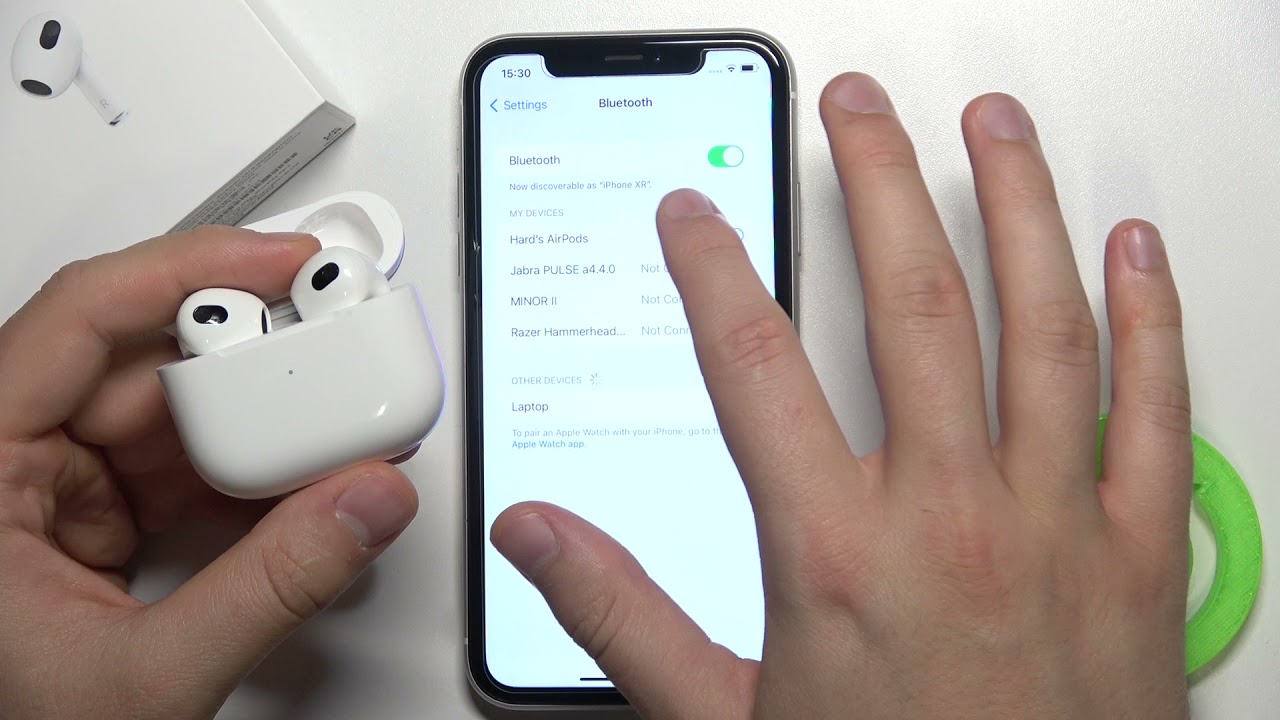
- Open the Settings app on your iPhone. You can find the Settings app on your home screen, represented by a gear icon.
- Scroll down and tap on “Bluetooth.” The Bluetooth settings should be located near the top of the settings list.
- Toggle the switch next to “Bluetooth” to turn it on. When enabled, the switch will turn green, indicating that Bluetooth is now active on your iPhone.
Once Bluetooth is enabled on your iPhone, it will start scanning for nearby Bluetooth devices, including your AirPods. Keep your AirPods case open and in close proximity to your iPhone to ensure a smooth and quick connection.
If you’re having trouble finding the Bluetooth settings on your iPhone or enabling Bluetooth, refer to your device’s user manual or contact Apple Support for assistance. Now that Bluetooth is enabled on your iPhone, it’s time to move on to the next step and start connecting your AirPods!
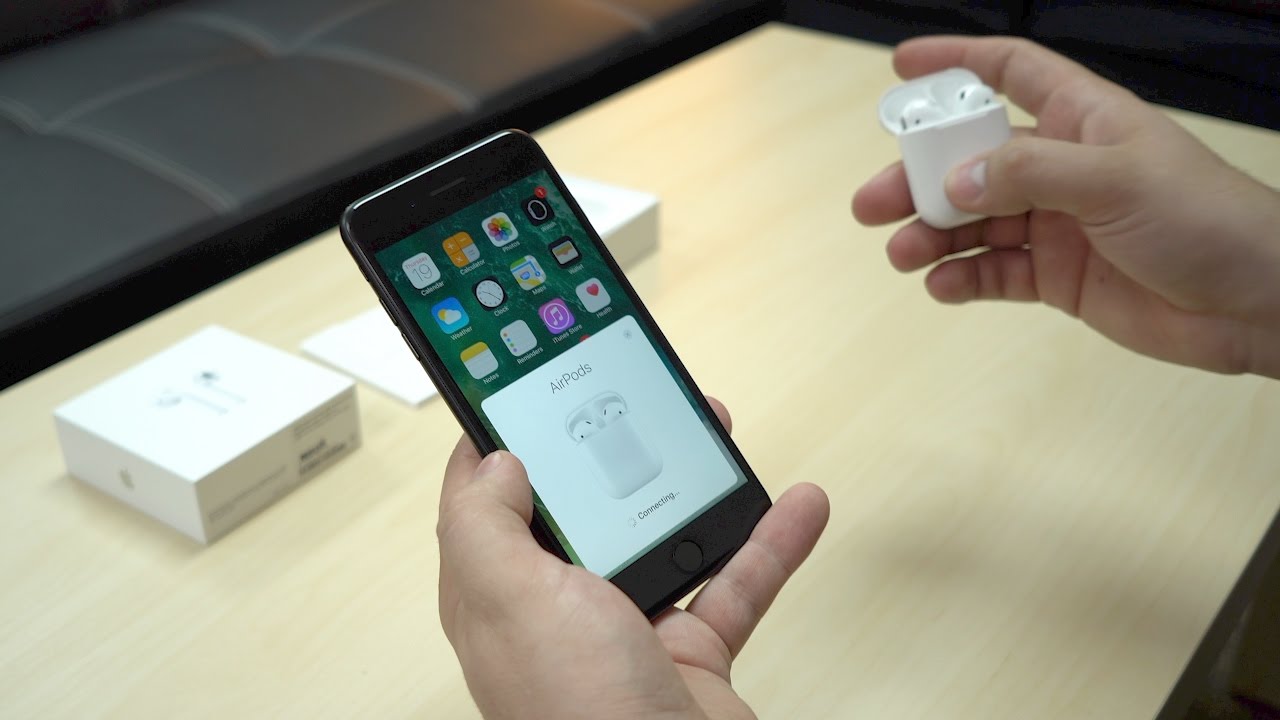
Step 5: Connect AirPods to iPhone
Now that Bluetooth is enabled on your iPhone, you can proceed with connecting your AirPods. Follow these steps to establish a connection between your AirPods and your iPhone:
- With the AirPods case open and in close proximity to your iPhone, a pop-up window should appear on your iPhone screen, displaying the AirPods’ name and a “Connect” button.
- Tap the “Connect” button to initiate the pairing process. Your iPhone will now attempt to establish a connection with your AirPods.
- If prompted, confirm the pairing by following the on-screen instructions. This may involve tapping “Pair,” “Confirm,” or entering a passcode. The instructions will vary based on your iPhone model and software version.
- Wait for the pairing process to complete. Once connected, you’ll see a confirmation message on your iPhone screen, indicating the successful connection of your AirPods.
It’s important to note that the pairing process may take a few seconds. Ensure that your AirPods remain in the vicinity of your iPhone with a stable Bluetooth connection during this time.
Once your AirPods are connected, you can begin enjoying wireless audio through them. Whether it’s listening to music, watching videos, or making phone calls, your AirPods will deliver high-quality sound without the hassle of tangled wires.
If you’re having difficulty connecting your AirPods, make sure they’re charged, the case is open, and Bluetooth is enabled on your iPhone. Additionally, ensure that your iPhone is using the latest software version. If problems persist, consult Apple Support for further assistance.
Now that your AirPods are successfully connected to your iPhone, let’s move on to the next step to verify their connection.
Step 6: Check AirPods connection
After connecting your AirPods to your iPhone, it’s important to ensure that the connection is stable and working correctly. Checking the connection will help you confirm that your AirPods are ready to be used for audio playback and calls.
To check the connection between your AirPods and iPhone, follow these steps:
- Put on your AirPods and play a piece of audio, such as a song or podcast, on your iPhone.
- Listen for the audio coming through your AirPods. If the sound is clear and loud, it indicates that your AirPods are connected and working properly.
- If the sound is not coming through your AirPods or is muffled, there may be an issue with the connection. In this case, try the following troubleshooting steps:
- Ensure that your AirPods are securely in your ears and that they are properly positioned.
- Check that the volume level on your iPhone is turned up and not muted.
- Restart your iPhone and try connecting your AirPods again.
- If the issue persists, consult Apple Support for further assistance.
By checking the AirPods connection and verifying that audio plays through them, you can have peace of mind knowing that they are successfully connected to your iPhone and ready to use.
Now that you have checked the connection and confirmed that your AirPods are working correctly, you can enjoy your favorite music, podcasts, and more without the hassle of wires. Congratulations on successfully setting up and connecting your AirPods with your iPhone!
Conclusion
Connecting AirPods to your iPhone is a simple process that allows you to enjoy the convenience of wireless audio. By following the steps outlined in this guide, you can seamlessly pair your AirPods with your iPhone and start listening to your favorite music, podcasts, and more.
Remember to ensure that your AirPods are fully charged before starting the pairing process. It’s also important to unlock your iPhone, open the AirPods case, enable Bluetooth, and confirm the connection between your AirPods and iPhone. By checking the connection and troubleshooting any issues, you can ensure a smooth and reliable listening experience.
If you encounter any difficulties during the setup or connection process, consult the user manual or reach out to Apple Support for assistance. They can provide guidance and help resolve any technical issues you may encounter.
Now that you know how to connect your AirPods to your iPhone, you can enjoy the freedom of wireless listening and the superior sound quality that AirPods offer. So go ahead, put on your AirPods, and immerse yourself in your favorite audio content while enjoying the convenience of a wire-free experience.
Thank you for following this guide, and we hope you have a delightful experience with your AirPods and iPhone combo!