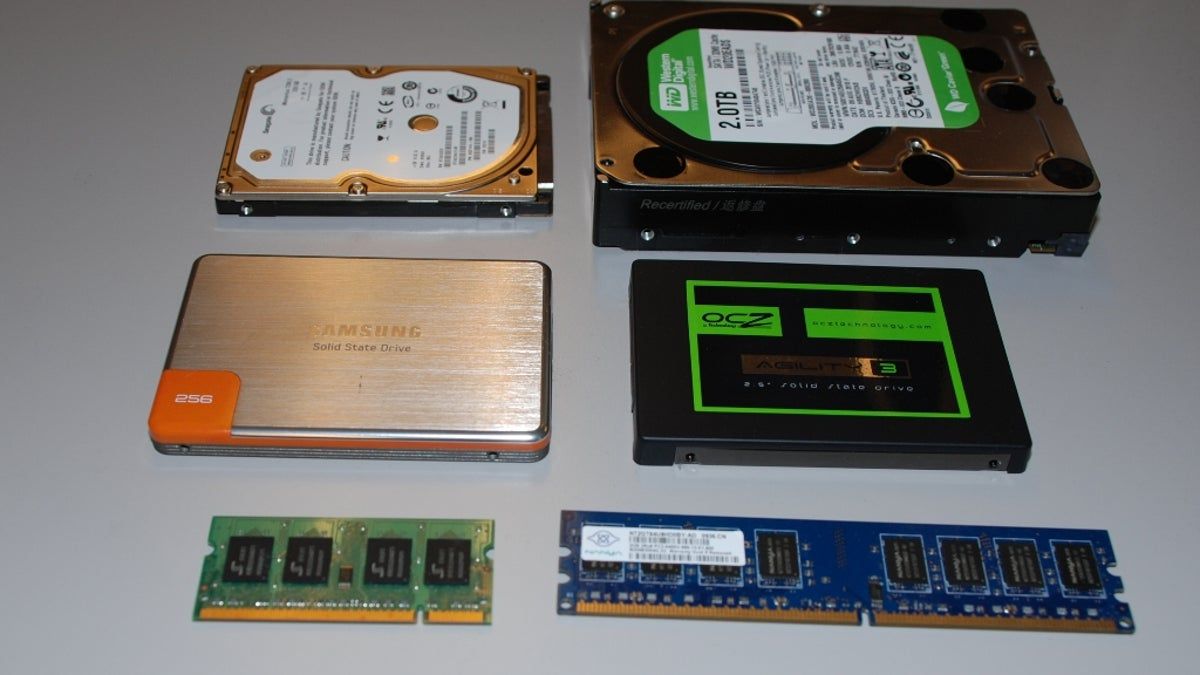
Introduction
When it comes to optimizing your computer’s performance and storage capacity, configuring an SSD as a boot drive and an HDD as storage is a smart choice. This combination allows you to take advantage of the speed and responsiveness of an SSD while also enjoying the spaciousness and affordability of an HDD.
But before we delve into the benefits and steps of configuring an SSD as a boot drive and an HDD as storage, let’s understand what SSD and HDD actually are.
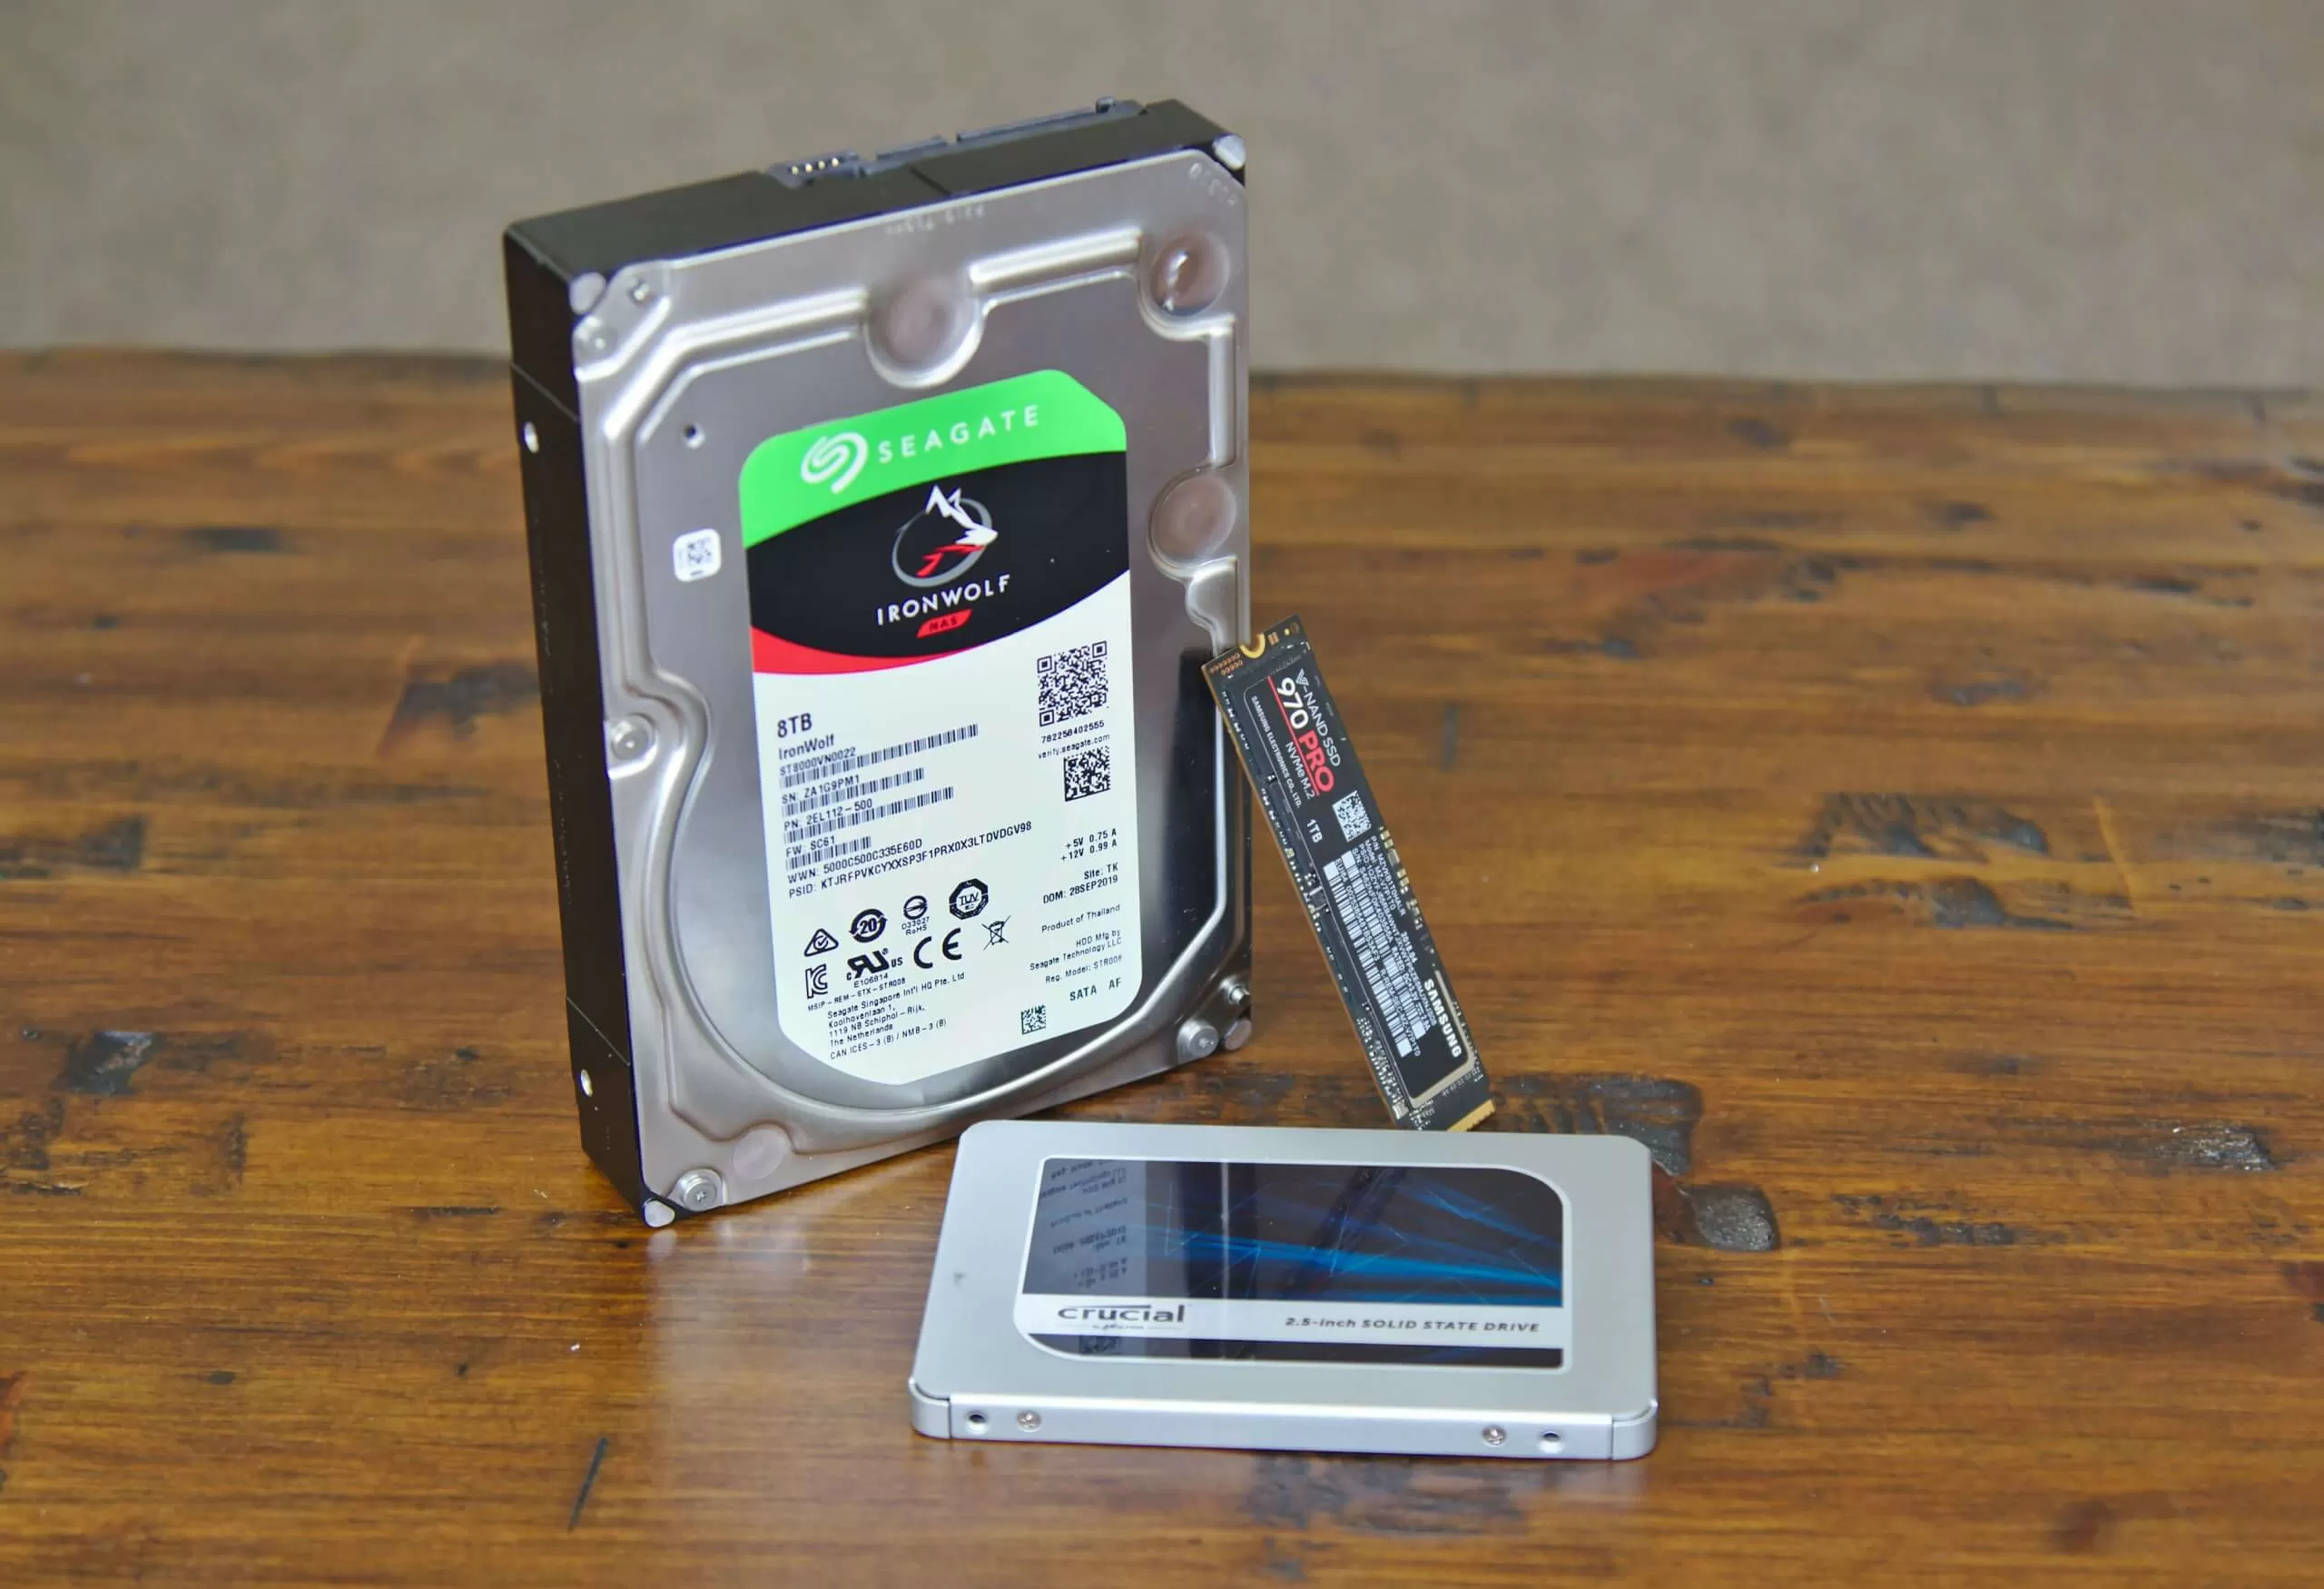
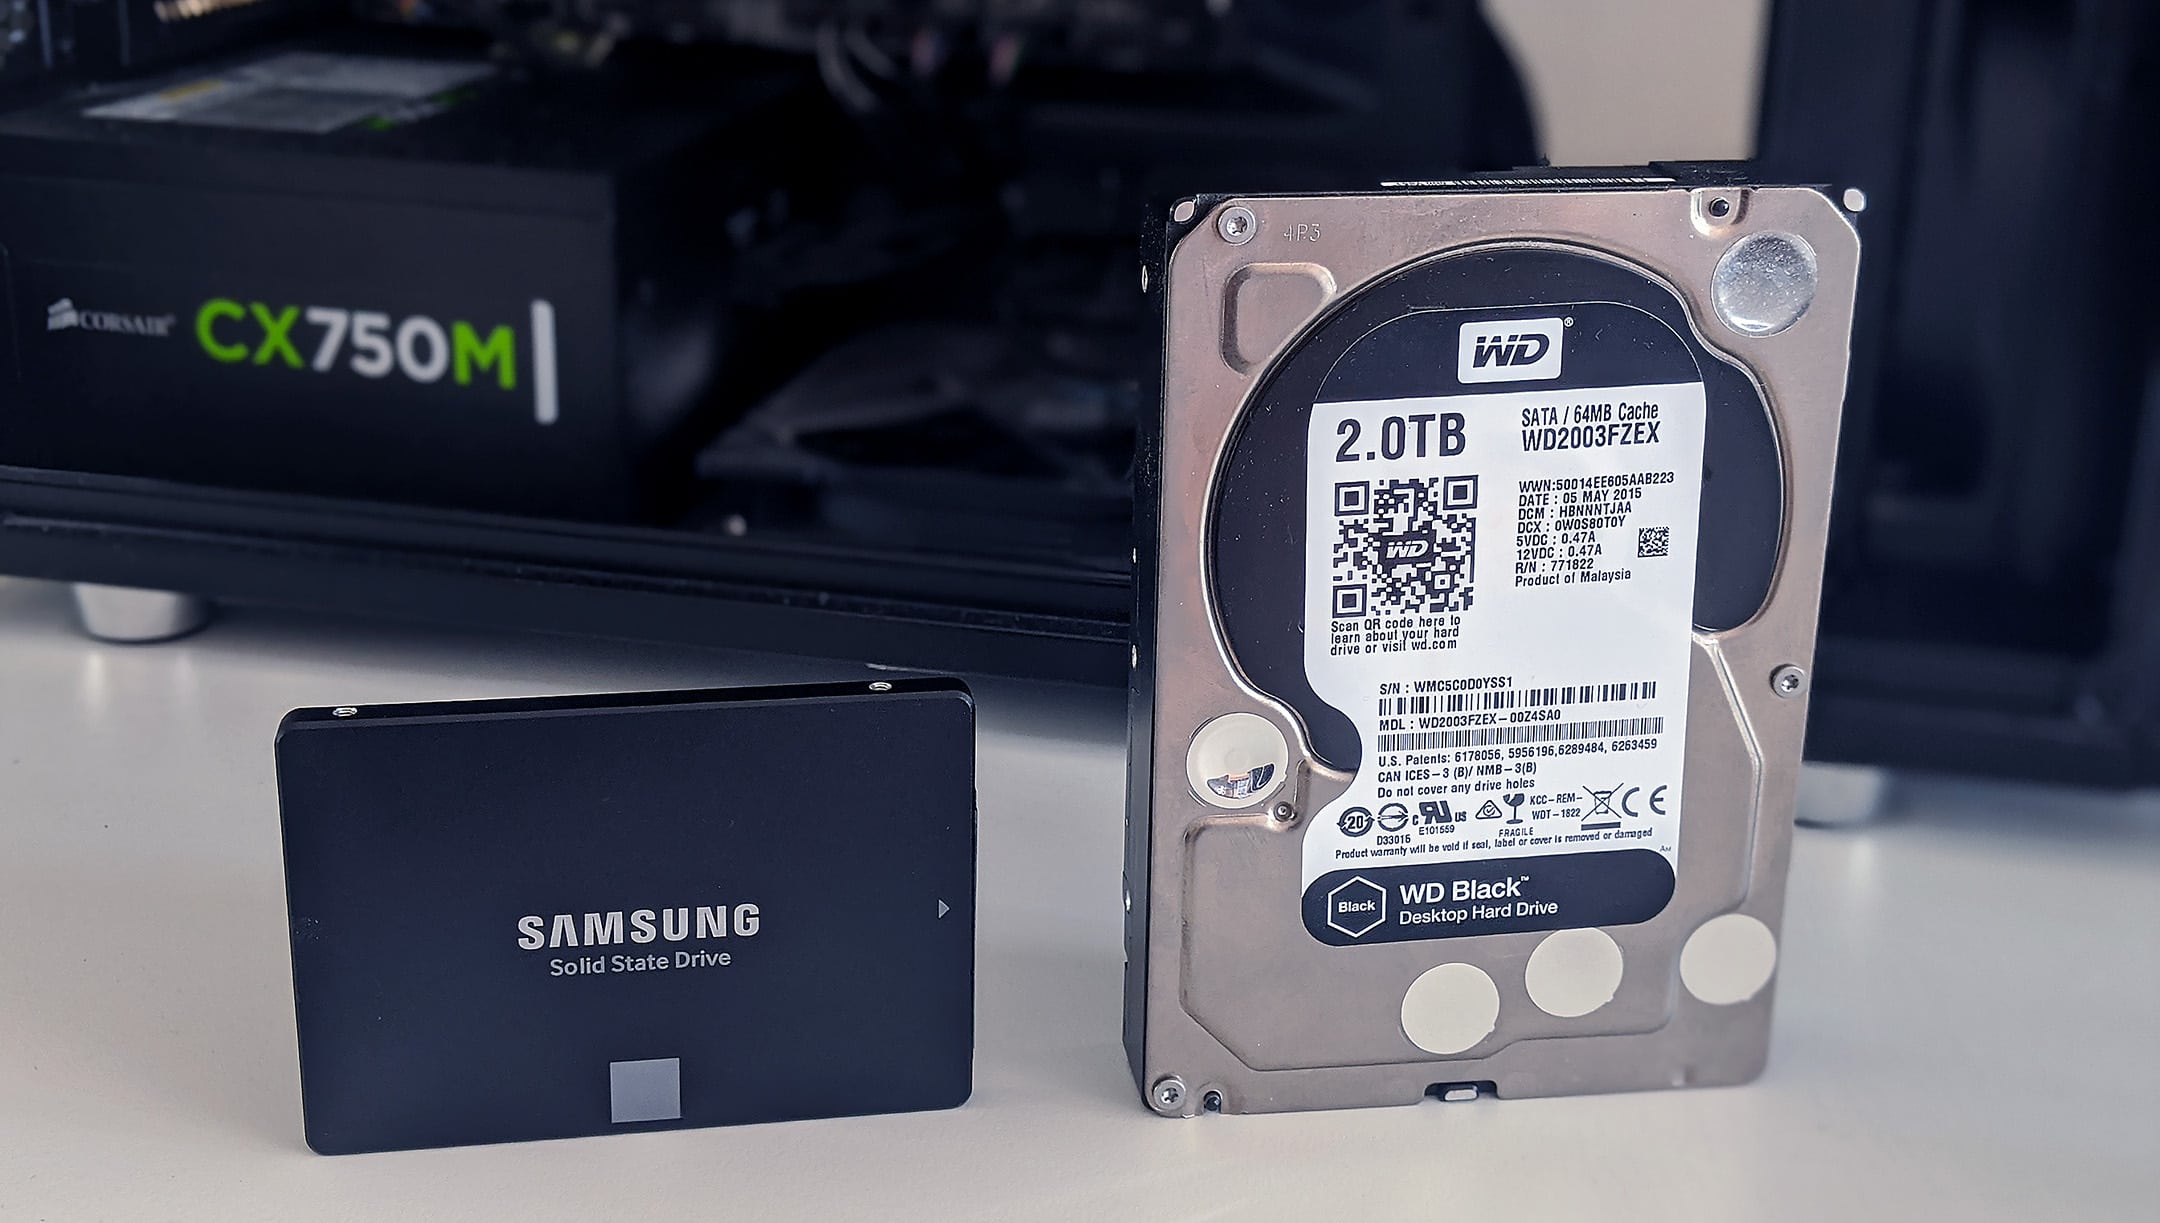
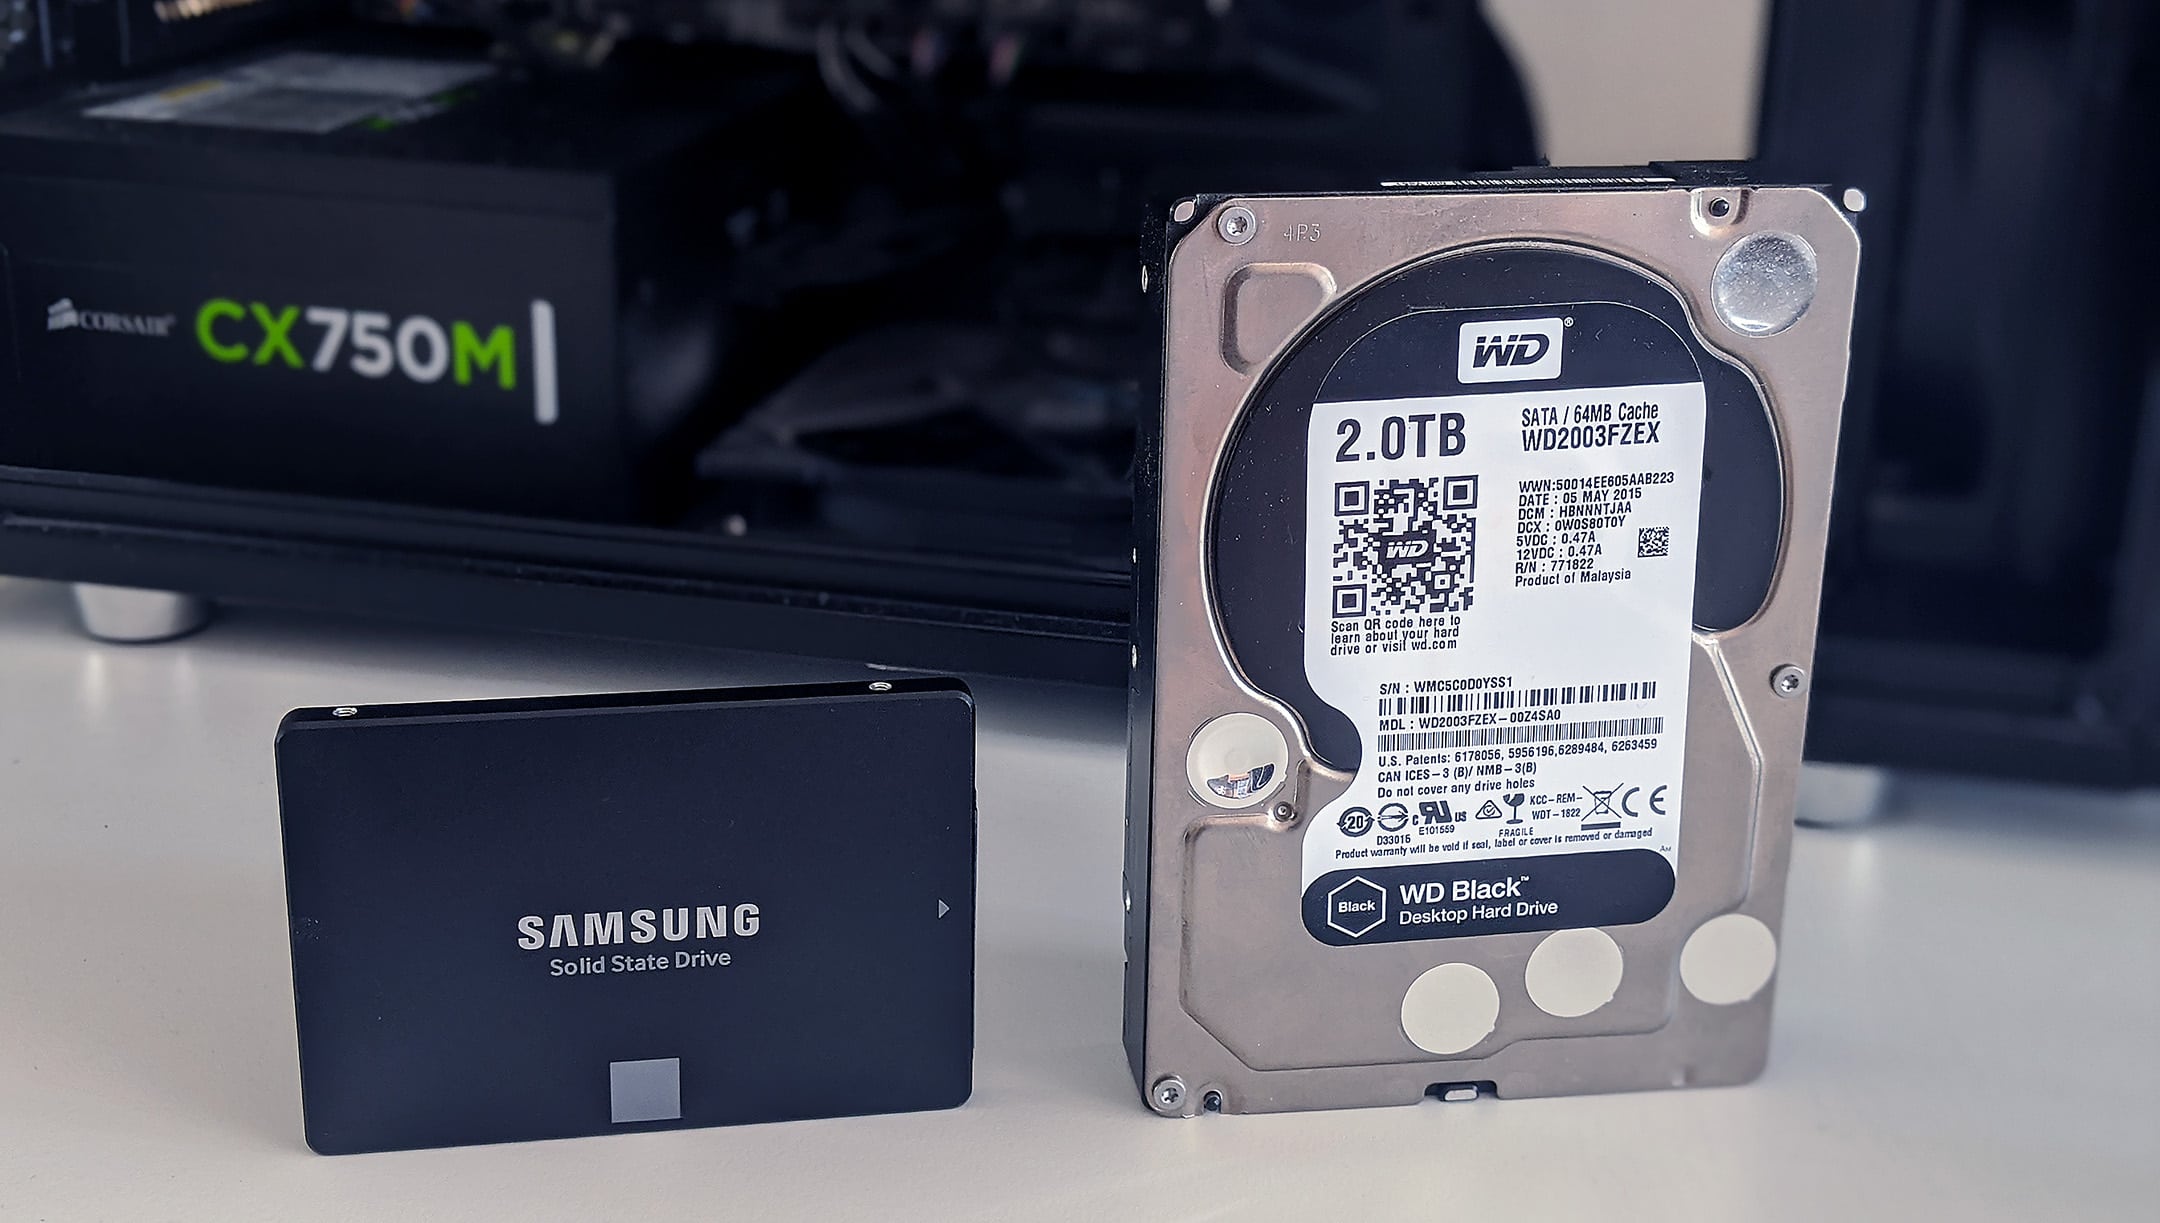
An SSD, or Solid State Drive, is a storage device that uses flash memory to store data. It doesn’t have any mechanical parts, which makes it incredibly fast. On the other hand, an HDD, or Hard Disk Drive, is a traditional storage device that uses spinning disks and read/write heads to store and retrieve data. While HDDs are slower than SSDs, they offer higher storage capacities at a lower cost.
So why configure an SSD as a boot drive? The answer lies in its speed. SSDs have significantly faster read and write speeds compared to HDDs. This means that your operating system will boot up in seconds, programs will load quickly, and file transfers will be faster. On the other hand, using an HDD as storage allows you to store large amounts of files, such as documents, photos, videos, and music, at a more cost-effective price per gigabyte.
To configure an SSD as a boot drive and an HDD as storage, you’ll first need to prepare your system for the installation. This may involve backing up your data, checking compatibility, and ensuring you have the necessary cables and hardware. Once your system is ready, you can follow a few simple steps to configure your SSD as the boot drive and your HDD as storage.
In this article, we’ll guide you through the process of configuring an SSD as a boot drive and an HDD as storage, helping you maximize your computer’s speed and storage capacity. So grab your tools, buckle up, and let’s get started!
What is an SSD?
An SSD, or Solid State Drive, is a type of storage device that uses flash memory to store data. Unlike traditional mechanical hard drives, SSDs do not have any moving parts. Instead, they rely on microchips to store data in a non-volatile manner.
The absence of moving parts in SSDs contributes to their exceptional performance and reliability. Compared to HDDs, SSDs offer significantly faster read and write speeds, which means that data can be accessed and transferred much quicker. This results in faster boot times for your operating system, reduced loading times for programs and applications, and improved overall system responsiveness.
SSDs are built using NAND flash memory technology, which allows for high data density and excellent durability. The data stored in an SSD is retained even when the power is turned off, making it a reliable storage solution for long-term data storage and retrieval.
Another advantage of SSDs is their resistance to physical shocks and vibrations. Since SSDs lack mechanical components that can be damaged by impact or movement, they are better suited for portable devices like laptops and tablets. This makes SSDs an ideal choice for users who require a robust and durable storage solution.
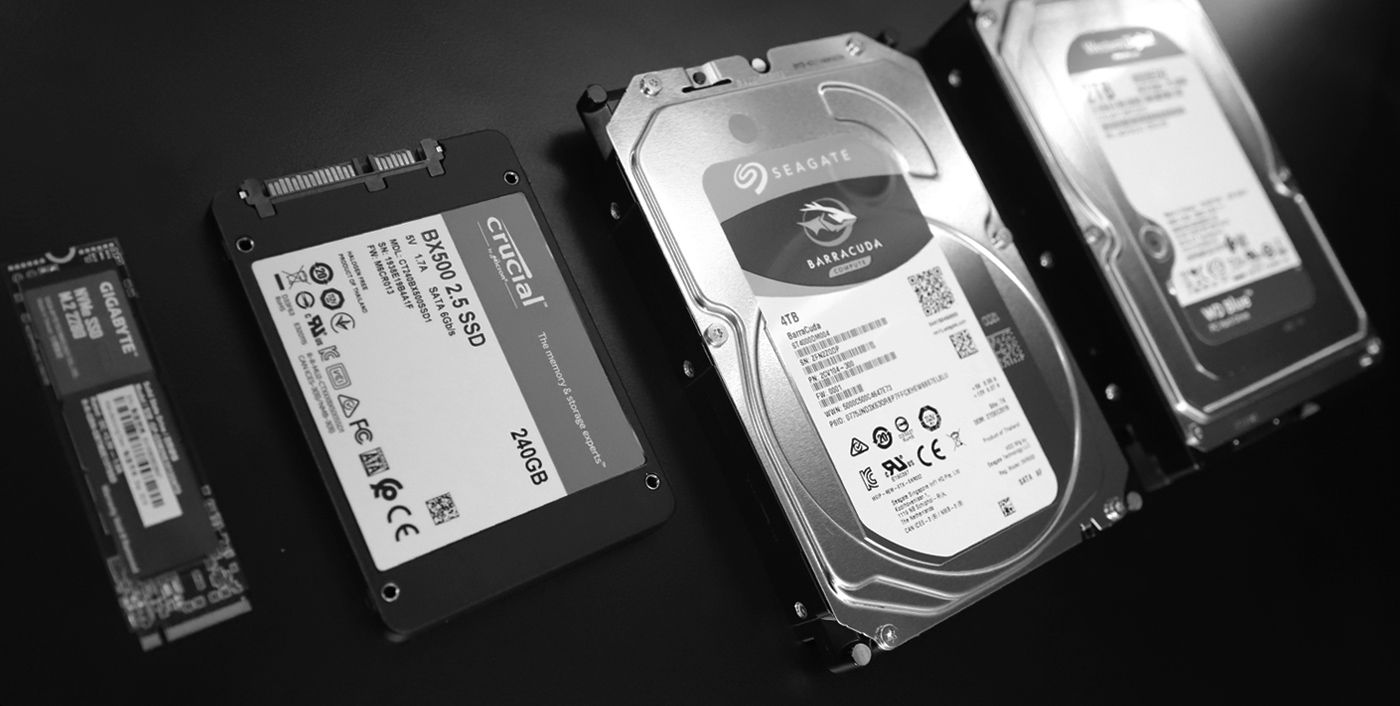
SSDs come in various form factors to accommodate different device types and sizes. The most common form factors are 2.5-inch drives, which are typically used in laptops and desktop computers, and M.2 drives, which are smaller and more compact, commonly found in ultrabooks and small form factor PCs.
While SSDs generally offer less storage capacity compared to HDDs, their capacity has been steadily increasing over the years. Larger capacity SSDs are now available, enabling users to store more data without sacrificing performance.
As SSD technology continues to evolve, manufacturers are constantly improving the performance, efficiency, and cost-effectiveness of these drives. With their remarkable speed, reliability, and durability, SSDs have become an essential component in modern computing, enhancing the user experience and revolutionizing data storage.
What is an HDD?
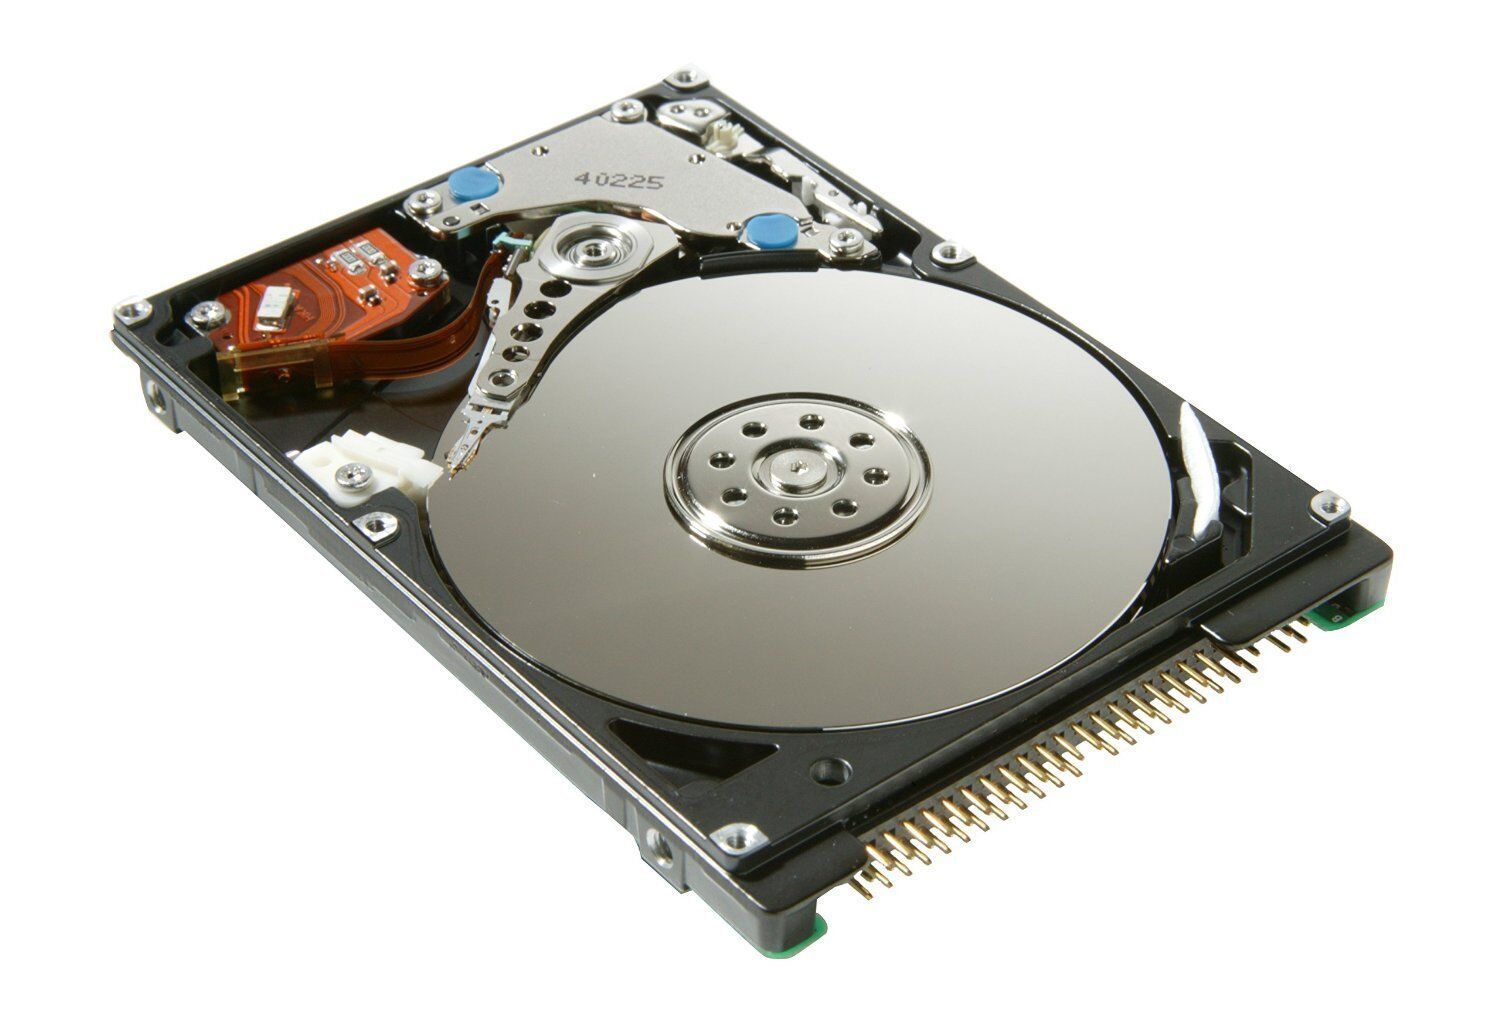
An HDD, or Hard Disk Drive, is a type of storage device that uses spinning magnetic disks or platters to store and retrieve data. It has been a popular choice for decades and is still widely used in many computers and devices today.
The primary component of an HDD is the magnetic platters, which are coated with a thin layer of magnetic material. These platters spin at high speeds, typically ranging from 5,400 to 7,200 revolutions per minute (RPM), while read/write heads move across the platters to read and write data.
HDDs offer several advantages, including high storage capacities at relatively low costs. Compared to SSDs, HDDs can provide significantly more storage space, making them an ideal choice for users who require large amounts of storage for their files, such as photos, videos, music, and documents.
Another advantage of HDDs is that they have a longer lifespan compared to SSDs. In terms of write endurance, HDDs can withstand a greater number of read and write cycles before experiencing performance degradation. This makes HDDs a viable option for storing data that requires frequent access and modifications.
Additionally, HDDs have been in the market for a long time, which means there is a wide range of HDD models and sizes available. This gives users more flexibility in choosing the right HDD to meet their specific storage needs.
However, one of the notable drawbacks of HDDs is their slower read and write speeds compared to SSDs. Because mechanical parts and physical movement are involved in the data retrieval process, accessing data on an HDD takes more time. This slower speed can lead to longer boot times, slower program loading, and file transfers that are not as fast as those on SSDs.
HDDs are typically used as storage devices for desktop computers, servers, external hard drives, and network-attached storage (NAS) devices. They are particularly suitable for storing large files, such as video editing projects, gaming libraries, and extensive media collections.
Despite the rise of SSDs, HDDs still play a vital role in the storage industry due to their cost-effectiveness, high storage capacity, and reliability. Many users opt for a combination of an SSD as a boot drive and an HDD as storage, taking advantage of the speed and responsiveness of the SSD and the affordability and capacity of the HDD.
Overall, HDDs remain a reliable and viable storage solution for users who prioritize storage capacity and cost-efficiency over speed and performance.
Benefits of using SSD as a boot drive
Configuring an SSD as a boot drive, where your operating system is installed, brings several notable benefits to your computer’s performance and overall user experience.
1. Speed and responsiveness: SSDs offer significantly faster read and write speeds compared to HDDs. This means that your computer will boot up in seconds, programs and applications will load much quicker, and files will transfer at lightning speed. The overall responsiveness of your system will be greatly enhanced, providing a smooth and seamless user experience.
2. Improved multitasking: With an SSD as a boot drive, you can effectively handle multiple tasks simultaneously without experiencing a lag in performance. The quick read and write speeds allow for faster data access, making it easier to switch between programs and work on multiple applications without the frustration of delays or slowdowns.
3. Reduced boot time: Since SSDs have no mechanical parts and can access data almost instantaneously, your computer’s boot time will be significantly reduced. You’ll no longer have to wait for several minutes for your operating system to load – it will be up and running in just a matter of seconds.
4. Energy efficiency: SSDs consume less power compared to HDDs. With an SSD as your boot drive, your computer will require less energy to operate, which can translate into longer battery life for laptops and lower electricity bills for desktop computers.
5. No noise or vibration: Since SSDs have no moving parts, they operate silently and produce no vibrations. This contributes to a quieter working environment, allowing you to focus on your tasks without distractions from loud spinning disks typical of HDDs.
6. Durability and reliability: SSDs are more resistant to physical shock and temperature fluctuations compared to HDDs. The absence of moving parts makes SSDs less prone to damage from accidental drops or mishandling. Additionally, SSDs offer better protection against data loss caused by mechanical failure, making them a more reliable storage option.
7. Longevity and longevity: SSDs have a long lifespan, which means they can serve you for years without experiencing significant degradation in performance. This ensures that your boot drive remains fast and efficient for a longer period, reducing the need for frequent replacements or upgrades.
By configuring an SSD as a boot drive, you can harness the power and speed of this advanced storage technology, significantly enhancing your computer’s performance and transforming your computing experience. The benefits of increased speed, improved multitasking, reduced boot time, energy efficiency, silent operation, durability, and reliability make switching to an SSD as a boot drive a worthwhile investment.
Benefits of using HDD as storage
While SSDs offer blazing-fast speed and performance, HDDs still have their advantages when it comes to storage capacity and affordability. Here are some of the main benefits of utilizing an HDD as storage:
1. High storage capacity: HDDs are known for their ability to provide large storage capacities at a more budget-friendly price compared to SSDs. If you have a vast collection of files, such as photos, videos, music, or documents that require significant storage space, an HDD will allow you to store them without worrying about running out of space quickly.
2. Cost-effective: HDDs are more cost-effective per gigabyte compared to SSDs. If you’re on a tighter budget and need a large amount of storage, an HDD is the more affordable option. This makes HDDs particularly appealing for users who require massive storage capacities without breaking the bank.
3. Long-term storage and archiving: HDDs are well-suited for long-term storage and archiving purposes. The robust design and magnetic storage technology of HDDs make them a reliable choice for storing data that needs to be accessed infrequently but kept for extended periods, such as backups, archives, and historical records.
4. Compatibility and availability: HDDs have been in the market for a long time and are widely compatible with various devices and operating systems. This compatibility makes it easier to integrate an HDD into different computer systems, gaming consoles, DVRs, and external storage enclosures. Additionally, HDDs are readily available from numerous manufacturers, offering a wide range of options to choose from.
5. Easy data recovery: In the event of data loss, HDDs are typically easier and less costly to recover data from compared to SSDs. Data recovery services can often retrieve files from failed or damaged HDDs, which can be crucial in cases where important data needs to be retrieved.
6. Reliability and durability: HDDs have a proven track record of reliability and durability, especially when it comes to long-term storage. Although SSDs are robust in their own right, the mechanical nature of HDDs makes them withstand regular use and operate consistently over an extended period.
7. Backup redundancy: HDDs are often used as backup storage drives due to their lower cost per gigabyte. By utilizing HDDs for backups, you can create redundant copies of your important files, ensuring that you have multiple backups in case of accidental deletion or primary storage failure.
While SSDs excel in speed and performance, HDDs remain a viable choice for users who require large storage capacities at a more affordable price. Their high storage capacity, cost-effectiveness, compatibility, ease of data recovery, reliability, and backup redundancy make HDDs an ideal choice for users with extensive data storage needs. By using an HDD as storage in combination with an SSD as a boot drive, you can achieve a balance of speed, storage capacity, and cost-effectiveness in your computer system or other compatible devices.
Preparing your system for SSD installation
Before diving into the process of configuring an SSD as a boot drive, it is crucial to properly prepare your system for the installation. By following these steps, you can ensure a smooth and successful SSD installation:
1. Backup your data: Before making any changes to your system, it is essential to backup all your important data. This will safeguard your files in case of any unforeseen issues or errors that may occur during the SSD installation process.
2. Check compatibility: Ensure that your system is compatible with an SSD installation. Check the system requirements and specifications of both your computer and the SSD you plan to install. Verify if your motherboard supports the SSD interface (usually SATA or NVMe) and if there is an available slot or port to connect the SSD.
3. Obtain necessary cables and hardware: Depending on the type and form factor of your SSD, you might need specific cables or hardware. For example, if you are installing an M.2 SSD, you might need an M.2 SSD slot on your motherboard, along with the appropriate screw to secure the SSD in place. Confirm that you have all the necessary components to successfully install the SSD.
4. Update your system’s firmware and drivers: It’s a good practice to update your system’s firmware (BIOS/UEFI) and drivers to their latest versions before the SSD installation. This will ensure that your system is running optimally and that it can properly recognize and utilize the new SSD.
5. Create a Windows installation media: If you are planning to install Windows on your new SSD, create a bootable USB drive or DVD with the latest Windows installation files. This will allow you to perform a clean installation of Windows on the SSD and ensure a fresh start with your operating system.
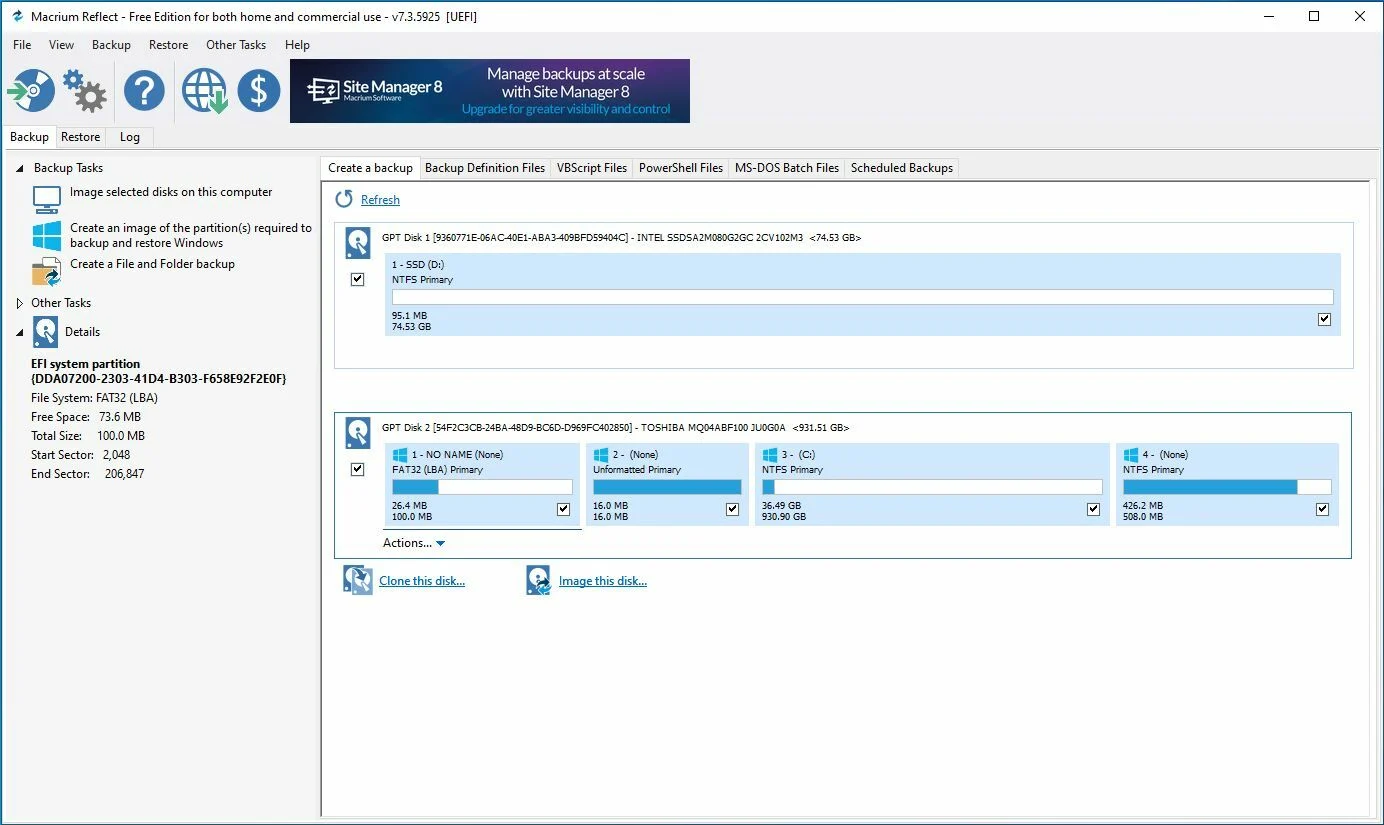
6. Prepare for data migration (optional): If you want to migrate your existing operating system and files to the new SSD, you can use data migration software. This process will transfer your current operating system and data to the new SSD without the need for a complete reinstallation. Ensure that you have the necessary software and tools to facilitate the data migration process.
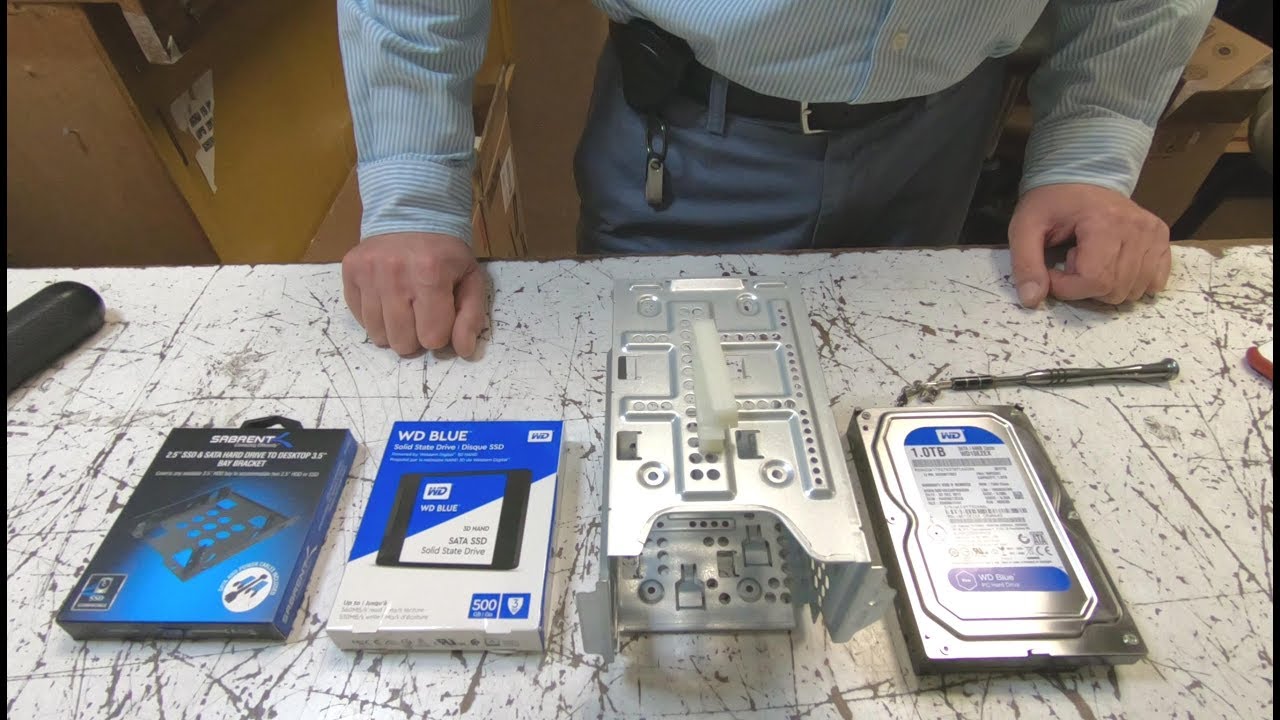
7. Organize your workspace: Before opening your computer and installing the SSD, make sure you have a clean, well-lit workspace with adequate room to maneuver. Gather the required tools, such as a screwdriver, antistatic wrist strap, and any additional accessories necessary for the installation.
By taking these preparatory steps, you can minimize any potential issues and ensure a smooth SSD installation process. Whether you’re performing a clean Windows installation or migrating your existing system, proper preparation is key to a successful SSD configuration. With everything in order, you can now proceed to the next steps in configuring your SSD as the boot drive and your HDD as storage.
Steps to configure SSD as boot drive
Configuring an SSD as the boot drive involves a series of steps to ensure that your operating system is installed and set up correctly. Follow these guidelines to successfully configure your SSD as the boot drive:
1. Back up your data: Before beginning any installation process, it is crucial to back up all your important files and data. This ensures that you have a copy of everything in case of any data loss or issues during the SSD configuration.
2. Physically install the SSD: Open your computer’s case and locate an available slot or port to connect your SSD. Depending on the form factor of your SSD, you may need to secure it using screws or utilize slots specifically designed for M.2 SSDs. Connect the necessary cables and make sure the SSD is properly installed and securely attached.
3. Access the BIOS/UEFI: Restart your computer and enter the BIOS or UEFI interface by pressing the designated key (usually Del, F2, or F12) during the startup process. Navigate to the “Boot” or “Boot Order” section and ensure that your SSD is set as the primary boot device. Save the changes and exit the BIOS/UEFI interface.
4. Install the operating system: If you are performing a clean installation of the operating system, insert the Windows installation media (USB/DVD) you prepared earlier. Follow the on-screen prompts to format the SSD and install the operating system on it. Choose the SSD as the installation destination and proceed with the installation process.
5. Configure the operating system: Once the installation is complete, boot into your newly installed operating system on the SSD. Configure the system settings and personalize it according to your preferences. Install any necessary drivers and updates to ensure that your system is up to date and functioning optimally.
6. Transfer data (optional): If you performed a clean installation and want to transfer your data from the previous storage device to the SSD, you can now transfer your files from the backup to the new SSD. This can be done manually or using data migration software, depending on your preference and requirements.
7. Verify the boot drive: Restart your computer and ensure that it successfully boots from the SSD. Check the BIOS/UEFI settings again to confirm that the SSD is the primary boot device. You should now experience increased speed and improved performance as your operating system runs from the SSD.
By following these steps, you can configure your SSD as the boot drive, allowing for faster boot times, improved system responsiveness, and enhanced overall performance. Remember to take the necessary precautions, back up your data, and follow the guidelines specific to your operating system during the installation process. With your SSD successfully configured as the boot drive, you can now proceed to configure your HDD as additional storage.
Steps to configure HDD as storage
Once you have successfully configured your SSD as the boot drive, it’s time to set up your HDD as additional storage. Here are the steps to configure your HDD:
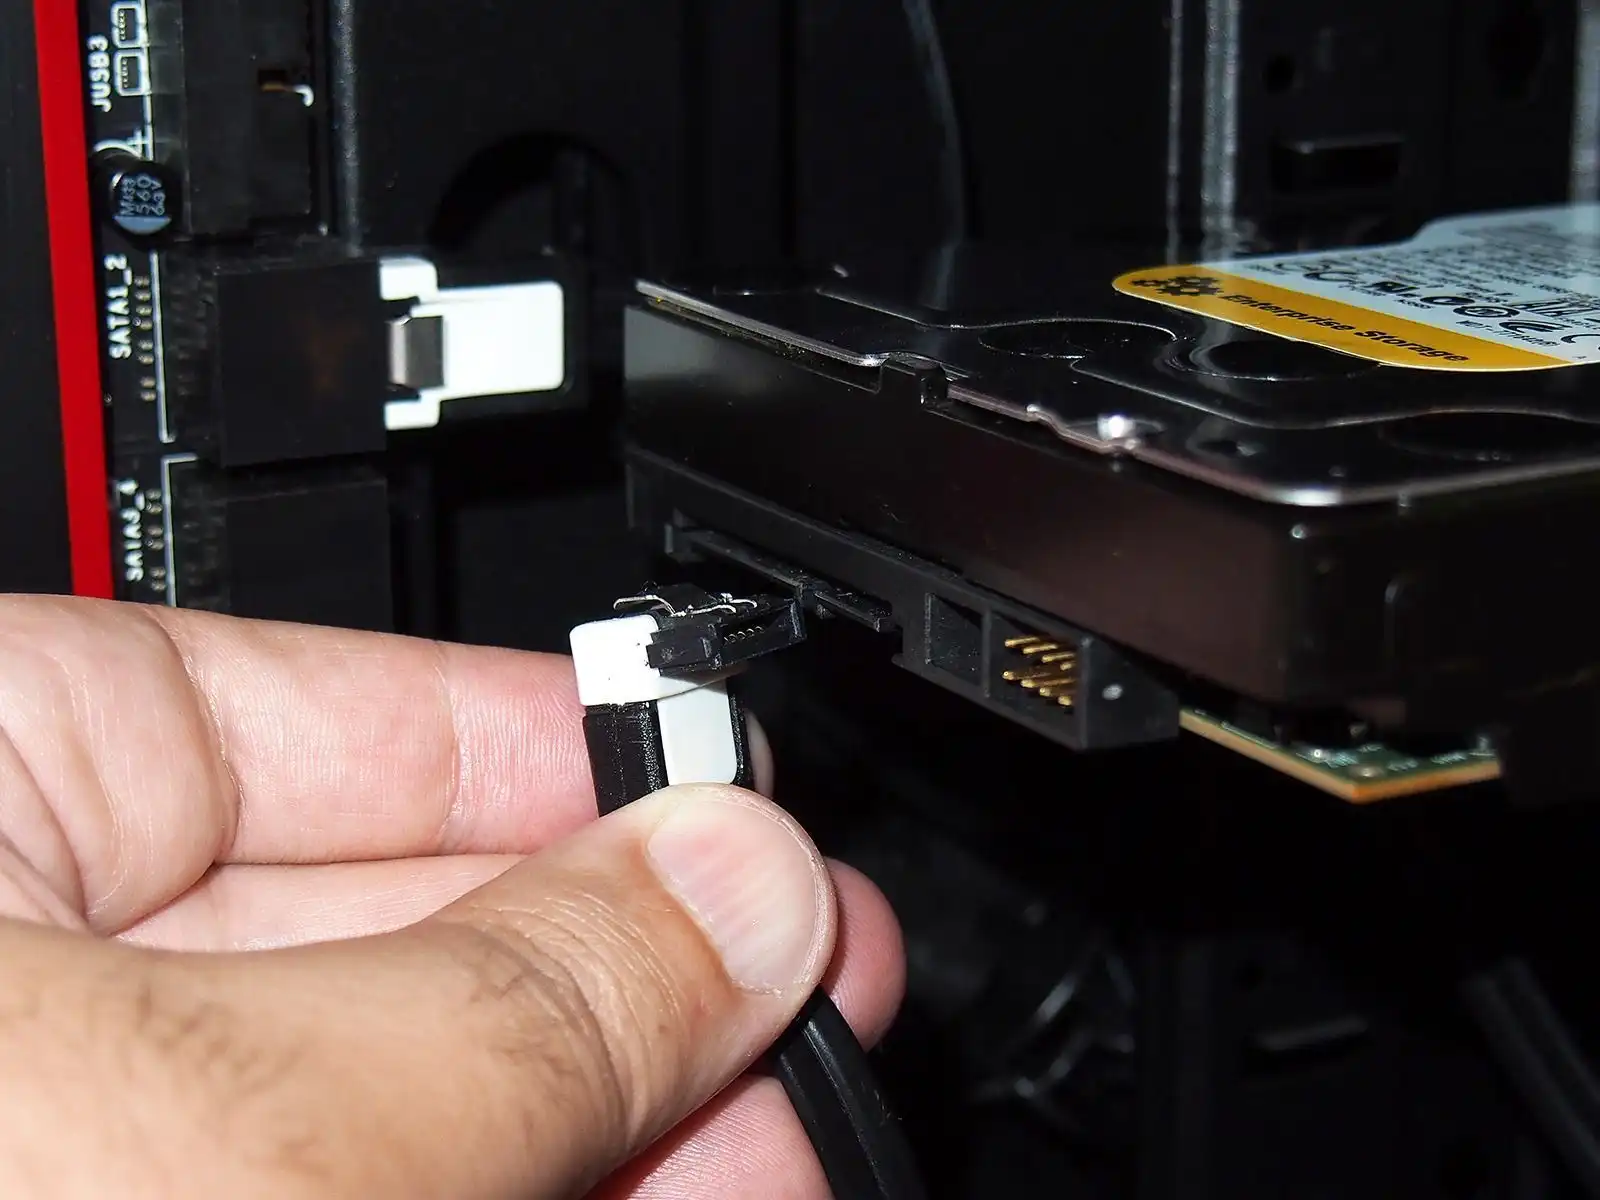
1. Ensure the HDD is connected: Check that your HDD is properly connected and recognized by your computer. Ensure that the necessary power and data cables are securely attached to the HDD and connected to the appropriate ports on your motherboard or expansion card.
2. Initialize and format the HDD: Open Disk Management on your computer. This can be done by right-clicking on the Start button, selecting “Disk Management,” and locating your HDD in the list of drives. Initialize the HDD if prompted and then format it with a compatible file system (such as NTFS for Windows or exFAT for cross-platform compatibility).
3. Create partitions (optional): If you wish to divide your HDD into multiple partitions for better organization and management, right-click on the unallocated space of the HDD and select “New Simple Volume.” Follow the on-screen prompts to create and format the partitions according to your preferences.
4. Assign drive letters: Once the formatting process is complete, assign drive letters to your HDD partitions. Right-click on each partition, select “Change Drive Letter and Paths,” and choose a letter that is not currently in use. Having assigned drive letters will make it easier to identify and access your HDD partitions later on.
5. Set up default locations: To make the most of your HDD storage, you can configure your system to automatically save certain types of files to the HDD. For example, you can set your default download location or move your existing libraries (such as Documents, Pictures, Music, and Videos) to your HDD. This can be done by right-clicking on each library folder, selecting “Properties,” and changing the location to the corresponding folder on your HDD.
6. Transfer files: If you have data from your backup or existing storage device that you want to move to the HDD, manually copy and paste the files to the appropriate HDD partition. Alternatively, you can use file synchronization software or backup tools to help automate the transfer process.
7. Organize and manage your files: With your HDD configured as storage, take the time to organize your files into folders and subfolders based on your desired file structure. This will help you keep your files organized, easily accessible, and manageable as your storage capacity grows.
By following these steps, you can configure your HDD as storage, allowing you to store and organize your files efficiently. Leveraging the affordable and high-capacity nature of HDDs, you can benefit from vast storage space for your documents, images, videos, games, and other files. Enjoy the benefits of having a dedicated storage solution for your data while maximizing the speed and performance of your SSD as the boot drive.
Conclusion
Configuring an SSD as a boot drive and an HDD as storage is a strategic approach to optimize both speed and capacity in your computer system. By leveraging the speed, responsiveness, and durability of an SSD as the boot drive, you can enhance your overall computing experience, enjoying faster boot times, quick program loading, and efficient file transfers.
On the other hand, utilizing an HDD as storage provides you with ample capacity at a more affordable price per gigabyte. This allows you to store large amounts of data, such as multimedia files, backups, and archives, without straining your budget.
Preparation is key when configuring your system with an SSD as a boot drive and an HDD as storage. Backing up your data, checking compatibility, acquiring the necessary hardware, and updating your system’s firmware and drivers ensure a smooth installation process.
Follow the steps to configure your SSD as the boot drive, installing the operating system and setting it as the primary boot device in the BIOS/UEFI. Similarly, set up your HDD by ensuring it is connected, initializing and formatting it, creating partitions if desired, and assigning drive letters.
By configuring your system in this manner, you can harness the benefits of both storage technologies. The SSD will provide lightning-fast speed and improved system responsiveness, while the HDD will offer ample storage capacity for your data storage needs.
Remember to organize your files and manage them efficiently across the SSD and HDD, taking advantage of default locations and moving specific file types to the appropriate storage device. This helps keep your files organized and easily accessible.
In conclusion, configuring an SSD as a boot drive and an HDD as storage strikes the perfect balance between speed and capacity. You can experience the best of both worlds, enjoying enhanced performance and vast storage space. By implementing this configuration, you can optimize your computer system and elevate your computing experience to new heights.


