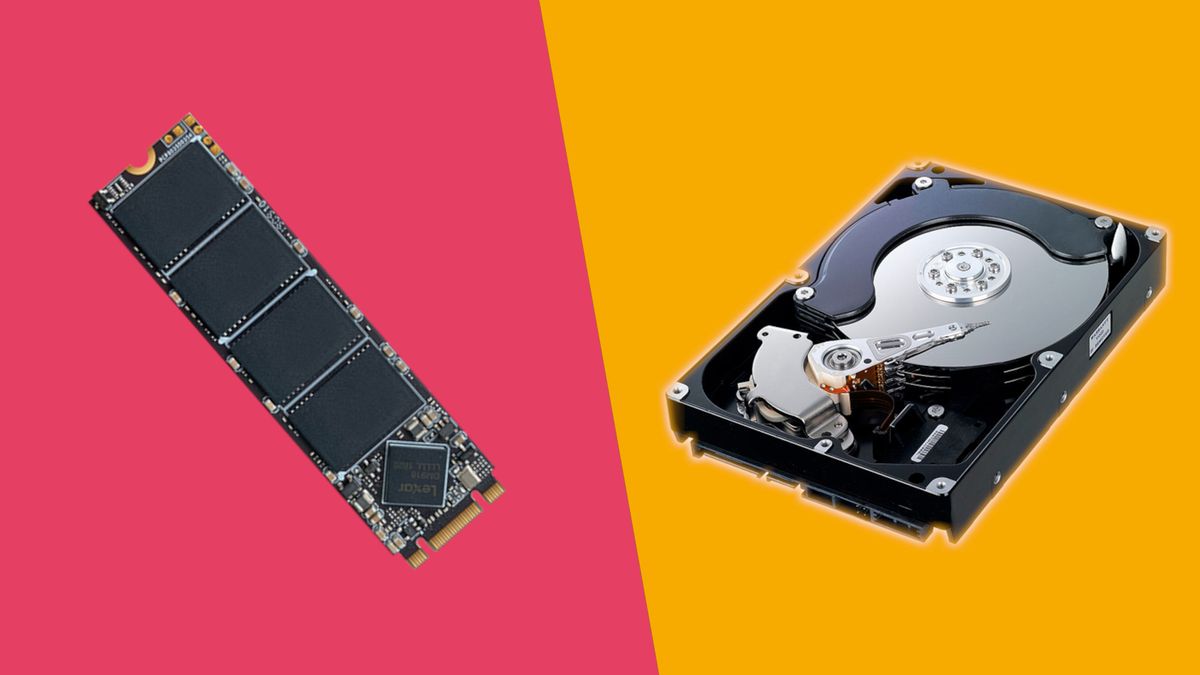
Introduction
When it comes to maximizing the performance and storage capacity of your computer, combining solid-state drives (SSDs) and hard disk drives (HDDs) can be a game-changer. SSDs offer lightning-fast speed and responsiveness, while HDDs provide abundant storage space at a more affordable price. By installing both of these storage devices together, you can enjoy the benefits of both worlds.
However, the process of installing an SSD and an HDD together might seem daunting to some. Fear not! In this guide, we will walk you through the step-by-step process of setting up your computer with an SSD and an HDD, ensuring a smooth and successful installation.
In the following sections, we will cover everything you need to know, from preparing the necessary tools and equipment to configuring the BIOS settings. So, without further ado, let’s dive into the world of SSDs and HDDs and start enhancing the performance and storage capacity of your computer.
Step 1: Gathering the necessary tools and equipment
Before you begin the installation process, it’s important to gather all the tools and equipment you’ll need. Here’s a list of the essentials:
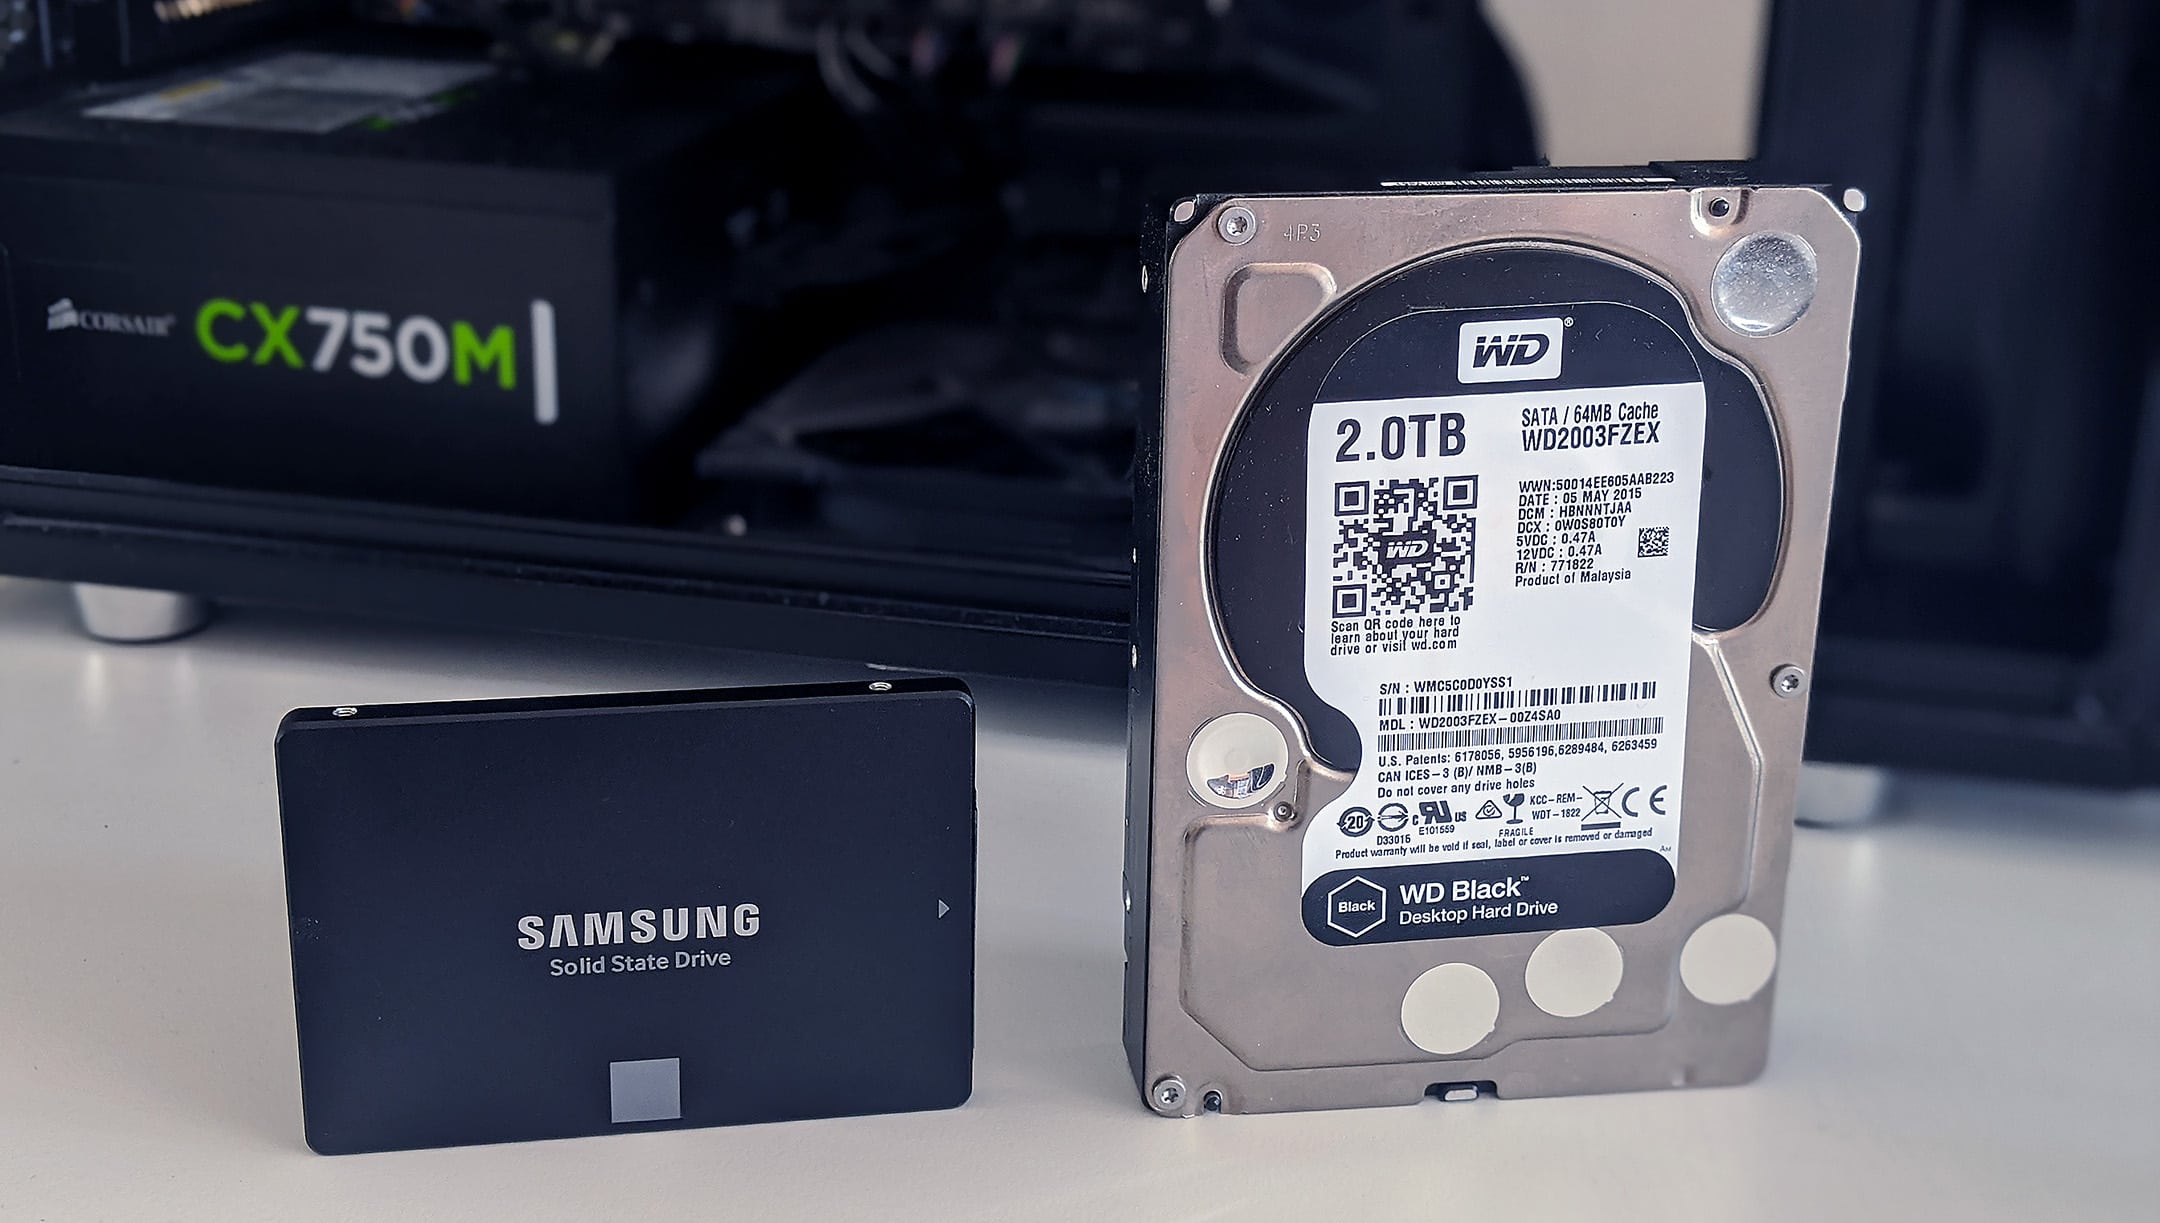
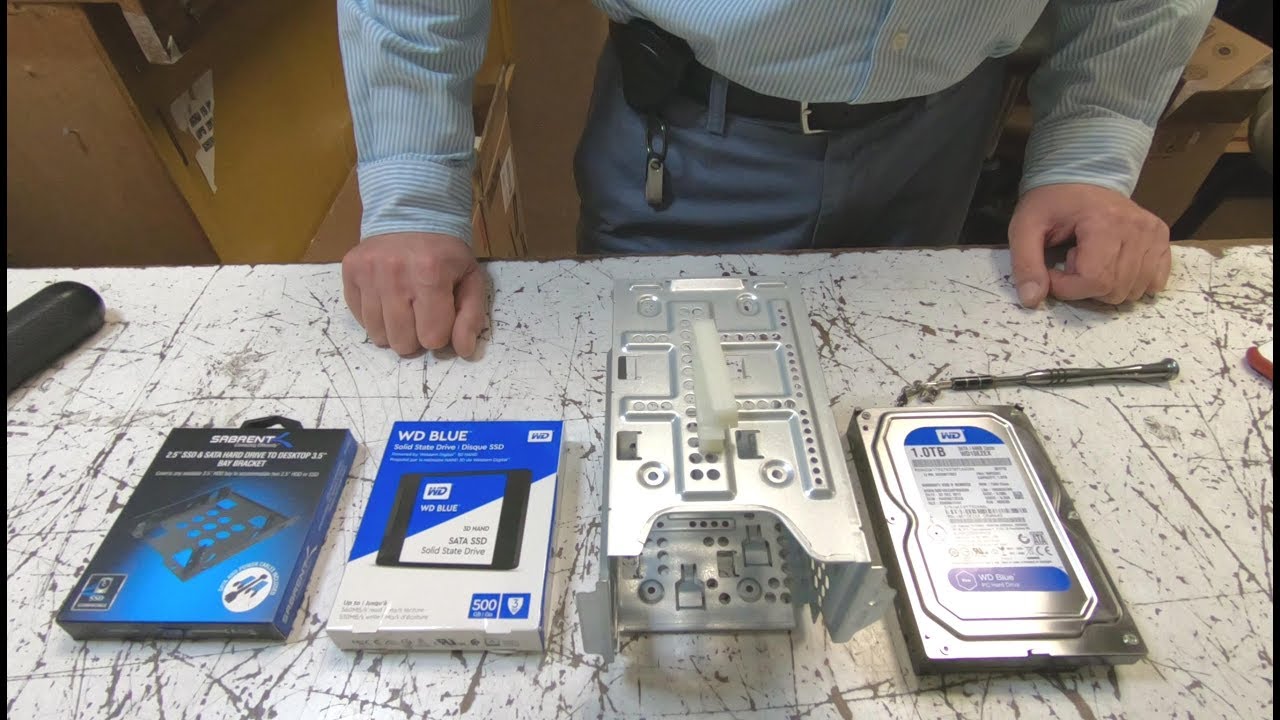
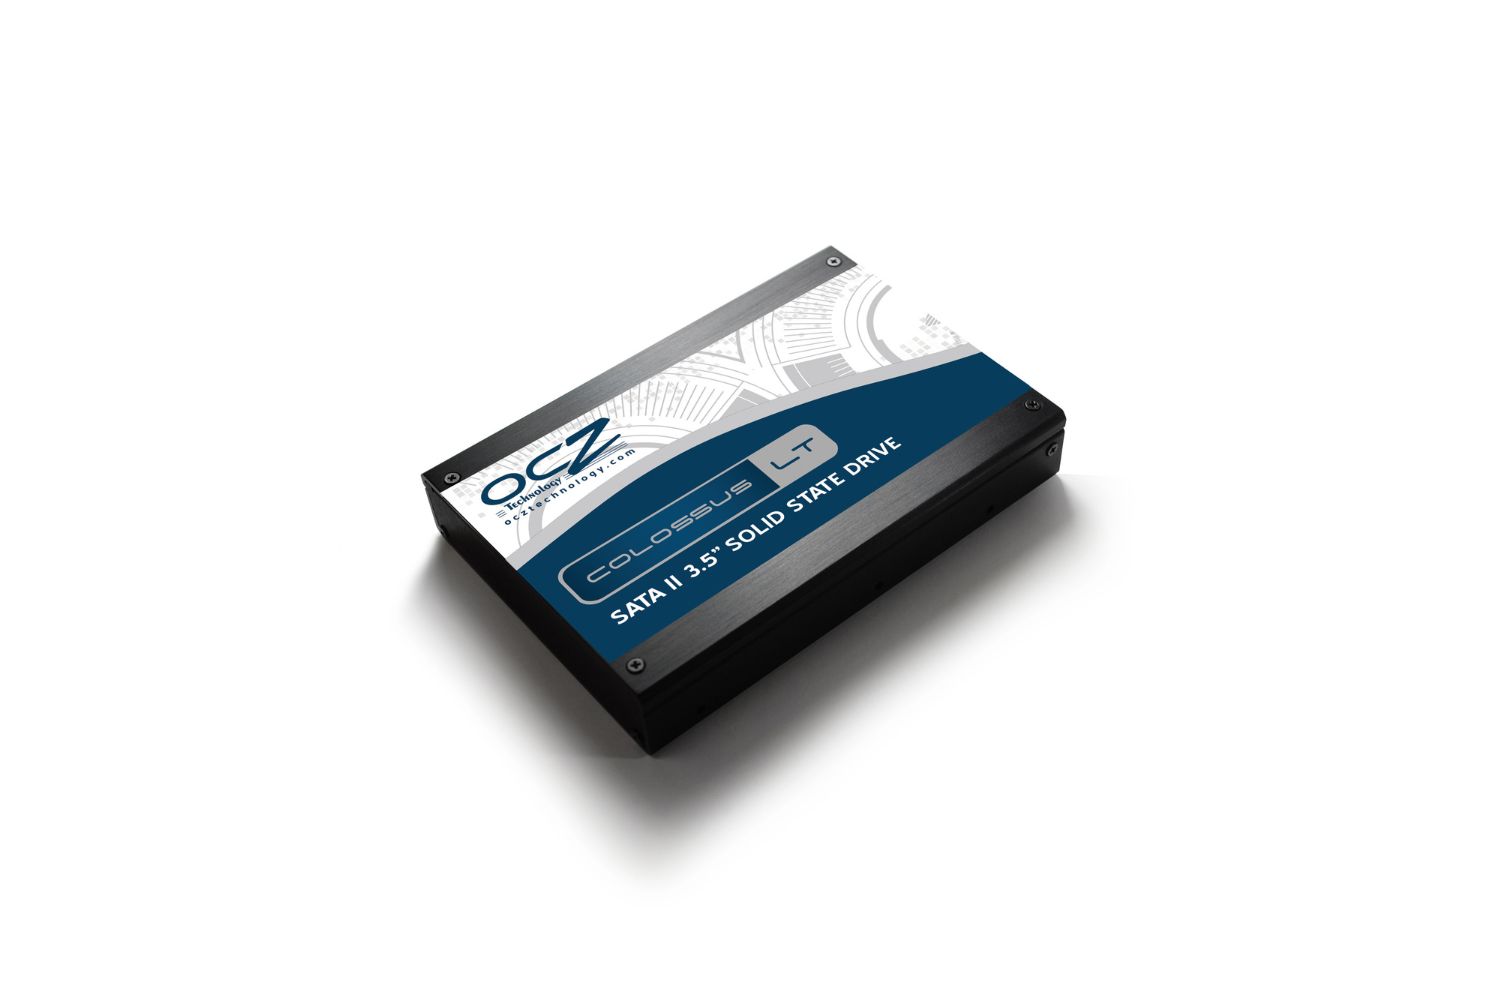
- SSD and HDD: Make sure you have both the solid-state drive (SSD) and the hard disk drive (HDD) that you plan to install. Check the capacity and specifications of each drive to ensure they meet your requirements.
- SATA cables: You’ll need SATA cables to connect the drives to your motherboard. Make sure you have enough cables for both the SSD and the HDD.
- SATA power cables: These cables connect your drives to the power supply. Check if your power supply has enough SATA power connectors, or consider purchasing additional cables if needed.
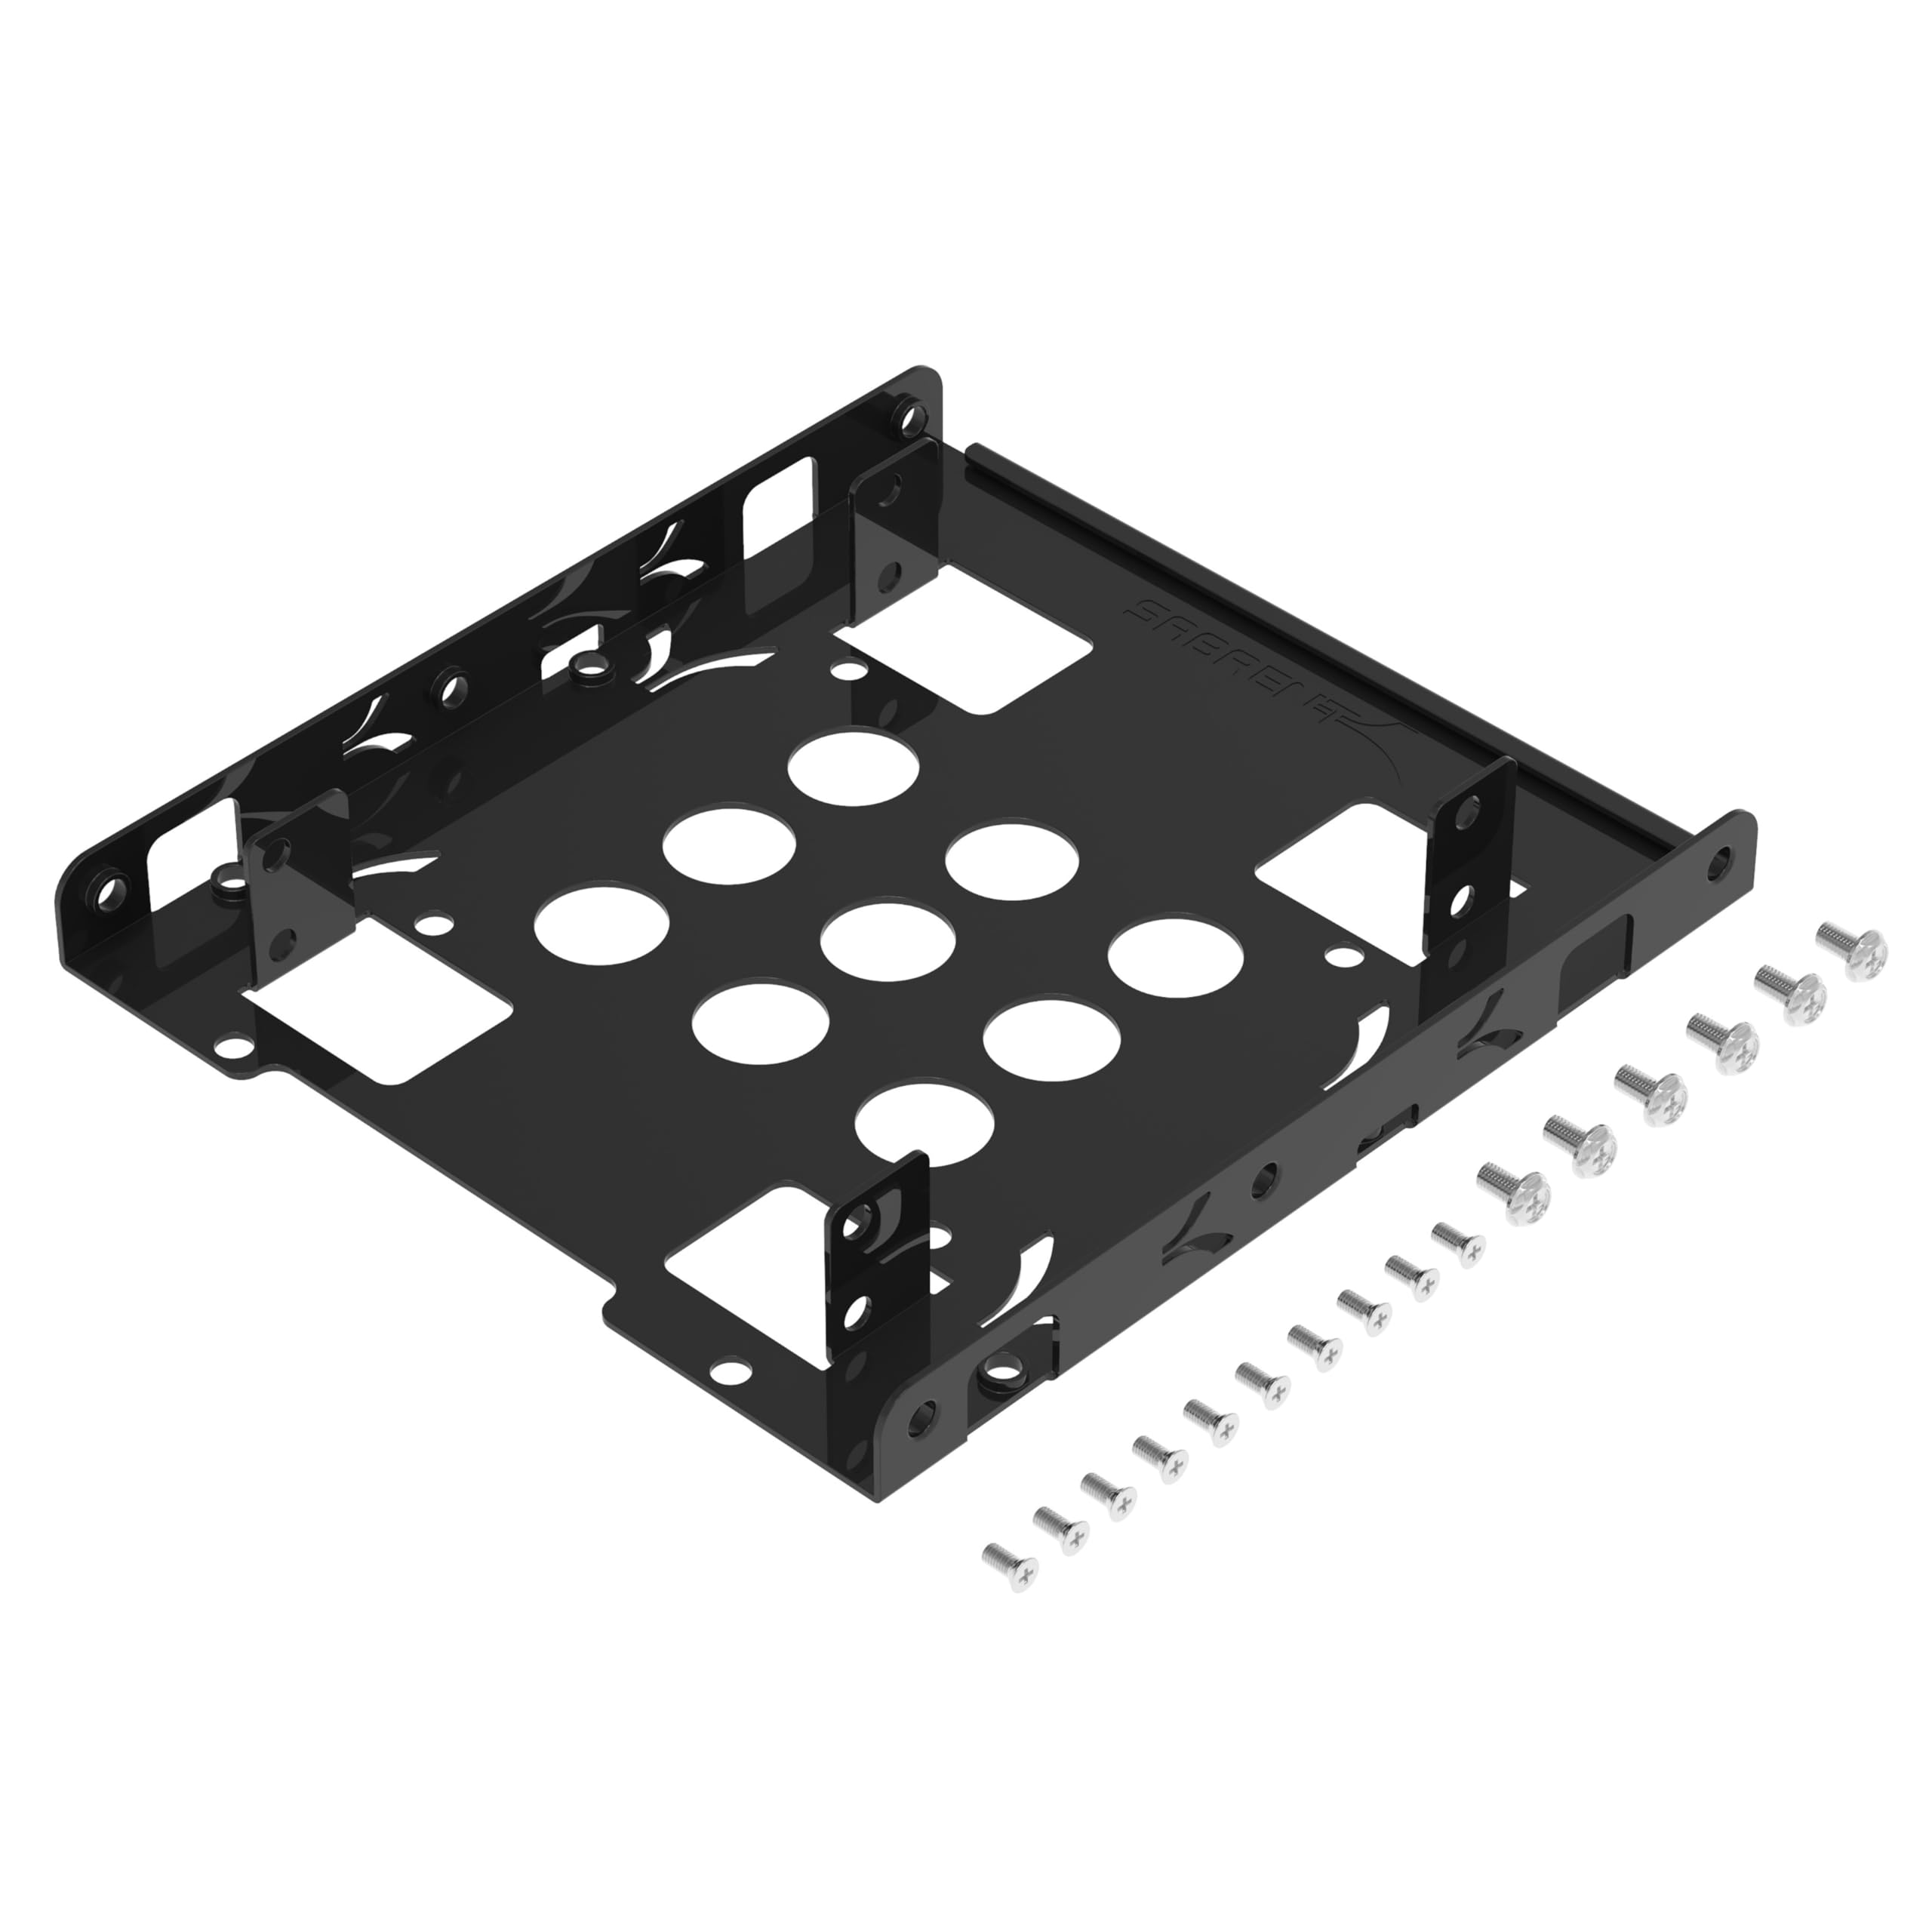
- Screwdriver: A screwdriver, preferably a small Phillips head or a Torx screwdriver, will be necessary to secure the drives in place.
- Anti-static wrist strap: This optional but highly recommended accessory helps prevent electrostatic discharge (ESD) when handling sensitive components. It can protect your drives from static electricity damage.
By having all the necessary tools and equipment ready, you’ll be well-prepared to proceed with the installation process. Double-check that you have everything listed above before moving on to the next step.
Step 2: Preparing the computer for installation
Before you start physically installing the SSD and HDD in your computer, it’s important to prepare the system for the upcoming changes. Follow these steps to ensure a smooth installation process:
- Shut down and unplug your computer: Power down your computer and disconnect it from the power source. This step is crucial for your safety and to prevent any damage to your hardware.
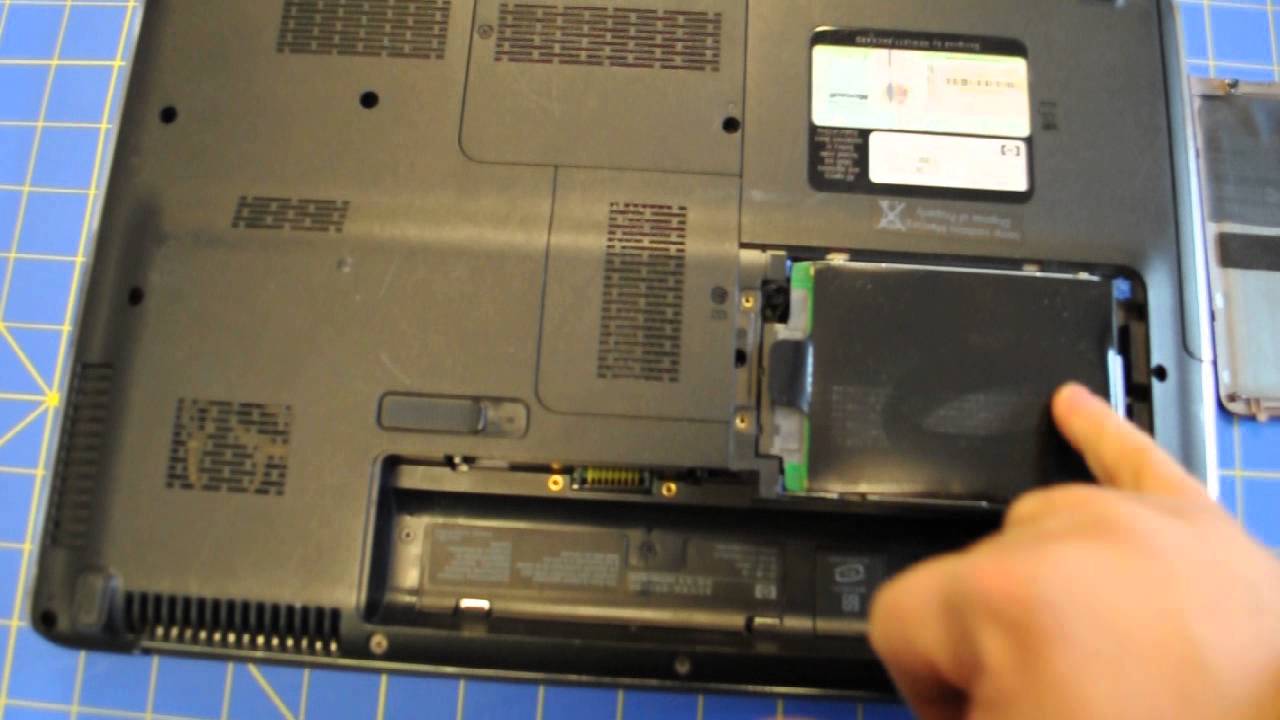
- Open the computer case: Using a screwdriver, remove the screws or latches that hold your computer case closed. Gently slide off the side panel(s) to expose the internal components of your computer.
- Ground yourself: To avoid static discharge, it’s important to ground yourself before handling any sensitive components. An easy way to do this is by using an anti-static wrist strap. Strap it around your wrist and connect the other end to a metal part of your computer case.
- Identify available drive bays: Take a look at the interior of your computer case and locate the drive bays where you can install the SSD and HDD. Typically, these drive bays are located in the front or back of the case.
- Check the motherboard connections: Identify the SATA ports on your motherboard where you will connect the drives. These ports are usually labeled and can be found near the bottom edge of the motherboard.
- Plan your drive placement: Decide where you want to install the SSD and the HDD in the drive bays. Consider factors like cable management and airflow for better cooling of the drives.
By following these preparation steps, you’ll ensure that your computer is ready for the installation of the SSD and HDD. Taking the time to properly set up your system will help avoid any obstacles during the installation process and ensure a successful outcome.
Step 3: Installing the SSD
Now that you have prepared your computer, it’s time to install the solid-state drive (SSD). Follow these steps to securely install the SSD in your computer:
- Choose the SSD bay: Select an available drive bay for the SSD. Consider the location you planned during the preparation step for optimal cable management and airflow.
- Remove the bay cover (if applicable): If there is a cover or bracket in the chosen drive bay, unscrew or unlatch it and set it aside. This will allow you to easily slide the SSD into the bay.
- Mount the SSD: Take the SSD and align it with the screw holes in the bay. Once aligned, gently push the SSD into the bay until it is fully seated. Use the screws provided with your computer case to secure the SSD in place.
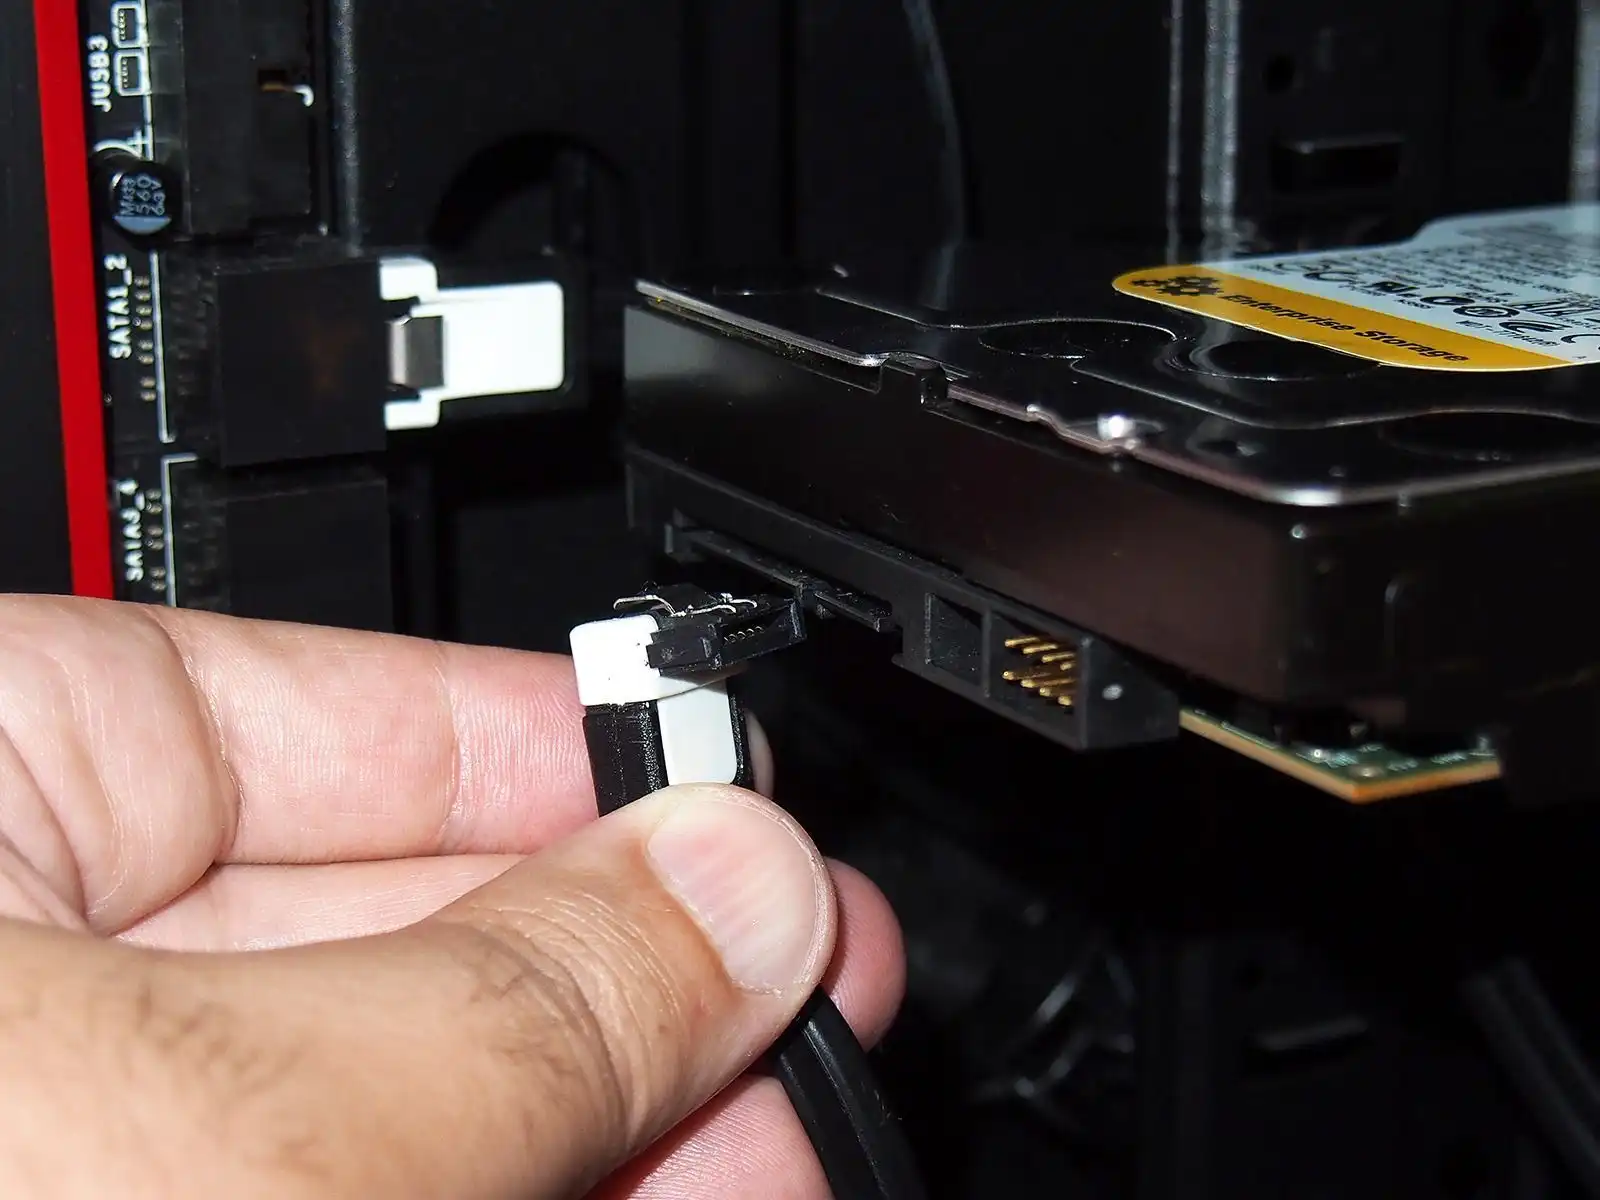
- Connect the SATA data cable: Take one end of the SATA data cable and connect it to the SSD, ensuring a firm connection. The other end of the cable will be connected to the motherboard in a later step.
- Connect the SATA power cable: Locate a SATA power connector from your power supply and plug it into the corresponding port on the SSD. This will provide power to the drive.
- Double-check the connections: Before moving on, make sure that the SATA data and power cables are securely attached to the SSD and power supply, respectively. This will ensure proper functionality.
Once you have completed these steps, the SSD is successfully installed in your computer. The solid-state drive will provide faster data access and overall improved performance for your system. Now, let’s move on to the next step of connecting the SSD to the motherboard.
Step 4: Connecting the SSD to the motherboard
With the SSD securely installed in the drive bay, it’s time to connect it to the motherboard. Follow these steps to ensure a proper connection:
- Locate the SATA ports: Look for the SATA ports on your motherboard. These ports are usually labeled and are typically located near the bottom edge of the motherboard.
- Connect the SATA data cable: Take the other end of the SATA data cable that is connected to the SSD and plug it into an available SATA port on the motherboard. Ensure a secure connection by firmly pushing the cable into the port.
- Secure the cable: After connecting the SATA data cable, use the provided locking mechanism on the connector to secure it in place. This will prevent accidental disconnection.
- Double-check the connection: Before moving on, ensure that the SATA data cable is securely connected to both the SSD and the motherboard. A loose connection could result in data transfer issues.
Once the SSD is connected to the motherboard, it is ready to communicate with the system. The SATA data cable facilitates the transfer of data between the SSD and the motherboard, enabling you to benefit from the speed and responsiveness of the solid-state drive.
Now that the SSD is properly connected, it’s time to move on to installing the HDD and connecting it to the motherboard. This will allow you to have ample storage space for your files and applications. So let’s proceed to the next step!
Step 5: Installing the HDD
Now that the SSD is connected to the motherboard, it’s time to install the hard disk drive (HDD) for additional storage capacity. Follow these steps to successfully install the HDD in your computer:
- Choose the HDD bay: Select an available drive bay for the HDD. Consider the location you planned during the preparation step to ensure proper cable management and airflow.
- Remove the bay cover (if applicable): If there is a cover or bracket in the chosen drive bay, unscrew or unlatch it and set it aside. This will allow you to easily slide the HDD into the bay.
- Mount the HDD: Take the HDD and align it with the screw holes in the bay. Gently slide the HDD into the bay until it is fully seated. Use the screws provided with your computer case to secure the HDD in place.
- Connect the SATA data cable: Take one end of a SATA data cable and connect it to the HDD. Make sure to securely attach the cable to the HDD to avoid any connection issues.
- Connect the SATA power cable: Locate another SATA power connector from your power supply and plug it into the corresponding port on the HDD. This will provide power to the drive.
- Double-check the connections: Before proceeding, ensure that both the SATA data and power cables are securely connected to the HDD. This will ensure proper functionality.
Once you have completed these steps, the HDD is successfully installed in your computer. The hard disk drive provides ample storage space for your files, applications, and media. With both the SSD and HDD working together, you can enjoy the benefits of fast performance and abundant storage capacity.
Now that both the SSD and HDD are installed, it’s time to connect them to the motherboard and power supply. Let’s proceed to the next step to make these connections and ensure everything is set up correctly.
Step 6: Connecting the HDD to the motherboard
Now that the HDD is securely installed in the drive bay, it’s time to connect it to the motherboard. Follow these steps to ensure a proper connection:
- Locate the SATA ports: Look for the available SATA ports on your motherboard. These ports are typically labeled and can be found near the bottom edge of the motherboard, similar to the SATA ports used for the SSD.
- Connect the SATA data cable: Take the other end of the SATA data cable that is connected to the HDD and plug it into an available SATA port on the motherboard. Ensure a secure connection by firmly pushing the cable into the port.
- Secure the cable: As with the SSD, use the locking mechanism on the SATA connector to secure the cable in place. This will prevent accidental disconnection.
- Connect the SATA power cable: Locate another available SATA power connector from your power supply and plug it into the corresponding port on the HDD. This will provide the necessary power to the drive.
- Double-check the connections: Before proceeding, ensure that both the SATA data and power cables are securely connected to the HDD and the power supply, respectively. This will ensure proper functionality.
Once the HDD is connected to the motherboard and power supply, it is ready to store and retrieve your files and data. The SATA data cable enables communication between the HDD and the motherboard, allowing you to access and transfer data effortlessly.
Now that both the SSD and HDD are properly connected, you can take advantage of the lightning-fast speed of the SSD for your operating system and frequently used applications, while utilizing the vast storage space of the HDD for storing larger files and media.
In the next step, we will connect the power supply to the SSD and HDD to provide them with the necessary power. Let’s proceed to that step!
Step 7: Connecting the power supply to the SSD and HDD
With both the SSD and HDD securely installed in your computer and connected to the motherboard, it’s time to provide them with the necessary power. Follow these steps to connect the power supply to the SSD and HDD:
- Locate the SATA power connectors: Identify the SATA power connectors on your power supply. These connectors have a distinctive L-shaped design and typically have multiple ports.
- Connect the SATA power cable to the SSD: Take a SATA power cable and plug it into the corresponding port on the SSD. Ensure a secure connection by pushing the connector in firmly.
- Connect the SATA power cable to the HDD: Take another SATA power cable and plug it into the corresponding port on the HDD. Again, make sure the connection is secure and snug.
- Double-check the power connections: After connecting the SATA power cables to both the SSD and HDD, take a moment to ensure that the connections are secure. This will prevent any power-related issues.
Once you have completed these steps, both the SSD and HDD are now receiving power from the power supply. This enables the drives to function properly and ensures that your computer can access and utilize their storage capacities.
With the power supply connections in place, your SSD and HDD are ready to be recognized by the system. In the next step, we will configure the BIOS settings to ensure the drives are properly detected during the boot process. Let’s move on to that step!
Step 8: Configuring the BIOS settings
Now that you have connected the SSD and HDD to your computer and they are receiving power, it is important to configure the BIOS settings to ensure that the drives are properly detected during the boot process. Follow these steps to configure the BIOS settings:
- Access the BIOS: Restart your computer and enter the BIOS by pressing the designated key during the boot process. The key to access the BIOS varies depending on the manufacturer, but it is commonly the Del, F2, or F10 key.
- Navigate to the “Storage” or “Drives” section: Once inside the BIOS, navigate to the section that controls storage devices. This section may be labeled “Storage,” “Drives,” or something similar.
- Ensure SATA ports are enabled: In the “Storage” section, make sure that the SATA ports to which your SSD and HDD are connected are enabled. If they are disabled, simply select the corresponding ports and enable them.
- Set the boot order (optional): If you want to prioritize the SSD as the primary boot drive, navigate to the “Boot” or “Boot Priority” section and set the SSD as the first boot option. This will allow your computer to boot up faster.
- Save and exit: Once you have made the necessary changes to the BIOS settings, save your changes and exit the BIOS. This will restart your computer with the updated settings.
Configuring the BIOS settings ensures that the SSD and HDD are properly recognized by the system during the boot process. Enabling the SATA ports and setting the boot order (if desired) will optimize the performance of your computer and ensure that it boots up quickly and efficiently.
Now that you have configured the BIOS settings, it’s time to boot up your computer and verify that the SSD and HDD are detected. Let’s proceed to the next step to confirm the successful installation.
Step 9: Booting up and verifying the installation
With everything set up and configured, it’s time to boot up your computer and verify that the SSD and HDD are properly installed and functioning. Follow these steps to complete the installation process:
- Power on your computer: Press the power button to turn on your computer.
- Observe the boot process: As your computer boots up, pay attention to the startup screen or BIOS splash screen. It should display information indicating that both the SSD and HDD are being recognized by the system.
- Access your operating system: Once the computer has finished booting up, log in to your operating system as you normally would.
- Verify drive detection: Open your computer’s file explorer or disk management utility and check if both the SSD and HDD are listed. They should appear as separate drives with their respective capacities.
- Perform a test: To ensure that the drives are fully functional, you can run a test by transferring files or running applications from both the SSD and HDD. This will confirm that data is being read and written properly.
- Monitor performance: Keep an eye on the performance of your system, especially the speed and responsiveness of applications and file access. The combination of the fast SSD and the spacious HDD should provide an optimal balance of performance and storage capacity.
If you encounter any issues during the boot process or if the drives are not detected, double-check all the connections, SATA port settings in the BIOS, and power supply connections. Ensure that everything is properly connected and functioning.
By successfully booting up your computer and verifying the installation of the SSD and HDD, you can now enjoy the benefits of increased storage capacity and improved system performance.
Congratulations! You have successfully installed and configured both the SSD and HDD in your computer. Enjoy the enhanced speed, responsiveness, and storage capacity they provide!
Conclusion
Congratulations on successfully installing both the solid-state drive (SSD) and hard disk drive (HDD) in your computer! By combining the speed and responsiveness of an SSD with the ample storage capacity of an HDD, you have transformed your computer into a powerful and efficient machine.
Throughout this guide, we have covered the step-by-step process of installing the SSD and HDD together. Starting from gathering the necessary tools and equipment, preparing the computer, installing the SSD and HDD, connecting them to the motherboard and power supply, configuring the BIOS settings, and finally booting up and verifying the installation, you have followed each step meticulously.
With the installation complete, make sure to monitor the performance of your system. Take advantage of the lightning-fast speed of the SSD for your operating system and frequently used applications, while utilizing the vast storage space of the HDD for storing larger files and media.
Remember to keep your system updated with the latest firmware and drivers for optimal performance and compatibility. Regularly back up your important files to ensure their safety and create a seamless computing experience.
Now that your computer is equipped with the power and storage capacity it needs, you can enjoy smoother operations, faster load times, and an overall enhanced computing experience. Whether you’re gaming, editing videos, or handling large data files, the combination of an SSD and HDD will meet your demands with ease.
Thank you for following this installation guide. We hope it has been informative and helpful in setting up your SSD and HDD. Happy computing!