Introduction
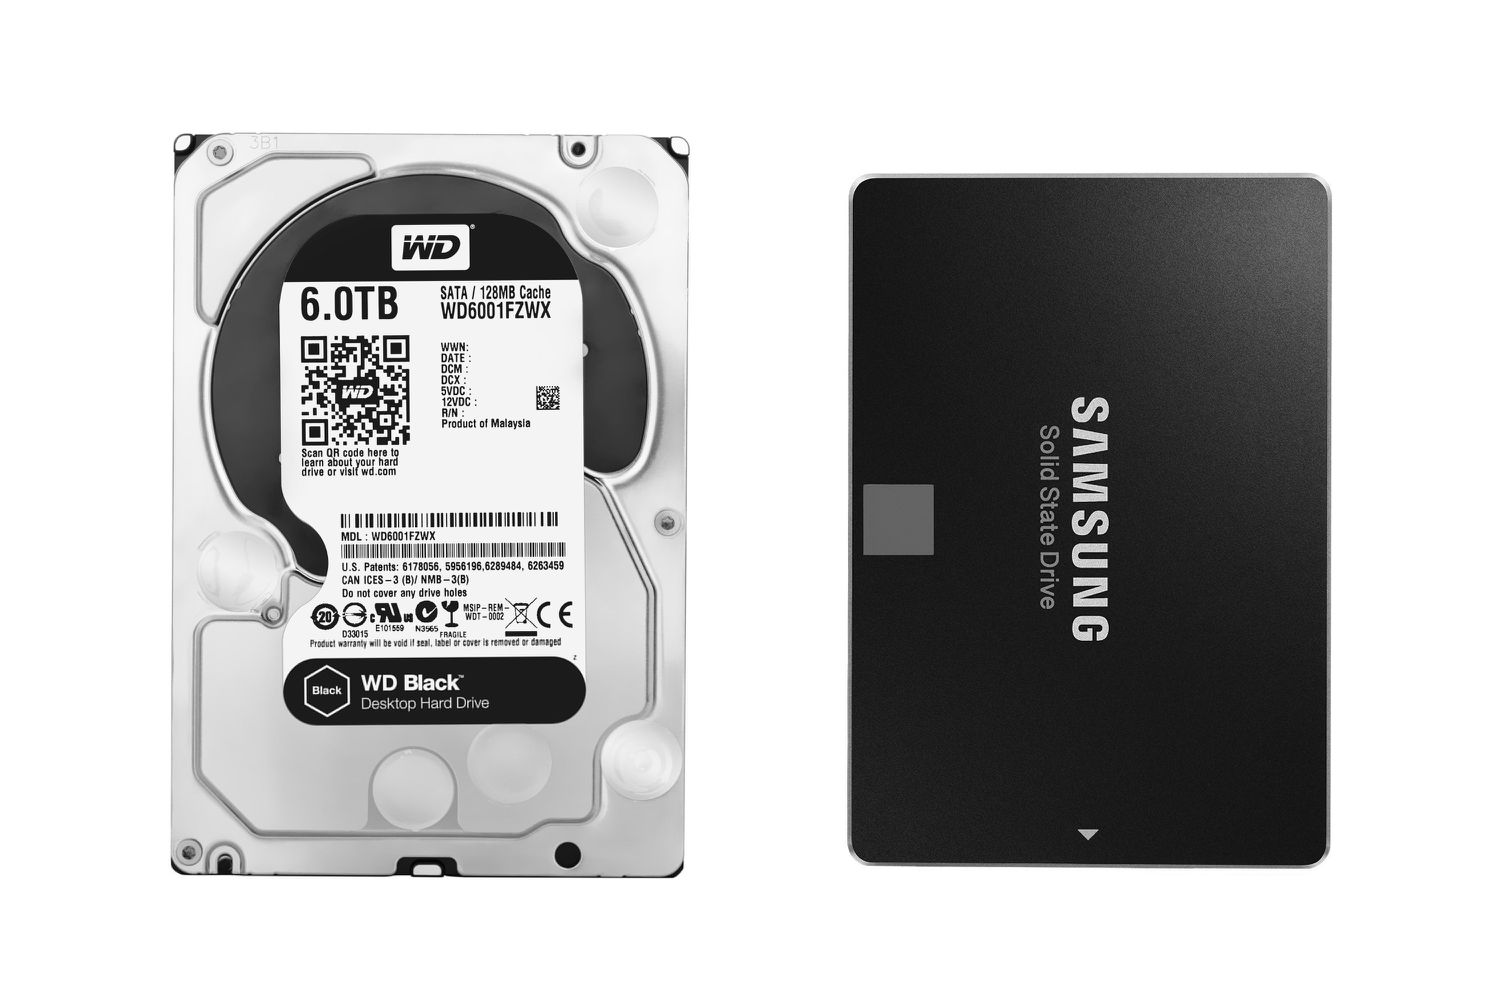
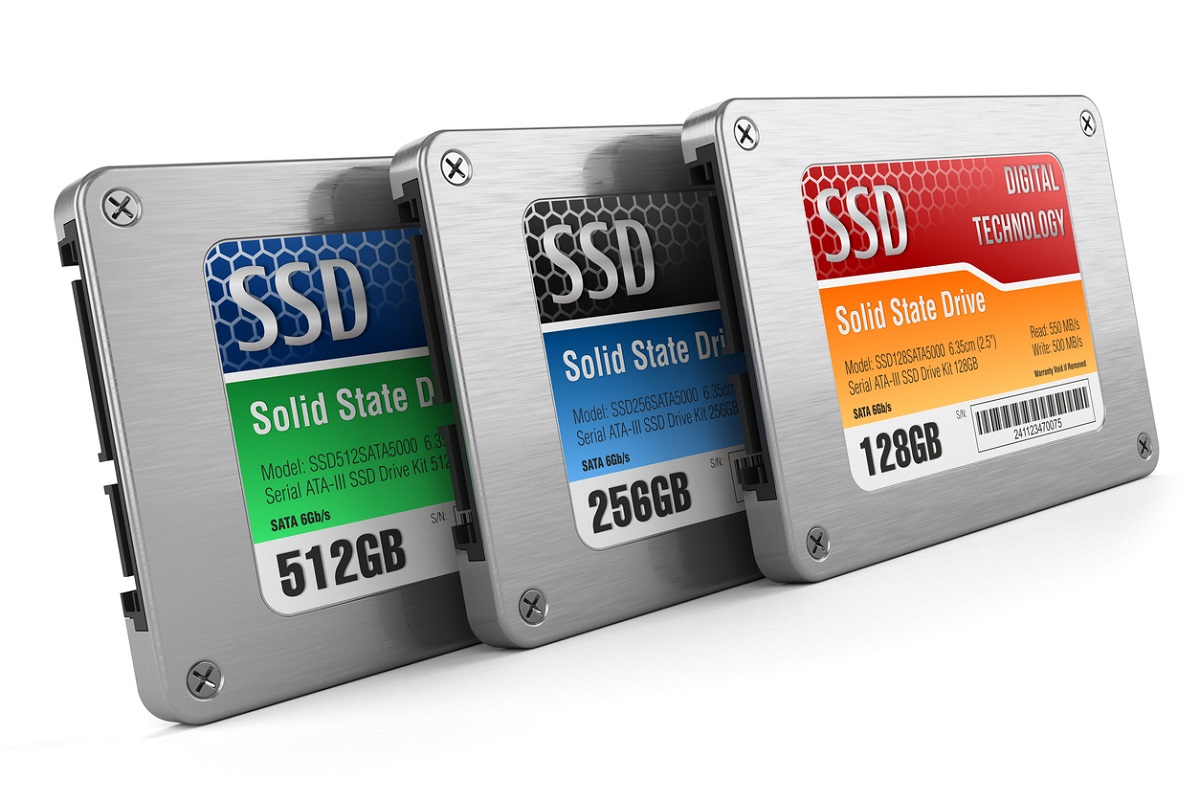
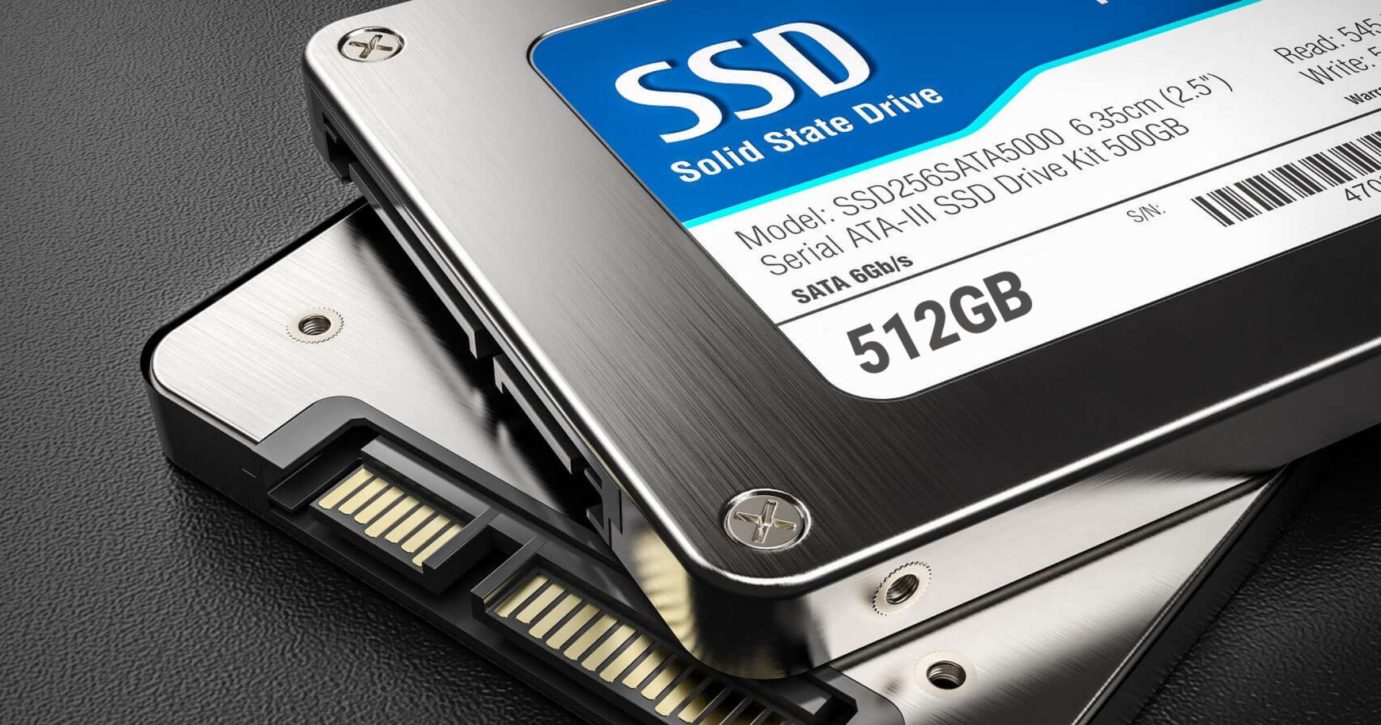
In the world of computer storage, Solid State Drives (SSDs) have revolutionized the way we store and access our data. These high-performance drives offer faster read and write speeds, improved reliability, and enhanced durability compared to traditional hard disk drives (HDDs). SSDs have become the go-to choice for individuals and businesses looking to boost the performance of their systems and improve overall productivity.
But what if you find yourself in a situation where you need more storage space than a single SSD can provide? Luckily, you can combine two SSD drives to create one larger, more versatile storage solution. By combining SSD drives, you not only increase the available storage capacity but also benefit from improved performance by utilizing the combined power of the two drives.
In this article, we will guide you through the process of combining two SSD drives seamlessly. We’ll provide you with step-by-step instructions, starting from choosing the right SSD drives to finalizing the configuration. Additionally, we’ll highlight the benefits of combining SSD drives and the preparations you need to make before embarking on this storage adventure.
It’s important to note that the process of combining SSD drives will require you to reformat the drives and potentially lose any data stored on them. Therefore, ensure you have a backup of your data before proceeding. With that said, let’s dive into the world of combining SSD drives and unleash the full potential of your storage capabilities.
Benefits of Combining Two SSD Drives
Combining two SSD drives offers numerous advantages, making it an attractive option for users who require both increased storage capacity and enhanced performance. Let’s explore some of the key benefits of combining two SSD drives:
- Increased Storage Capacity: By combining two SSD drives, you effectively double your storage capacity. This is particularly useful for individuals or businesses working with large files, such as multimedia designers, video editors, or gamers who require ample space for their projects or games.
- Improved Performance: Combining two SSD drives allows you to harness the power of both drives simultaneously, resulting in improved read and write speeds. This can significantly enhance overall system performance, making tasks such as transferring large files, running complex software, or multitasking smoother and more efficient.
- Data Redundancy and Protection: When combining SSD drives, you have the option to configure the setup in a RAID (Redundant Array of Independent Disks) configuration. RAID offers data redundancy, meaning that if one SSD drive fails, your data will still be accessible and protected on the remaining drive(s). This ensures peace of mind and safeguards your valuable data against potential drive failures.
- Flexibility and Versatility: Combining SSD drives provides greater flexibility in managing your storage options. You can choose to create different partitions or allocate specific portions of the combined space for various purposes, such as a separate partition for the operating system, applications, and personal files. This flexibility allows for more efficient organization and management of your data.
- Future Expansion: By combining two SSD drives, you leave room for future expansion. If you need even more storage capacity down the line, you can easily add additional SSD drives to your setup and expand your storage capabilities without the need for major modifications.
Combining two SSD drives is a practical solution for users who require both increased storage capacity and improved performance. Whether you’re a creative professional, a gamer, or someone who simply needs more space for their ever-growing collection of files, combining SSD drives is a powerful way to enhance your computing experience.
Preparations Before Combining SSD Drives
Before embarking on the process of combining SSD drives, there are a few essential preparations that you need to make. These preparations ensure a smooth and trouble-free experience. Let’s take a look at what you should do before you start combining your SSD drives:
- Backup Your Data: Combining SSD drives will involve reformatting the drives, which means that any existing data on them will be lost. It is crucial to back up all your important data before proceeding. This ensures that you don’t risk losing any valuable files during the process.
- Update Firmware and Drivers: It’s important to ensure that your SSD drives are up-to-date with the latest firmware and drivers. Check the manufacturer’s website for any available updates and apply them before combining the drives. This ensures optimal performance and compatibility.
- Choose the Right SSD Drives: When combining SSD drives, it’s essential to use drives that are compatible with each other. Ensure that the SSD drives have the same capacity and interface (e.g., SATA or NVMe) to avoid any potential issues during the combination process.
- Prepare Necessary Tools: Make sure you have all the necessary tools ready for the process, such as a screwdriver to open the computer case and connect the drives securely. Additionally, ensure you have a suitable cable or adapter to connect the SSD drives to your computer.
- Clear Available Space: Ensure that you have enough physical space inside your computer to accommodate the additional SSD drive. If necessary, remove any unnecessary components or reorganize existing drives to create space for the new SSD.
- Consult Documentation: It’s always a good practice to consult the documentation provided by the SSD drive manufacturer. Familiarize yourself with any specific requirements or recommendations they may provide for combining their drives.
By following these preparations, you will be well-equipped to proceed with combining your SSD drives. Taking the time to back up your data, update firmware, choose compatible drives, and gather the necessary tools ensures a smooth and seamless experience. Now that you’re fully prepared, let’s move on to the step-by-step process of combining SSD drives.
Step 1: Choose the Right SSD Drives
Choosing the right SSD drives is crucial when it comes to combining them effectively. Compatibility between the drives is essential to ensure a smooth and successful combination process. Here are some key factors to consider when selecting the SSD drives for your setup:
- Capacity: Ensure that the SSD drives you choose have the same storage capacity. Combining drives of different capacities may result in inefficient utilization of space or compatibility issues. Determine the amount of storage space you require and select SSD drives that meet your needs.
- Interface: SSD drives come with different interfaces, such as SATA or NVMe. It’s important to choose SSD drives with the same interface to ensure compatibility and optimal performance. Check your motherboard or system specifications to determine which interface is supported.
- Brands and Models: While a mixture of different brands and models may work, it is generally recommended to use SSD drives from the same brand and model. This minimizes potential compatibility issues and ensures a more straightforward combination process.
- Performance: Consider the performance specifications of the SSD drives, such as read and write speeds. Higher performance drives will deliver better overall system performance. However, it’s important to strike a balance between performance and cost, ensuring that the drives fit within your budget.
- Reliability and Warranty: Check the reliability ratings and warranty coverage of the SSD drives. Opt for drives from reputable manufacturers that offer reliable products and solid warranty support. This provides peace of mind in case any issues arise in the future.
Once you have selected the SSD drives that meet your requirements, it’s time to move on to the next steps in combining them. Remember to consult the documentation provided by the manufacturers for any specific instructions or recommendations regarding the combination process. With the right SSD drives in hand, you are well on your way to creating an efficient and high-performing storage solution.
Step 2: Back Up Your Data
Before proceeding with the combination of SSD drives, it is crucial to back up all your important data. Combining SSD drives will involve reformatting the drives, which means that any existing data on them will be lost. By performing a thorough backup, you ensure the safety and accessibility of your files throughout the process. Here’s how you can back up your data effectively:
- Identify Important Data: Take some time to identify the specific files and folders that are crucial to you. These may include documents, photos, videos, music, or any other data that you cannot afford to lose. Create a checklist or make a mental note of the essential items you need to back up.
- Select Backup Method: Determine the most suitable backup method for your needs. You have several options available, including external hard drives, cloud storage services, or network-attached storage (NAS). Each method has its advantages, so choose the one that aligns with your preferences and requirements.
- Create Multiple Backups: It is a best practice to create multiple backups of your data to ensure redundancy and minimize the risk of data loss. Consider having both local and off-site backups for added security. This way, if something happens to one backup, you will still have a copy stored elsewhere.
- Perform Regular Backups: Set up a routine for regular backups to ensure your data is always protected. It’s a good idea to automate the backup process, if possible, to eliminate the risk of forgetting to back up your data manually.
- Verify Backups: After completing the backup process, don’t forget to verify the integrity of your backups. Ensure that you can access and restore the data successfully. This step provides peace of mind knowing that your backups are reliable and ready to be used if needed.
Taking the time to back up your data is an essential step to safeguard your valuable files and prevent any potential data loss during the combination of SSD drives. By following these steps, you can proceed with peace of mind, knowing that your important data is securely stored and easily recoverable. Once your data is safely backed up, you are ready to move forward with the combination process.
Step 3: Update Firmware and Drivers
Before combining your SSD drives, it’s important to ensure that you have the latest firmware and drivers installed. Updating the firmware and drivers not only improves compatibility but also enhances overall performance and reliability. Here’s how you can update the firmware and drivers effectively:
- Check Manufacturer’s Website: Visit the website of the SSD drive manufacturer to find the latest firmware and driver updates for your specific SSD model. Look for a support or downloads section where you can search for your SSD model and download the necessary updates.
- Read the Release Notes: Before proceeding with the firmware and driver updates, read the release notes provided by the manufacturer. These notes contain important information about the updates, including any improvements, bug fixes, or known issues that you should be aware of.
- Backup Your Data: As a precautionary measure, back up your data once again before proceeding with any firmware or driver updates. While it’s unlikely that the updates will cause data loss, it’s always better to be safe and have your data securely backed up prior to making any changes to your system.
- Follow the Instructions: Each manufacturer may have different instructions for updating firmware and drivers. Make sure to carefully follow the provided instructions for your specific SSD model. Some manufacturers may provide their own updating software, while others may require you to manually install the firmware or driver updates.
- Restart Your System: After installing the firmware and driver updates, it is recommended to restart your system. This allows the updates to take effect and ensures that your SSD drives are ready for the combination process.
- Verify the Updates: Once your system has restarted, verify that the firmware and driver updates were installed successfully. Check the device manager or the manufacturer’s software to confirm that the updated firmware and drivers are being used by your SSD drives.
Updating the firmware and drivers of your SSD drives is an essential step to optimize performance and ensure proper compatibility. By following the manufacturer’s instructions and keeping your SSD drives up-to-date, you can proceed with confidence to the next step of combining the SSD drives.
Step 4: Connect the SSD Drives
Once you have updated the firmware and drivers of your SSD drives, it’s time to connect them to your computer. Properly connecting the SSD drives ensures that they are recognized by your system and ready to be configured. Follow these steps to connect the SSD drives effectively:
- Shut Down Your Computer: Before making any hardware connections, shut down your computer properly. This ensures that you can safely connect and disconnect the SSD drives without causing any damage to the system or the drives themselves.
- Open Your Computer Case: Depending on your computer’s configuration, you may need to open the computer case to access the internal components. Refer to the user manual or online resources specific to your computer model for instructions on how to safely open the case.
- Identify Available Drive Bays: Determine the available drive bays in your computer where you can install the SSD drives. Typically, drive bays are located in the front or back of the computer case and may require screws or other fastening mechanisms to secure the drives.
- Connect the SSD Drives: Carefully connect the SSD drives to the appropriate connections within the drive bays. SSD drives typically use SATA or M.2 connectors. Refer to the manufacturer’s instructions or your computer’s documentation for the precise steps on connecting SSD drives to your specific system.
- Secure the SSD Drives: Once the SSD drives are connected, secure them in place using the provided fasteners or screws. This ensures that the drives are securely held in the drive bay and are not at risk of becoming dislodged or damaged during normal operation.
- Close Your Computer Case: After connecting and securing the SSD drives, carefully close your computer case. Ensure that all cables are neatly arranged and connections are secure. This helps to prevent any accidental damage or interference with the SSD drives and other components.
Once you have successfully connected the SSD drives to your computer, you are ready to proceed to the next steps of configuring the drives for combining. It is important to handle the SSD drives with care during the connection process to prevent any physical damage. With the drives connected, you are one step closer to enjoying the combined storage capabilities of your SSD drives.
Step 5: Convert SSD Drives to Dynamic Disks
Before you can combine your SSD drives, you need to convert them from basic disks to dynamic disks. Converting your SSD drives to dynamic disks allows for the creation of a storage pool, which is essential for combining the drives effectively. To convert your SSD drives to dynamic disks, follow these steps:
- Open Disk Management: Right-click on the “Start” button and select “Disk Management” from the menu. This will open the Disk Management utility, which allows you to manage and configure your disk drives.
- Backup Data (Optional): Although converting your SSD drives to dynamic disks should not result in data loss, it is always recommended to have a backup of your important data as a precautionary measure.
- Select the SSD Drives: In Disk Management, you will see a list of your drives. Locate the SSD drives you want to convert and ensure they are marked as “Basic” disks.
- Right-Click and Convert to Dynamic Disk: Right-click on each SSD drive you want to convert and select “Convert to Dynamic Disk” from the context menu. Confirm the selection if prompted.
- Repeat for all SSD Drives: Repeat the previous step for all the SSD drives you want to convert to dynamic disks. Take care to select only the SSD drives and not any other drives in your system.
- Restart Your Computer: After converting the SSD drives to dynamic disks, it is recommended to restart your computer. This ensures that the changes take effect and prepares the drives for the next steps in the combination process.
- Verify Dynamic Disk Conversion: Once your computer has restarted, open Disk Management again and check if the previously “Basic” SSD drives are now displayed as “Dynamic” disks.
Converting your SSD drives to dynamic disks is a crucial step in the process of combining them into a storage pool. By following these steps, you have successfully prepared your SSD drives for the upcoming configuration steps. With the SSD drives converted to dynamic disks, you are ready to proceed to the next steps of creating a storage pool and configuring data striping.
Step 6: Create a Storage Pool
Now that your SSD drives have been converted to dynamic disks, it’s time to create a storage pool. A storage pool is a collection of physical drives that are combined into a single logical unit, providing increased capacity and improved performance. Follow these steps to create a storage pool:
- Open Storage Spaces: Click on the “Start” button and search for “Storage Spaces” or “Manage Storage Spaces.” Open the Storage Spaces control panel.
- Create a New Pool: In the Storage Spaces control panel, click on the “Create a new pool and storage space” option. This will open the pool creation wizard.
- Select SSD Drives: In the pool creation wizard, select the SSD drives you want to include in the storage pool. Ensure that you only select the converted dynamic SSD drives and not any other drive in your system.
- Choose Resiliency Type: Choose the resiliency type for your storage pool. You have different options, such as “Simple,” “Mirror,” or “Parity.” Each option offers different levels of data protection and capacity utilization. Select the resiliency type that best suits your needs.
- Assign a Pool Name: Give your storage pool a meaningful name. This name will be used to identify the pool within the Storage Spaces control panel and other system settings.
- Specify Storage Space Size: Specify the size of the storage space within the pool. You can allocate the full capacity of the SSD drives or choose to allocate a specific portion of the total capacity.
- Create the Storage Pool: Once you have made all the necessary selections and configurations, click on the “Create pool” or “Finish” button to create the storage pool. The process may take some time, depending on the size and configuration of the pool.
- Verify the Storage Pool: After the storage pool is created, you can verify its creation by checking the Storage Spaces control panel. The new storage pool should be listed, along with the available storage space and any configured resiliency options.
Congratulations! You have successfully created a storage pool by combining your SSD drives. The storage pool will now appear as a single logical drive, ready to be configured for optimal performance and data storage. With the storage pool created, you can proceed to the next step of configuring data striping.
Step 7: Configure Data Striping
Once you have created a storage pool, the next step is to configure data striping. Data striping is the process of spreading data across multiple drives within the storage pool, which allows for improved performance and data accessibility. Follow these steps to configure data striping for your SSD drives:
- Open Storage Spaces Control Panel: Open the Storage Spaces control panel on your computer. This can be done by clicking on the “Start” button, searching for “Storage Spaces,” and selecting the appropriate option.
- Select the Storage Pool: In the Storage Spaces control panel, select the storage pool that you previously created with your SSD drives.
- Create a New Storage Space: Within the storage pool, click on the option to “Create a new storage space.” This will open the storage space creation wizard.
- Choose Resiliency Type: Select the resiliency type you want for your data striping configuration. You have options such as “Simple” (no data protection), “Mirror” (data duplication), or “Parity” (redundant data with lower overhead). Choose the option that best fits your needs.
- Specify Storage Space Size: Specify the size of the storage space within the storage pool. This determines how much capacity the data striping configuration will utilize.
- Enable Data Striping: Enable data striping by selecting the appropriate option in the storage space creation wizard. This allows data to be spread across multiple drives within the storage pool, enhancing performance and data access.
- Assign a Drive Letter: Give the storage space a unique drive letter to make it accessible in your file explorer. This allows you to easily manage and access your data stored in the data striping configuration.
- Create the Storage Space: Once you have made all the necessary selections and configurations, click on the “Create storage space” or “Finish” button to create the data striping configuration.
- Verify the Storage Space: After the data striping configuration is created, you can verify its creation by checking the Storage Spaces control panel. The new storage space should be listed, along with the allocated storage capacity and any configured resiliency options.
Congratulations! You have now successfully configured data striping for your SSD drives. The data striping configuration provides improved performance and data access by spreading data across multiple drives within the storage pool. You can now start utilizing the combined storage capacity and enjoy optimized performance for your storage needs.
Step 8: Assign a Drive Letter and Format the SSD Drives
After configuring data striping for your SSD drives, the next step is to assign a drive letter and format the drives. Assigning a drive letter allows you to easily access and manage the SSD drives in your file explorer, while formatting prepares the drives for data storage. Follow these steps to complete the process:
- Open Disk Management: Right-click on the “Start” button and select “Disk Management” from the menu. This will open the Disk Management utility, displaying a list of all connected drives.
- Locate the Storage Space: In Disk Management, locate the storage space created using the SSD drives. It should be displayed as a separate volume, without a drive letter assigned.
- Assign a Drive Letter: Right-click on the storage space and select “Change Drive Letter and Paths” from the menu. Click on the “Add” button and choose a drive letter from the available options. This will assign the selected drive letter to the storage space.
- Format the SSD Drives: Right-click on the now-assigned drive letter of the storage space and select “Format” from the menu. Choose a file system format (such as NTFS or exFAT) and specify a volume label if desired. Proceed with the formatting process, which will erase any existing data on the drives.
- Confirm the Formatting: Review the formatting settings and click on the “OK” or “Format” button to confirm. You may be prompted with a warning that all data will be erased. Ensure that you have backed up any important data before formatting.
- Wait for Formatting to Complete: Allow the formatting process to complete, which may take some time depending on the size of the SSD drives. Once finished, the drives will be ready for use.
- Verify Drive Letter and Format: After formatting, you will see the assigned drive letter and the format displayed in Disk Management. Additionally, the drives will be accessible in your file explorer under the assigned drive letter.
Congratulations! You have successfully assigned a drive letter and formatted your SSD drives. They are now ready for use. You can start storing data on your newly combined SSD drives and take advantage of the increased capacity and improved performance for your storage needs.
Step 9: Test the Combined SSD Drives
After completing the configuration and setup of your combined SSD drives, it’s essential to test them to ensure everything is functioning correctly. Testing your SSD drives allows you to verify the performance, data accessibility, and reliability of the combined setup. Follow these steps to effectively test your combined SSD drives:
- Transfer Files: Copy a variety of files, including large files, small files, and folders, onto the combined SSD drives. Monitor the transfer speed and ensure that the files are copied without any errors or interruptions. This will help you assess the overall performance and data writing capability of the combined drives.
- Read Speed Test: Measure the read speed of the combined SSD drives by accessing and opening different files stored on them. A quick file access time and smooth playback of media files indicate that the combined drives are performing optimally.
- Write Speed Test: Measure the write speed by creating and saving new files directly on the combined SSD drives. The write speed should be fast and consistent, allowing you to store new data efficiently.
- Software and Application Performance: Install software applications or run resource-intensive software on the combined SSD drives. Observe the loading times and overall responsiveness of the software. Faster loading times and improved performance indicate that the combined SSD drives are working seamlessly.
- System Boot Time: Restart your computer and measure the time it takes for the system to boot up. Combined SSD drives should significantly reduce the boot time compared to traditional hard drives. A faster boot time suggests that the drives are functioning as expected.
- Continuous Data Access: Leave your computer running for an extended period, and ensure that the combined SSD drives remain accessible and responsive during continuous use. Frequent file access should be smooth and uninterrupted.
- Monitor Drive Health: Regularly monitor the health status of your SSD drives using manufacturer-provided software or third-party tools. This allows you to keep track of drive temperature, wear level, and any potential issues that may arise. It’s important to ensure the drives are operating within normal parameters.
- Checksum Verification: Perform checksum verification of files stored on the combined SSD drives to ensure data integrity. This process compares the calculated checksum of a file with the original checksum, helping to identify any potential data corruption.
By conducting these tests, you can validate the combined SSD drives’ performance, reliability, and data accessibility. If any issues arise during the testing process, consult the manufacturer’s support or seek assistance from expert technicians to troubleshoot and resolve any potential problems. With successful testing, you can confidently rely on your combined SSD drives for storage and enjoy the benefits of increased capacity and improved performance.
Conclusion
Combining two SSD drives can vastly enhance your storage capacity and performance, providing a more versatile and efficient storage solution. By following the step-by-step process outlined in this guide, you can successfully combine your SSD drives and make the most of their capabilities.
Throughout the process, it is crucial to make preparations such as data backup, firmware and driver updates, and selecting the right SSD drives. These preparations ensure a smooth and error-free combination process. Once the SSD drives are connected, converted to dynamic disks, and configured into a storage pool with data striping, you’ll have a high-performance storage solution at your disposal.
By assigning a drive letter, formatting the drives, and conducting comprehensive testing, you can verify the functionality, reliability, and performance of your combined SSD drives.
Remember to follow best practices for maintaining your SSD drives, including monitoring drive health, keeping firmware and drivers up-to-date, and regularly backing up your data.
Combining two SSD drives allows you to unleash their full potential, providing increased storage capacity, improved performance, and data redundancy. Whether you’re a creative professional, gamer, or simply in need of more storage space, the process of combining SSD drives can transform your computing experience.
So, take the opportunity to combine your SSD drives and harness the power of enhanced storage capabilities. Enjoy the benefits of faster data access, smoother multitasking, and a seamless storage experience. With the steps outlined in this guide, you are well-equipped to embark on the journey of combining SSD drives and maximizing their potential in your computer system.