Introduction
Clipping something on your PC can be a useful way to save and organize content for future reference. Whether it’s a text excerpt, an image, a webpage, or even a portion of a video, having the ability to clip and save specific content can greatly improve your productivity and convenience.
In this article, we will explore various methods to clip something on your PC. We will cover built-in clipping tools, keyboard shortcuts, and third-party applications that can help you efficiently save and manage clipped content. Whether you’re a student, a professional, or just someone who likes to keep things organized, these techniques will come in handy.
Clipping content on your PC allows you to gather important information from different sources and keep it readily accessible for later use. With the right tools and techniques, you can effortlessly capture and store relevant content, eliminating the need to search for it again in the future.
So, let’s dive in and explore how you can become a master at clipping on your PC, saving valuable time and effort in the process!
Step 1: Understand the Clipping Process
Before you begin clipping on your PC, it’s essential to understand the basics of the clipping process. Clipping refers to the act of selecting and saving a specific portion of content, whether it’s text, images, or multimedia.
One common way to clip on your PC is by using the built-in tools provided by the operating system or specific applications. These tools often allow you to select content using your mouse or keyboard and save it in a convenient format.
Another important aspect to consider is the importance of context. When clipping content, it’s crucial to capture not just the isolated snippet but also the source information. This includes the website URL, the author’s name, or any other relevant details that help maintain the context of the clipped content.
Additionally, knowing where the clipped content will be saved is vital. Most computers or applications provide default locations for clipped content, such as a dedicated folder or a note-taking application. Understanding this will make it easier to retrieve the clipped content when needed.
Moreover, it’s worth mentioning that some applications offer advanced clipping features, allowing you to annotate, highlight, or add comments to the clipped content. These added functionalities can significantly enhance your clipping experience by providing additional context and customization options.
Now that you have a basic understanding of the clipping process, let’s move on to exploring the various built-in clipping tools available on your PC.
Step 2: Discover Built-in Clipping Tools
Many operating systems and applications come with built-in tools that make the clipping process a breeze. These tools are designed to provide an easy way to select and save content directly within the operating system or the application itself.
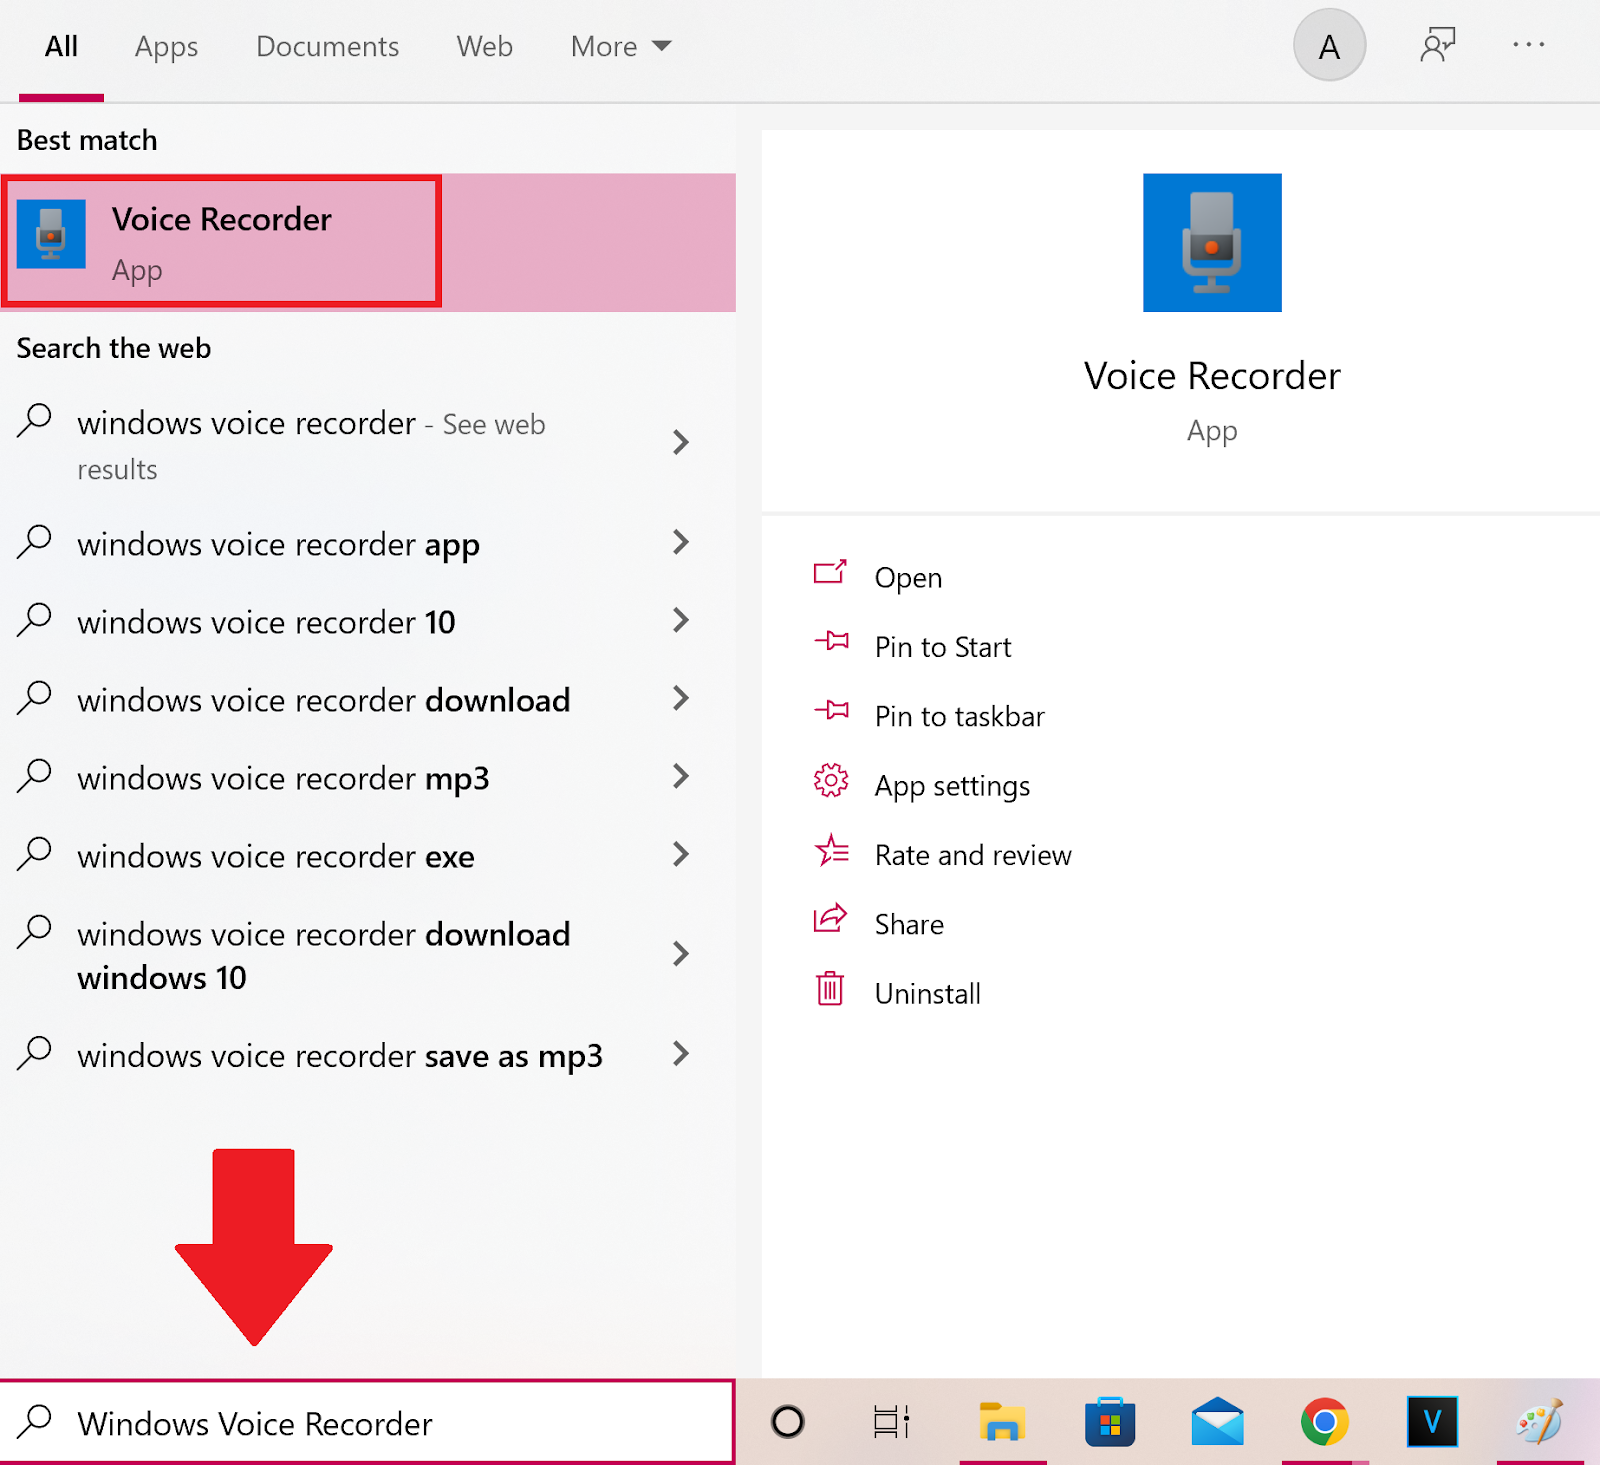
One popular built-in clipping tool is the Snipping Tool in Windows. This tool allows you to capture a specific area of your screen, whether it’s an entire window, a rectangular shape, a free-form shape, or even the entire screen. Once you’ve captured the desired content, you can save it as an image file or copy it to the clipboard for further use.
For Mac users, the native screenshot tool offers similar functionality. By pressing a combination of keys, you can capture the entire screen, a specific window, or a custom selection. The captured content can then be saved as an image file or copied to the clipboard.
Some web browsers, such as Google Chrome, also provide built-in clipping tools. These tools allow you to save specific sections of web pages as bookmarks, which can later be accessed and organized within your browser. This is particularly useful when you come across an article or webpage that you want to revisit later.
Office suites, like Microsoft Office and Google Docs, often have their own built-in clipping tools as well. These tools enable you to highlight and copy selected portions of text, tables, or images directly within the document. This can be incredibly convenient when you need to extract and save specific information from a larger document.
By exploring and familiarizing yourself with the built-in clipping tools available on your PC, you can streamline the clipping process and save valuable time and effort.
Step 3: Utilize Keyboard Shortcuts
Keyboard shortcuts are a powerful tool that can significantly speed up the clipping process on your PC. By memorizing a few key combinations, you can effortlessly capture and save content without the need to navigate through menus or use mouse-based methods.
Most operating systems and applications offer keyboard shortcuts specifically designed for clipping or screenshot functionalities. For example, on Windows, pressing the “Windows key + Shift + S” combination opens the Snip & Sketch tool, allowing you to capture a specific area of the screen. This eliminates the need to manually open the tool from the Start menu.
On a Mac, pressing “Command + Shift + 4” activates the screenshot tool, enabling you to capture a selected portion of the screen. Similar to Windows, this keyboard shortcut eliminates the need to locate and open the tool from your applications folder.
In addition to operating system shortcuts, many applications also have their own unique keyboard shortcuts for clipping or capturing content. These shortcuts are often customizable, allowing you to tailor them to your preferences.
For example, in web browsers, you can use keyboard shortcuts like “Ctrl + S” (Windows) or “Command + S” (Mac) to save the entire webpage or “Ctrl + Shift + I” (Windows) or “Command + Option + I” (Mac) to enter the developer tools and capture specific elements on the page.
Being proficient in these keyboard shortcuts can greatly enhance your productivity when it comes to clipping content on your PC. With a simple key combination, you can capture and save content without interrupting your workflow or having to navigate through menus and options.
Take the time to explore and learn the keyboard shortcuts that are relevant to the applications and tools you frequently use. The more comfortable you become with these shortcuts, the quicker and more efficiently you’ll be able to clip and save content on your PC.
Step 4: Use Third-Party Applications
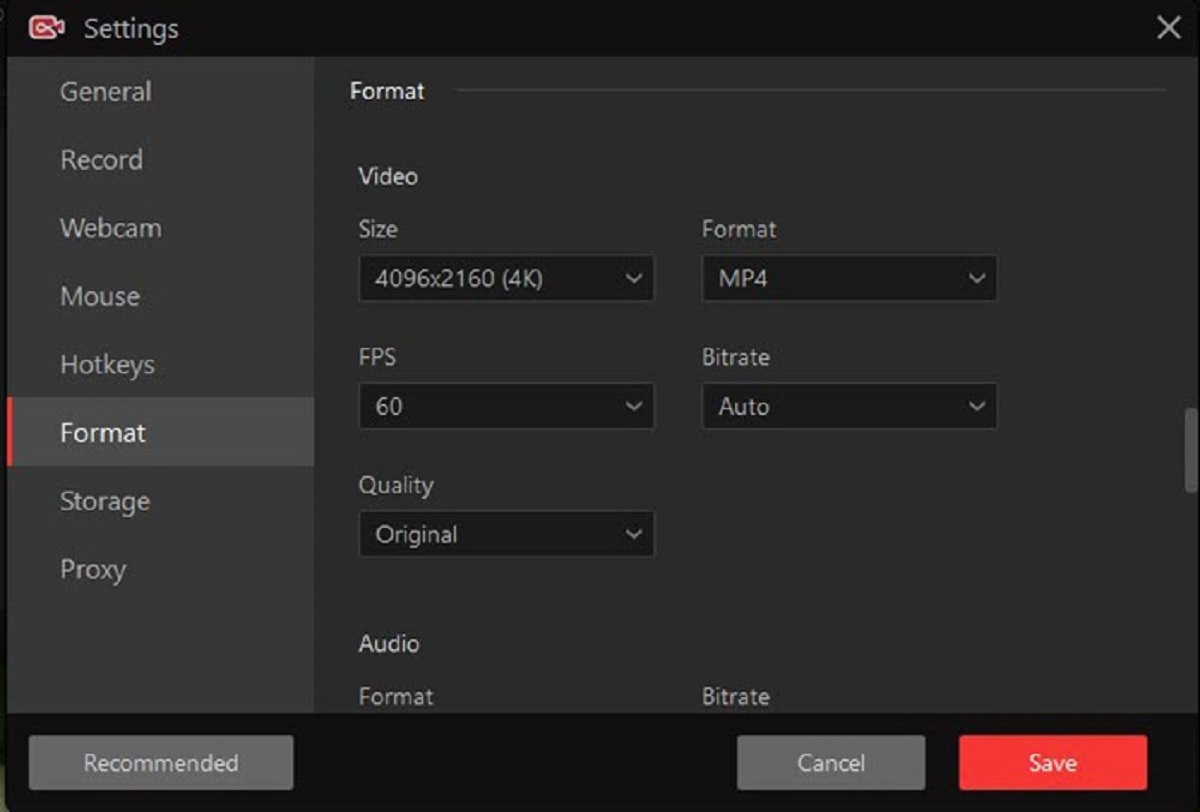
While built-in clipping tools and keyboard shortcuts can be effective, they may not always offer the advanced features and customization options that you need. In such cases, utilizing third-party applications can provide you with more flexibility and enhanced functionality for clipping content on your PC.
There are numerous third-party applications available that specialize in clipping and saving content. These applications often offer a range of features, such as the ability to annotate, organize, and share clipped content across devices and platforms.
One popular third-party application is Evernote. This note-taking app lets you easily clip and save content from web pages, documents, emails, and more. It provides powerful organization tools, allowing you to categorize and tag your clipped content for easy retrieval. Additionally, Evernote offers collaboration features, making it an excellent choice for team projects or research.
If you prefer a more visual approach to clipping, applications like OneNote or Notion might be suitable. These applications allow you to create digital notebooks where you can clip, organize, and visually arrange your content. They also offer features like cross-platform synchronization and collaboration, making them ideal for both personal and professional use.
For those who work with research articles and academic papers, reference management software like Zotero or Mendeley can be invaluable. These applications not only provide clipping functionality but also help you manage and cite your research sources, simplifying the academic writing process.
When selecting a third-party application for clipping, consider your specific needs, such as the type of content you frequently clip, your preferred organization method, collaboration requirements, and any additional features that would enhance your clipping experience.
Remember to research and read reviews to find the most suitable application for your needs. Test out different options if necessary to ensure they align with your workflow and preferences.
By utilizing third-party applications, you can harness the full potential of clipping on your PC and enjoy advanced features that cater to your specific requirements.
Step 5: Save Clipped Content
Once you have successfully clipped the content on your PC, the next step is to ensure that it is properly saved and organized for easy access in the future. Saving your clipped content in a structured manner will make it easier to find and reference when needed.
If you are using a built-in clipping tool or a third-party application, you will typically have the option to select the location where your clipped content will be saved. It is advisable to create a dedicated folder or notebook specifically for clipped content. This will make it easier to locate all your saved clips in one place.
Consider organizing your clips based on relevant categories or topics. Using descriptive folder or notebook names can help you quickly identify and retrieve specific clips. For example, you can create folders for different projects, subjects, or interests, or use tags and labels to further categorize your clips within the application.
Another crucial aspect of saving clipped content is adding context. In addition to saving the actual content, it’s beneficial to include additional information like the source URL, author name, date, or any relevant notes or descriptions. This contextual information will provide valuable context and make it easier for you to understand why you clipped the content and how it fits into your overall collection.
Additionally, for text-based clips, consider using a text editor or note-taking application to save and organize your clips. This allows you to easily edit, format, and search through your clipped content. Text editors often provide features like highlighting, highlighting, and adding comments, further enhancing the readability and usefulness of your saved clips.
Regularly backing up your clipped content is also essential to prevent any accidental loss or data corruption. This can be done through cloud storage services or by manually creating backups on external storage devices.
Remember to periodically review and clean up your clipped content. Remove any clips that are no longer relevant or useful to declutter your collection and maintain overall organization.
By following these steps and implementing an effective saving and organization system, you can ensure that your clipped content remains easily accessible and valuable in the long run.
Conclusion
Clipping something on your PC is a powerful and efficient way to save and organize content for future use. Whether you’re a student, a professional, or simply someone who wants to stay organized, mastering the art of clipping can greatly enhance your productivity and convenience.
In this article, we explored the step-by-step process of clipping on your PC. We started by understanding the clipping process itself, including the importance of context and knowing where to save your clips. We then delved into the world of built-in clipping tools, discovering those provided by operating systems, web browsers, and office suites.
Next, we explored the efficiency and convenience of utilizing keyboard shortcuts to expedite the clipping process. Keyboard shortcuts eliminate the need for manual navigation, allowing you to capture and save content with ease and speed.
We also discussed the benefits of using third-party applications for clipping on your PC. These applications offer advanced features, customization options, and specialized tools that cater to specific needs, making the clipping experience even more convenient and powerful.
Lastly, we emphasized the significance of properly saving and organizing clipped content. By choosing a dedicated location, adding context, and structuring your clips, you can ensure easy retrieval and meaningful organization for future reference.
Remember that the key to successful clipping lies in finding the methods and tools that work best for you. Experiment with different techniques, applications, and strategies until you find the perfect combination that fits your needs and workflow.
By becoming adept at clipping on your PC, you can save valuable time and effort, stay organized, and have a repository of important information at your fingertips. So start implementing these techniques today and unlock the full potential of clipping!