Introduction
Welcome to our guide on how to change the PC case fan speed. If you’re a PC enthusiast or someone who uses their computer for intensive tasks like gaming or video editing, you know how important it is to keep your system running cool. The fans in your PC case play a vital role in regulating the temperature and ensuring optimal performance.
By default, the fan speed settings on your computer may not always be configured to suit your needs. Fortunately, most modern motherboards allow you to adjust the fan speed to achieve a balance between cooling efficiency and noise levels. Whether you want to increase the fan speed for better airflow or decrease it for a quieter operation, this guide will walk you through the steps to get it done.
Before we dive into the details, it’s worth mentioning that changing the fan speed may require accessing the BIOS (Basic Input/Output System) or the newer UEFI (Unified Extensible Firmware Interface) settings of your motherboard. These settings control various aspects of your computer’s hardware, including the fan speed. So, make sure you’re familiar with accessing these settings on your specific motherboard model.
It’s also important to note that changing the fan speed involves tinkering with your hardware settings, so proceed with caution. Make sure you have a clear understanding of the risks involved and take necessary precautions to avoid any damage to your components.
Now that we’ve covered the basics, let’s get started with the step-by-step process of adjusting the PC case fan speed. Whether you’re aiming for maximum cooling or a quieter operation, this guide will help you find the right balance for your system.
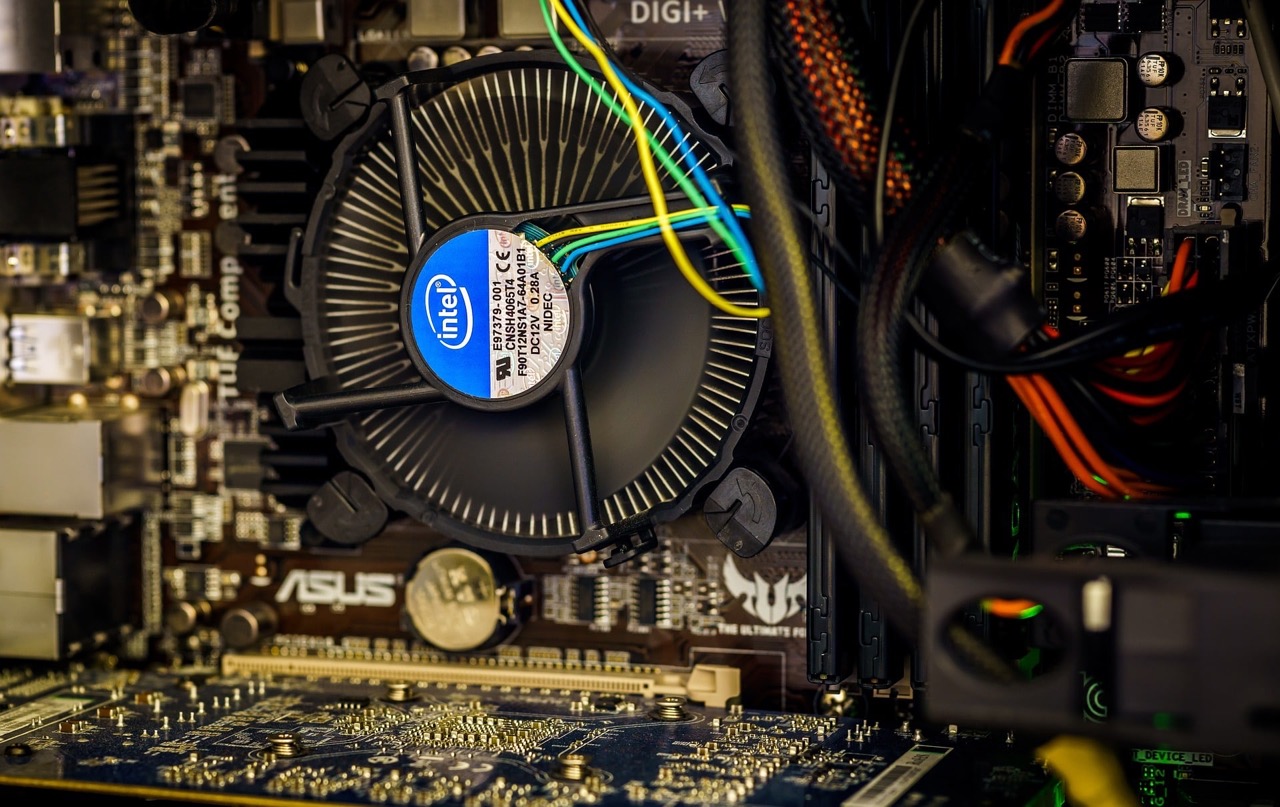
Step 1: Identify the fan connectors on your motherboard
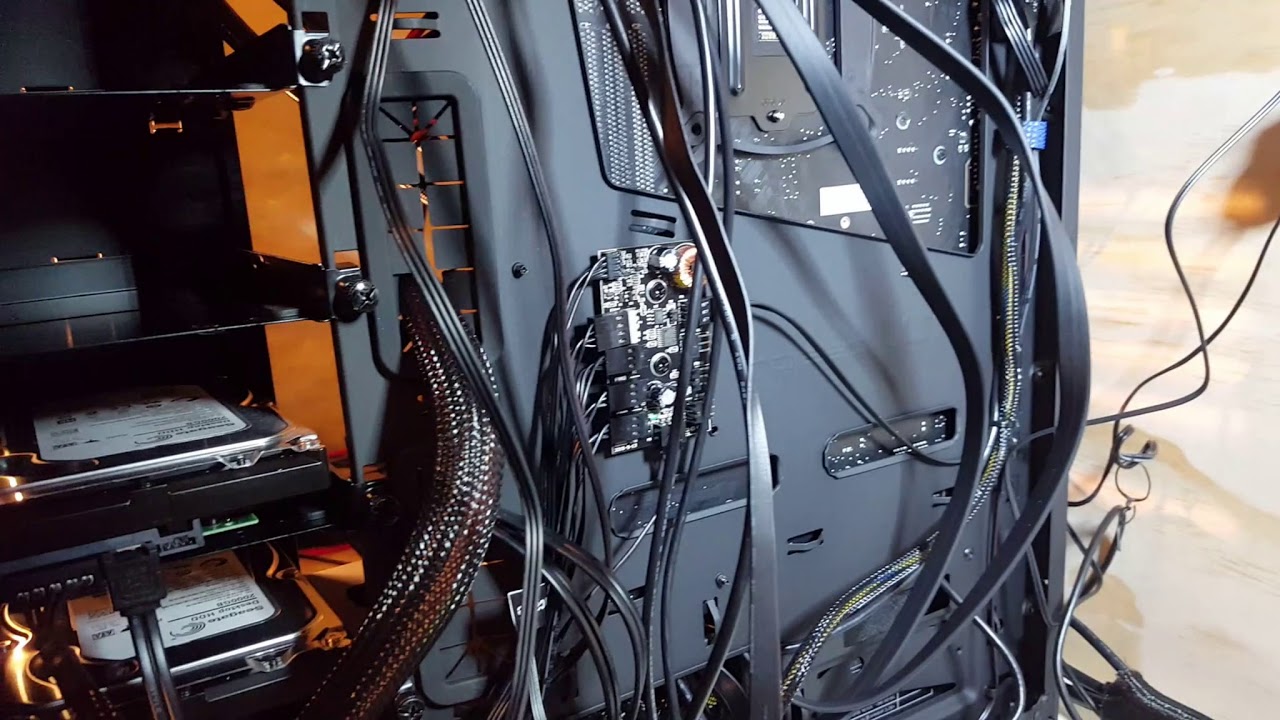
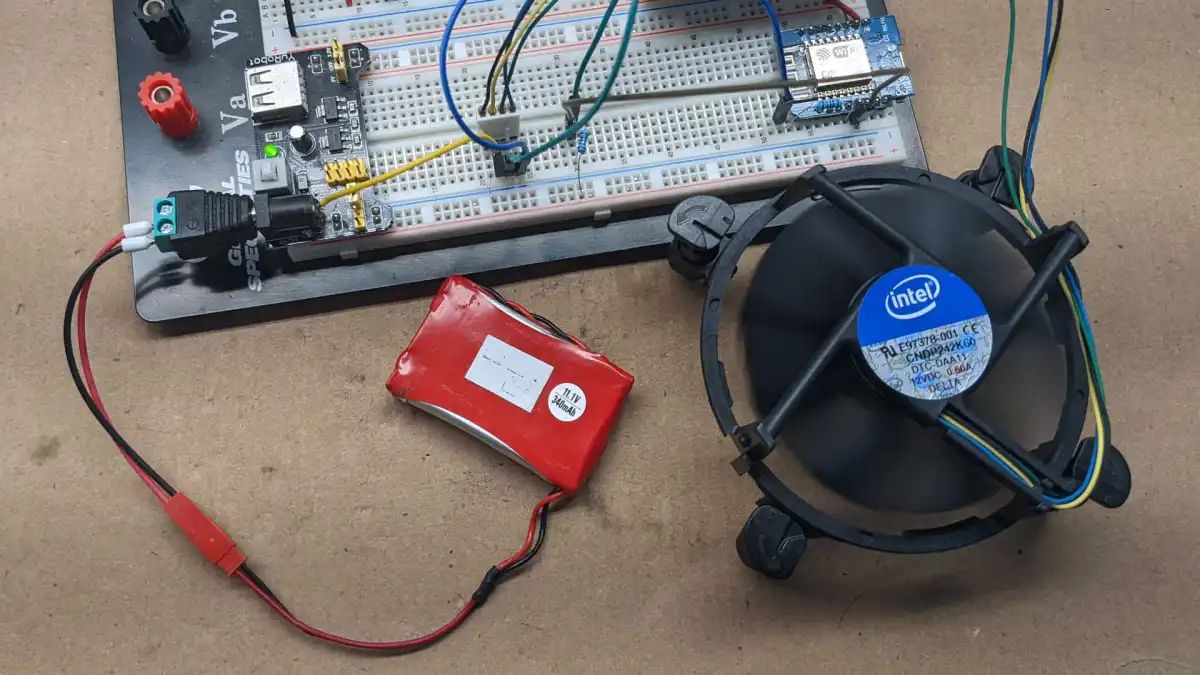
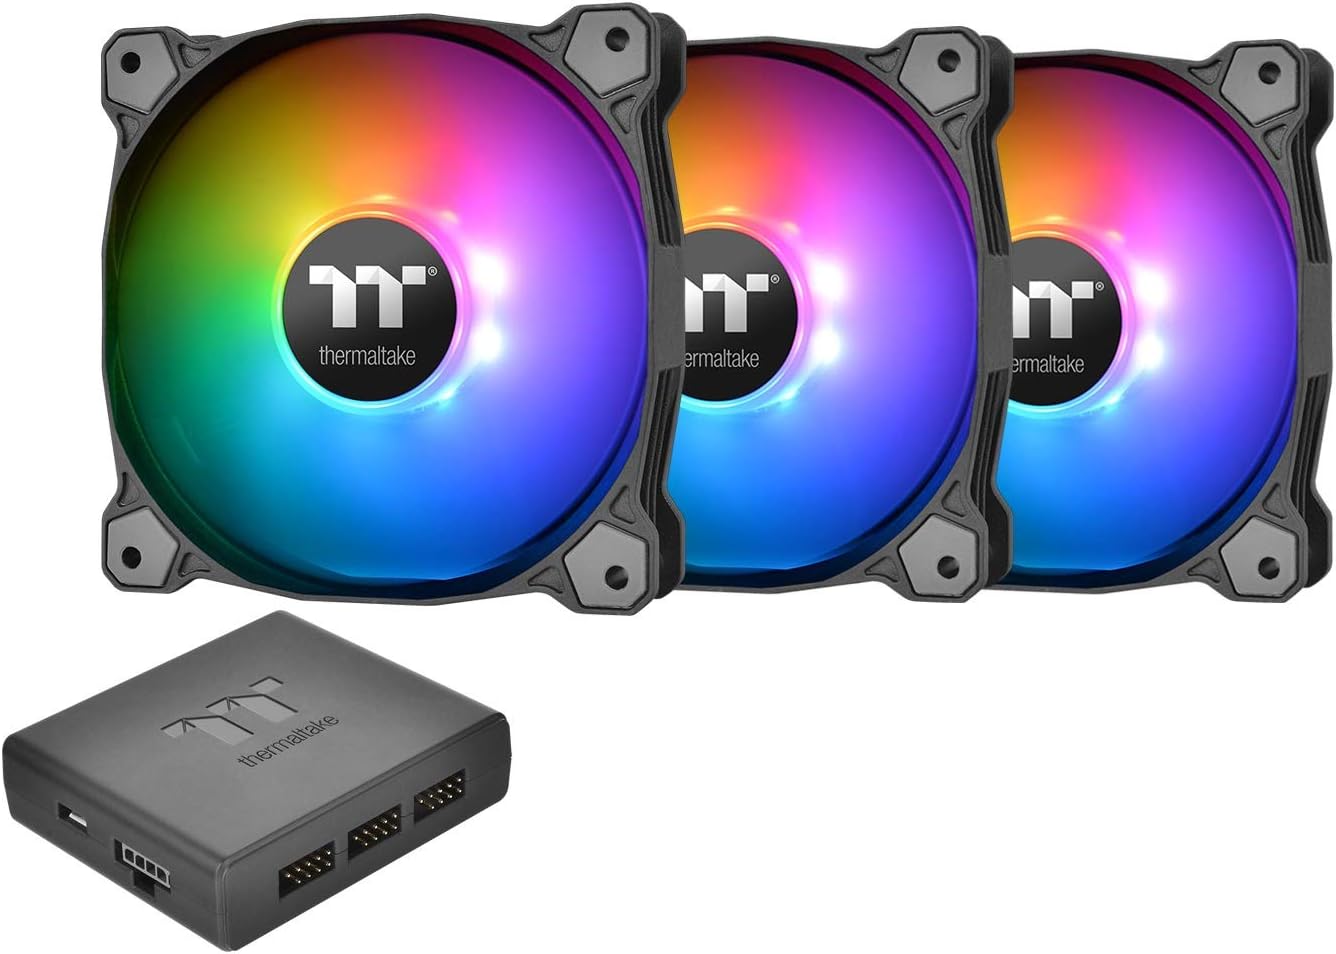
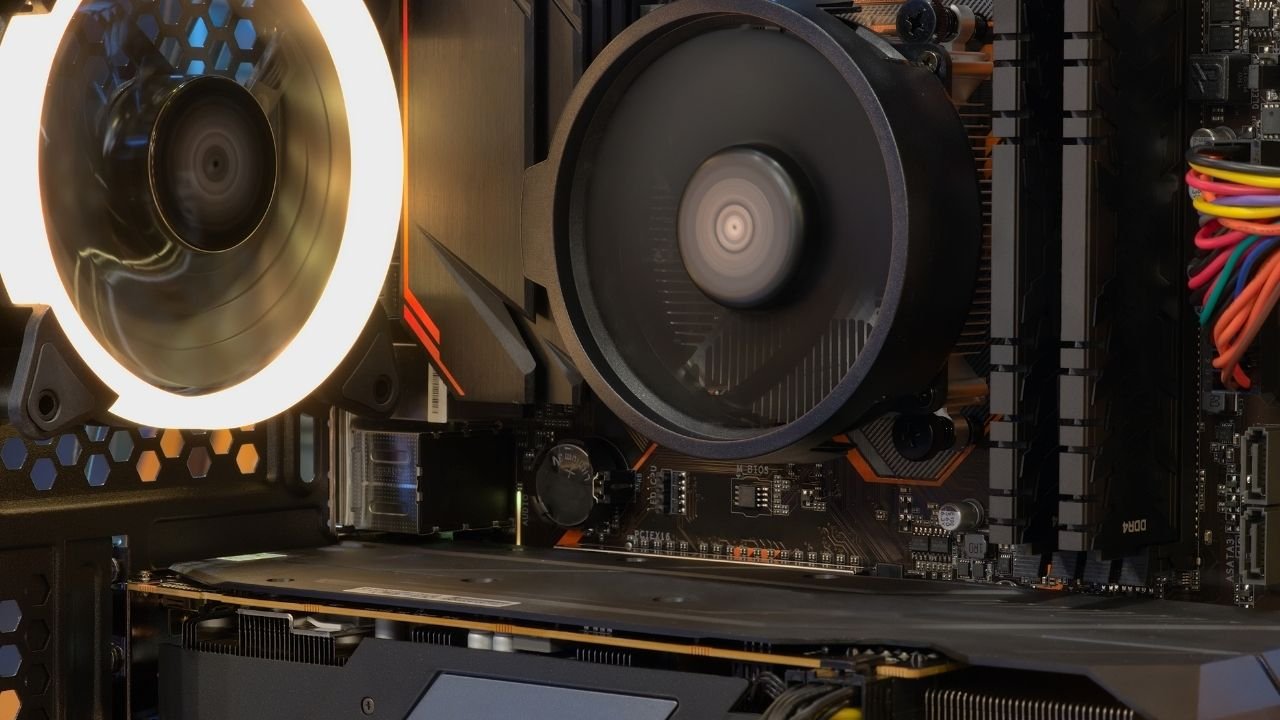
Before you can start adjusting the fan speed, you need to locate the fan connectors on your motherboard. These connectors provide the power and control for your case fans.
The fan connectors are usually located near the CPU socket on the motherboard. They are typically labeled as “SYS_FAN” or “CHA_FAN” followed by a number, indicating the fan slot. Most motherboards have multiple fan headers, allowing you to connect multiple case fans.
To identify the fan connectors, take a close look at your motherboard’s user manual. The manual will provide a detailed diagram of the motherboard layout, including the location of the fan connectors.
If you don’t have the manual handy, you can also visually inspect the motherboard. Look for small, 3 or 4-pin female connectors near the CPU socket or along the perimeter of the motherboard. These are the fan headers where you’ll connect your case fans.
It’s important to note that not all fan headers on the motherboard may have the ability to control the fan speed. Some headers may provide a constant voltage, while others may support varying voltages or even pulse-width modulation (PWM) control.
If your motherboard supports PWM control, it offers the most precise control over fan speeds. PWM allows the motherboard to adjust the fan speed dynamically based on the system temperature, resulting in quieter operation when the system is idle and higher cooling performance when under load.
Once you’ve identified the fan connectors on your motherboard, you’re ready to move on to the next step of accessing the BIOS or UEFI settings to adjust the fan speed.
Step 2: Access the BIOS or UEFI settings
In order to adjust the fan speed, you’ll need to access the BIOS or UEFI settings of your motherboard. The BIOS (Basic Input/Output System) and UEFI (Unified Extensible Firmware Interface) are the software interfaces that control your computer’s hardware.
To access the BIOS or UEFI settings, you’ll need to restart your computer. During the startup process, there is usually a brief moment when you can press a key to enter the BIOS or UEFI setup. The key to access the settings may vary depending on your motherboard manufacturer, but commonly used keys include Delete, F2, F12, or Esc.
Keep an eye on the screen during startup, as there is often a message indicating which key to press to enter the setup. If you miss it, you can try pressing different keys until you find the correct one.
Once you’ve successfully entered the BIOS or UEFI setup, you’ll be greeted with a menu or a list of options. This is where you can configure various settings related to your computer’s hardware and peripherals, including the fan speed.
It’s important to note that the navigation and menu layout may vary between different motherboard manufacturers and models. You may need to refer to your motherboard’s user manual or manufacturer’s website for specific instructions on accessing and navigating the settings.
Additionally, be cautious when making changes in the BIOS or UEFI settings, as modifying the wrong settings can potentially cause problems with your computer’s functionality. It’s a good practice to take note of the original settings or document any changes you make.
Now that you’ve accessed the BIOS or UEFI settings, it’s time to proceed to the next step and locate the fan settings to adjust the fan speed.
Step 3: Locate the fan settings in the BIOS or UEFI
Once you’re in the BIOS or UEFI settings, you’ll need to locate the fan settings in order to adjust the fan speed. The exact location and terminology may vary depending on your motherboard manufacturer and BIOS/UEFI version, but the fan settings are typically found in the “Hardware Monitor,” “PC Health,” or “Fan Control” section.
Explore the various sections and look for options related to fan control or fan speed. Some motherboards may have a dedicated section for fan settings, while others may integrate them within the system monitoring or hardware configuration options.
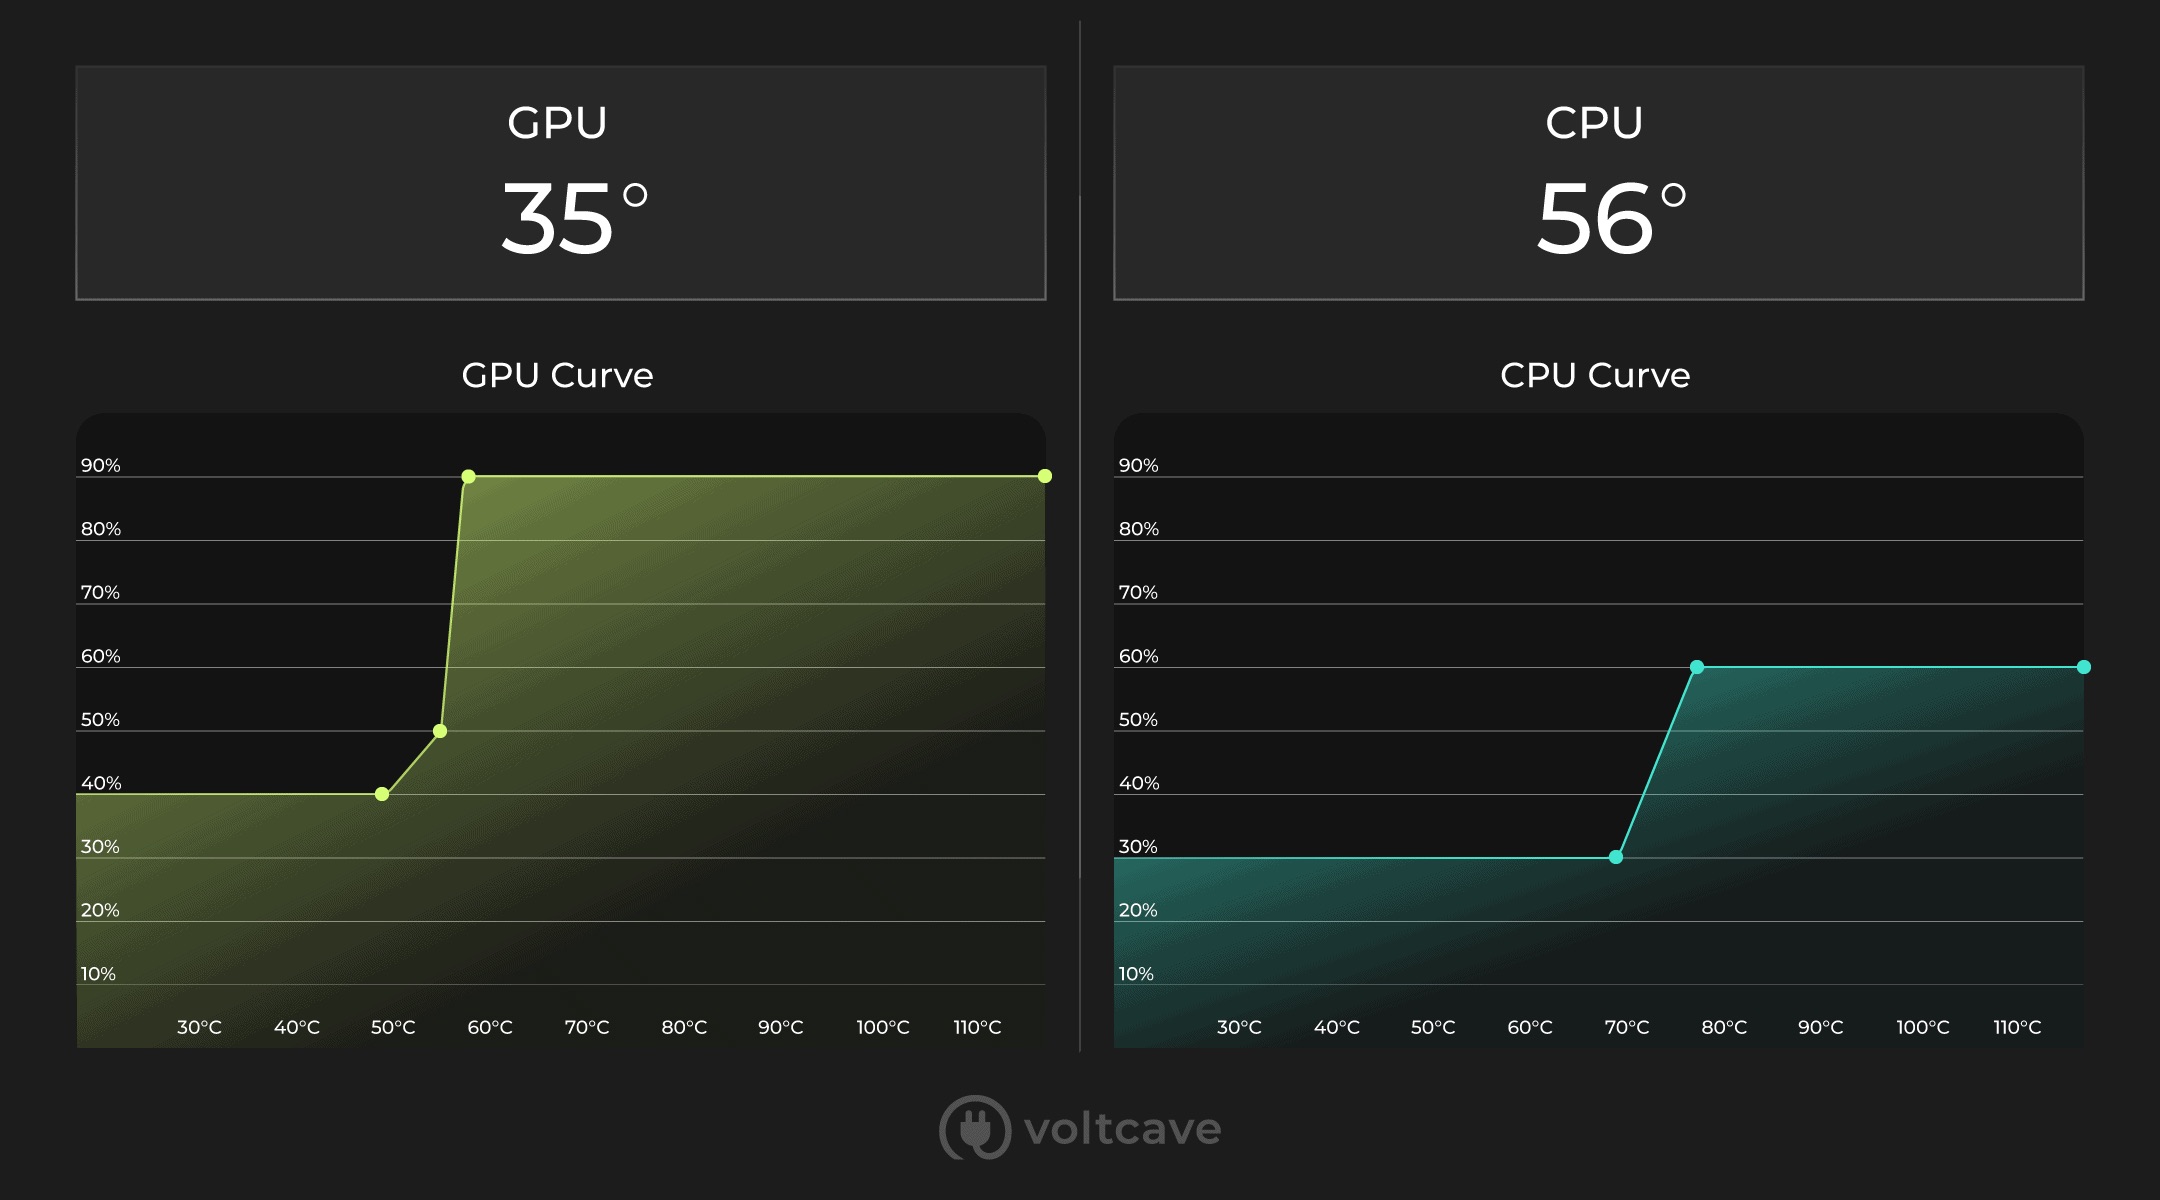
In this section, you may find options such as “Fan Speed Control” or “CPU Fan Speed.” These options may allow you to manually adjust the fan speed, set it to a fixed value, or choose from predefined profiles such as “Silent,” “Performance,” or “Automatic.”
Some motherboards may also offer advanced features like temperature-based fan speed control, where the fan speed is automatically adjusted based on the system’s temperature. This provides optimized cooling performance while minimizing noise levels.
Remember that not all motherboards offer extensive fan control options, especially on budget or older models. If you can’t find specific fan control settings, it’s possible that your motherboard doesn’t support adjusting fan speed through the BIOS/UEFI.
If you’re unsure about the available options or how to navigate through the settings, consult your motherboard’s user manual or check the manufacturer’s website for detailed information and guidance specific to your motherboard model.
Once you’ve located the fan settings in the BIOS or UEFI, you’re ready to move on to the next step and adjust the fan speed according to your preferences.
Step 4: Adjust the fan speed settings
Now that you’ve located the fan settings in the BIOS or UEFI, it’s time to adjust the fan speed according to your preferences. Depending on your motherboard and BIOS/UEFI version, you may have several options to control the fan speed.
If your motherboard supports manual fan control, you can typically set the fan speed to a specific percentage or RPM (Revolutions Per Minute). This allows you to fine-tune the cooling performance and noise levels based on your specific needs.
If your motherboard offers predefined fan profiles, such as “Silent,” “Performance,” or “Automatic,” you can choose one of these profiles to let the system automatically adjust the fan speed based on its temperature sensors. This is a convenient option if you prefer a plug-and-play approach without diving into individual fan speed settings.
For more advanced users, some motherboards provide temperature-based fan speed control. This allows you to set specific temperature thresholds and corresponding fan speed values. As the temperature increases, the fan speed will ramp up accordingly to keep the system cool.
When adjusting the fan speed, it’s important to strike a balance between cooling performance and noise levels. Higher fan speeds can provide better cooling but may result in increased noise. Experiment with different settings to find the sweet spot for your needs.
While adjusting the fan speed, keep an eye on the temperature readings in the hardware monitoring section of the BIOS or UEFI. If you notice that the CPU or system temperature is too high or reaches critical levels, you may need to increase the fan speed to ensure proper cooling.
It’s worth noting that the BIOS or UEFI settings may not provide real-time fan speed information. To monitor the actual fan speed, you can use third-party software or utilities that provide hardware monitoring capabilities.
Once you’re satisfied with your adjustments, you’re almost done. Take a moment to check if there are any additional fan settings to configure before moving on to the final step.
Step 5: Save changes and exit BIOS or UEFI
After you’ve adjusted the fan speed settings to your liking, it’s crucial to save your changes before exiting the BIOS or UEFI. This ensures that your modified settings will be applied each time your computer starts up.
In most BIOS or UEFI setups, you can save your changes by navigating to the exit menu. Look for an option like “Save Changes and Exit,” “Exit and Save Settings,” or something similar.
Before saving, double-check that you’ve made all the necessary adjustments and that you’re satisfied with the fan speed settings you’ve chosen. This is your last chance to review and make any desired modifications.
Once you’ve selected the option to save changes and exit, you may be asked to confirm your decision. This is a safety measure to prevent accidentally saving unintended modifications. Confirm that you want to save the changes, and the BIOS or UEFI will proceed to save your new settings.
After saving, your computer will restart, and the modified fan settings will take effect. During the startup process, you may hear the fan speed ramp up or down as per your adjusted settings.
It’s important to note that if you experience any issues after modifying the fan speed, such as abnormal temperatures or excessive noise, you may need to re-enter the BIOS or UEFI and readjust the fan settings accordingly.
Lastly, it’s a good practice to periodically check your fan speed settings to ensure they’re still suitable for your needs. As your system usage changes or as you install new components, you may need to tweak the fan settings to maintain optimal cooling performance.
Now that you’ve successfully saved the changes and exited the BIOS or UEFI, you can move on to the final step: testing the fan speed and making any necessary adjustments.
Step 6: Test the fan speed and adjust as needed
Once you’ve saved the changes and your computer has restarted, it’s important to test the fan speed to ensure that it’s functioning as intended. Testing will help you determine if the adjusted fan speed provides the desired cooling efficiency without excessive noise.
Start by running some intensive tasks that typically put a heavy load on your system, such as gaming or rendering videos. Monitor the CPU and system temperatures using monitoring software or utilities. Additionally, pay attention to the noise levels produced by the fans.
If you notice that the temperatures are within acceptable ranges and the noise levels are reasonable, congratulations! Your adjustments have been successful, and you’ve achieved the desired balance between cooling performance and noise levels.
On the other hand, if the temperatures are too high or the noise levels are too loud, you may need to make further adjustments to the fan speed settings. Re-enter the BIOS or UEFI and fine-tune the values to achieve the optimal cooling performance for your system.
Take note of any specific temperature thresholds that trigger a change in fan speed. This can help you pinpoint potential issues or areas where further adjustments may be needed. Experiment with different settings until you find the optimal configuration for your system.
Remember, finding the right balance between cooling performance and noise levels can be a process of trial and error. It may take some time and testing to achieve the desired results.
Additionally, keep in mind that adjusting the fan speed is not a one-time task. As you make changes to your PC, such as adding new components or upgrading existing ones, you may need to revisit the fan speed settings and make adjustments to accommodate the changes.
Regularly monitoring your system’s temperatures, noise levels, and overall performance is crucial to maintaining a well-functioning and efficient PC.
With the fan speed adjustments tested and fine-tuned, you have successfully completed the process of changing the PC case fan speed. Enjoy a cooler and quieter computing experience!
Conclusion
Adjusting the fan speed of your PC case fans is a valuable skill to have, as it allows you to strike the perfect balance between cooling performance and noise levels. By following the step-by-step process outlined in this guide, you can effectively change the fan speed and optimize the cooling efficiency of your system.
We started by identifying the fan connectors on your motherboard, ensuring that you understand where to connect your case fans. Then, we delved into accessing the BIOS or UEFI settings of your motherboard, providing guidance on how to navigate and locate the fan settings.
Next, we discussed the different options available for adjusting the fan speed, whether through manual control, predefined profiles, or temperature-based control. It’s important to experiment with these settings to find the optimal configuration for your specific needs.
After adjusting the fan speed, saving the changes, and exiting the BIOS or UEFI, we emphasized the importance of testing the fan speed to ensure that it’s working as intended. Monitoring temperatures and noise levels will guide you in making any necessary adjustments to achieve the desired balance.
Lastly, it’s crucial to understand that adjusting the fan speed is an ongoing process. As your system’s usage changes or components are upgraded, periodically revisiting the fan speed settings will ensure optimal cooling performance.
By effectively changing the PC case fan speed, you can maintain a cooler and quieter computer, ultimately enhancing your overall computing experience. Take the time to fine-tune your fan settings to achieve the perfect balance for your system’s needs.
Remember, while adjusting the fan speed, always exercise caution and read the manufacturer’s guidelines. Ensuring that your system remains running within the recommended temperature range will lead to better performance, improved longevity, and a more enjoyable computing experience.