Introduction
When it comes to computer upgrades, one of the common challenges is transferring software licenses to a new hard disk drive (HDD). This is especially true for Microsoft Office, a suite of popular productivity applications used by individuals and businesses alike. Whether you are upgrading your computer or replacing a faulty hard disk drive, it is important to know how to change the Microsoft Office licenses to ensure uninterrupted access to your essential tools and documents.
In this article, we will guide you through the step-by-step process of changing Microsoft Office licenses when changing your hard disk drive. We will provide clear instructions on how to uninstall Office, deactivate your old license, reinstall Office, activate the new license, and transfer your data and settings. By following these steps, you can seamlessly transition to a new hard disk drive while retaining all the functionalities of Microsoft Office.
Please note that the exact steps may vary slightly depending on the version of Microsoft Office you are using. However, the overall process remains similar for most versions, including Office 365, Office 2019, Office 2016, and older versions.
Before we delve into the process, it is important to ensure you have a valid and genuine Microsoft Office license. Additionally, you should perform regular backups of your important files and documents to prevent any data loss during the hard disk drive replacement process. With these preparations in place, let’s get started with the first step: uninstalling Microsoft Office.
Step 1: Uninstalling Office
The first step in changing your Microsoft Office licenses when replacing your hard disk drive is to uninstall the software from your computer. This ensures that the previous license is properly deactivated and allows you to install the software with the new license on the new hard disk drive.
To uninstall Microsoft Office, follow these steps:
- Open the Control Panel on your Windows computer. You can access it by searching for “Control Panel” in the Windows search bar.
- In the Control Panel, select “Programs” and then click on “Programs and Features”. The list of installed programs on your computer will appear.
- Scroll through the list and locate Microsoft Office. Depending on the version you have installed, you may see listings such as “Microsoft Office 365”, “Microsoft Office 2019”, or specific applications like “Microsoft Word” or “Microsoft Excel”.
- Right-click on Microsoft Office and select “Uninstall” from the context menu. Follow the on-screen instructions to complete the uninstallation process.
- Once the uninstallation is complete, restart your computer to finalize the removal of Microsoft Office.
After restarting your computer, Microsoft Office should no longer be present on your system. This step ensures that the previous license is deactivated, making way for the installation of the new license on the new hard disk drive.
Now that you have successfully uninstalled Microsoft Office, let’s move on to the next step: deactivating your old license.
Step 2: Deactivating the old license
Once you have uninstalled Microsoft Office from your computer, the next step is to deactivate the old license associated with the software. Deactivating the old license ensures that it can no longer be used on the old hard disk drive and allows you to activate the new license on the new hard disk drive.
To deactivate the old license, follow these steps:
- Open any Microsoft Office application that was previously installed on your computer, such as Microsoft Word or Excel.
- Click on the “File” tab located in the upper left corner of the application.
- From the drop-down menu, click on “Account” or “Office Account”, depending on your version of Office.
- Under the “Product Information” section, you will find the “Manage Account” or “Manage Account” button. Click on it.
- You will be redirected to your Microsoft account page in a web browser.
- Sign in to your Microsoft account with the same credentials used to activate the Office license.
- In the “Devices” section, locate the old computer or hard disk drive that you want to deactivate the license for.
- Click on “Deactivate” or “Uninstall” to remove the license from that particular device.
By deactivating the old license, you are ensuring that it cannot be used on the previous hard disk drive. This step is crucial to free up the license for activation on the new hard disk drive.
Now that the old license has been successfully deactivated, we can proceed to the next step: reinstalling Microsoft Office on the new hard disk drive.
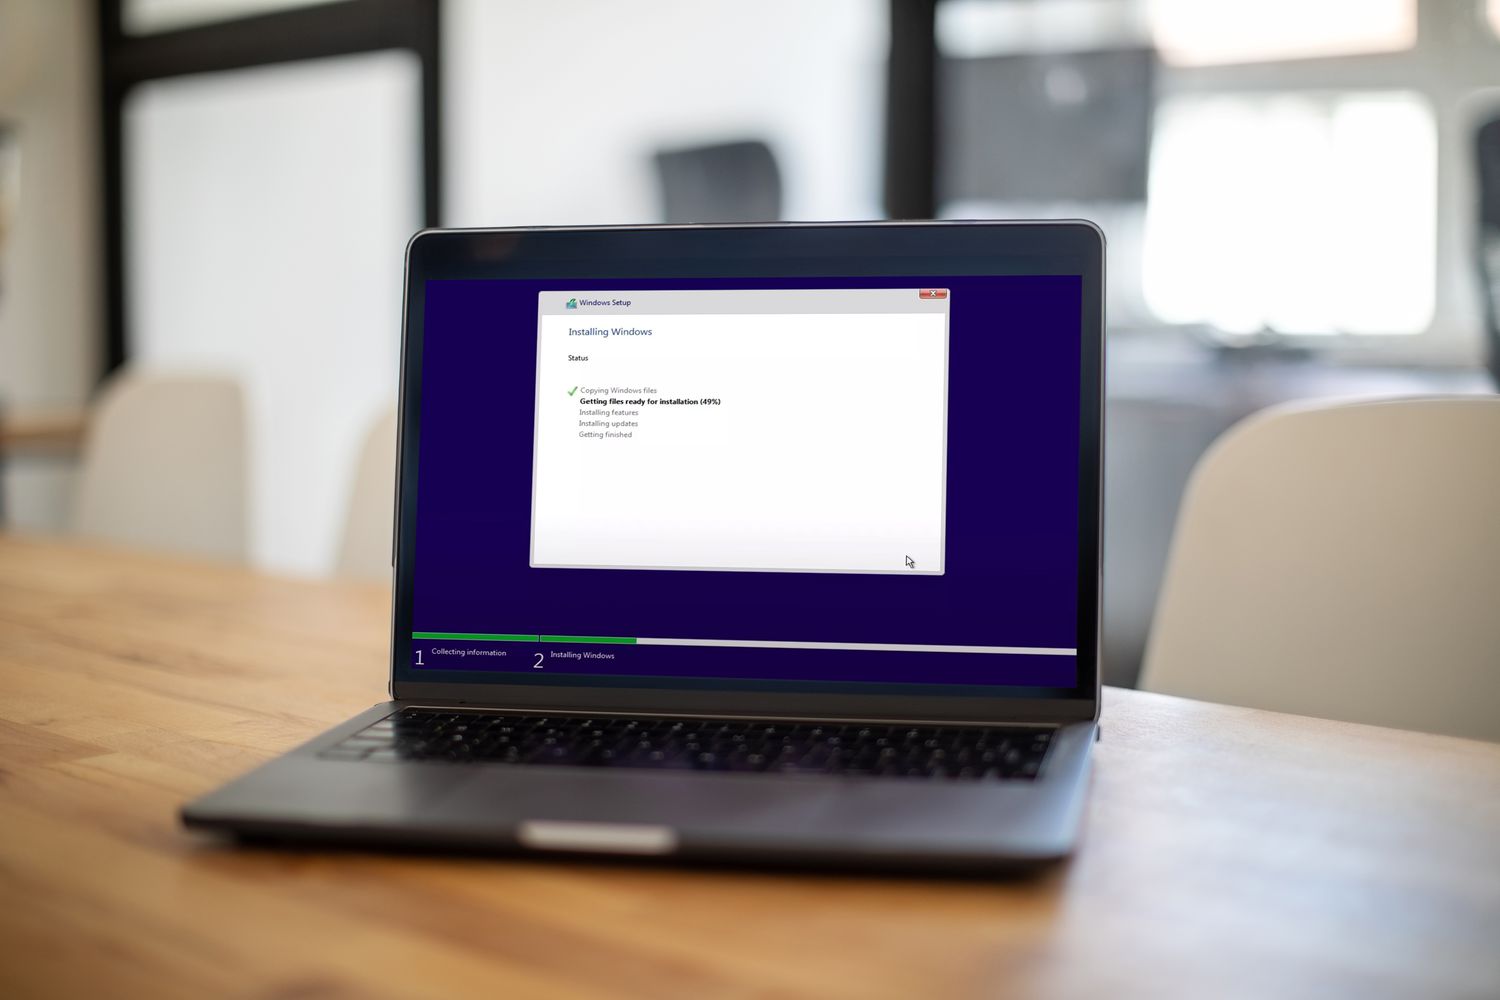
Step 3: Reinstalling Office
After deactivating the old license and preparing your new hard disk drive, it’s time to reinstall Microsoft Office on your computer. Reinstalling Office will allow you to activate the new license and regain access to all the familiar applications and features.
To reinstall Microsoft Office, follow these steps:
- Visit the official Microsoft Office website and sign in to your Microsoft account. If you have a subscription-based license, such as Office 365, make sure you sign in with the account associated with your subscription.
- Locate the download link for the version of Microsoft Office you wish to install. Click on the download link to begin the download process.
- Once the download is complete, double-click on the installation file to start the installation process. Follow the on-screen prompts to proceed.
- During the installation, you may be prompted to enter your product key or sign in to your Microsoft account again. Enter the necessary information to proceed with the installation.
- Select your preferred installation options, such as the installation location and additional applications/components you want to install, and click “Install”.
- Wait for the installation process to complete. This may take some time, depending on your computer’s speed and the size of the Office installation.
Once the installation is finished, Microsoft Office should be successfully installed on your new hard disk drive. However, the software is not yet activated with the new license. In the next step, we will guide you through the process of activating the new license and ensuring full functionality of Microsoft Office.
Step 4: Activating the new license
With Microsoft Office reinstalled on your new hard disk drive, it’s time to activate the new license. Activating the new license will enable you to utilize all the features and benefits of Microsoft Office without any interruptions.
To activate the new license, follow these steps:
- Open any Microsoft Office application, such as Microsoft Word or Excel, on your computer.
- Click on the “File” tab located in the upper left corner of the application.
- From the drop-down menu, click on “Account” or “Office Account”, depending on your version of Office.
- Under the “Product Information” section, you will find the option to “Activate” or “Change License”. Click on it.
- Enter the product key or login credentials associated with your new license. If you purchased a physical copy of Office, the product key should be included in the packaging. If you have a subscription-based license, sign in with your Microsoft account credentials.
- Follow the on-screen instructions to complete the activation process.
- Once the activation is successful, your new license will be associated with the Microsoft Office installation on your new hard disk drive.
After activating the new license, you can start using Microsoft Office with all the features and benefits that come with your new license. Your documents, settings, and preferences from the previous installation should remain intact, allowing for a seamless transition to the new hard disk drive.
Now that the new license is activated, we can proceed to the final step: transferring your data and settings to the new hard disk drive.
Step 5: Transferring data and settings
After activating the new license and ensuring that Microsoft Office is fully ready to use on your new hard disk drive, the final step is to transfer your data and settings from the old hard disk drive to the new one. This step will allow you to regain access to your files, templates, preferences, and customizations in Microsoft Office.
To transfer your data and settings, follow these steps:
- Connect your old hard disk drive to your computer if it is not already connected.
- Open File Explorer or the file management software on your computer.
- Navigate to the location on the old hard disk drive where your Microsoft Office documents are stored. This is typically the “Documents” folder or a custom folder you used to save your files.
- Select the files and folders you want to transfer to the new hard disk drive.
- Right-click on the selected files and folders, and choose “Copy” from the context menu.
- Navigate to the location on the new hard disk drive where you want to transfer the files.
- Right-click on an empty space in the destination folder, and choose “Paste” from the context menu. This will copy the files from the old hard disk drive to the new one.
- Repeat the process for any other files or folders you want to transfer, ensuring that all your important documents are safely migrated to the new hard disk drive.
In addition to transferring your files, you may also want to transfer your Microsoft Office templates, customizations, and preferences. These are typically stored in the AppData folder on your computer. To transfer them:
- Open File Explorer or the file management software on your computer.
- Navigate to the following location on the old hard disk drive: C:\Users\YourUserName\AppData.
- Copy the folders that start with “Microsoft” or “Office” to the same location on the new hard disk drive.
By following these steps, you can successfully transfer your files, templates, customizations, and preferences to the new hard disk drive. Once the transfer is complete, you will have full access to your Microsoft Office documents and settings on the new drive.
Congratulations! You have successfully changed your Microsoft Office licenses when changing your hard disk drive. You can now enjoy the full functionality of Microsoft Office on your new hard disk drive with the new license activated.
Conclusion
Changing Microsoft Office licenses when replacing a hard disk drive can be a seamless process if you follow the necessary steps. By uninstalling the software, deactivating the old license, reinstalling Office, activating the new license, and transferring your data and settings, you can ensure uninterrupted access to Microsoft Office on your new hard disk drive.
Throughout this article, we provided a comprehensive guide on how to change Microsoft Office licenses when changing your hard disk drive. We discussed the importance of uninstalling Office to remove the previous license and preparing for a clean installation. We then covered the steps to deactivate the old license, reinstall Office on the new hard disk drive, activate the new license, and transfer your data and settings.
It is crucial to remember that the exact steps may vary depending on the version of Microsoft Office you are using. However, the overall process remains fundamentally the same. It is also important to ensure that you have a valid and genuine Microsoft Office license and that you regularly backup your important files to prevent any data loss during the hard disk drive replacement process.
By successfully changing the Microsoft Office licenses when replacing your hard disk drive, you can continue to leverage the powerful features and capabilities of Office and maintain productivity in your personal and professional endeavors.
We hope that this guide has provided you with the necessary information to navigate the process smoothly and effectively. If you encounter any issues or have further questions, we recommend referring to Microsoft’s official support documentation or seeking assistance from their support channels.
Thank you for reading, and best of luck with your new hard disk drive and Microsoft Office installation!