Introduction
Switching from a Mac to a Windows computer can seem like a daunting task, but with the right steps and guidance, it can be a smooth and hassle-free process. Whether you’re making the switch for work purposes, software compatibility, or simply for a change of pace, this guide will walk you through the necessary steps to transition from macOS to Windows.
Moving from one operating system to another involves more than just physically swapping out the computer. It requires careful planning, data backup, and configuration of the new system to ensure a seamless transition. By following the steps outlined in this article, you will be able to smoothly switch from your Mac to a Windows computer without losing any important data or experiencing any major setbacks.
Before we dive into the specific steps, it’s important to note that familiarity with basic computer operations and a general understanding of Windows is recommended. However, even if you’re new to the Windows environment, fear not! This guide will provide clear instructions to help you through each stage of the process.
Keep in mind that there may be some variations in the instructions depending on the specific Mac model and the version of Windows you are installing. It’s always a good idea to refer to the user manuals or online documentation for your particular devices for any unique considerations.
So, if you’re ready to make the switch, let’s get started with the first step: backing up your data. This is an essential precaution to ensure that you don’t lose any important files during the transition.
Step 1: Backup Your Data
The very first step before switching from your Mac to a Windows computer is to backup all of your important data. This includes documents, photos, videos, music, and any other files that you want to carry over to your new Windows system.
There are a few different methods you can use to backup your data, depending on your preference and the amount of data you have. Here are three popular methods:
- External Hard Drive or USB: Connect an external hard drive or USB flash drive to your Mac and manually copy your files onto the device. This gives you a physical backup that you can later connect to your Windows computer for data transfer.
- Cloud Storage Services: Sign up for a cloud storage service such as Google Drive, Dropbox, or OneDrive, and upload your files to the cloud. This allows you to access and download your files from any device, including your new Windows computer.
- Time Machine Backup: If you have been using Apple’s Time Machine backup feature, you can create a complete backup of your Mac onto an external hard drive. This creates a snapshot of your entire system, including all files and settings. You can then restore this backup onto your new Windows computer using specialized software.
Whichever method you choose, make sure to verify that your backup is successful and that all of your important files have been properly copied. Double-check that you have backed up everything you need before proceeding to the next steps.
This step is crucial because it ensures that your data is safe and accessible even if something goes wrong during the transition process. It provides peace of mind and allows you to start fresh on your Windows computer without the fear of losing valuable information.
Once you have successfully backed up your data, you are now ready to move on to the next step: checking the system requirements for installing Windows on your Mac.
Step 2: Check System Requirements
Before proceeding with the installation of Windows on your Mac, it’s important to ensure that your computer meets the minimum system requirements. This will help avoid any potential compatibility issues and ensure a smooth installation process.
Here are the general system requirements for running Windows on a Mac:
- Processor: Check the processor requirements for the version of Windows you plan to install. Typically, an Intel-based processor is required, such as an Intel Core i5 or i7.
- Memory (RAM): Verify that your Mac has enough memory to support running Windows. The recommended minimum is 4GB, but having 8GB or more will provide better performance.
- Storage Space: Ensure that you have enough free space on your hard drive to accommodate both macOS and Windows. Windows generally requires at least 20-30GB, but it’s advisable to have more for future updates, applications, and files.
- Graphics Card: Some versions of Windows may have specific graphics card requirements. Check the official documentation for the Windows version you are installing to determine if your Mac’s graphics card is compatible.
In addition to these general requirements, the specific version of Windows you are installing may have its own set of additional requirements. Make sure to review the official system requirements provided by Microsoft for the version of Windows you plan to install.
To check your Mac’s system specifications, go to the Apple menu, click on “About This Mac,” and then click on “System Report” or “System Information.” This will provide detailed information about your Mac’s hardware configuration, allowing you to verify its compatibility with the Windows operating system.
Checking the system requirements is a crucial step to avoid any potential issues during the installation process. Ensuring that your Mac meets the necessary specifications will help guarantee a smooth transition to Windows and minimize any compatibility problems that may arise.
Once you have verified that your Mac meets the system requirements, you’re ready to move on to the next step: installing the Windows operating system.
Step 3: Install Windows OS
With your data safely backed up and after confirming that your Mac meets the system requirements, you’re ready to install the Windows operating system on your computer. Follow these steps to proceed:
- Purchase a Windows License: Obtain a valid Windows license key or product key. You can purchase a license online from the Microsoft Store or through authorized retailers.
- Create a Windows Installation Media: Download the Windows installation media creation tool from the Microsoft website. This tool will help you create a bootable USB drive or DVD containing the Windows installation files.
- Insert the Installation Media: Connect the bootable USB drive or insert the DVD into your Mac.
- Restart Your Mac: Restart your Mac and hold down the “Option” key while it boots up. This will bring up the Startup Manager.
- Select the Windows Installation Media: From the Startup Manager, choose the Windows installation media you created and press “Enter.”
- Begin the Windows Installation: Follow the on-screen prompts to start the Windows installation process. You will be guided through the setup, including selecting the language and region, entering the license key, and choosing the installation type.
- Select the Windows Partition: During the installation, you will be prompted to select a partition to install Windows. Choose the partition you created earlier using Boot Camp Assistant, or create a new partition if necessary.
- Complete the Installation: After selecting the partition, proceed with the installation by following the instructions provided by the Windows installer. The installation process may take some time to complete, so be patient.
- Set Up Windows: Once the installation is finished, your Mac will restart, and you will be guided through the initial Windows setup process. Follow the prompts to configure your region, language, keyboard layout, and user account settings.
It’s important to note that during the installation process, your Mac may restart several times. This is normal and part of the Windows installation process.
After completing these steps, you will have successfully installed the Windows operating system on your Mac. In the next step, we will discuss how to set up Boot Camp Assistant to optimize the Windows experience on your Mac.
Step 4: Set Up Boot Camp Assistant
Boot Camp Assistant is a built-in utility on macOS that helps streamline the process of installing and setting up Windows on your Mac. By following these steps, you can ensure that Boot Camp Assistant is properly configured:
- Open Boot Camp Assistant: Go to the Utilities folder, which is located in the Applications folder, and launch Boot Camp Assistant.
- Create a Windows Partition: In Boot Camp Assistant, select the option to partition your hard drive. You will be prompted to enter the desired size for the Windows partition. Allocate enough space to accommodate your Windows installation and any other applications or files you plan to use on the Windows side.
- Format the Windows Partition: Once the partition is created, Boot Camp Assistant will ask you to format it. Choose the recommended format option to ensure compatibility with Windows.
- Download Windows Support Software: Boot Camp Assistant will also download the necessary drivers and support software for your specific Mac model. Make sure you have a reliable internet connection during this process.
- Save the Windows Support Software: When prompted, choose a location to save the Windows Support Software. This will be needed later for installing drivers on your Windows system.
- Reboot into Windows: After everything is set up in Boot Camp Assistant, restart your Mac and hold down the “Option” key. Select the Windows partition to boot into the Windows operating system.
By properly configuring Boot Camp Assistant, you will have a dedicated Windows partition on your Mac, allowing you to switch between macOS and Windows whenever needed. Boot Camp Assistant helps optimize the hardware and performance of your Mac specifically for Windows, ensuring a better overall experience.
With Boot Camp Assistant set up, you can now proceed to the next step: partitioning your hard drive to create space for the Windows operating system.
Step 5: Partition Your Hard Drive
Partitioning your hard drive is an essential step in the process of setting up Windows on your Mac. By following these steps, you can create a dedicated space for the Windows operating system:
- Open Disk Utility: Launch Disk Utility, which can be found in the Utilities folder, located in the Applications folder.
- Select your Hard Drive: In Disk Utility, select your main hard drive from the list of available drives.
- Click on the “Partition” Tab: Once your hard drive is selected, click on the “Partition” tab at the top of the Disk Utility window.
- Add a New Partition: Click on the “+” button to add a new partition to your hard drive.
- Adjust the Partition Size: Drag the divider between the existing macOS partition and the new partition to adjust the size according to your requirements. Make sure to leave enough space for the Windows installation.
- Name the Partition: Give the new partition a name, such as “Windows” or any other label that is easy to recognize.
- Select the Format: Choose the format for the new partition. For Windows compatibility, select “MS-DOS (FAT)” or “ExFAT.”
- Apply the Changes: Double-check all the settings and configurations before clicking the “Apply” button to create the new partition.
- Confirm the Partition: A warning message will appear, notifying you that the partitioning process will erase all data on the new partition. Make sure you have a backup of any important data and click “Partition” to continue.
Once the partitioning process is complete, your hard drive will have a separate partition dedicated to Windows. This partition will be formatted and ready for the Windows installation.
Having a dedicated partition for Windows ensures that your macOS and Windows operating systems remain separate, allowing for better performance and improved stability. It also enables you to easily switch between the two environments without interfering with each other.
Now that your hard drive is partitioned, you can proceed to the next step: installing the Windows operating system on your newly created partition.
Step 6: Install Windows
Now that you have completed the preparation steps, it’s time to install the Windows operating system on the partition you created. Follow these steps to proceed:
- Connect Installation Media: Insert the USB drive or DVD containing the Windows installation media into your computer.
- Restart Your Mac: Restart your Mac and hold down the “Option” key until the Startup Manager appears.
- Select Windows Installation Media: From the Startup Manager, select the Windows installation media you connected and press “Enter”.
- Begin the Installation: The Windows installer will start. Select your desired language, time, and currency format, then click “Next” to continue.
- Enter Your Windows License Key: Enter the Windows license key you obtained during Step 3 when prompted. Click “Next” to proceed.
- Choose Custom Installation: Select the “Custom: Install Windows only (advanced)” option to choose the partition where you want to install Windows.
- Select the Partition: From the list of available partitions, choose the one labeled “Windows” or the name you assigned to it.
- Format the Partition: Click on the “Format” button to format the selected partition in the NTFS file system, which is compatible with Windows.
- Begin the Installation: After formatting, click “Next” to start the installation. The installation process may take some time to complete, and your Mac may restart multiple times.
- Set Up Windows: Once the installation is finished, you will be prompted to set up Windows. Follow the on-screen instructions to configure your regional settings, create a user account, and customize other preferences.
During the installation process, it’s important to note that you may be prompted to install additional drivers or updates. If prompted, follow the prompts to install the necessary drivers and updates to ensure optimal performance of your Mac’s hardware components within the Windows environment.
Once you have completed the installation and set up Windows on your Mac, you are ready to move on to the next steps: configuring Windows settings and installing drivers and updates.
Step 7: Set Up Windows Settings
After successfully installing Windows on your Mac, it’s time to configure the initial settings to personalize your Windows experience. Follow these steps to set up Windows settings:
- Language and Region: On the welcome screen, select your preferred language, region, and keyboard layout. Click “Next” to proceed.
- Connect to a Network: If you have a Wi-Fi network available, select it and enter the network password. You can also choose to skip this step and connect to a network later.
- Privacy Settings: Review the privacy settings and choose whether to enable or disable features such as location services, diagnostics, and personalized ads. Make your selections and click “Accept” to proceed.
- Microsoft Account: If you have a Microsoft account, you can sign in using your credentials. This allows you to access Microsoft services such as OneDrive, Microsoft Store, and more. Alternatively, you have the option to create a local account on your computer.
- Set Up Cortana: Cortana is Microsoft’s virtual assistant. Choose whether to enable Cortana and follow the prompts to set it up according to your preferences.
- Customize the Desktop: Once you have completed the initial setup, you can personalize your Windows desktop by changing wallpapers, themes, and other visual settings. Right-click on the desktop and choose “Personalize” to access these customization options.
- Install Windows Updates: It’s essential to keep your Windows system up to date with the latest security patches and features. Go to the Start menu, click on “Settings,” then navigate to “Update & Security” to check for and install available updates.
During this setup process, take some time to explore the various settings and options available in Windows to customize it according to your preferences. This includes adjusting display settings, configuring power options, setting up default apps, and more. Personalizing the settings will help make your Windows experience comfortable and tailored to your needs.
Once you have customized the Windows settings, you are ready to proceed to the next step: installing drivers and updates to ensure optimal performance of your Mac hardware on the Windows operating system.
Step 8: Install Drivers and Updates
After setting up Windows on your Mac, it’s important to install the necessary drivers and updates to ensure smooth functionality and optimal performance of your hardware components. Follow these steps to install drivers and updates:
- Download Windows Support Software: Visit the Apple support website and download the Windows Support Software specific to your Mac model. Save the downloaded files to a USB flash drive or another external storage device.
- Transfer the Support Software: Connect the USB flash drive or external storage device to your Windows computer. Copy the Windows Support Software files to a convenient location on your Windows desktop.
- Install Drivers: Open the folder where you saved the Windows Support Software files, locate the setup file or executable, and run it. Follow the on-screen instructions to install the drivers specific to your Mac model.
- Check for Windows Updates: Go to the Start menu, click on “Settings,” then navigate to “Update & Security”. Click on “Check for updates” to scan for and install any available Windows updates. This ensures your Windows system has the latest security patches and bug fixes.
It’s also recommended to periodically check for driver updates and updates specific to your Mac model on the Apple support website. Download and install any available updates to keep your system running efficiently and avoid potential compatibility issues.
Installing the appropriate drivers and keeping your Windows system up to date will ensure that your Mac hardware functions properly, allowing you to take full advantage of the capabilities of your machine within the Windows environment.
With drivers and updates installed, you are now ready to proceed to the next step: transferring your data from your backup to your new Windows computer.
Step 9: Transfer Your Data
Now that you have successfully set up Windows on your Mac and installed the necessary drivers and updates, it’s time to transfer your data from your backup to your new Windows computer. Follow these steps to transfer your data:
- Connect Your Backup Device: Connect the external hard drive, USB flash drive, or access your cloud storage service where you saved your data backup.
- Copy Your Data: Navigate to the location where the backup files are stored and copy them to your Windows computer. You can create a new folder on your Windows desktop or any other location to store your transferred data.
- Organize and Sort Your Files: Once the data is copied to your Windows computer, take some time to organize and sort your files into appropriate folders. This will help you easily locate and access your data in the future.
- Verify Data Integrity: After transferring your data, verify that all files were successfully copied and that they are intact. Open a few random files to make sure they open correctly and have not been corrupted during the transfer process.
- Set Up Software and Applications: If you had specific software or applications installed on your previous macOS system, install the Windows versions of those applications on your Windows computer. Make sure to use valid licenses or product keys for installation.
It’s essential to ensure that your data transfer process is reliable and complete. Double-check that all important files, documents, photos, videos, and other data have been successfully transferred and are accessible on your Windows computer.
If you were using any specialized software or applications on macOS, make sure to identify the Windows equivalents or suitable alternatives for your Windows system. This will help you continue your work seamlessly and efficiently on your new operating system.
With your data successfully transferred, you can now move on to the next step: installing essential applications to enhance your Windows experience.
Step 10: Install Essential Applications
Now that you have transferred your data and set up your new Windows computer, it’s time to install essential applications that you need for your everyday tasks. Follow these steps to install the necessary applications:
- Identify Your Essential Applications: Make a list of the applications you use regularly on your previous macOS system. This can include productivity tools, multimedia software, web browsers, communication apps, and more.
- Download and Install Applications: Visit the official websites or authorized app stores for each application and download the Windows versions. Follow the on-screen instructions to install the applications on your Windows computer.
- Activate Licenses or Product Keys: If your applications require licenses or product keys for activation, make sure to enter the correct information during the installation process. Keep the necessary documentation or confirmation emails for future reference.
- Configure Application Settings: Once the applications are installed, take some time to configure the settings according to your preferences. This can include adjusting display options, customizing shortcuts, managing notifications, and more.
- Update Applications: After installing the applications, check for any available updates. Many applications have built-in update mechanisms to ensure you are using the latest versions, which often include bug fixes, performance improvements, and new features.
Remember to install antivirus software to protect your Windows computer from potential threats. There are various reputable antivirus software options available, so choose one that fits your needs and install it to safeguard your system.
As you install essential applications, take note of any specific settings or preferences that you had on your previous macOS system and adjust them accordingly. This will help maintain familiarity and ensure a seamless transition to your new Windows environment.
With your essential applications installed and configured, you’re almost done! The final step is to customize your Windows experience to suit your preferences.
Step 11: Customize Your Windows Experience
Now that you have installed essential applications on your Windows computer, it’s time to customize your Windows experience to make it feel personalized and comfortable for your everyday use. Follow these steps to customize your Windows experience:
- Personalize the Desktop: Right-click on the desktop and select “Personalize” to access a range of customization options. You can change the desktop background, apply themes, adjust font sizes, and more to reflect your personal style.
- Customize the Start Menu: Right-click on the Start menu and select “Settings.” From there, you can customize the appearance of the Start menu, rearrange tiles, add or remove shortcuts, and personalize your Start menu experience.
- Configure Taskbar Settings: Right-click on the taskbar and select “Taskbar settings.” Customize the taskbar by choosing its position, selecting which icons to display, enabling or disabling system tray icons, and more.
- Adjust Privacy Settings: Access the “Privacy” settings in the Windows settings menu to manage your privacy preferences. You can control access to your camera, microphone, location services, and other privacy-related settings.
- Explore Accessibility Options: If you have specific accessibility needs, Windows provides a range of accessibility features for customization. Go to “Ease of Access” in the Windows settings to explore options such as high contrast mode, narrator, magnifier, and more.
- Tweak Power Settings: Access the “Power & sleep” settings to adjust power-related options, such as setting display sleep times, configuring power plans, and optimizing power usage to maximize battery life on laptops.
- Explore Additional Settings: Windows offers an extensive range of customizable settings. Take the time to explore and adjust other settings based on your preferences, including notifications, display, sound, accounts, and more.
Customizing your Windows experience allows you to tailor the operating system to your specific needs and preferences. By adjusting various settings, you can create a user-friendly and efficient working environment.
Remember to periodically check for updates to Windows and your installed applications, as updates often introduce new customization options and features.
With your Windows experience customized to your liking, you have successfully completed the process of switching from a Mac to a Windows computer. Enjoy exploring and making the most of your new operating system!
Conclusion
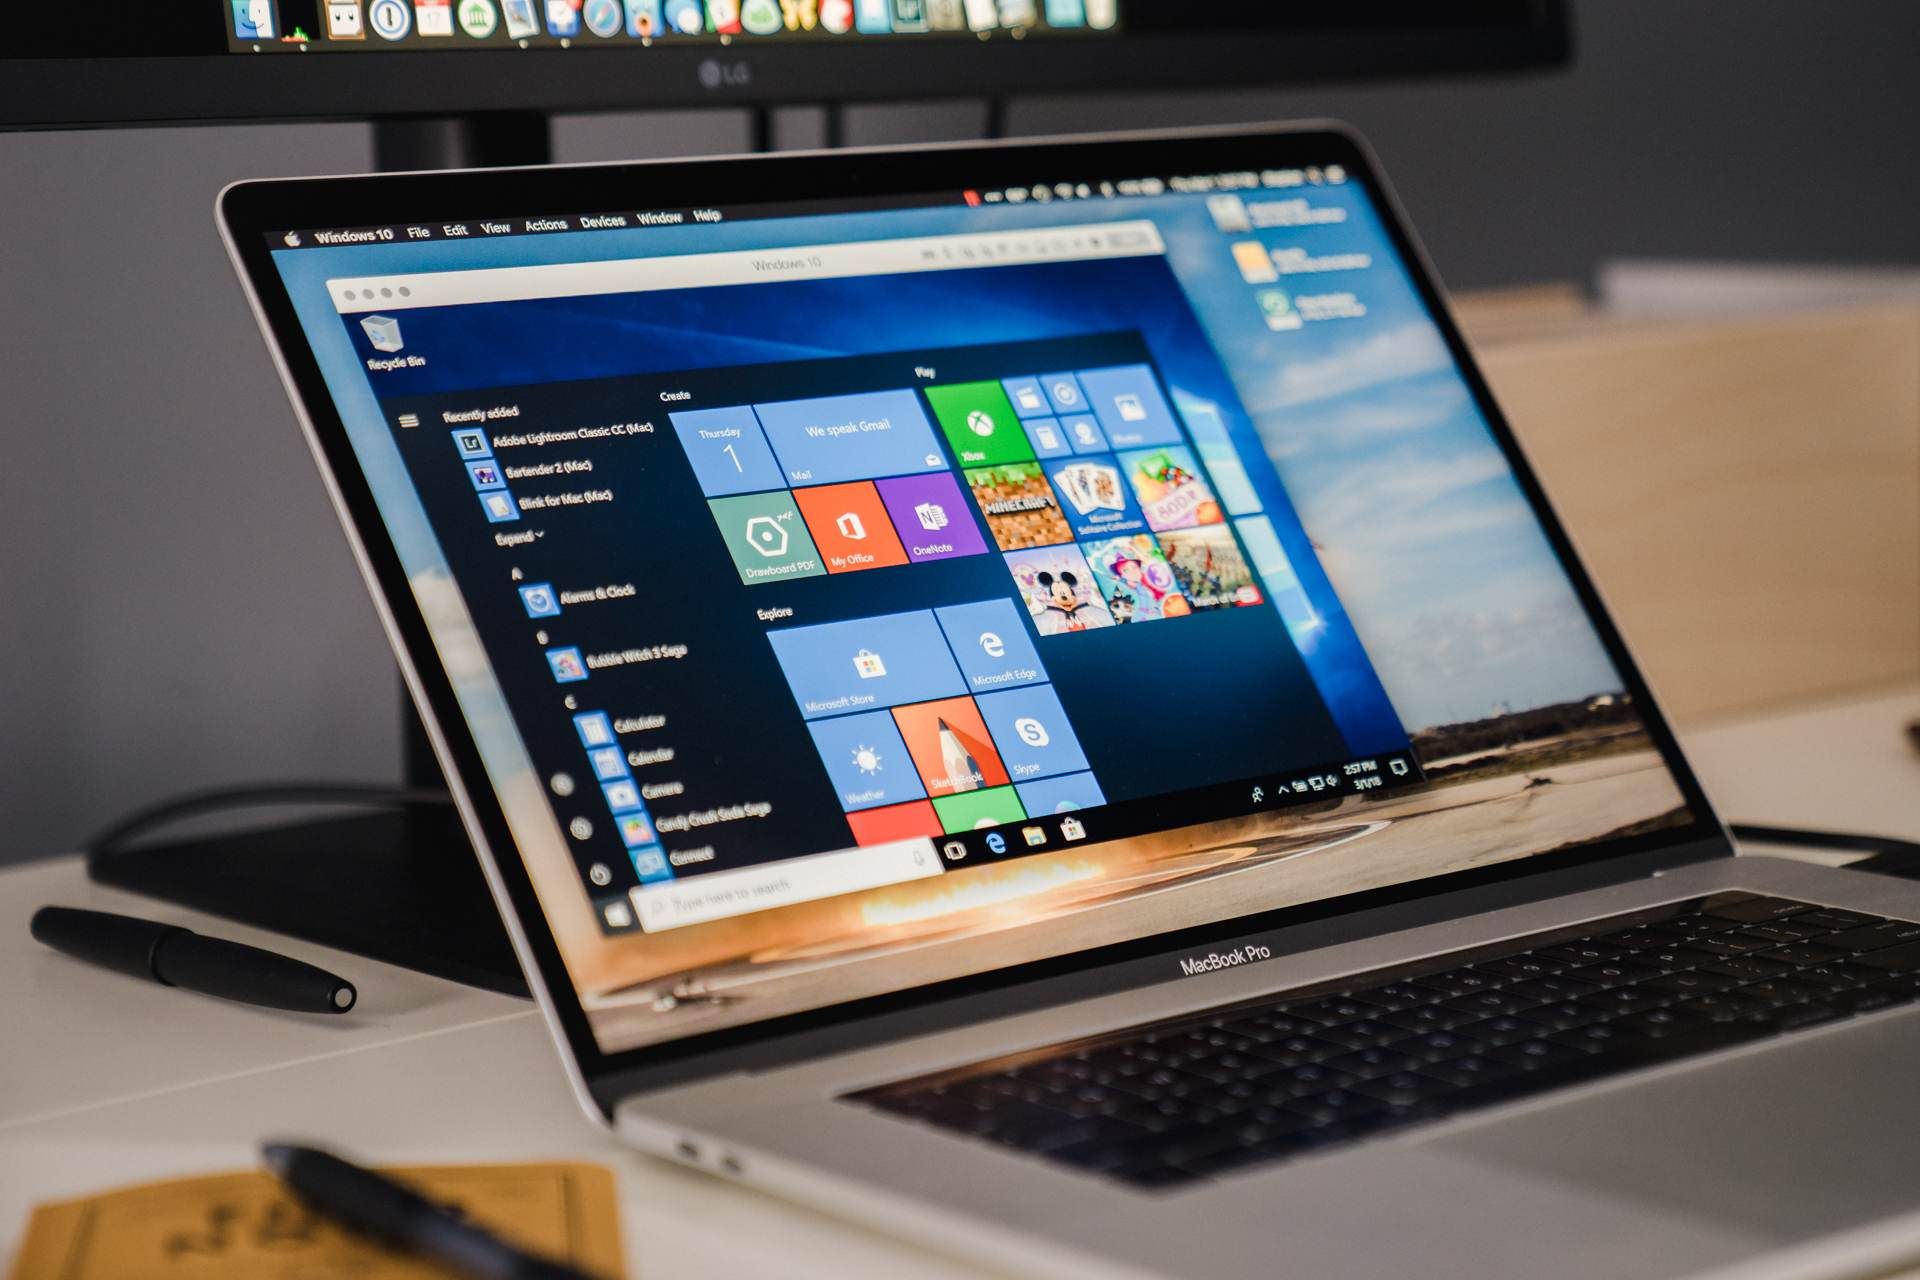
Congratulations! You have successfully completed the process of switching from a Mac to a Windows computer. By following the steps outlined in this guide, you have transitioned smoothly and efficiently, ensuring that your data is backed up, your system meets the requirements, and Windows is properly installed and configured on your Mac.
Throughout this process, you have learned the importance of backing up your data, checking system requirements, and using Boot Camp Assistant to create a dedicated Windows partition. You have also installed Windows, set up Windows settings, installed drivers and updates, transferred your data, installed essential applications, and customized your Windows experience to make it your own.
Remember, transitioning from one operating system to another may require some adjustment as you become familiar with the new interface and functionality. Give yourself some time to explore and get comfortable with Windows, and don’t hesitate to reach out to online communities or support resources for assistance.
With your new Windows computer, you can now take advantage of the vast selection of software, applications, and features offered on the Windows platform. Enjoy the versatility, performance, and flexibility that Windows provides, and make the most of your computing experience.
As technology evolves, it’s natural to explore different systems and adapt to changing needs. Whether it be for personal preferences, professional requirements, or software compatibility, switching from a Mac to a Windows computer can be a beneficial and exciting journey.
Thank you for following this guide, and we hope it has been helpful in assisting you throughout the process of switching from a Mac to a Windows computer. Embrace your new operating system, and may it empower you to achieve your goals and meet your computing needs.


