Why Change Your Apple ID Email?
Changing your Apple ID email may seem like a hassle, but it can be necessary for various reasons. Below are several situations where changing your Apple ID email might be beneficial:
- Security: If your current email address associated with your Apple ID has been compromised or you suspect it may have been, changing it can help protect your account from unauthorized access.
- Email Provider Change: If you have switched email providers or plan to, updating your Apple ID email ensures that you receive important notifications and account-related communications.
- Personal Preference: Sometimes, people simply want to use a different email address for their Apple ID, whether it’s due to personal reasons or a desire for a more professional image.
- Consolidating Accounts: If you have multiple Apple IDs and wish to consolidate them into a single account, changing your current email to the desired email address can help streamline your Apple ID management.
- Shared Email Account: If your Apple ID is currently associated with a shared email account that you no longer have access to or share with someone else, it’s crucial to change it to a personal and private email to maintain control over your Apple ID and its related services.
Regardless of the reason, changing your Apple ID email is a relatively straightforward process that can be done in a few simple steps. By following the correct procedure, you can easily update your email address and continue using your Apple ID seamlessly.
Steps to Change Your Apple ID Email
If you’ve decided to change your Apple ID email, follow these step-by-step instructions to ensure a smooth and successful transition:
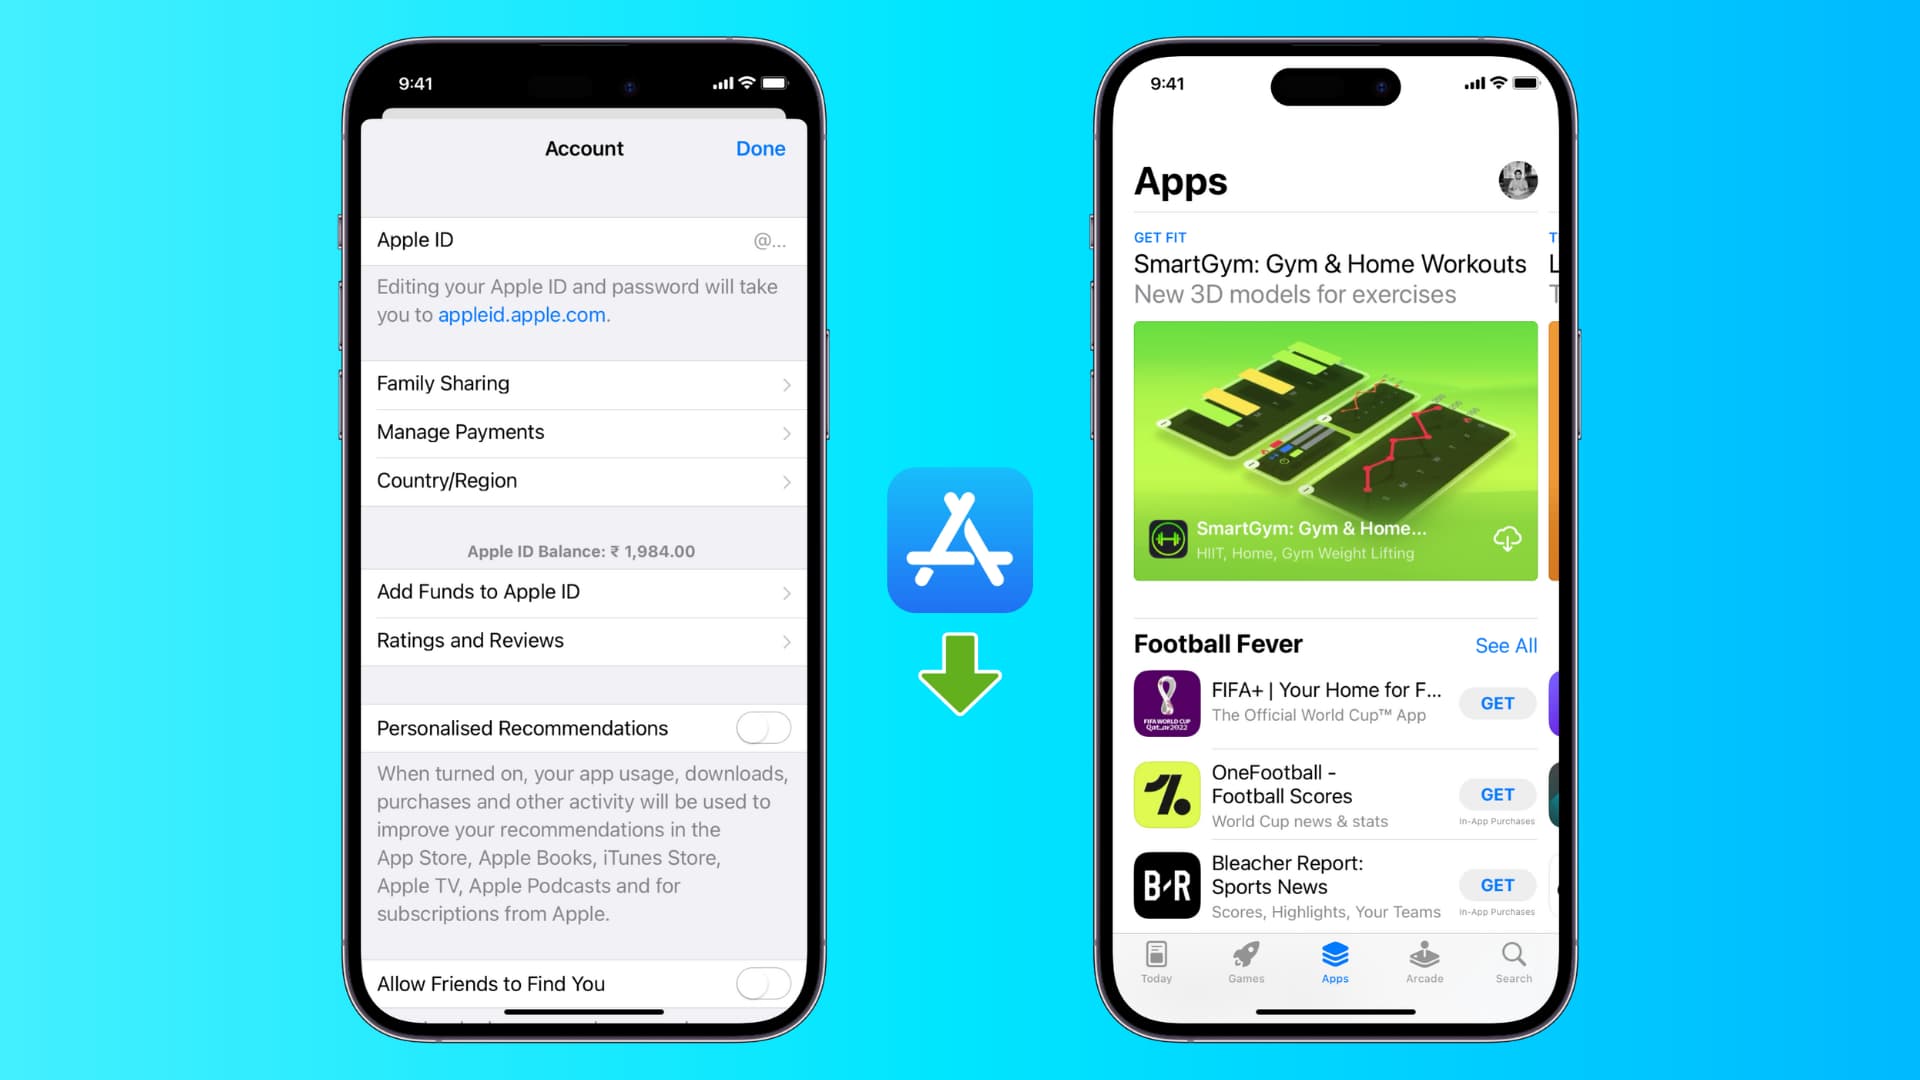
- Sign in to your Apple ID account: Open a web browser and visit the Apple ID account website (appleid.apple.com). Enter your current Apple ID email address and password to log in.
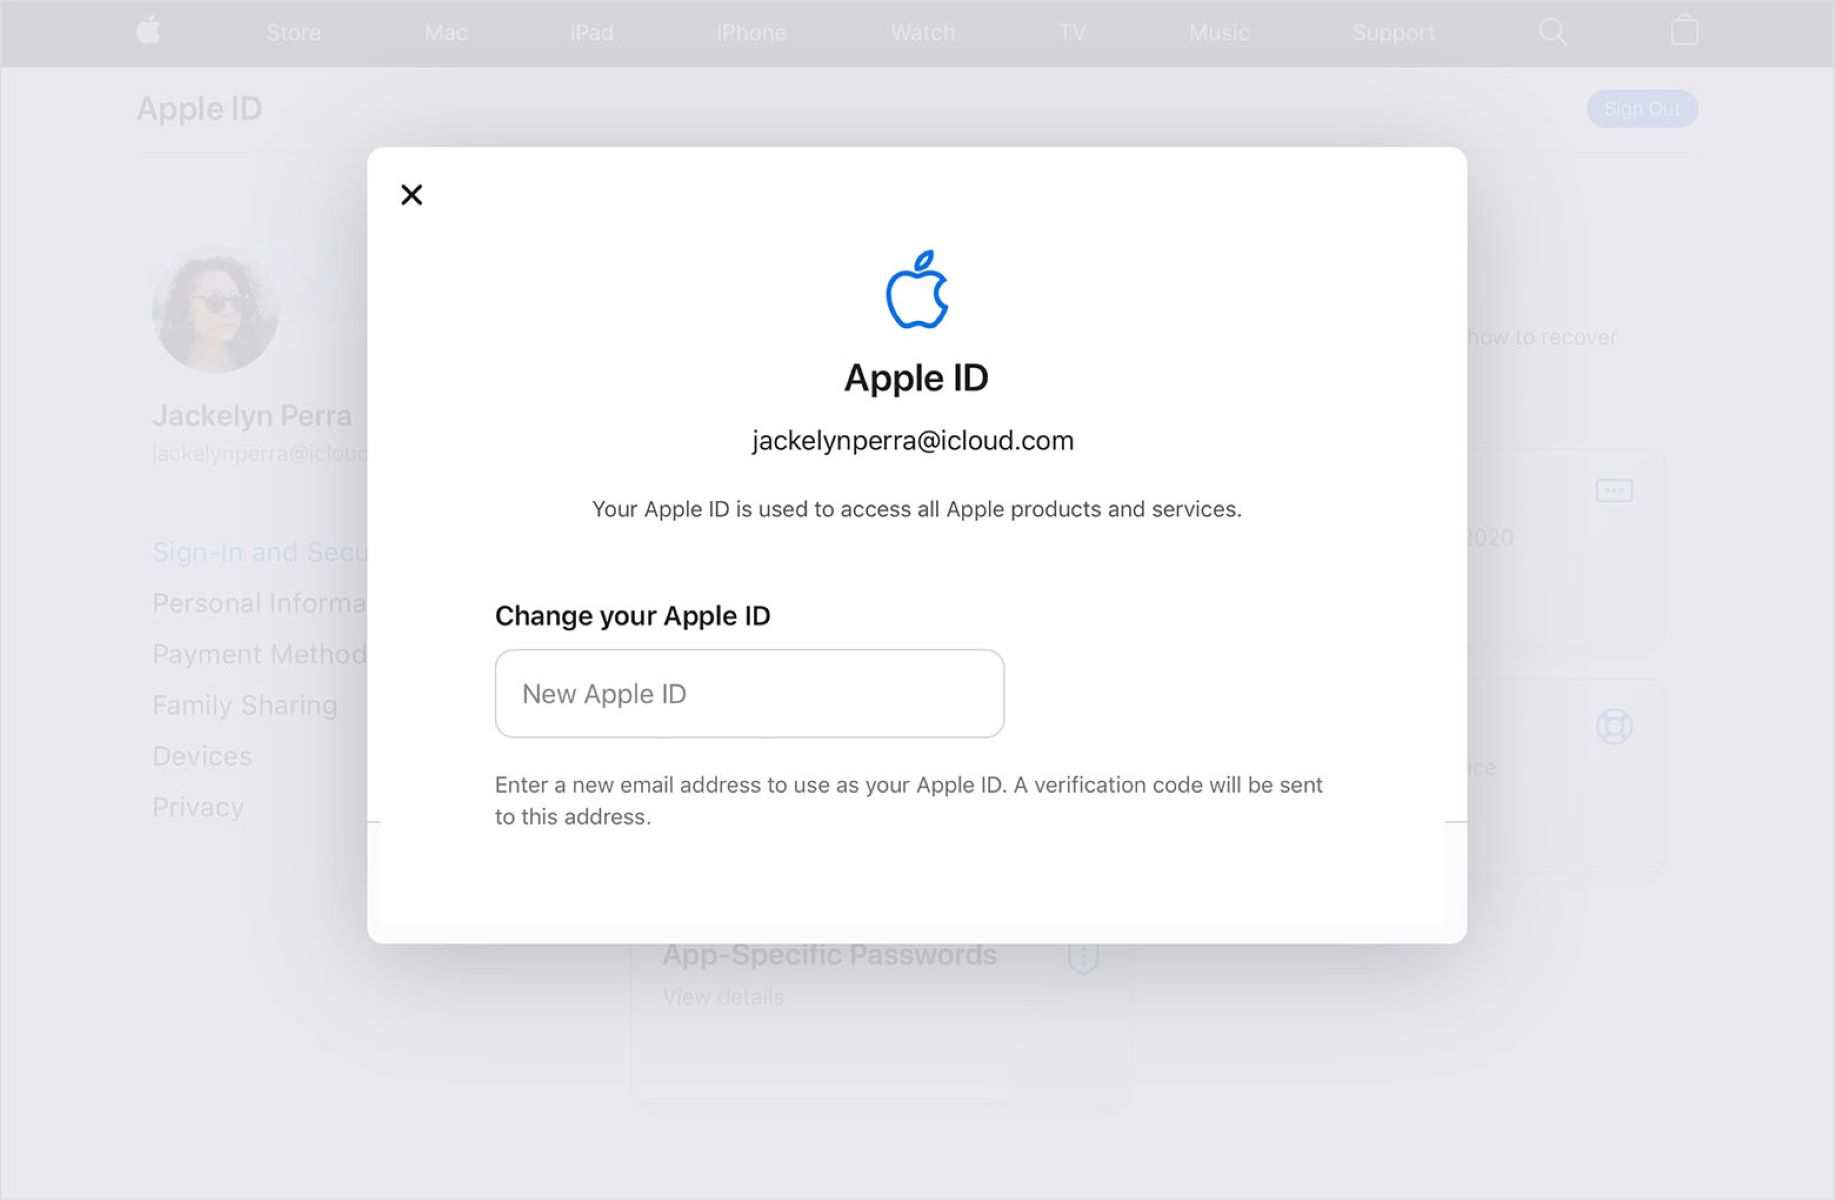
- Go to the “Apple ID” section: Once you’re logged in, you’ll be directed to your Apple ID account page. Look for the section labeled “Apple ID” and click on it to proceed.
- Click on “Edit” next to your current email: Within the “Apple ID” section, locate the email address associated with your account. Next to it, you’ll find an “Edit” button. Click on it to initiate the email change process.
- Enter your new email address: In the provided field, enter the new email address that you want to associate with your Apple ID. Double-check for any typos or mistakes to avoid future issues.
- Verify your new email address: After entering your new email, Apple will send a verification email to the provided address. Access your email inbox and look for an email from Apple with a verification link. Click on the link to confirm your new email address.
- Sign out and sign back in: Once you’ve successfully verified your new email, sign out of all Apple devices and services that are currently using your Apple ID. After signing out, sign back in using your new email address and password.
- Update your email address on all your devices and services: To ensure a seamless experience, make sure to update your Apple ID email on all your devices and services where you’re currently signed in. This includes iPhones, iPads, Macs, Apple Watches, and any other devices using your Apple ID.
By following these steps carefully, you can change your Apple ID email without encountering any significant issues. Remember to keep your login credentials secure and update any associated services with your new email for a hassle-free Apple ecosystem experience.
Step 1: Sign in to your Apple ID account
The first step to changing your Apple ID email is signing in to your Apple ID account. Follow the instructions below:
- Open a web browser on your computer or mobile device.
- Visit the Apple ID account website by typing “appleid.apple.com” into the address bar.
- Once you’re on the Apple ID website, look for the sign-in section.
- Enter your current Apple ID email address and password in the provided fields.
- Double-check the email address and password for accuracy.
- Click on the “Sign In” or “Continue” button to proceed.
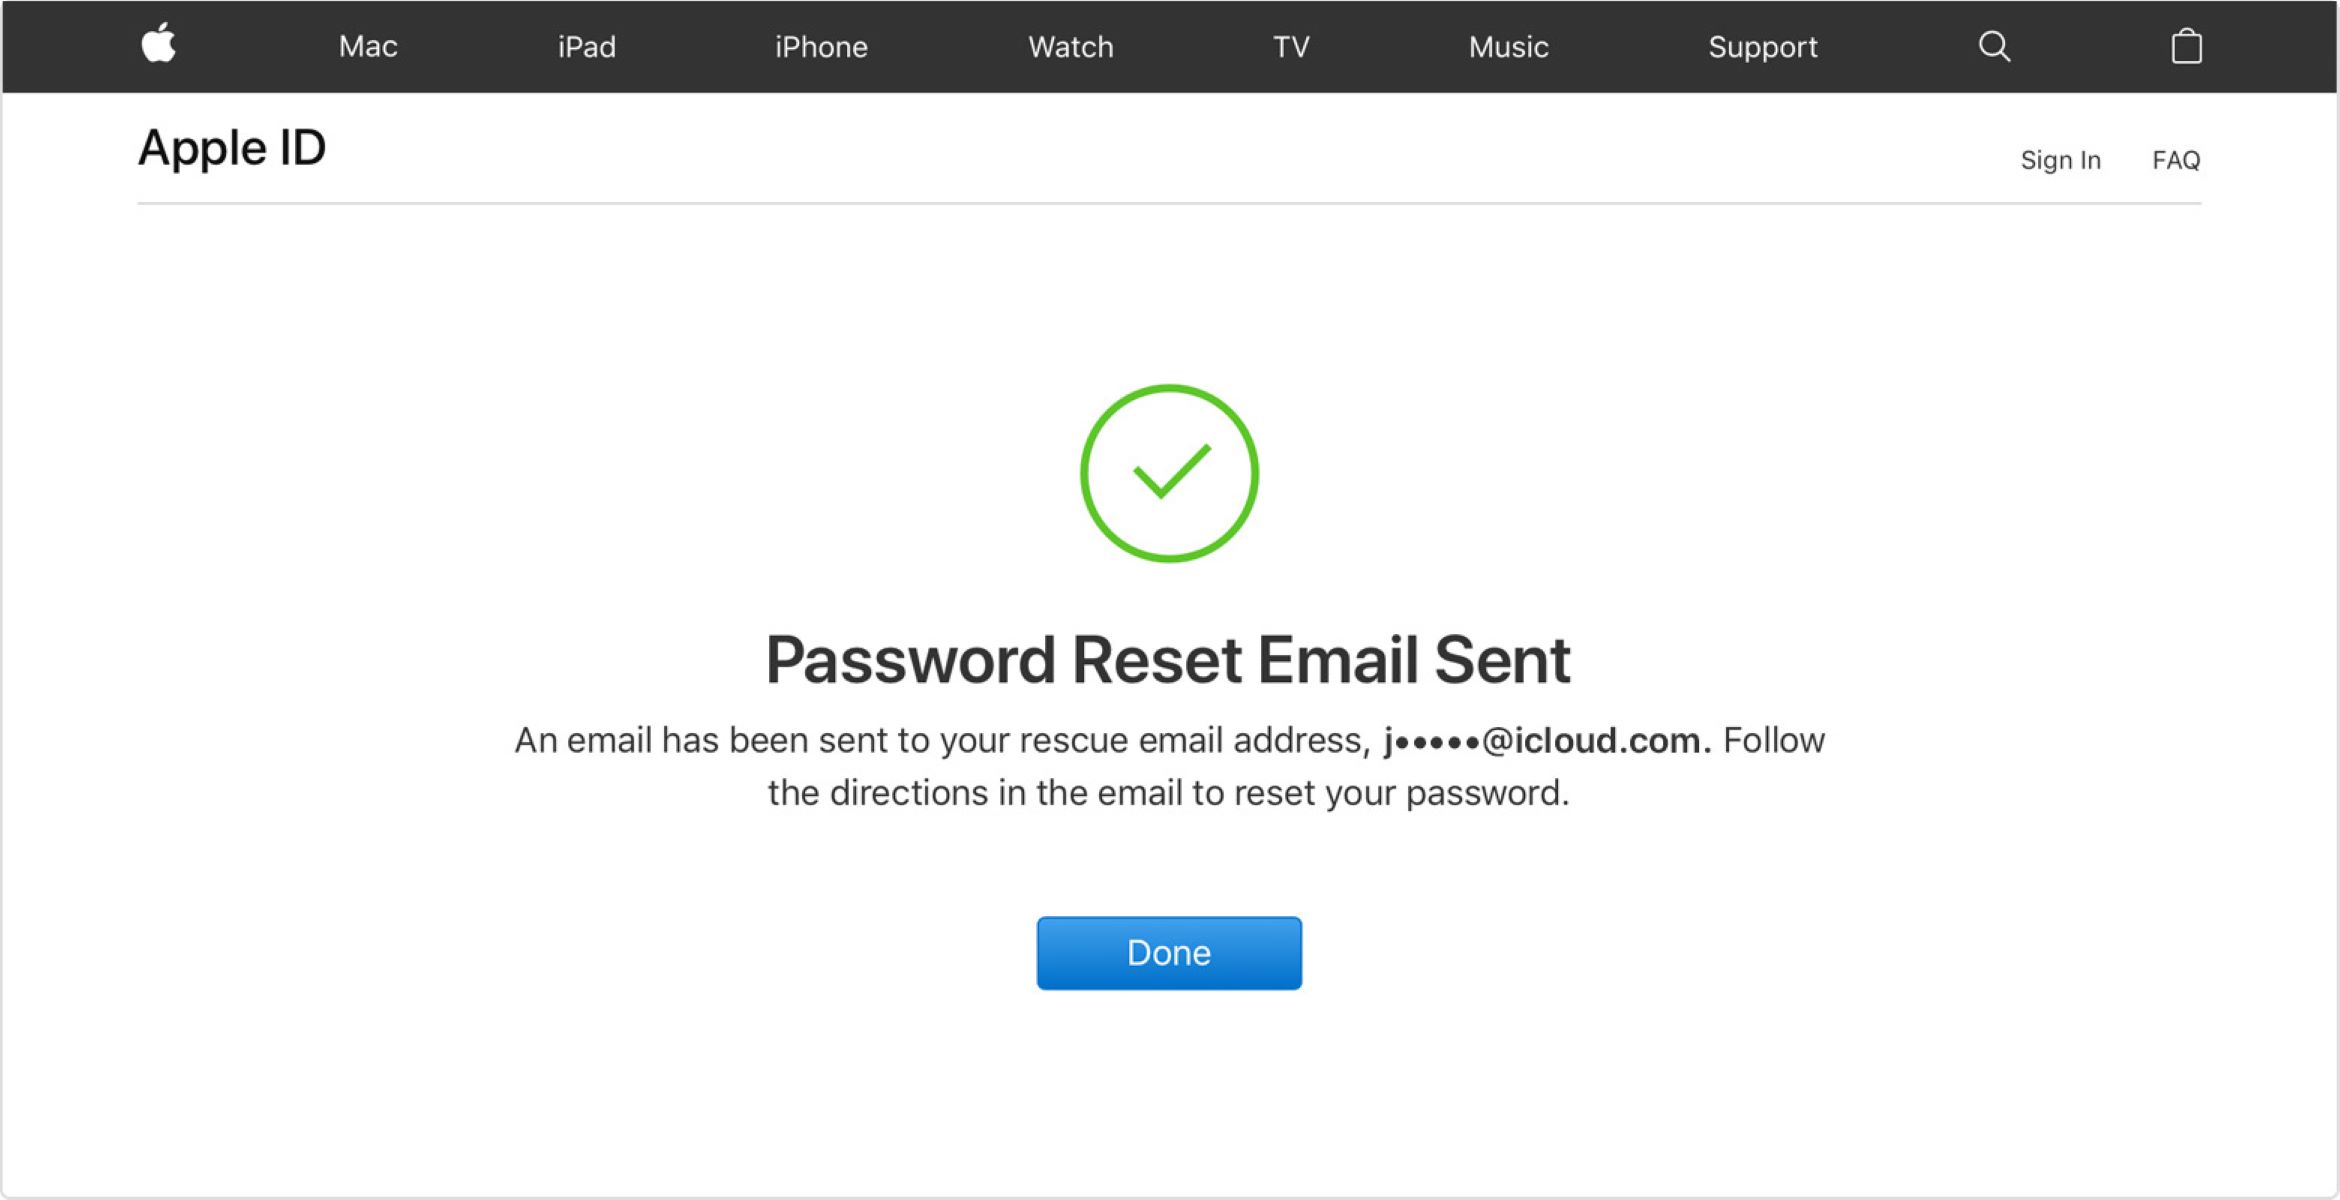
If you have forgotten your Apple ID password, you can select the “Forgot Apple ID or password?” option on the sign-in page and follow the prompts to reset your password.
It’s important to remember that your Apple ID email and password are used to access various Apple services, including iCloud, iTunes, the App Store, and more. Make sure you’re signing in with the correct email address associated with your Apple ID to avoid any potential issues.
Once you have successfully signed in to your Apple ID account, you can proceed to the next step to change your email address.
Step 2: Go to the “Apple ID” section
After signing in to your Apple ID account, the next step to change your Apple ID email is to navigate to the “Apple ID” section. Follow the instructions below:
- Once you are signed in on the Apple ID account webpage, you will be directed to your account homepage.
- Look for the section labeled “Apple ID” in the main navigation menu or sidebar of the webpage.
- Click on the “Apple ID” section to access the account settings related to your Apple ID.
The “Apple ID” section provides access to various configuration options and personalization settings for your Apple ID account. This is where you can make changes to your email address, as well as update other account information such as your name, birthdate, security settings, and payment methods.
If you are having trouble finding the “Apple ID” section on the webpage, try looking for options or menus labeled “Account Settings,” “Profile,” or “Manage Your Apple ID.” These labels may vary slightly depending on the version of the Apple ID account website you are using.
Once you have successfully accessed the “Apple ID” section, you can proceed to the next step to initiate the email change process.
Step 3: Click on “Edit” next to your current email
Now that you have reached the “Apple ID” section on the account website, the next step to change your Apple ID email is to click on the “Edit” button next to your current email address. Follow the instructions below:
- Look for the email address associated with your Apple ID in the account settings section.
- Next to your current email, you will find an “Edit” button or link. Click on it to proceed with changing your email address.
By clicking the “Edit” button, you are indicating your intention to update or modify the existing email address linked to your Apple ID. This will initiate the process to change your email and allow you to enter a new email address of your choice.
If you do not see an “Edit” button next to your current email address, make sure you are signed in to your Apple ID account correctly. It’s also possible that you have recently updated your email address or made changes to your account, which can affect the availability of the “Edit” option.
Once you have successfully clicked on “Edit” next to your current email, you can proceed to the next step to enter your new email address.
Step 4: Enter your new email address
After clicking on “Edit” next to your current email address, you can proceed to enter your new email address. Follow the instructions below:
- In the designated field or box provided, enter the new email address that you want to associate with your Apple ID.
- Ensure that you type your new email address accurately and without any typos or mistakes.
- Double-check the email address to make sure it is the correct one that you want to use moving forward.
When entering your new email address, keep in mind that it should be a valid and active email account that you have access to. This is important as Apple will send a verification email to this new email address as part of the verification process.
It is recommended to use a personal email address that is not shared with anyone else. Using a private email ensures the security and privacy of your Apple ID account and its associated services.
Once you have successfully entered your new email address, you can proceed to the next step to verify it.
Step 5: Verify your new email address
After entering your new email address, the next step is to verify it. Apple requires email verification to ensure the accuracy and security of your account. Follow the instructions below to verify your new email address:
- Access your email inbox associated with the new email address you entered.
- Look for an email from Apple with a subject similar to “Verify your Apple ID email address.”
- Open the email and locate the verification link provided within the email.
- Click on the verification link to confirm your new email address.
Verifying your email address is vital to complete the process of changing your Apple ID email. It ensures that you have access to the email account and have authorized the change. Failure to verify your email address may result in an incomplete update or possible issues with account access in the future.
If you do not receive the verification email from Apple, check your spam or junk folder as it may have been filtered incorrectly. Alternatively, you can request a new verification email by returning to the Apple ID settings page and clicking on the option to resend the verification email.
Once you have successfully verified your new email address, you can proceed to the next step, which involves signing out and signing back in to your Apple ID account.
Step 6: Sign out and sign back in
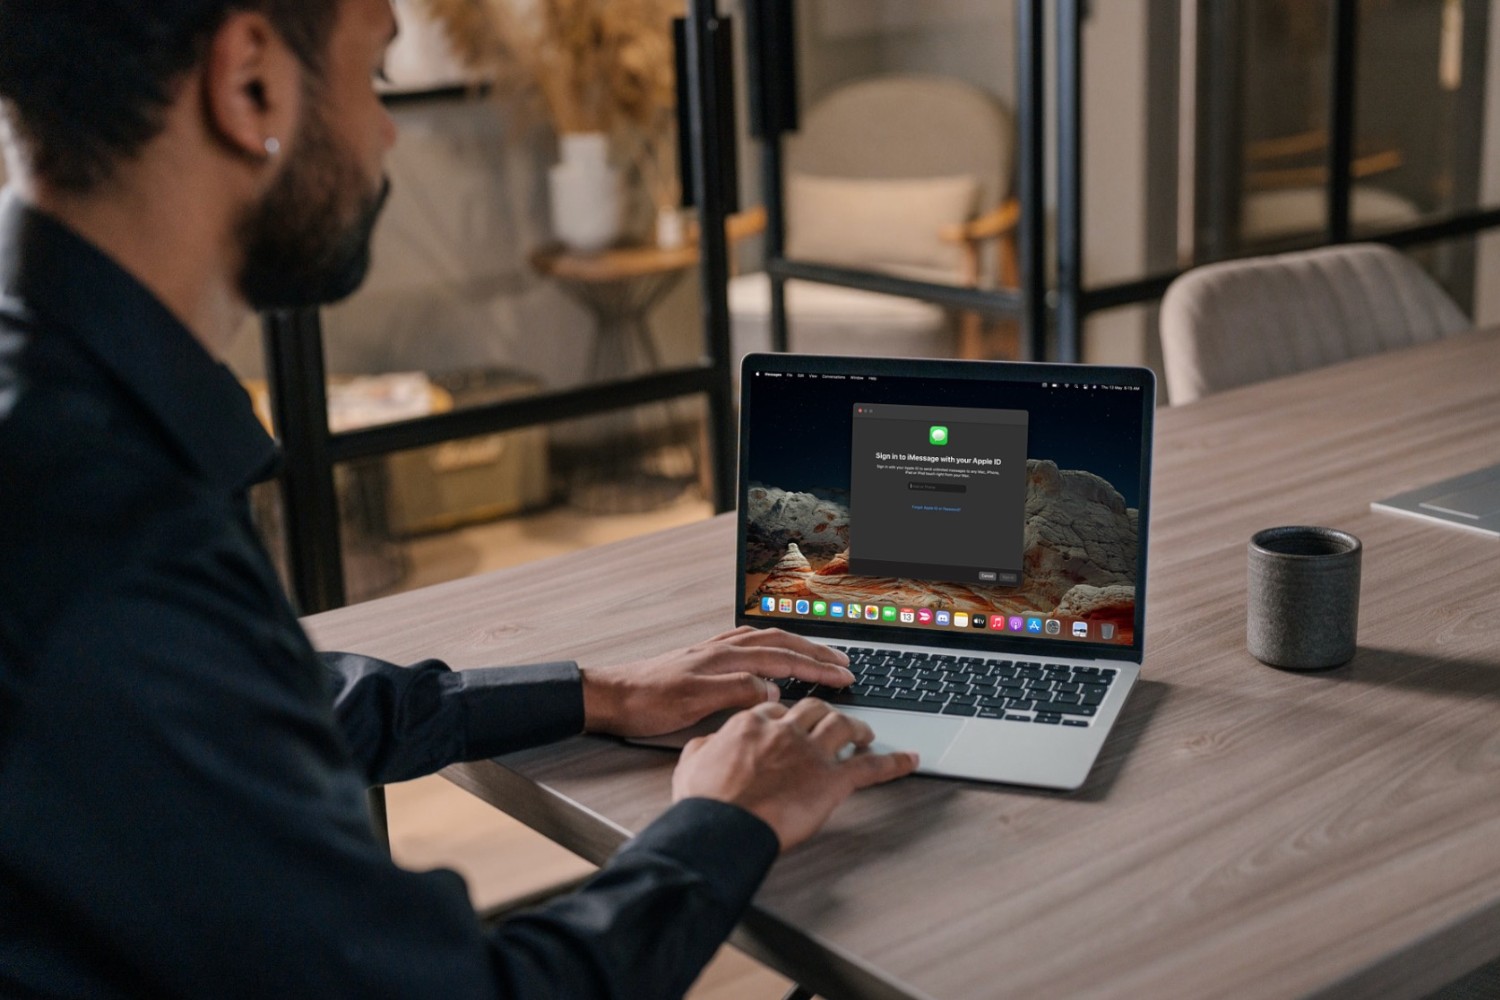
After successfully verifying your new email address, it’s important to sign out of all Apple devices and services and then sign back in using your new email address. Follow the steps below:
- Ensure that you are logged out of any Apple devices or services that are currently using your Apple ID, such as your iPhone, iPad, Mac, or iCloud.
- To sign out, go to the settings menu on each device or service and look for the option to sign out or log out of your Apple ID account.
- Once you have signed out, return to the Apple ID account website (appleid.apple.com) and sign in again.
- Enter your new email address and associated password in the provided fields.
- Click on the “Sign In” or “Continue” button to log in to your Apple ID account with the updated email address.
Signing out and signing back in ensures that your Apple ID email change is applied to all your devices and services. It refreshes the session and allows you to access your Apple ID account seamlessly using your new email address.
Remember to update the email address associated with your Apple ID on any additional devices or services that you might use, such as iTunes, the App Store, or any other Apple apps. This will ensure that you can continue to access and enjoy these services without any interruption.
Once you have signed back in with your new email address on all devices and services, you have successfully completed the process of changing your Apple ID email.
Step 7: Update your email address on all your devices and services
After changing your Apple ID email, it’s essential to update your new email address on all your devices and services. This ensures that your Apple ID functions smoothly across all platforms and that you receive important notifications and account-related communications. Follow the instructions below to update your email address:
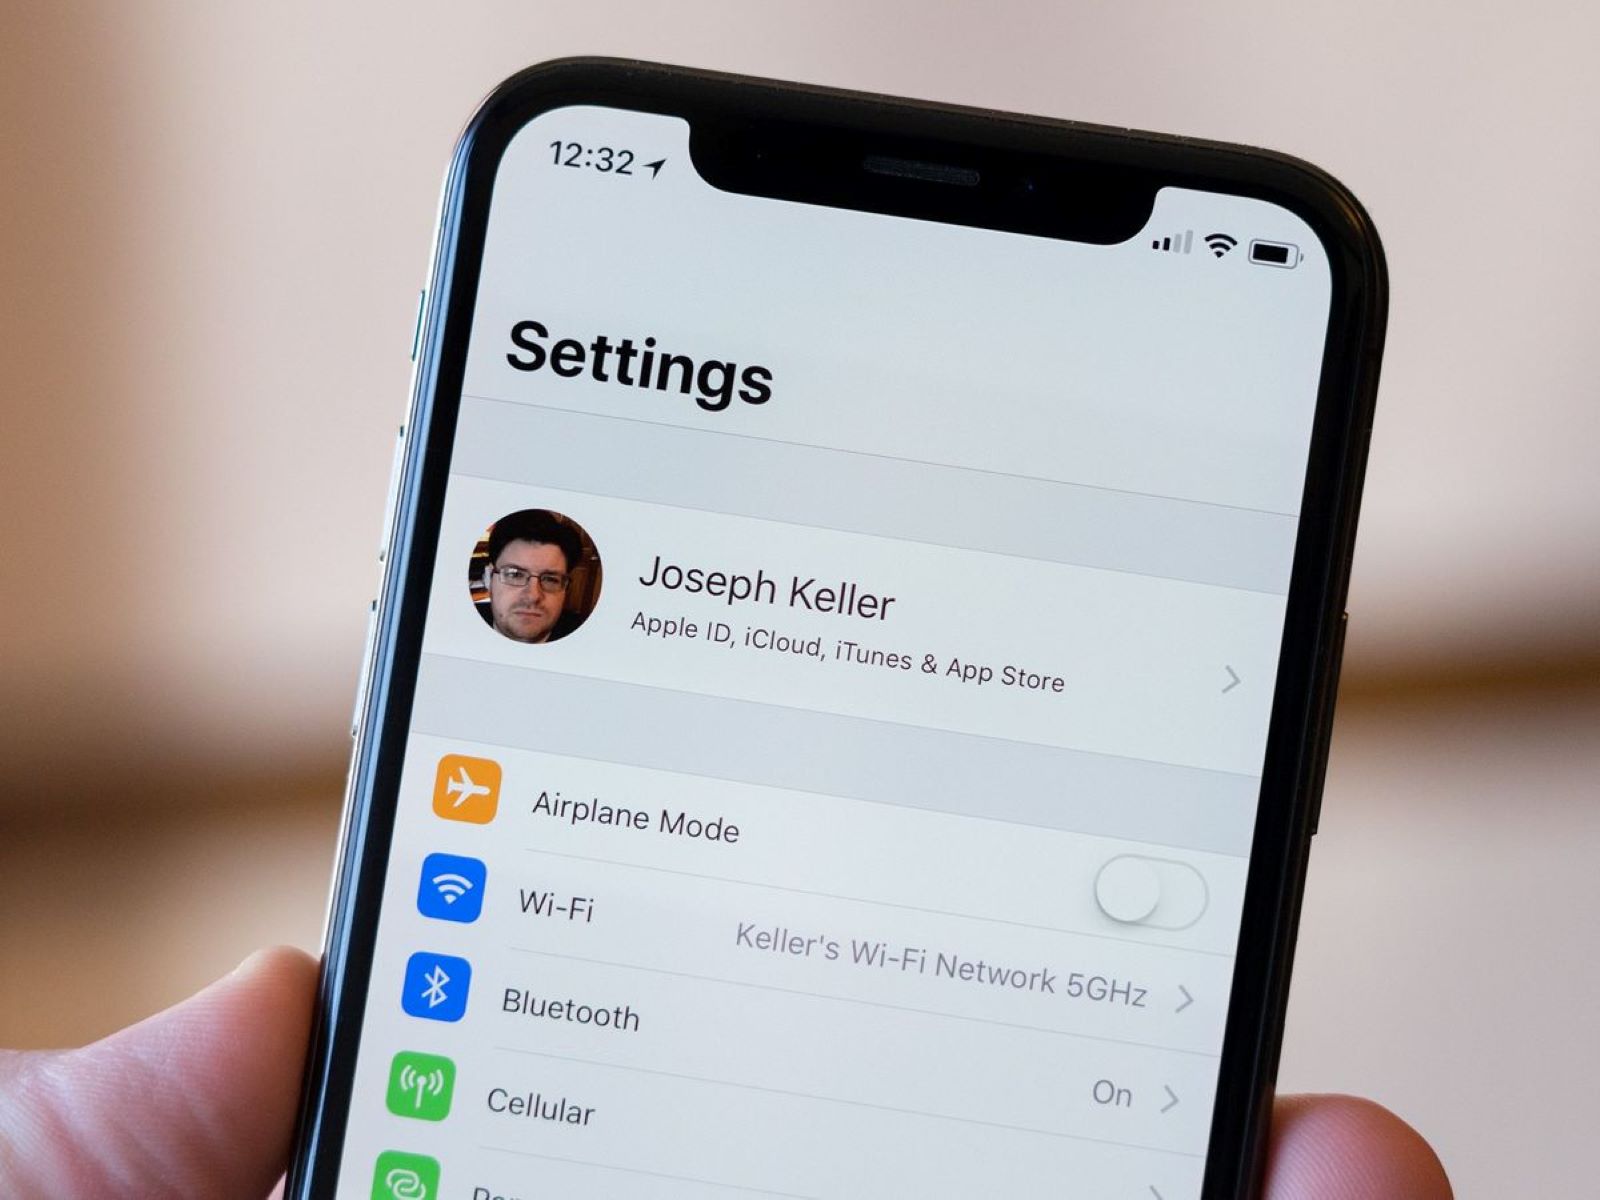
- On your iPhone or iPad, go to the “Settings” app and tap on your name at the top of the screen.
- Tap on “Name, Phone Numbers, Email” and select “Edit” next to the “Contactable at” section.
- Add your new email address and remove the old one. Tap “Done” to save the changes.
- On your Mac, open the Apple menu and select “System Preferences.”
- Click on “Apple ID,” then select “Overview” in the left menu. Click on “Edit” next to your primary email.
- Update your email address and click “Save.”
- For other Apple devices and services, such as Apple Watch, Apple TV, or iCloud.com, visit the respective settings and account pages to update your email address.
Additionally, it’s essential to update your email address in other third-party apps or services that are linked to your Apple ID, such as music streaming apps or social media platforms. This will ensure that you receive any necessary reset emails or verification requests with your new email address.
Remember to double-check that your new email address is accurately updated on all devices and services to avoid any future complications or account-related issues.
By updating your email address on all your devices and services, you can enjoy a seamless experience with your Apple ID and ensure that you receive all relevant communications without any disruption.
Frequently Asked Questions (FAQs)
Here are some commonly asked questions regarding changing an Apple ID email:
-
Can I change my Apple ID email address more than once?
Yes, you can change your Apple ID email address multiple times if needed. However, keep in mind that frequent changes may cause confusion or difficulty in managing your account.
-
Will changing my Apple ID email affect my app purchases and data?
No, changing your Apple ID email does not affect your app purchases or data. All your purchases, app licenses, and personal data will remain intact and accessible with your new email address.
-
What happens to my old email address after changing my Apple ID email?
Your old email address will no longer be associated with your Apple ID. However, the email account itself will still exist separately and can be used for other purposes or accounts.
-
Do I need to update my email address on all my devices?
Yes, it is essential to update your new email address on all your devices to ensure a seamless experience. This includes iPhones, iPads, Macs, Apple Watches, and any other devices using your Apple ID.
-
Can I use any email address for my Apple ID?
While you can use any valid email address for your Apple ID, it is recommended to use a personal email address that you have access to and isn’t shared with anyone else.
If you have any other questions or concerns about changing your Apple ID email, it is recommended to visit the official Apple Support website or contact Apple Customer Support for further assistance.
Conclusion
Changing your Apple ID email is a straightforward process that can be done in a few steps. Whether you need to update your email for security reasons, personal preference, or to consolidate multiple accounts, following the correct procedure ensures a smooth transition.
In this guide, we covered the reasons why you might need to change your Apple ID email, such as security concerns, changing email providers, or personal preference. We then outlined the step-by-step process, from signing in to your Apple ID account and accessing the “Apple ID” section to clicking on “Edit” next to your current email and entering your new email address. We also emphasized the importance of verifying your new email address and signing out and signing back in to all your devices and services. Lastly, we highlighted the need to update your email address on all your devices and services for a seamless experience.
Remember, changing your Apple ID email does not affect your app purchases or data, and you can change your email address multiple times if needed. It’s crucial to keep your login credentials secure and update your new email address on all your devices and services to ensure a seamless Apple ecosystem experience.
If you have any other questions or encounter any issues during the process, it is recommended to visit the official Apple Support website or contact Apple Customer Support for further assistance.