Introduction
Changing your iCloud email can be necessary for various reasons. Whether you want to switch to a more professional email address, consolidate your online accounts, or simply prefer a different email provider, the process of changing your iCloud email can seem daunting at first. However, with the right guidance, it can be a simple and straightforward process.
In this article, we will walk you through the steps to change your iCloud email. We will cover how to access your iCloud settings, change your email address, update your Apple ID and password, verify the new email address, and update email settings on your devices. By the end of this guide, you will have successfully changed your iCloud email and be ready to continue using your Apple services seamlessly.
Please note that changing your iCloud email may have consequences for your Apple ID and other services associated with it. It is essential to follow the steps carefully to avoid any disruption to your account or data. Additionally, before proceeding with the email change, make sure to inform your contacts and update your new email address with any relevant accounts or subscriptions.
Now, let’s dive into the step-by-step process of changing your iCloud email address.
Step 1: Accessing your iCloud settings
To begin the process of changing your iCloud email, you need to access your iCloud settings. Follow these steps to get started:
- Open a web browser on your computer or mobile device.
- Visit the iCloud website by typing “www.icloud.com” in the address bar.
- Enter your Apple ID and password to sign in to your iCloud account.
- Once you’re signed in, you will be taken to the iCloud homepage.
- Look for the settings icon, which resembles a gear or cog. Click on it to access your iCloud settings.
After completing these steps, you should now be in your iCloud settings, ready to proceed with changing your email address.
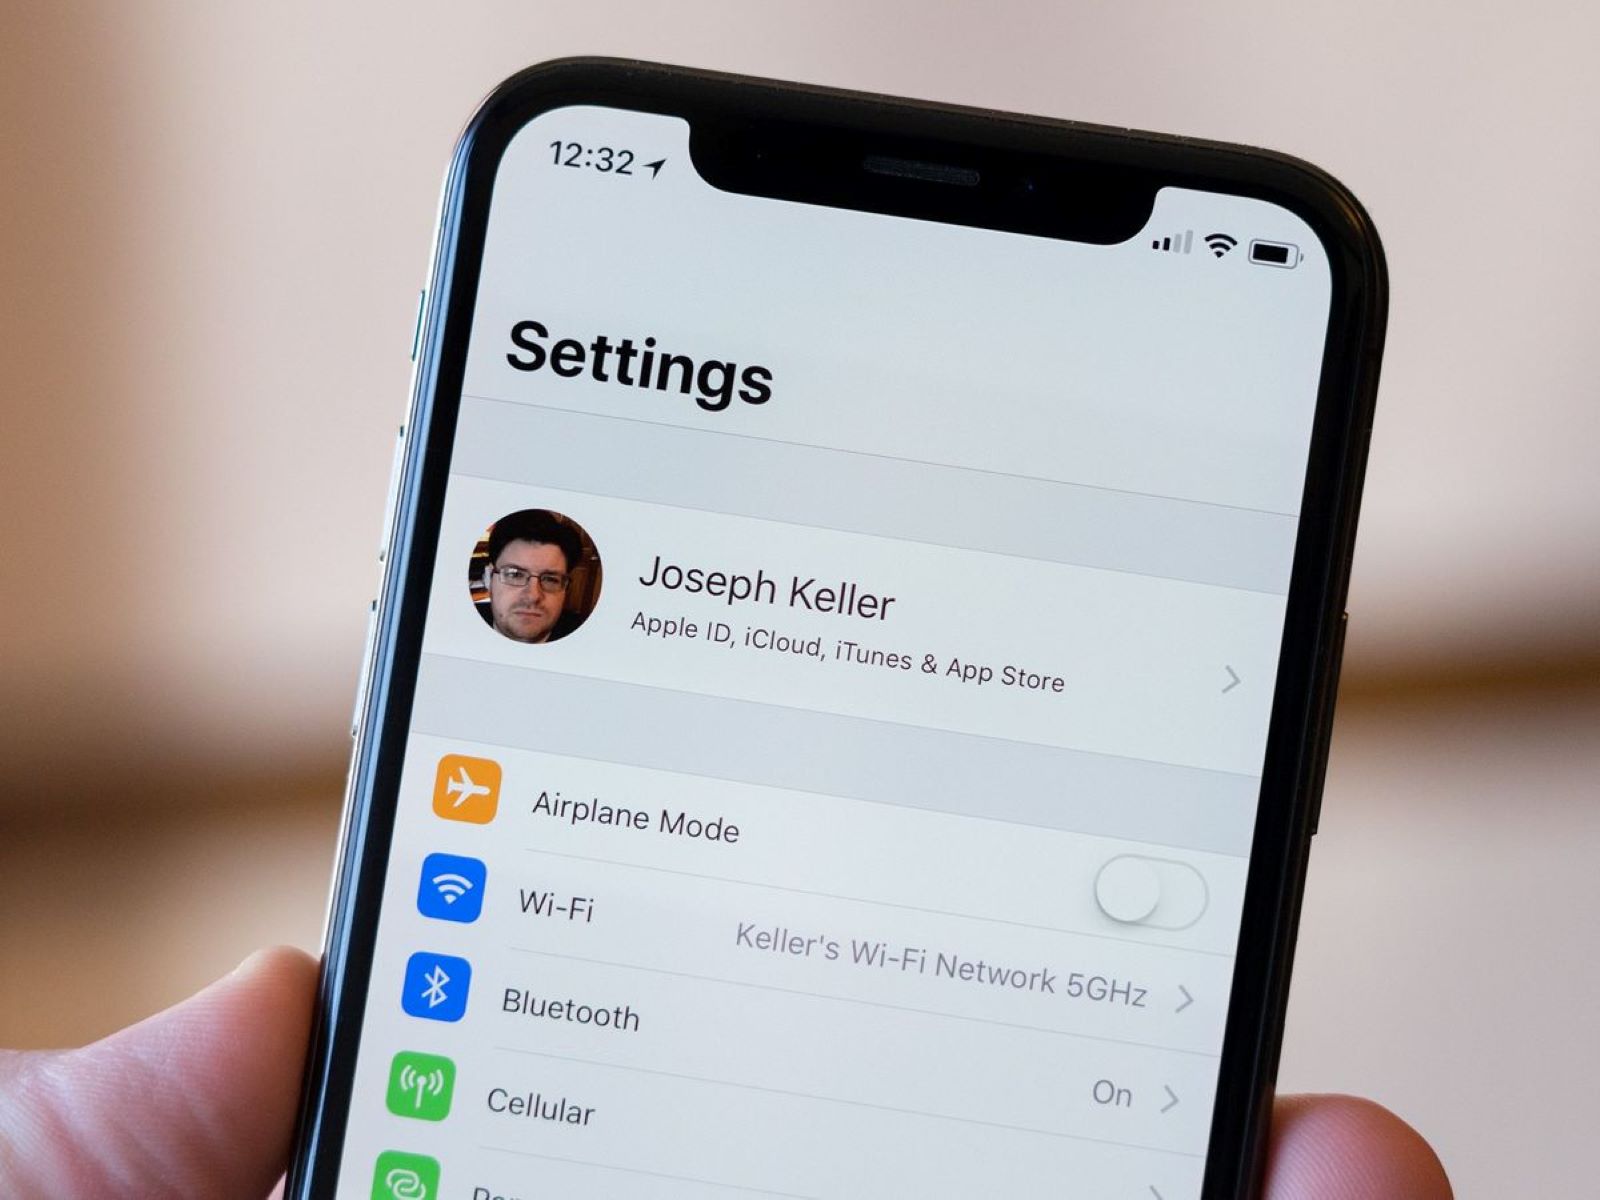
Please note that if you’re using an iOS device such as an iPhone or iPad, you can access your iCloud settings directly from your device settings. Simply go to “Settings,” tap on your name at the top, then select “iCloud” and enter your Apple ID password when prompted. From there, you can access your iCloud settings and continue with the email change process.
Step 2: Changing your iCloud email
Now that you have accessed your iCloud settings, you can proceed with changing your email address. Follow these steps:
- In the iCloud settings, locate the “Account Details” or “Apple ID” section. This is where you can manage your Apple ID information.
- Click on the option to change your email address. It may be labeled as “Change Email Address” or “Edit Email Address.
- Enter the new email address that you want to use for your iCloud account. Make sure to double-check for any spelling errors.
- If prompted, provide any additional information or verification required to complete the email change process.
- Review the terms and conditions, if applicable, and consent to the email address change.
Once you have completed these steps, your new email address will be associated with your iCloud account. However, it is important to note that your Apple ID will remain the same, as it is tied to various services and purchases.
Changing your iCloud email will not affect your iCloud storage, data, or other Apple services. It only updates the email address through which you receive iCloud-related communications.
While the process of changing your iCloud email is straightforward, it is crucial to remember that certain limitations or restrictions may apply based on your Apple ID and the email address you wish to use. If you encounter any issues during this step, make sure to follow any on-screen instructions or contact Apple support for further assistance.
Step 3: Updating your Apple ID and password
After changing your iCloud email, it’s important to update your Apple ID and password to reflect the changes you have made. Follow these steps to update your Apple ID information:
- Go to the iCloud settings, just like you did in Step 1, by signing in to your iCloud account and accessing the settings page.
- Look for the “Password & Security” or “Apple ID” section. This is where you can manage your Apple ID and password.
- Click on the option to change your Apple ID or password. It may be labeled as “Change Apple ID,” “Edit Apple ID,” or “Change Password.”
- Enter your current Apple ID and password to authenticate your identity.
- Proceed to update your Apple ID by entering the new email address you have chosen.
- If you wish to update your password as well, follow the prompts to create a new secure password. Make sure to choose a strong password that includes a combination of letters, numbers, and special characters.
- Confirm the changes and save your updated Apple ID and password.
By completing these steps, your Apple ID and password will now be updated to reflect the changes you have made to your iCloud email. This ensures that you can continue to access your Apple services and devices seamlessly.
Remember to keep your Apple ID and password secure and avoid sharing them with anyone. Regularly updating your password is a good practice to help protect your account from unauthorized access.
Step 4: Verifying the new email address
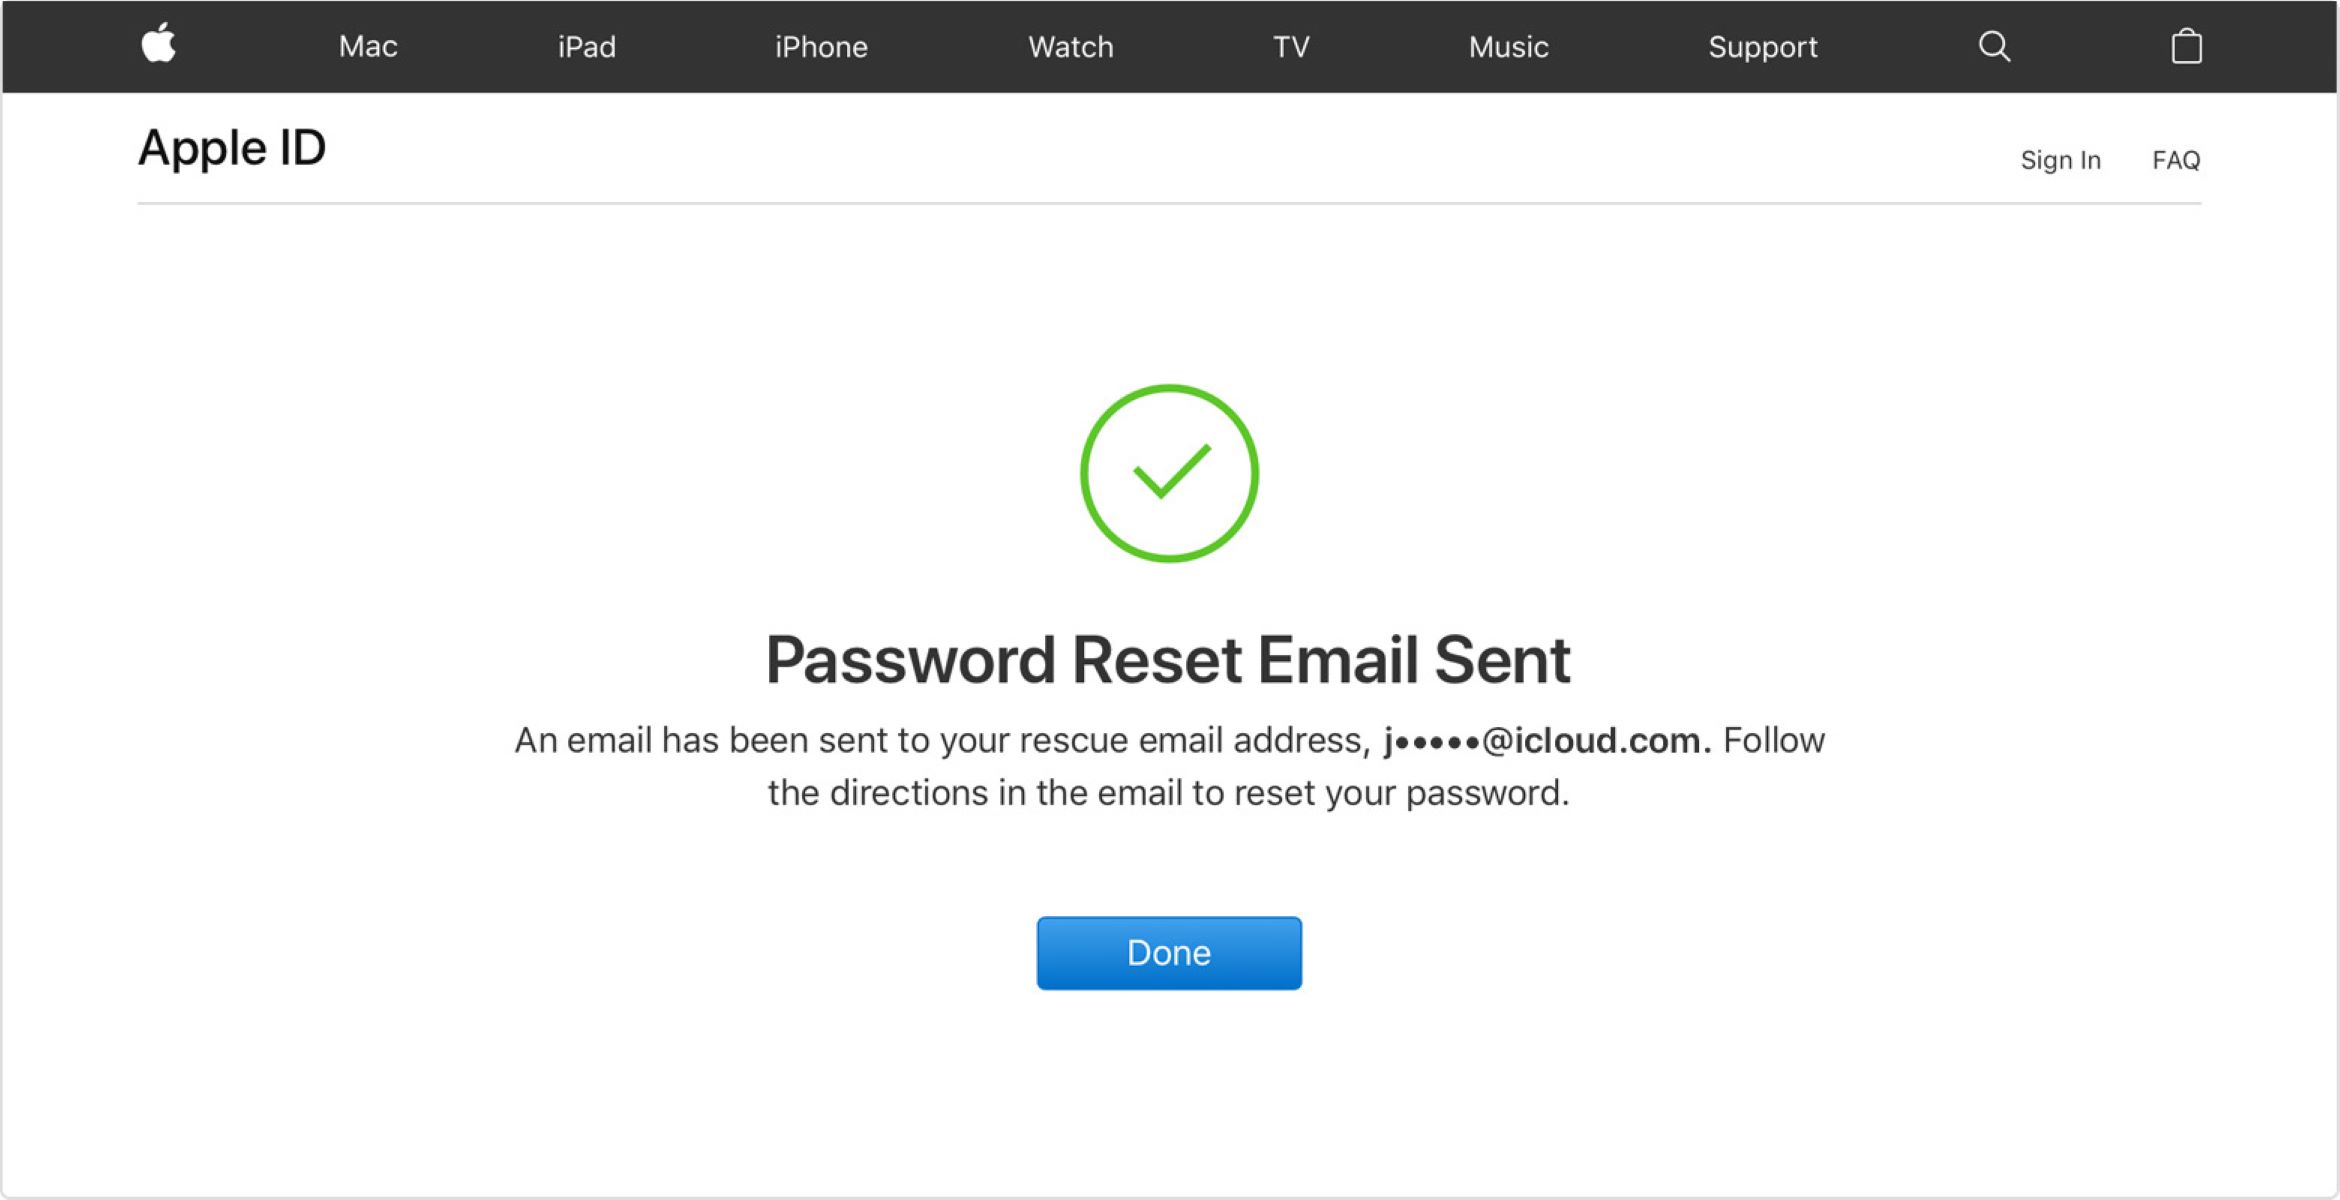
After changing your email address associated with your iCloud account, it is essential to verify the new email address to ensure it is valid and that you have access to it. Follow these steps to verify your new email address:
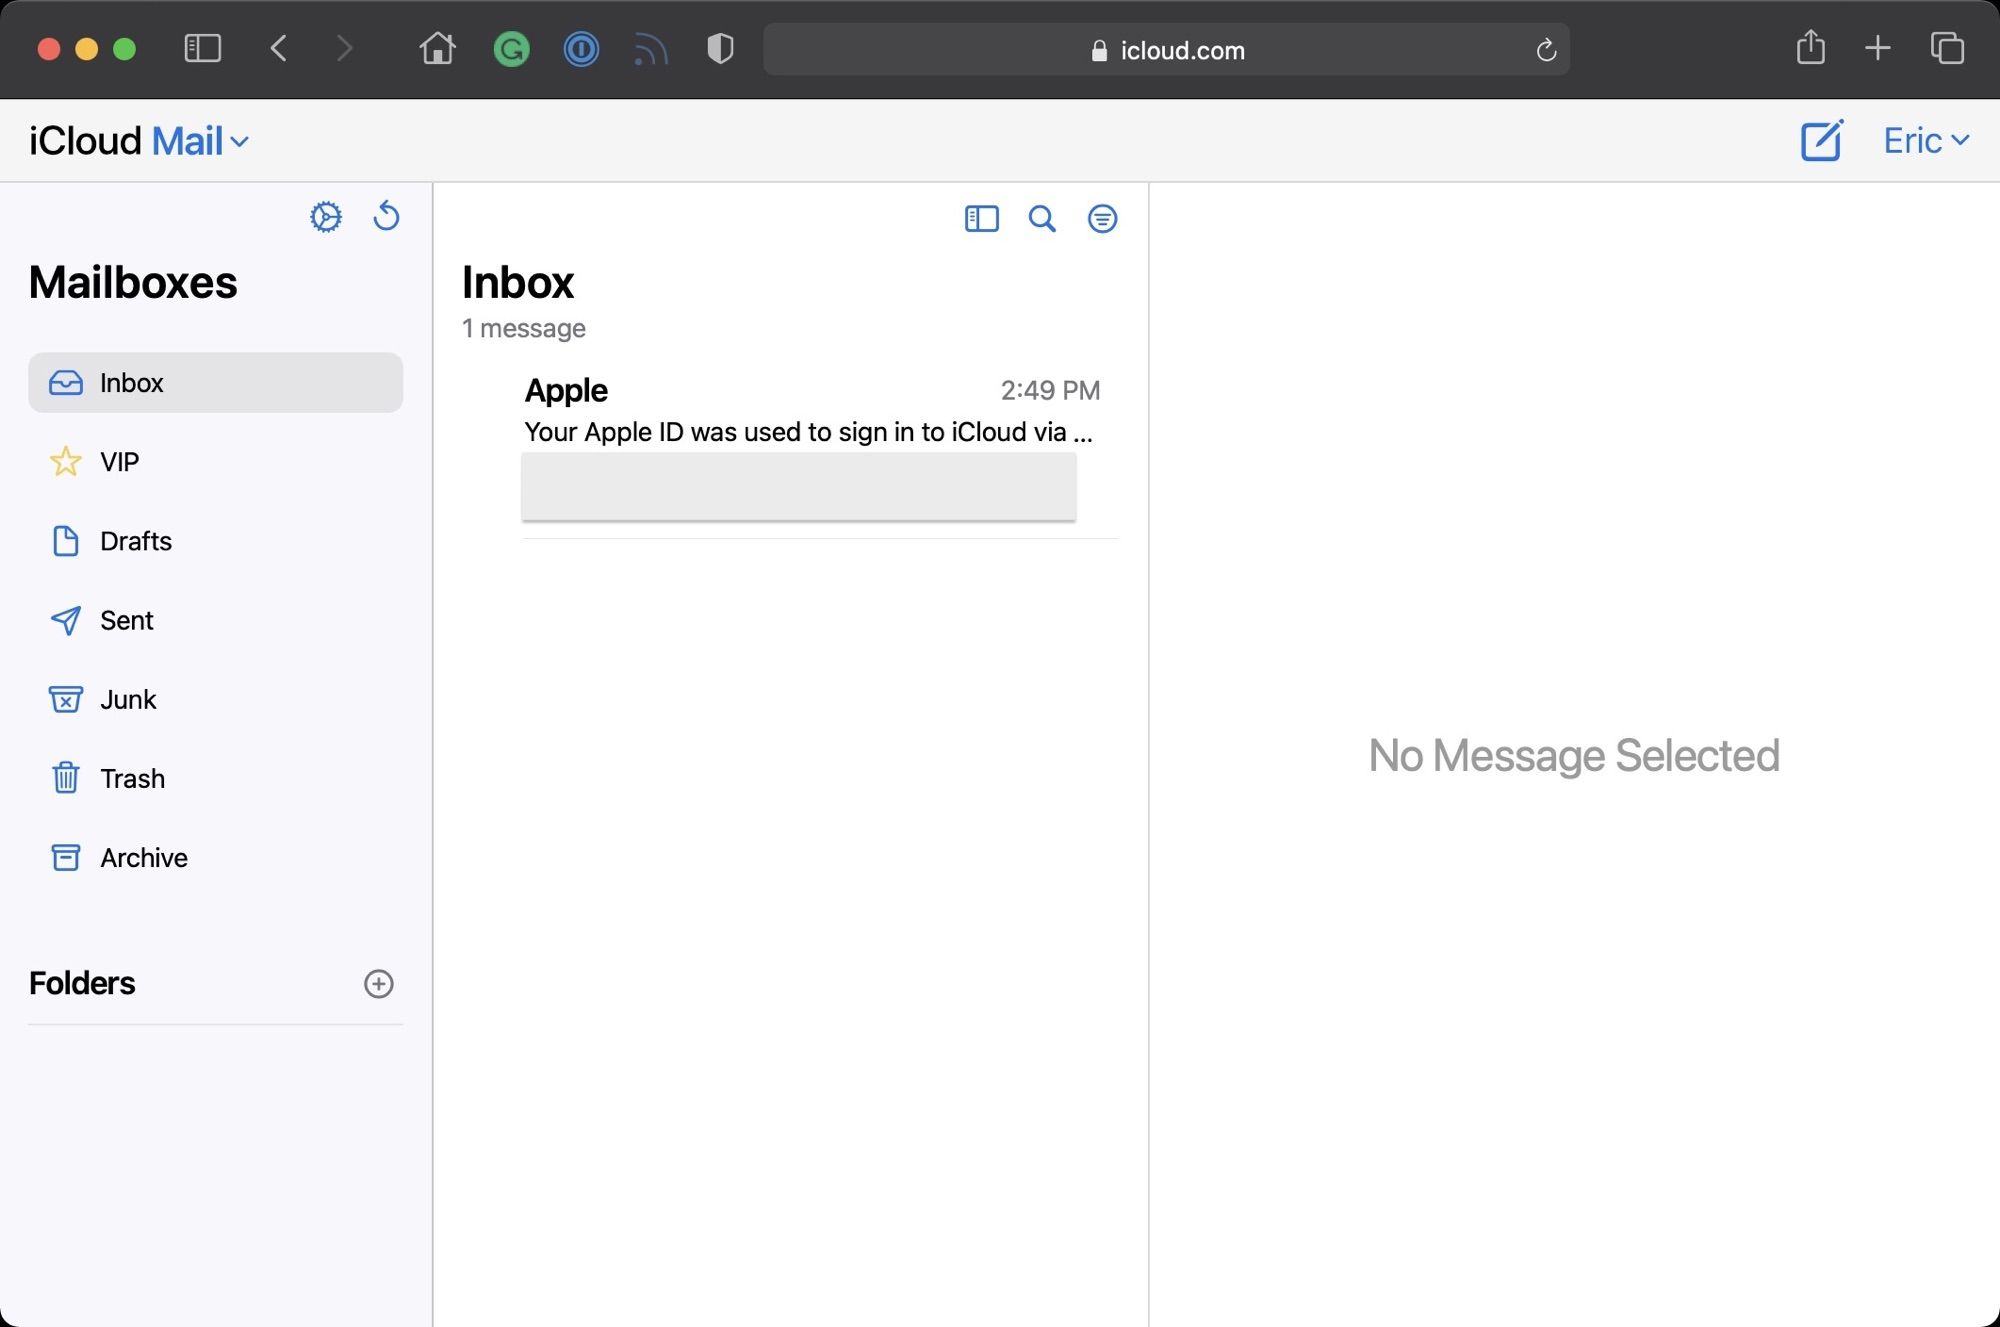
- Check your inbox of the new email address you have provided for a verification email from Apple.
- Open the email and look for a verification link or code provided by Apple.
- Click on the verification link or enter the provided code to confirm that you have access to the new email address.
- If you cannot find the verification email in your inbox, check your spam or junk folder as it may have been filtered there.
- If you still cannot locate the verification email, you may have entered the email address incorrectly during the email change process. In that case, revisit the iCloud settings and update your email address again.
- If you need to resend the verification email, you can do so by going to your iCloud settings and locating the option to resend the verification email.
Verifying your new email address is crucial as it helps to confirm that you are the legitimate owner of the email account and have control over it. This step ensures the overall security of your iCloud account.
Once you have successfully verified your new email address, you can proceed to the next step to ensure that your email settings are updated on your devices.
Step 5: Updating email settings on your devices
Now that you have changed your iCloud email address and verified it, it’s important to update the email settings on your devices to ensure a seamless email experience. Follow these steps to update the email settings on various devices:
- On iPhone or iPad:
- Go to “Settings” on your device.
- Tap on your name at the top to access your Apple ID settings.
- Select “iCloud” and then tap on your email address.
- Update the email address to your newly changed iCloud email.
- On Mac:
- Click on the Apple menu and select “System Preferences.”
- Choose “Apple ID” and then click on “iCloud” in the left sidebar.
- Select your previous email address and update it to your new iCloud email.
- On Windows:
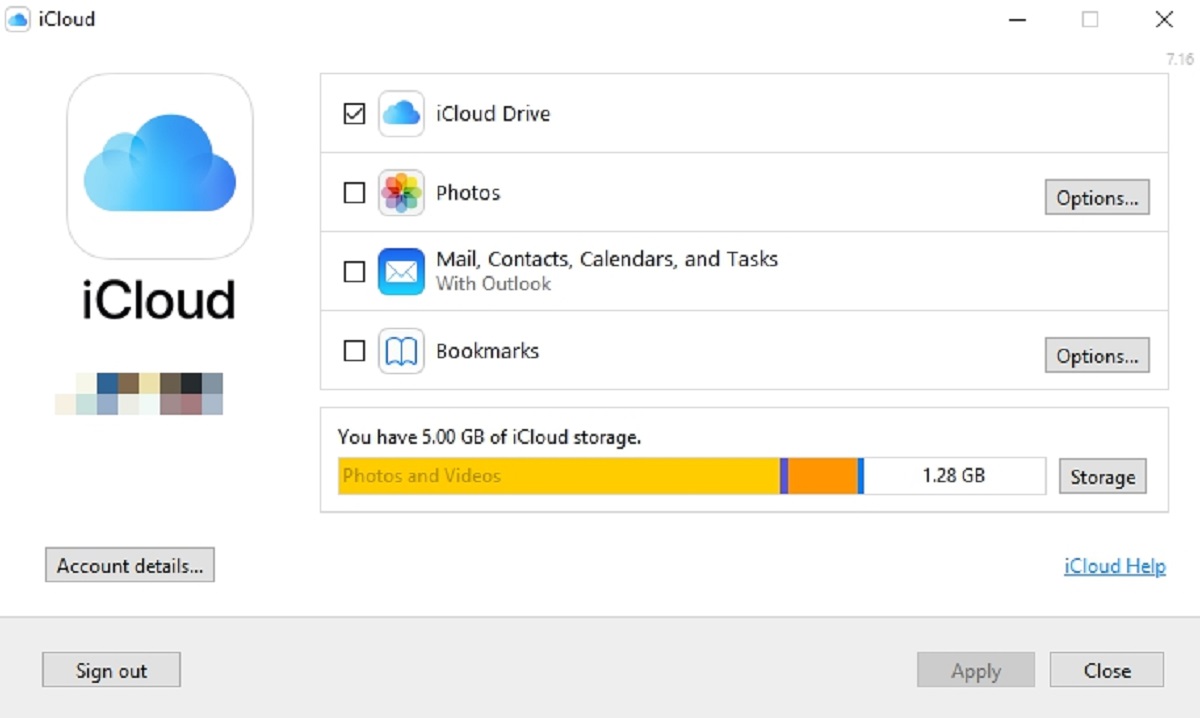
- Open the iCloud app on your Windows computer.
- Click on the “Mail” checkbox to enable it.
- Click on “Apply” to save the changes.
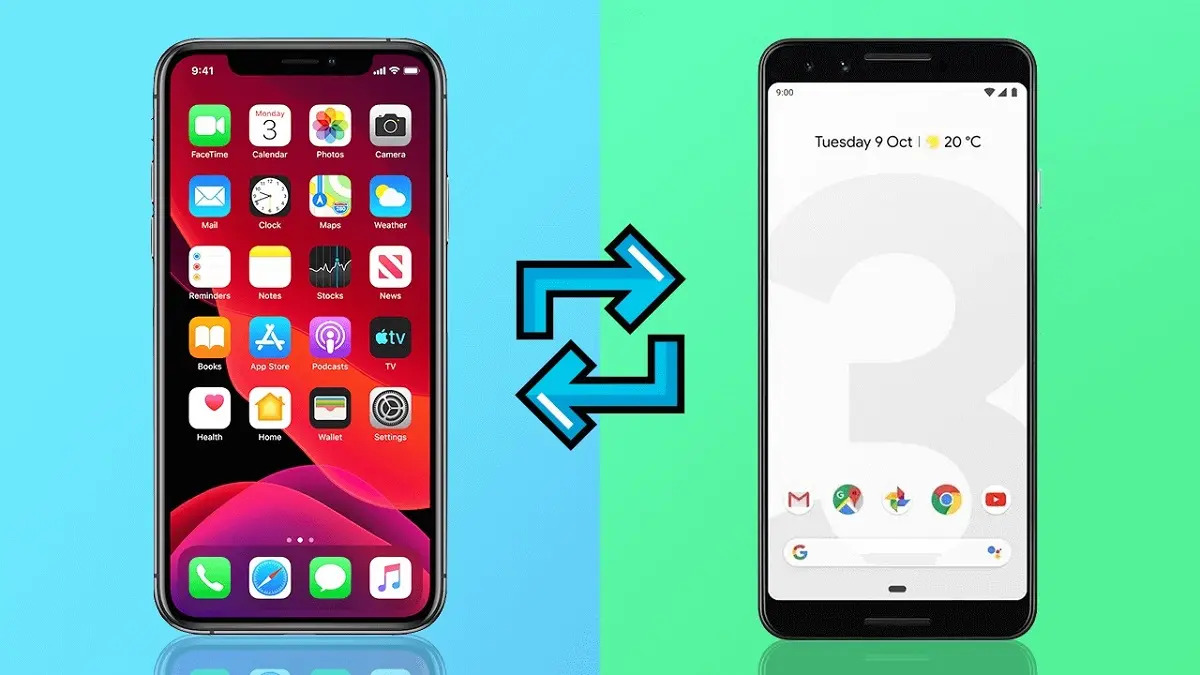
- On Android or other non-Apple devices:
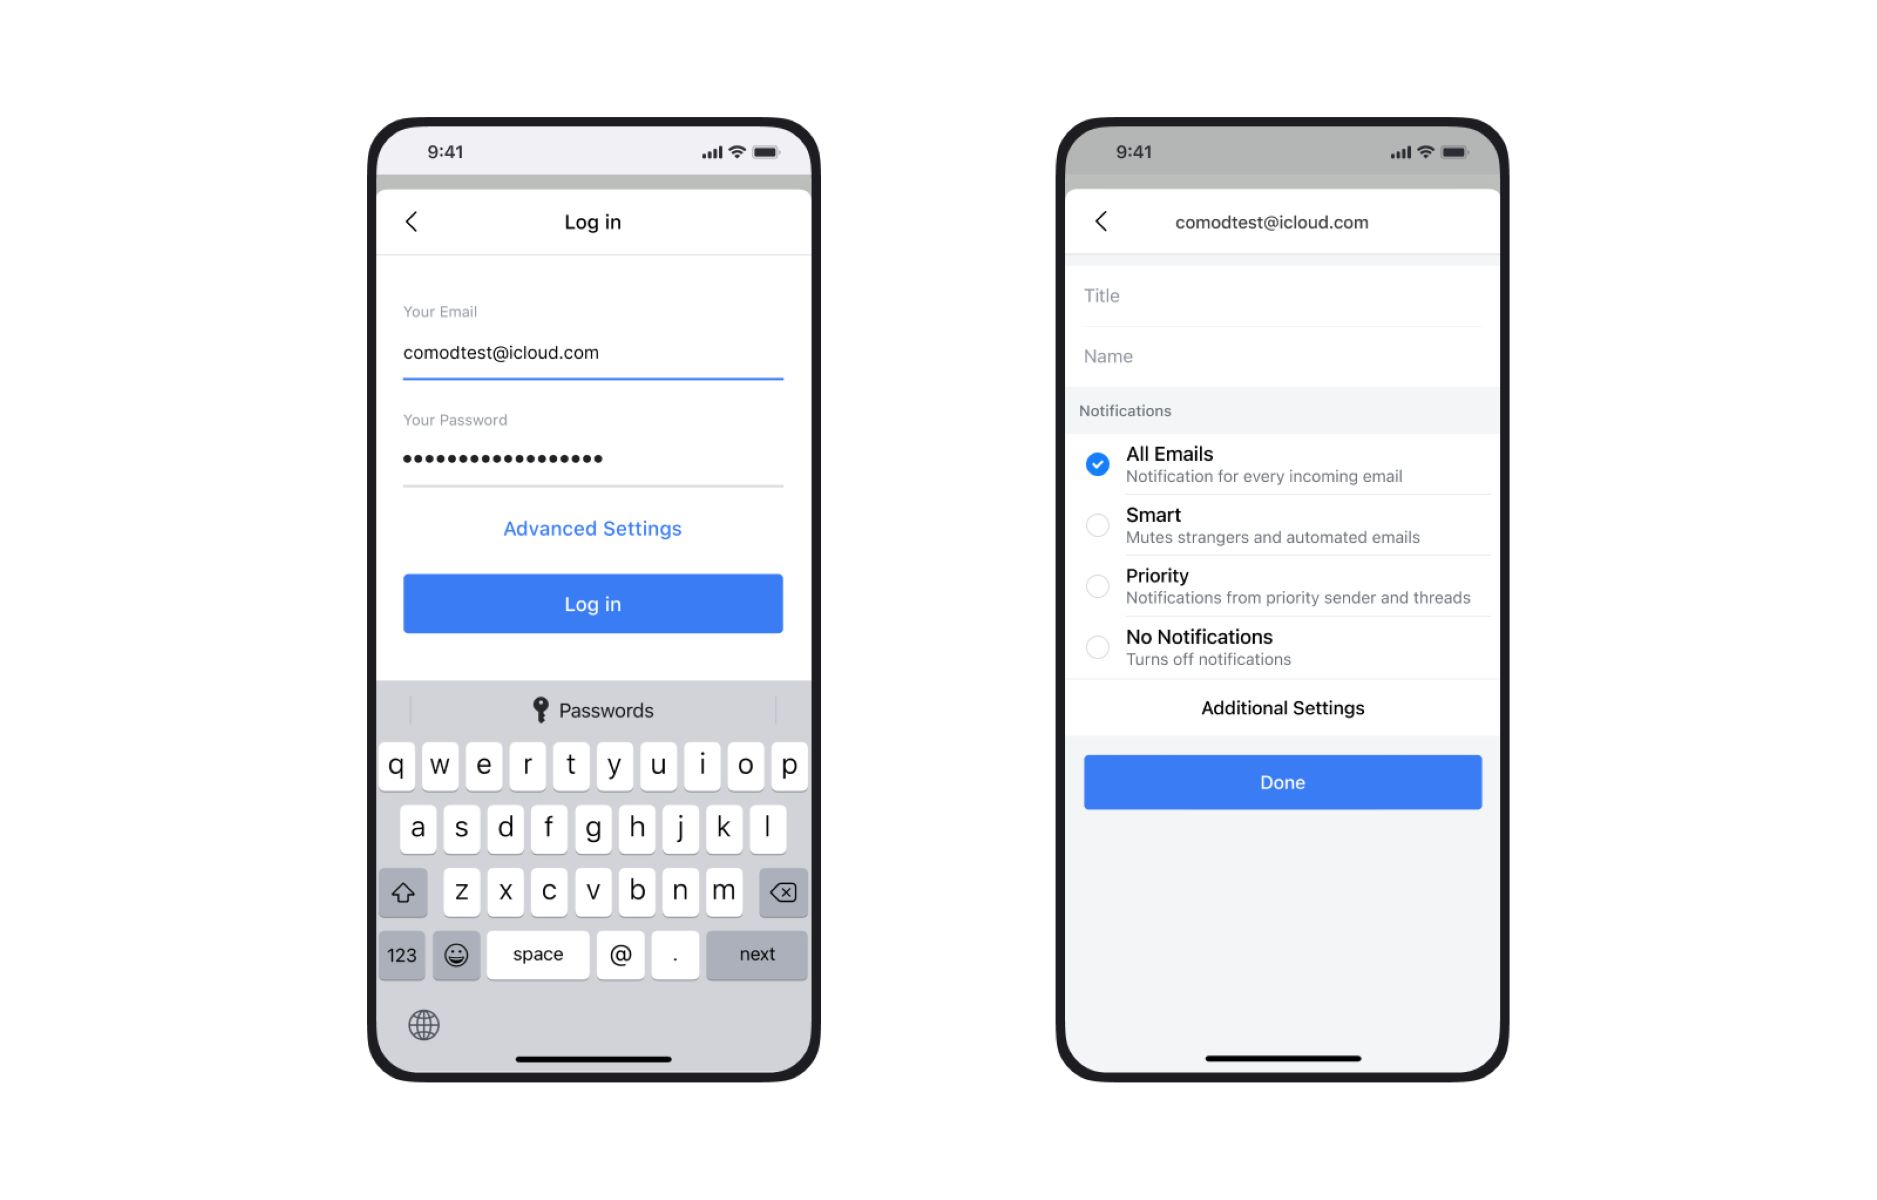
- Open the email app settings on your device.
- Locate your iCloud email account and update the email address to your new iCloud email.
- On other Apple devices:
- Access the email settings on the respective device.
- Find the section where your email accounts are listed.
- Select your iCloud email account and update the email address to your new iCloud email.
Make sure to save the changes after updating your email settings on each device. By doing so, you will ensure that your devices are synchronized and that you can send and receive emails using your new iCloud email address without any interruptions.
Remember to update your email address in any other email clients or apps you use, as well as in your contacts and any subscriptions or online accounts associated with your previous email address. This will help ensure that all correspondence continues to reach you through your new email address.
Conclusion
Congratulations! You have successfully changed your iCloud email address. By following the steps outlined in this guide, you were able to access your iCloud settings, change your email address, update your Apple ID and password, verify the new email address, and update email settings on your devices.
Changing your iCloud email allows you to use a new email address for your iCloud account while retaining your Apple ID and associated services. It provides a fresh start and allows you to consolidate your online presence or switch to a more professional email address.
Remember, after changing your email address, it is essential to update your Apple ID and password to reflect the changes. This ensures that you can continue to access your Apple services and devices seamlessly.
Furthermore, verifying your new email address is crucial for security purposes. It confirms that you have control over the email account and prevents unauthorized access to your iCloud account.
Lastly, don’t forget to update your email settings on all of your devices to ensure that you can send and receive emails using your new iCloud email address without any interruptions. Also, notify your contacts and update your new email address with any relevant accounts or subscriptions to ensure a smooth transition.
By completing these steps, you have successfully changed your iCloud email and are ready to continue using your Apple services with your new email address. Enjoy the enhanced functionality and convenience that comes with a personalized and updated iCloud email.


