Introduction
Welcome to the world of iCloud, where you can create your own personalized email address to stay connected with your Apple devices and services. With an iCloud email address, you can easily send and receive emails, access your files, and enjoy the convenience of syncing your data across all your Apple devices. Whether you’re a long-time Apple user or new to the ecosystem, creating an iCloud email is a simple and straightforward process that can be done in just a few steps.
In this article, we will guide you through the process of creating your own iCloud email address. By following these steps, you will be able to set up an email account that is directly linked to your Apple ID, providing you with a seamless and integrated experience across all your Apple devices.
Before we dive into the steps, it’s important to note that having an Apple ID is a prerequisite for creating an iCloud email address. If you already have an Apple ID, you’re one step closer to setting up your iCloud email. If not, don’t worry! We’ll walk you through the process of creating one as well.
So, whether you’re looking to create a new iCloud email address or link an existing email address to your Apple ID, let’s get started on the journey of seamless communication and enhanced productivity with iCloud.
Step 1: Visit the Apple ID website
The first step in creating your iCloud email address is to visit the Apple ID website. The Apple ID is your unique identifier that grants you access to various Apple services, including iCloud. To begin the process, open your preferred web browser and navigate to the Apple ID website by entering the URL: https://appleid.apple.com.
Once you’re on the Apple ID website, you will be greeted with a simple and user-friendly interface. This is where you can manage your Apple ID and associated services. If you already have an Apple ID, go ahead and sign in using your existing credentials. If you don’t have an Apple ID, don’t worry! We’ll guide you through the process of creating one in the next steps.
Creating an Apple ID is free and only requires a few basic details to get started. It’s important to provide accurate information during the sign-up process in order to ensure the security and privacy of your account. Rest assured that Apple takes the protection of your personal information seriously, so you can create your Apple ID with confidence.
Once you’ve signed in to the Apple ID website or created a new account, you’re ready to move on to the next step in creating your iCloud email address. By following these simple steps, you’ll soon have your own customized iCloud email that seamlessly integrates with all your Apple devices and services.
Step 2: Click on “Create Your Apple ID”
After signing in to the Apple ID website, you will be presented with a dashboard that allows you to manage your account settings. Look for the option that says “Create Your Apple ID” and click on it. This will initiate the process of creating your iCloud email address.
Clicking on “Create Your Apple ID” will take you to a new page where you will be asked to enter some basic information to set up your account. The information required includes your name, date of birth, email address, and password. It’s important to choose a strong and unique password to ensure the security of your account.
In addition to the required fields, you will also have the option to provide a rescue email address. This is an alternative email address that can be used to recover your account in case you ever forget your password. While it’s not mandatory to provide a rescue email address, it is highly recommended for added security and peace of mind.
Once you have filled in all the necessary information, carefully review the terms and conditions presented to you. Make sure you understand and agree to the terms before proceeding. If you have any questions or concerns, Apple provides detailed information about their terms of service that you can access and review if needed.
Finally, click on the “Continue” button to proceed to the next step in creating your Apple ID and iCloud email address. You’re one step closer to accessing the full range of benefits and features that iCloud has to offer.
Step 3: Fill out the required information
Now that you have clicked on “Create Your Apple ID,” you will be directed to a page where you need to provide the required information to set up your iCloud email address. This step is crucial in creating a personalized and secure account.
The first piece of information you’ll need to provide is your first and last name. Make sure to enter your name accurately, as it will be associated with your Apple ID and iCloud email address. Double-check for any typos or mistakes before moving on.
Next, you will need to enter your birth date. This information is used for age verification and to ensure that you meet the minimum age requirement for creating an Apple ID. Select the day, month, and year from the drop-down menus to provide your correct birthdate.
After entering your name and birthdate, you will be prompted to enter an email address. You have two options here: you can either choose to use an existing email address or create a new iCloud email address. If you decide to create a new iCloud email, simply enter the desired email prefix in the designated field, followed by “@icloud.com”. Apple will check the availability of the email address in real-time and show you if it’s already in use.
If you prefer to use an existing email address, enter it in the provided field. Please note that using an existing email address will not give you all the benefits of having an iCloud email, such as seamless synchronization across your devices and access to iCloud-specific features.
Lastly, you will need to choose a strong and secure password for your Apple ID. It’s important to create a unique password that includes a combination of uppercase and lowercase letters, numbers, and special characters. Avoid using common or easily guessable passwords to ensure the security of your account.
Once you have filled out all the required information, review it carefully to make sure everything is accurate. Take a moment to double-check the spelling of your name, the correctness of your birthdate, and the validity of the email address. Once you’re confident that everything is correct, click on the “Continue” button to proceed to the next step.
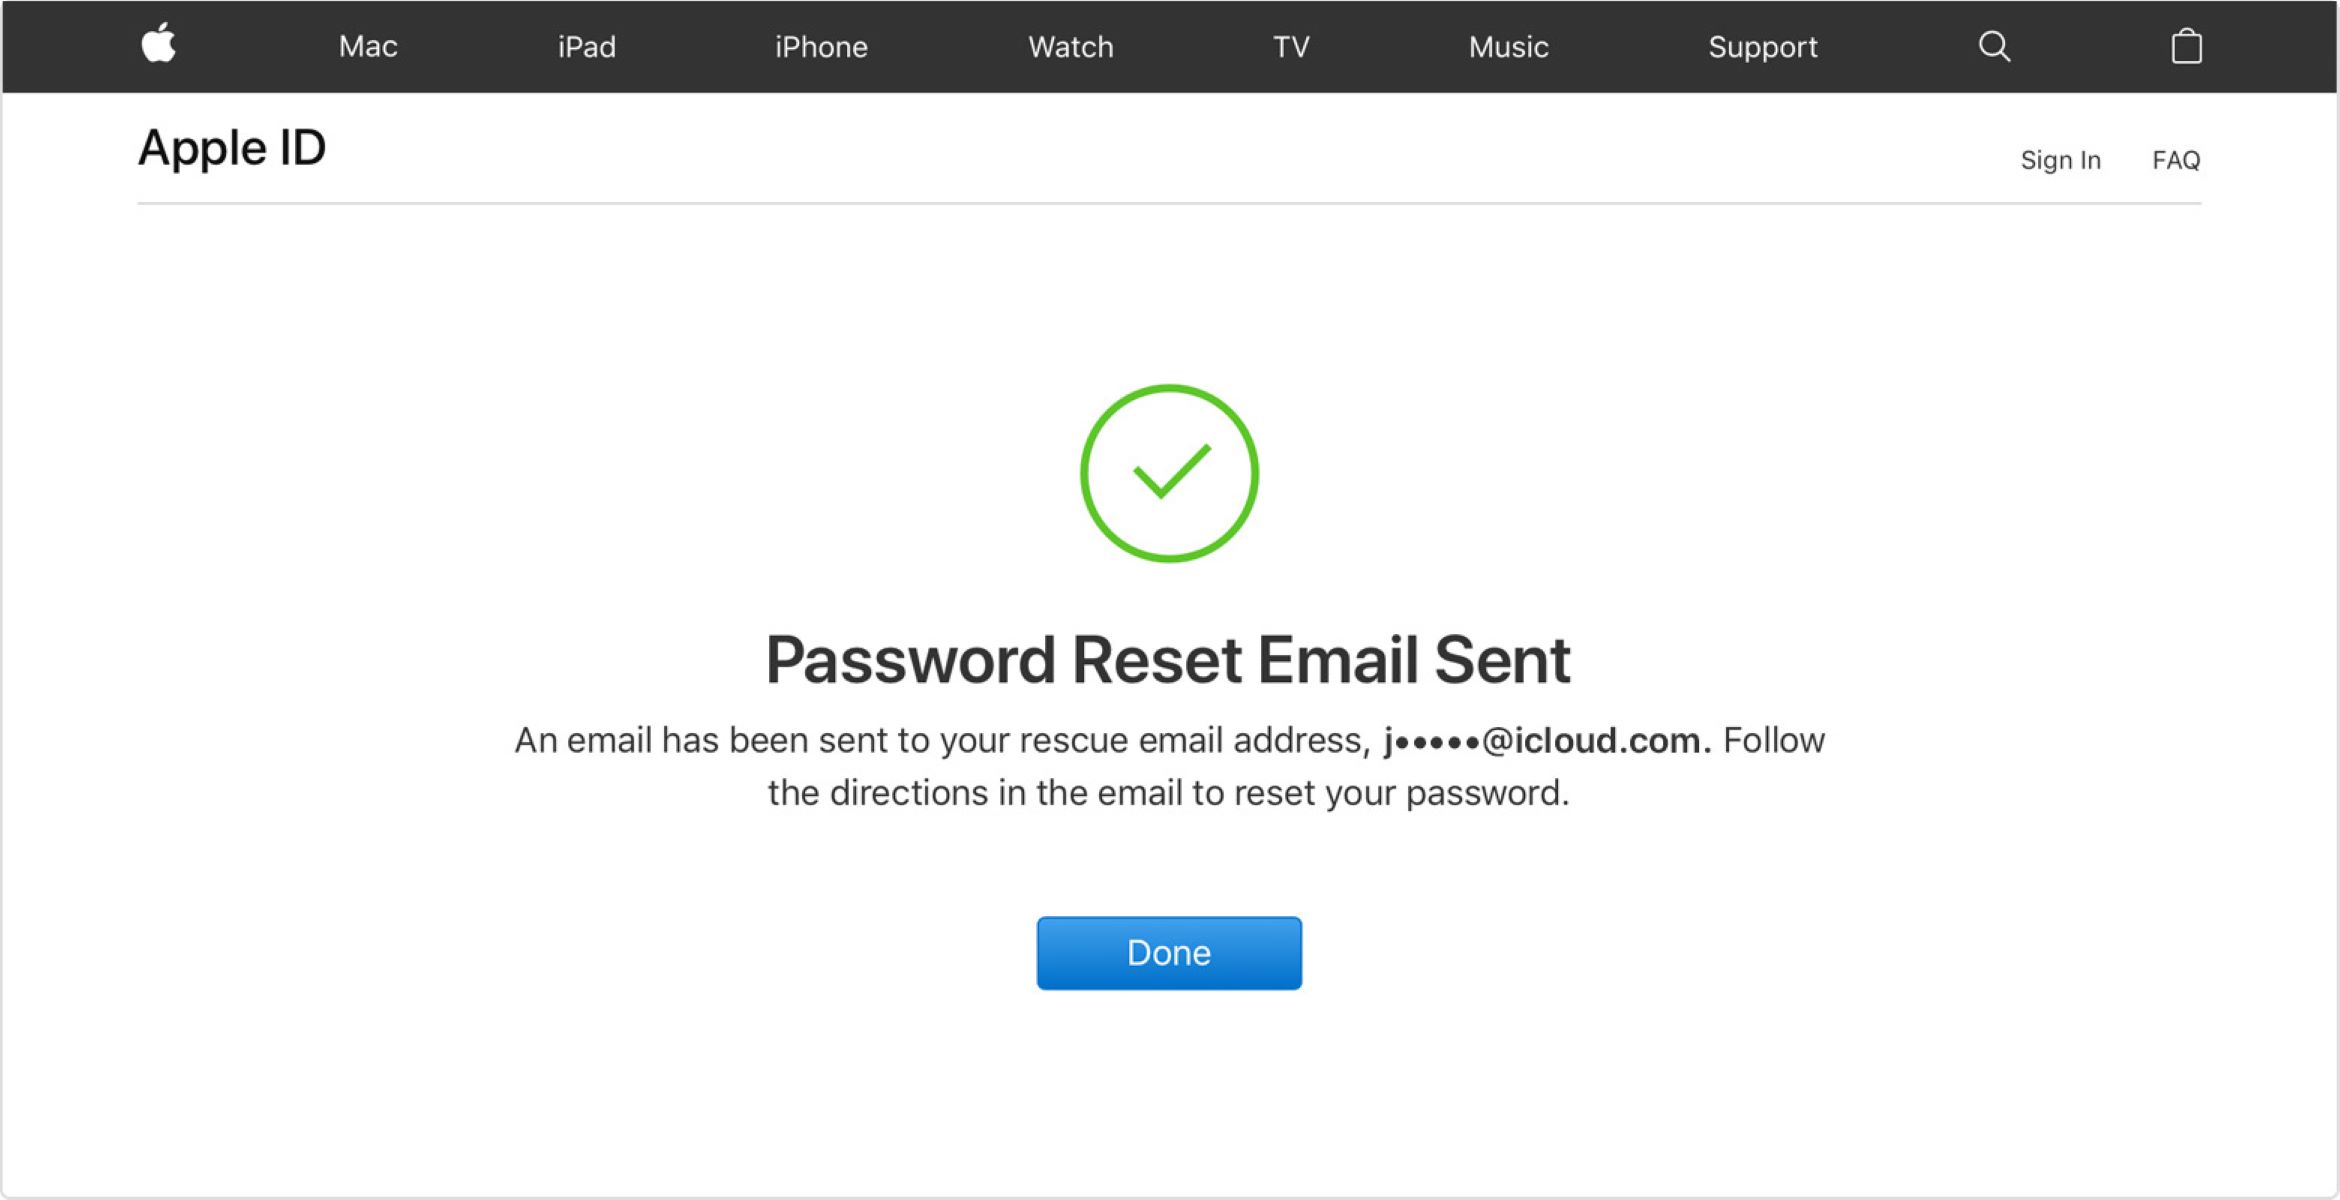
Step 4: Verify your email address
After filling out the required information, you will need to verify the email address associated with your Apple ID. Verification is an important step to ensure that the email address you provided is valid and belongs to you.
Once you have clicked on the “Continue” button, a verification email will be sent to the email address you provided. Check your inbox and look for an email from Apple with the subject line “Verify your email address.” If you don’t see the email in your inbox, make sure to check your spam or junk folder.
Open the email and click on the verification link provided. This link will redirect you to a webpage where your email address will be confirmed. It’s important to click on the verification link within a certain timeframe as the link may expire after a period of time.
After clicking the verification link, you will be redirected to a confirmation page that confirms the successful verification of your email address. This step ensures that the email address you provided is valid and can be used for communication and account recovery purposes.
If, for any reason, you did not receive the verification email or encountered any issues during the verification process, you may have the option to resend the verification email. Look for a link or button that says “Resend Verification Email” or a similar option. Click on it and check your email again for the verification email.
If you are still having trouble receiving the verification email, double-check that you provided the correct email address during the sign-up process. Alternatively, you may need to check with your email provider to ensure that emails from Apple are not being blocked or flagged as spam.
Once you have successfully verified your email address, you can proceed to the next step in creating your iCloud email address. This verification step adds an extra layer of security and ensures that your Apple ID is associated with a valid and accessible email account.
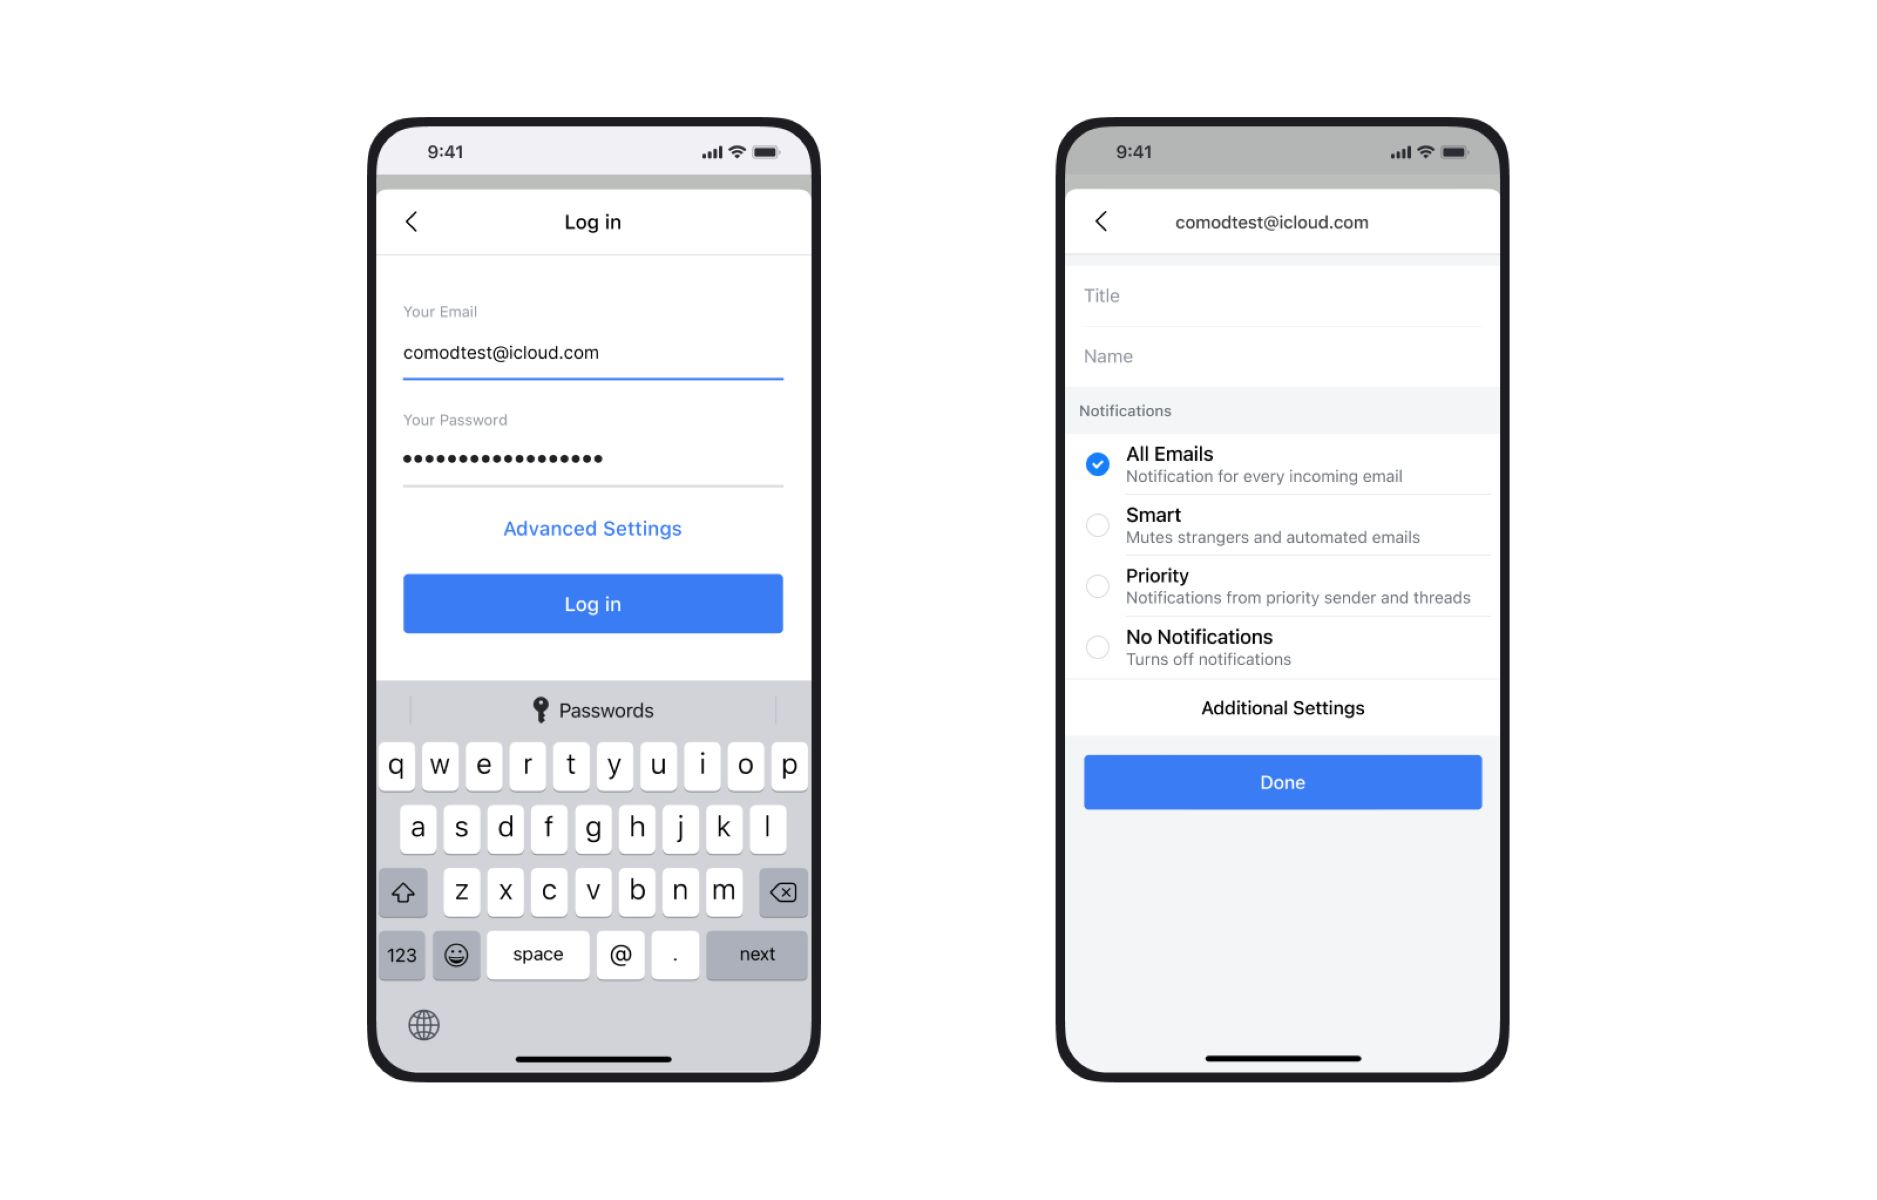
Step 5: Set up your iCloud email address
After successfully verifying your email address, it’s time to set up your iCloud email address. This step allows you to customize your email address and make it uniquely yours.
Once you have completed the verification process, you will be prompted to set up your iCloud email address. You have the option to either use the existing email address you provided during the sign-up process or create a new iCloud email address.
If you choose to use the existing email address, your Apple ID and iCloud services will be associated with that email. However, keep in mind that using an iCloud email address offers additional features and benefits, such as seamless integration with your Apple devices and access to iCloud-specific apps and services.
If you decide to create a new iCloud email address, you will be prompted to choose a unique email ID. Enter your preferred email ID prefix and select the domain “@icloud.com” from the drop-down menu. Apple will check the availability of the email address, and if it’s available, you can proceed with the creation of your new iCloud email.
Once you have chosen your email address, you may be asked to create security questions or enable two-factor authentication to further enhance the security of your iCloud account. These additional security measures help protect your account from unauthorized access and ensure that your personal information remains secure.
Take a moment to carefully review the email address you have chosen and ensure it aligns with your preferences and needs. Remember, your email address will be your unique identifier for iCloud and will be used for communication and account-related information.
Once you have set up your iCloud email address, you’re ready to move on to the next step and start exploring the various features and capabilities of iCloud. Whether it’s syncing your contacts and calendars, storing files in iCloud Drive, or accessing your email across all your Apple devices, your iCloud email address will be the key to a seamless and integrated Apple ecosystem experience.
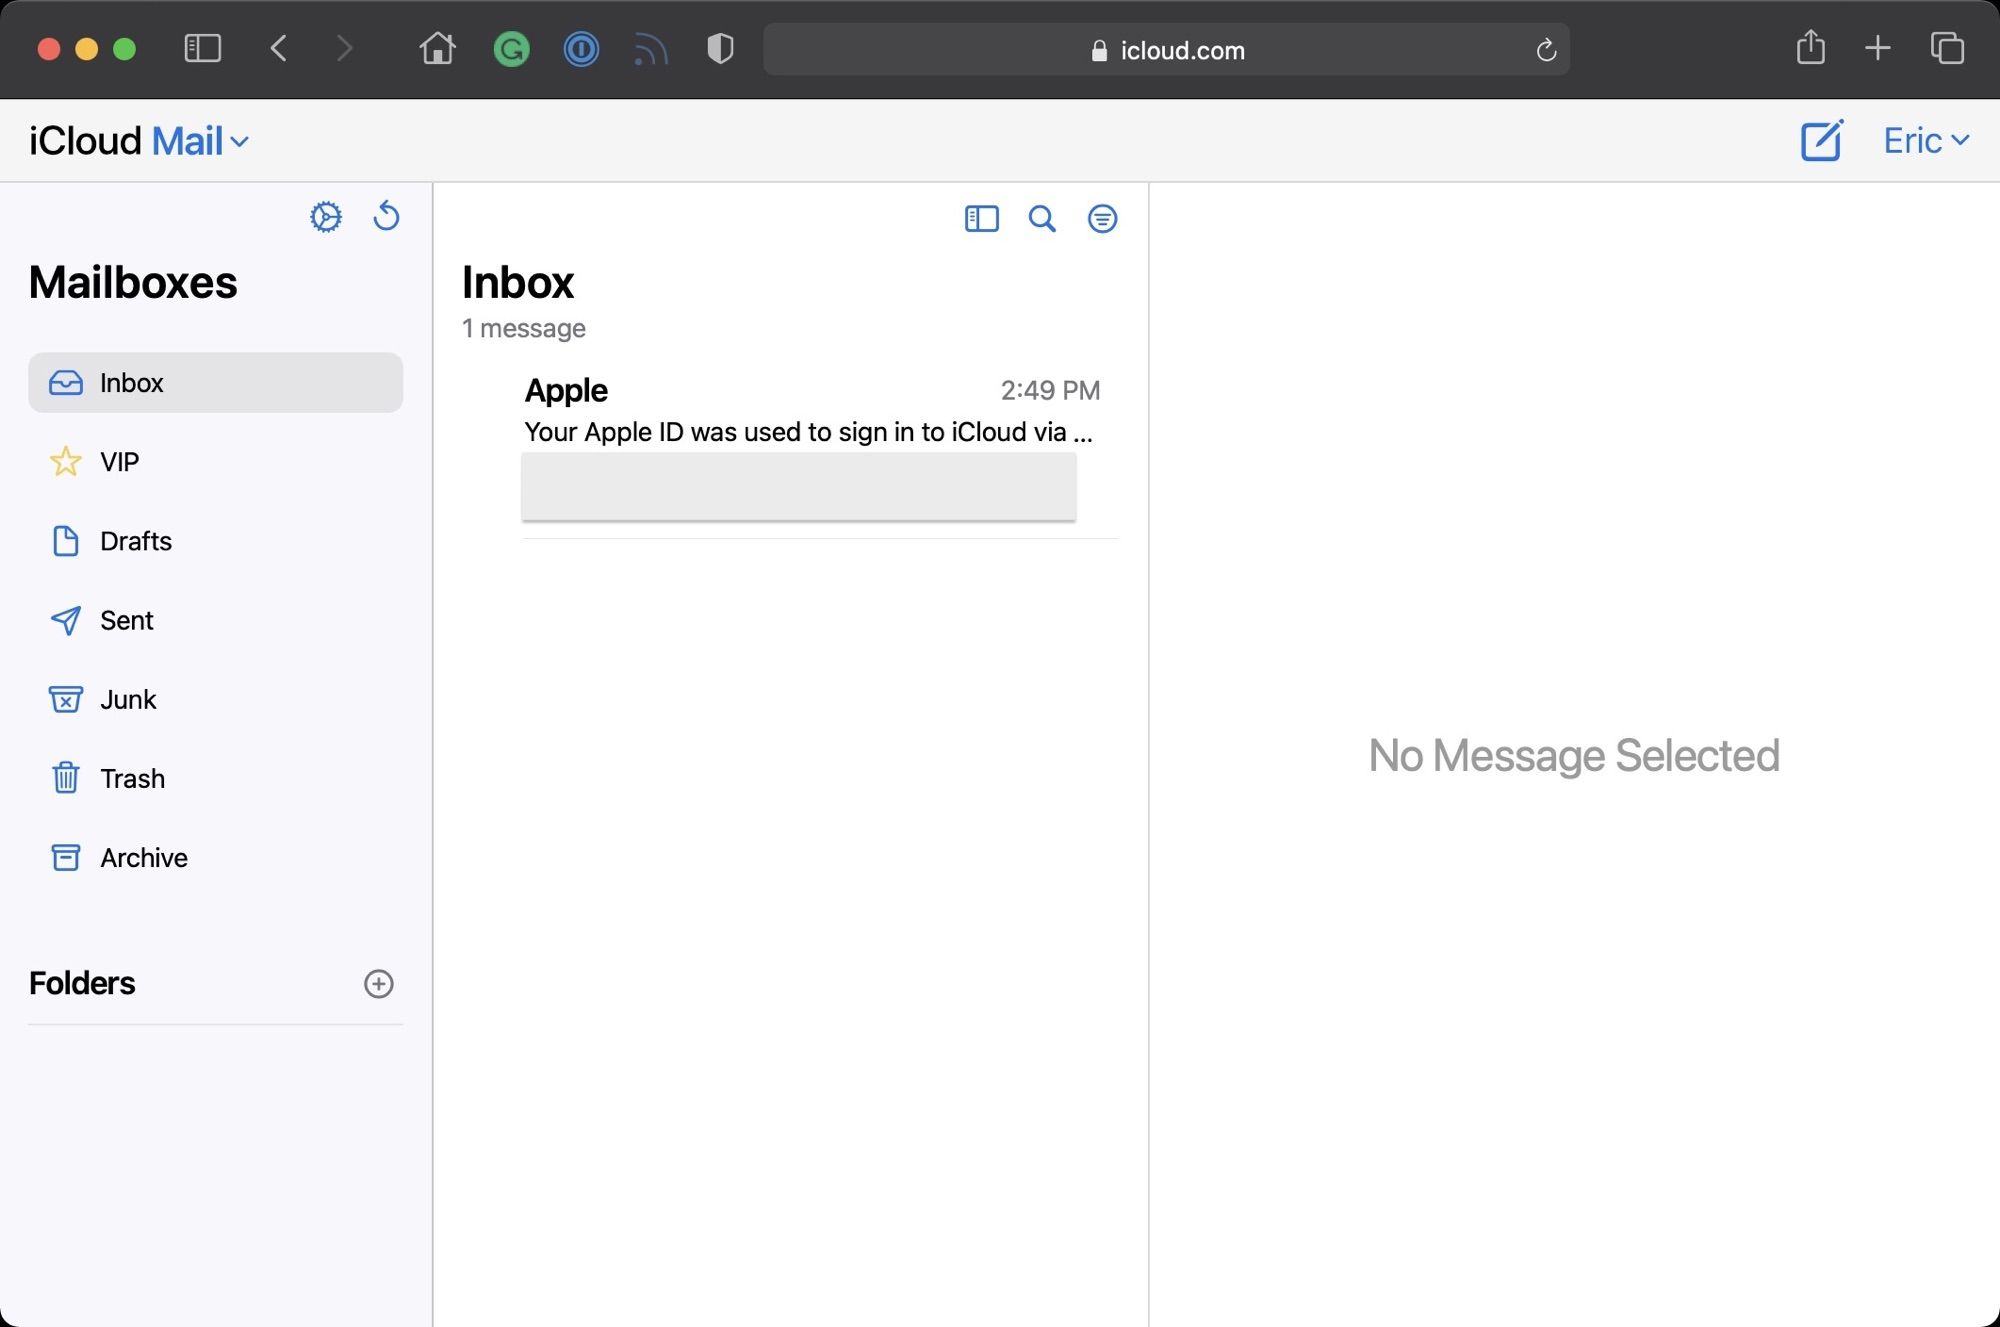
Step 6: Access your iCloud email
Now that you have successfully set up your iCloud email address, it’s time to start using it and accessing your emails. With iCloud, you can easily access your email from any Apple device or through a web browser.
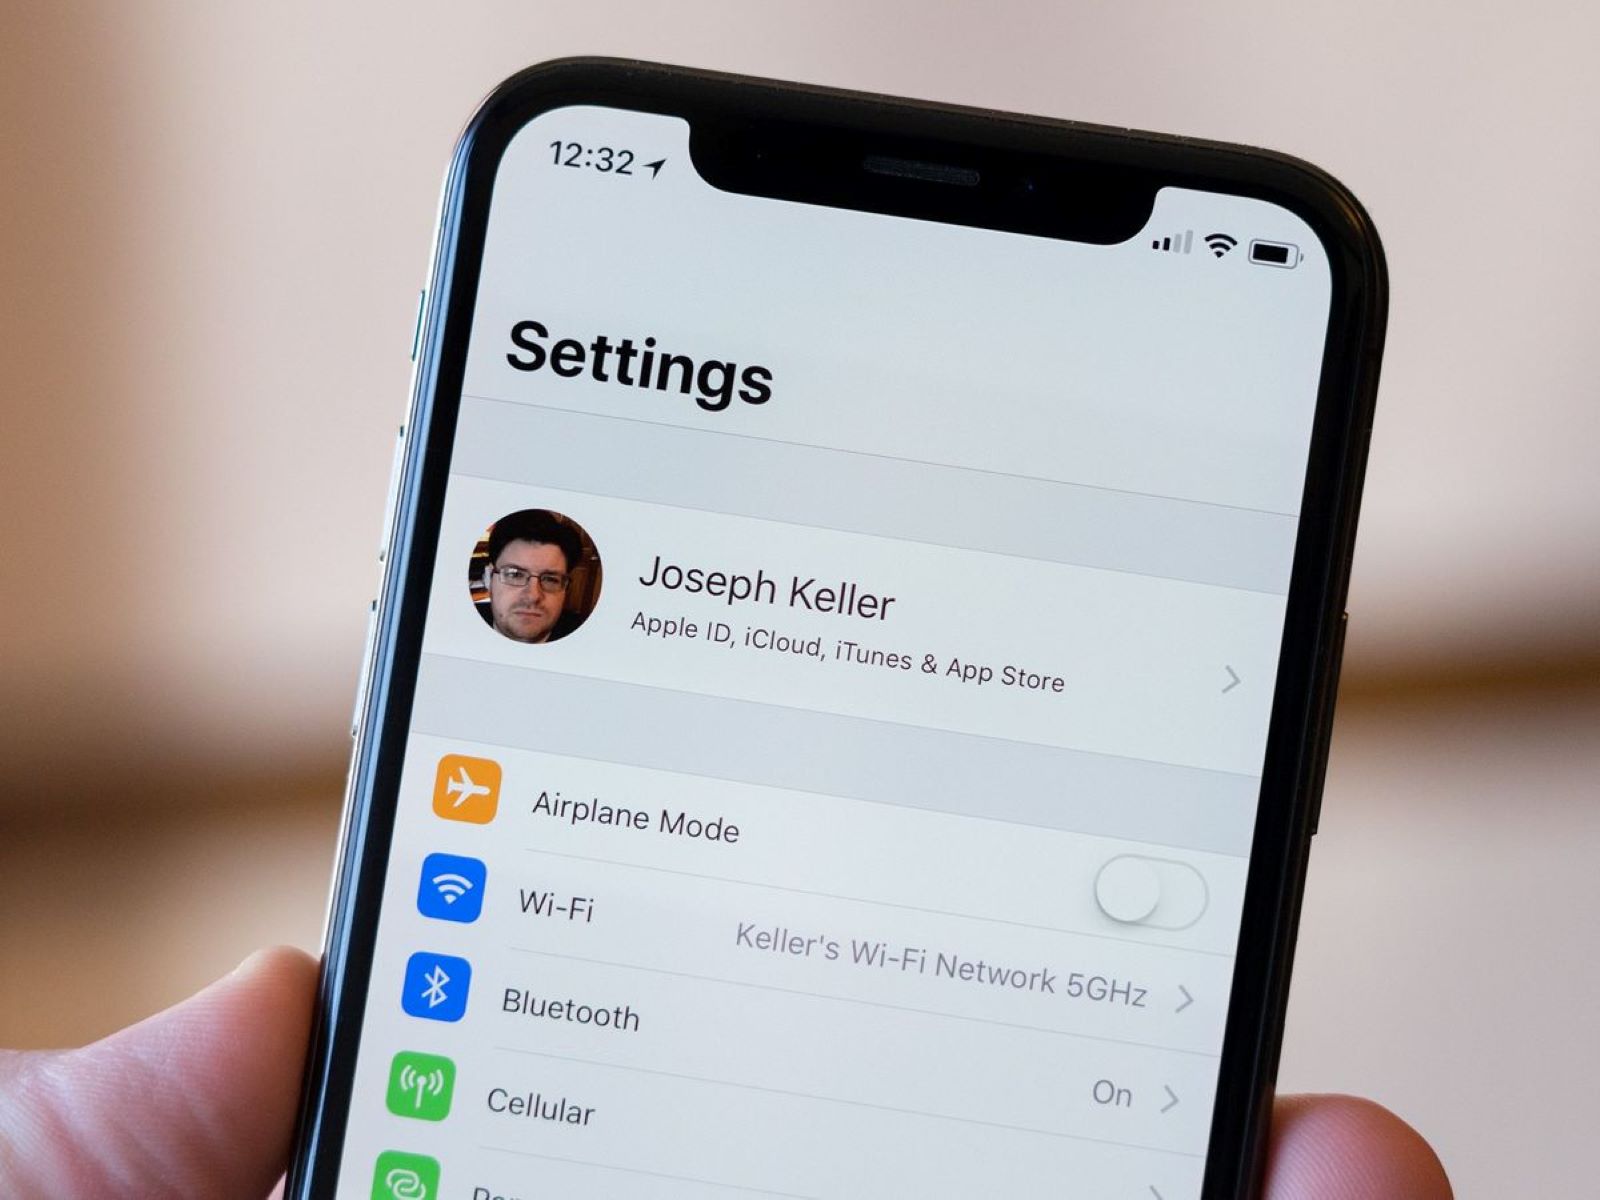
If you’re using an Apple device such as an iPhone, iPad, or Mac, accessing your iCloud email is seamless. Open the Mail app on your device, and you will see your iCloud email account listed. Simply tap or click on it to open your inbox and start managing your emails.
Alternatively, if you prefer to access your iCloud email through a web browser, you can do so by visiting https://www.icloud.com. Sign in using your Apple ID and password, and you will be directed to the iCloud dashboard. Click on the Mail icon to access your iCloud email interface through a web browser.
Once you’re in your iCloud email interface, you can compose new emails, reply to messages, organize your inbox with folders, and manage your contacts. iCloud provides a user-friendly and intuitive email experience, making it easy to navigate through your messages and stay organized.
One of the advantages of using iCloud email is that all your emails and folders will automatically sync across all your Apple devices. This means that any changes or actions you make on one device will be reflected on all your other devices. Whether you read an email on your iPhone, delete it on your iPad, or reply to it on your Mac, the changes will be synchronized in real-time.
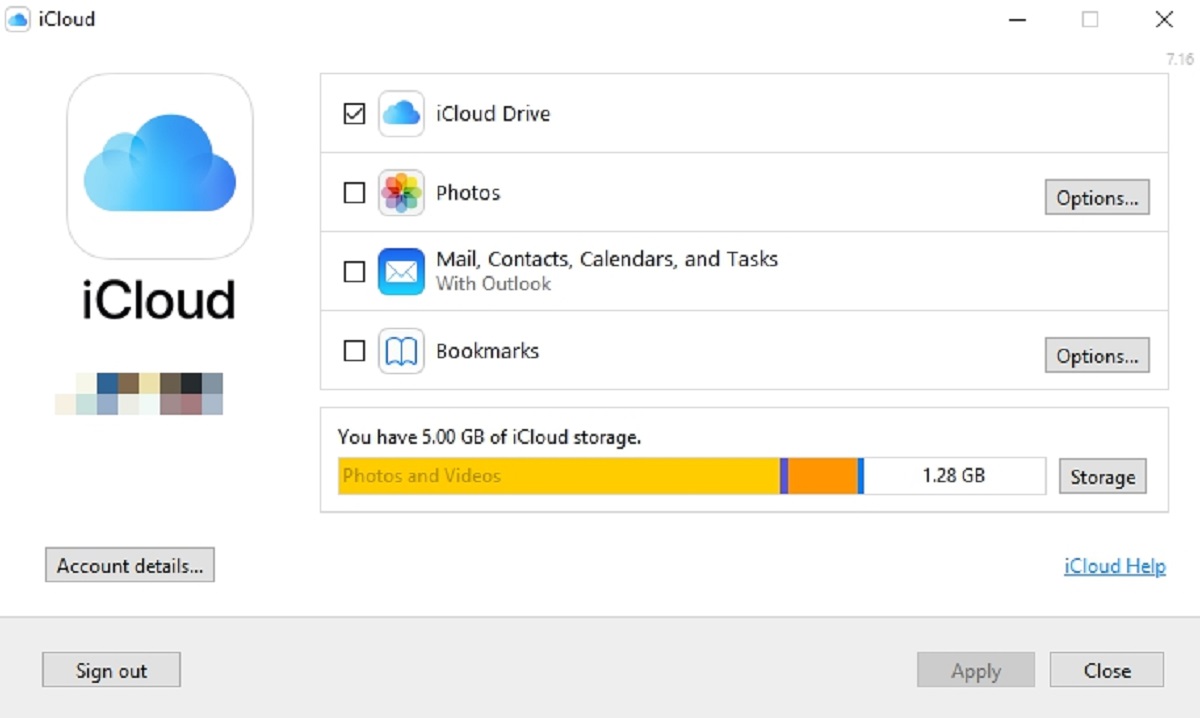
In addition to accessing your emails, iCloud email also integrates seamlessly with other iCloud services, such as iCloud Drive, iCloud Photos, and Calendar. This allows you to access your files, photos, and calendar events across all your devices, making it easy to stay organized and productive.
With your iCloud email address set up, you can enjoy the convenience of having a dedicated email account that is directly linked to your Apple ID. Stay connected, manage your emails effortlessly, and make the most out of the Apple ecosystem with iCloud email.
Conclusion
Creating an iCloud email address is a simple and essential step for Apple users who want to fully utilize the benefits of the Apple ecosystem. With your iCloud email, you can seamlessly integrate your emails, contacts, calendars, and files across all your Apple devices.
In this article, we have walked you through the process of creating your own iCloud email address. From visiting the Apple ID website to verifying your email address and setting up your email preferences, each step is designed to provide a smooth and hassle-free experience.
By following the steps outlined in this guide, you have successfully created an Apple ID and set up your iCloud email address. You now have access to a powerful and intuitive email service that syncs across all your Apple devices.
Remember to keep your Apple ID credentials secure and make use of the additional security measures, such as two-factor authentication, to protect your account from unauthorized access.
With your new iCloud email, you can effortlessly send and receive emails, manage your contacts and calendars, and access files stored in iCloud Drive. Whether you’re on your iPhone, iPad, Mac, or even using a web browser, your iCloud email will be readily available.
Take advantage of the seamless integration and convenience that iCloud email provides. Stay organized, stay connected, and make the most out of your Apple devices with your personalized iCloud email address.