Introduction
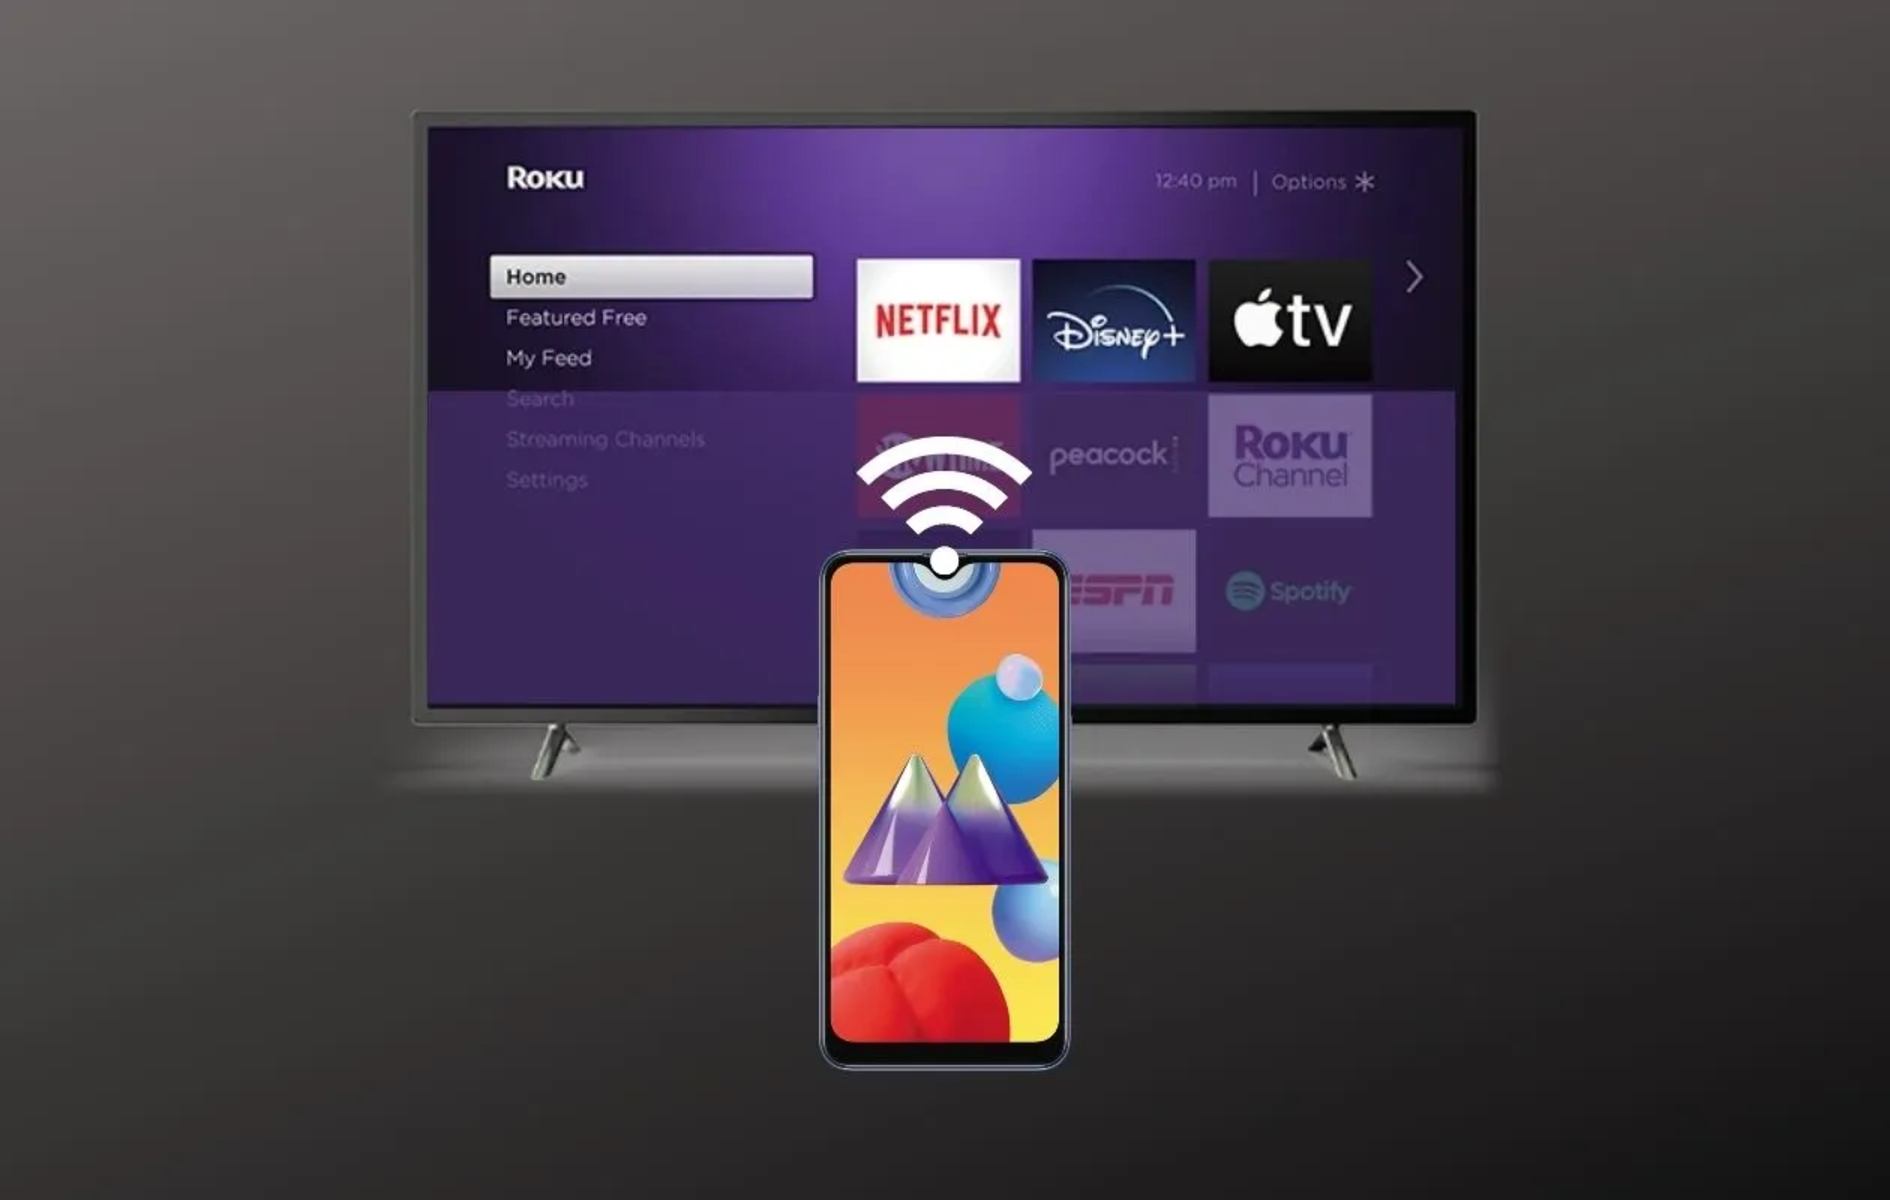
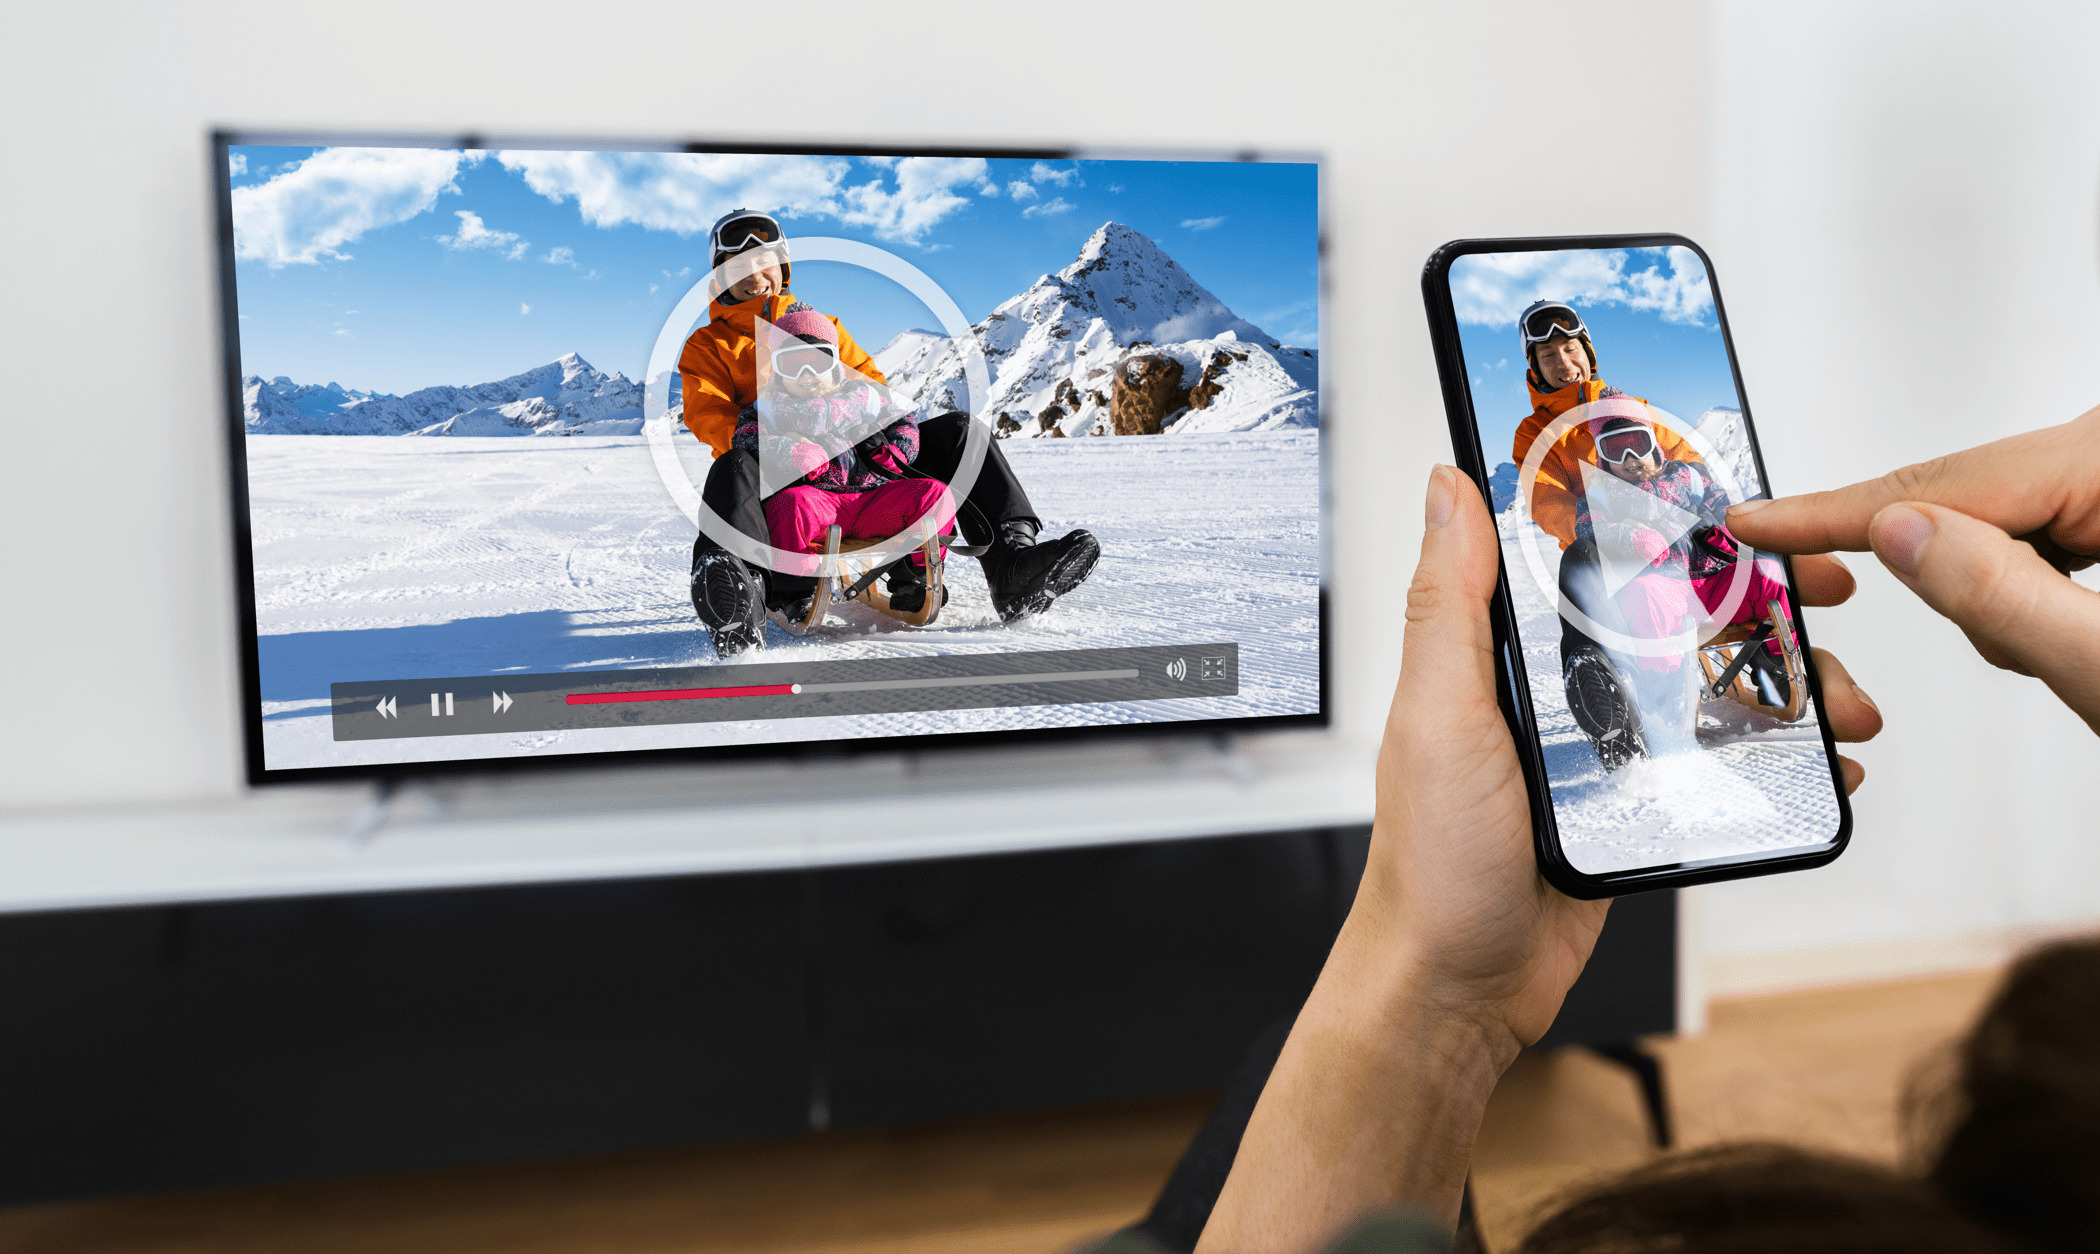
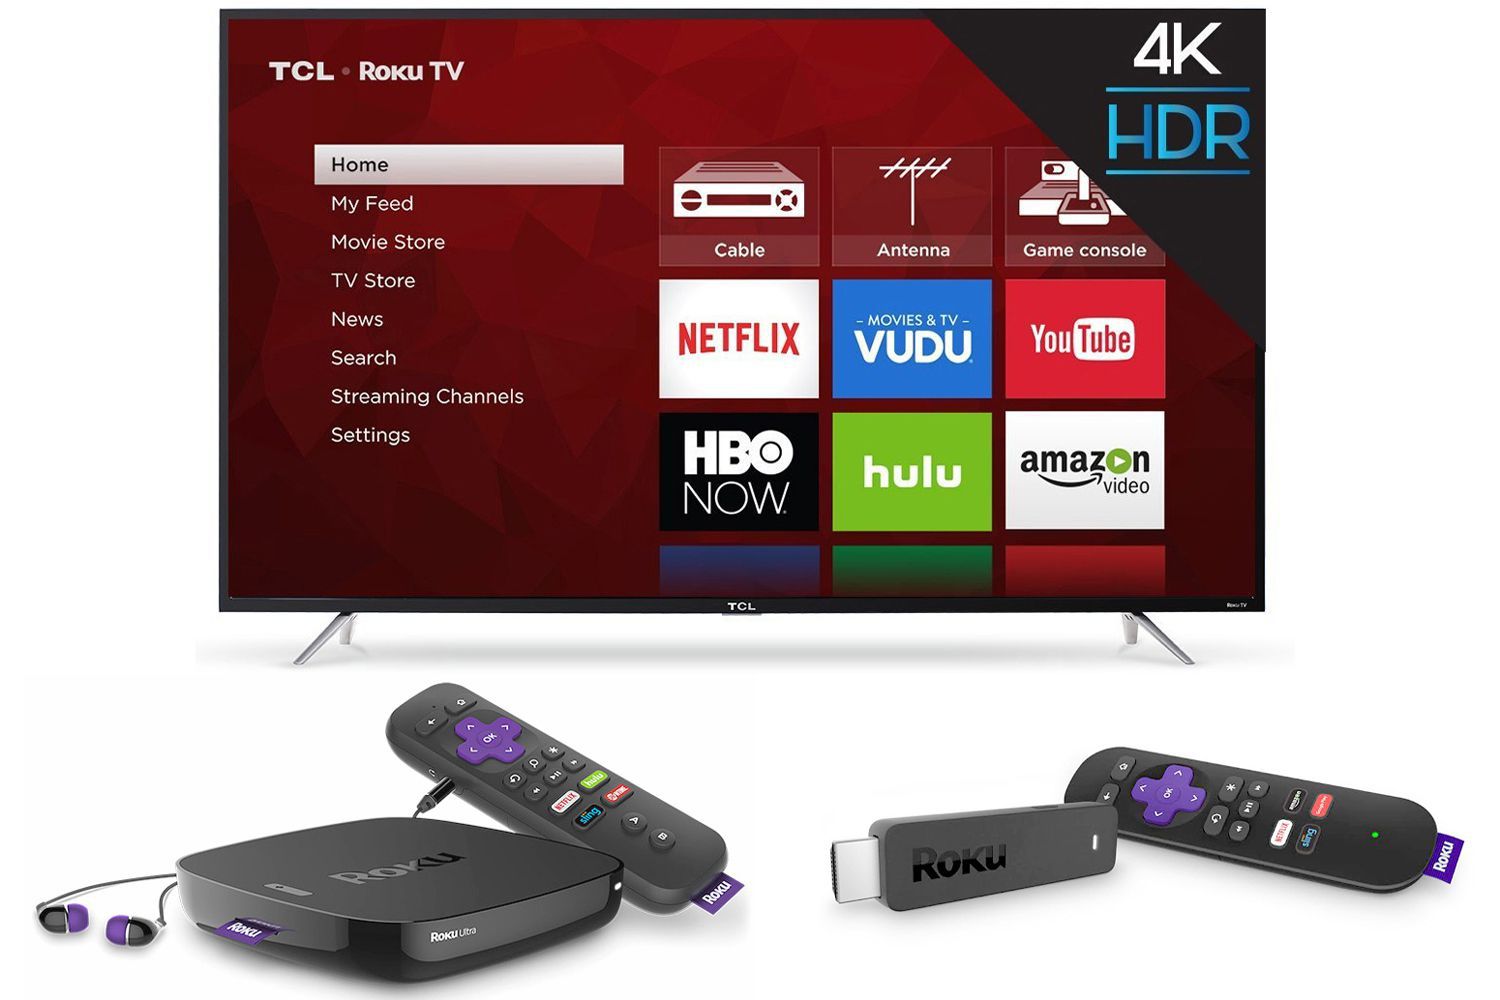
Welcome to the world of Roku TV! If you’re looking to cast your favorite content from your device to your Roku TV, you’ve come to the right place. Casting allows you to stream videos, photos, and even your screen onto the television screen, turning it into a larger, shared experience for everyone.
In this guide, we’ll walk you through the steps of casting to a Roku TV, ensuring that you can enjoy your favorite shows, movies, and more on the big screen. Whether you want to stream a YouTube video, share a photo slideshow, or play games, casting offers a convenient way to amplify your entertainment.
Before we dive into the process, be sure to check if your Roku device supports casting. Although most Roku models are compatible with casting, it’s always good to double-check to avoid any potential compatibility issues. If your Roku device supports casting, let’s get started!
NOTE: The following steps assume that you have already set up your Roku TV and it is connected to your Wi-Fi network. If you haven’t done so yet, make sure to complete the initial setup and connect your Roku TV to the same network as your casting device.
Step 1: Check if your Roku device supports casting
Before you begin casting to your Roku TV, it’s important to ensure that your Roku device supports this feature. Most Roku models do offer casting capabilities, but it’s always a good idea to verify before proceeding.
To check if your Roku device supports casting, follow these steps:
- Turn on your Roku TV and make sure it is connected to your Wi-Fi network.
- Using your Roku TV remote, navigate to the home screen by pressing the Home button.
- Scroll through the options and select “Settings” using the arrow buttons.
- In the Settings menu, choose “System” and then select “About” to view the information about your Roku device.
- Look for the model number or the specific name of your Roku device in the “About” section. You can also find this information on the bottom or back of your Roku device.
Once you have identified your Roku model, you can check if it supports casting by cross-referencing with Roku’s official website or consulting the user manual. Look for any references to “screen mirroring” or “casting” in the device specifications.
If your Roku device does not support casting, don’t worry! There are alternative methods to stream content to your Roku TV. Consider using compatible streaming apps available on the Roku Channel Store, such as Netflix, Hulu, Disney+, and more.
Now that you have verified if your Roku device supports casting, you’re ready to move on to the next step: connecting your Roku TV to the same network as your casting device.
Step 2: Connect your Roku TV to the same network as your casting device
In order to successfully cast to your Roku TV, it’s essential that both your Roku TV and your casting device are connected to the same Wi-Fi network. This allows for seamless communication between the two devices, ensuring a smooth casting experience.
Follow these steps to connect your Roku TV to the same network as your casting device:
- Turn on your Roku TV and navigate to the home screen using the Roku TV remote.
- Using the arrow buttons on the remote, scroll and select “Settings” from the options.
- In the Settings menu, choose “Network” and then select “Set up connection”.
- From the available options, select “Wireless” to connect your Roku TV to your Wi-Fi network.
- A list of available Wi-Fi networks will appear on the screen. Select your network from the list.
- If your network is password protected, you will be prompted to enter the password. Use the on-screen keyboard to enter your Wi-Fi password and select “Connect”.
- Your Roku TV will now attempt to connect to the selected Wi-Fi network. Once the connection is established, a confirmation message will appear on the screen.
Take note of the network name (SSID) to which your Roku TV is connected. This is crucial as your casting device needs to be connected to the same network to ensure compatibility.
Once your Roku TV and casting device are connected to the same network, you’re ready to move on to the next step: enabling screen mirroring on your Roku TV.
Step 3: Enable screen mirroring on your Roku TV
In order to cast to your Roku TV, you need to enable the screen mirroring feature on your device. Screen mirroring allows you to display the content from your casting device onto the larger screen of your Roku TV.
Follow these steps to enable screen mirroring on your Roku TV:
- Using the Roku TV remote, navigate to the home screen and select “Settings” from the options.
- In the Settings menu, choose “System” and then select “Screen mirroring”.
- From the available options, select “Screen mirroring mode” and choose either “Prompt” or “Always allow”.
- If you select “Prompt”, your Roku TV will ask for confirmation every time a casting device attempts to connect. If you select “Always allow”, your Roku TV will automatically allow connections without requiring confirmation.
- Once you have made your selection, go back to the previous screen and choose “Screen mirroring devices”.
- A list of available devices for screen mirroring will be displayed. Keep this screen open as you proceed to the next step.
Screen mirroring is now enabled on your Roku TV, and it is ready to receive connections from your casting device. Make sure to keep the screen mirroring devices list open as you proceed to the next step.
Now that you’ve enabled screen mirroring on your Roku TV, you’re one step closer to casting your favorite content. The next step involves setting up casting on your casting device, so let’s move on!
Step 4: Set up casting on your casting device
Before you can start casting to your Roku TV, you need to set up the casting feature on your casting device. This may vary depending on the device you are using, but we’ll provide some general instructions to help you get started.
Follow these steps to set up casting on your casting device:
- Ensure that your casting device is connected to the same Wi-Fi network as your Roku TV.
- Open the app or platform from which you want to cast. This could be a video streaming app like YouTube or a photo-sharing app like Google Photos.
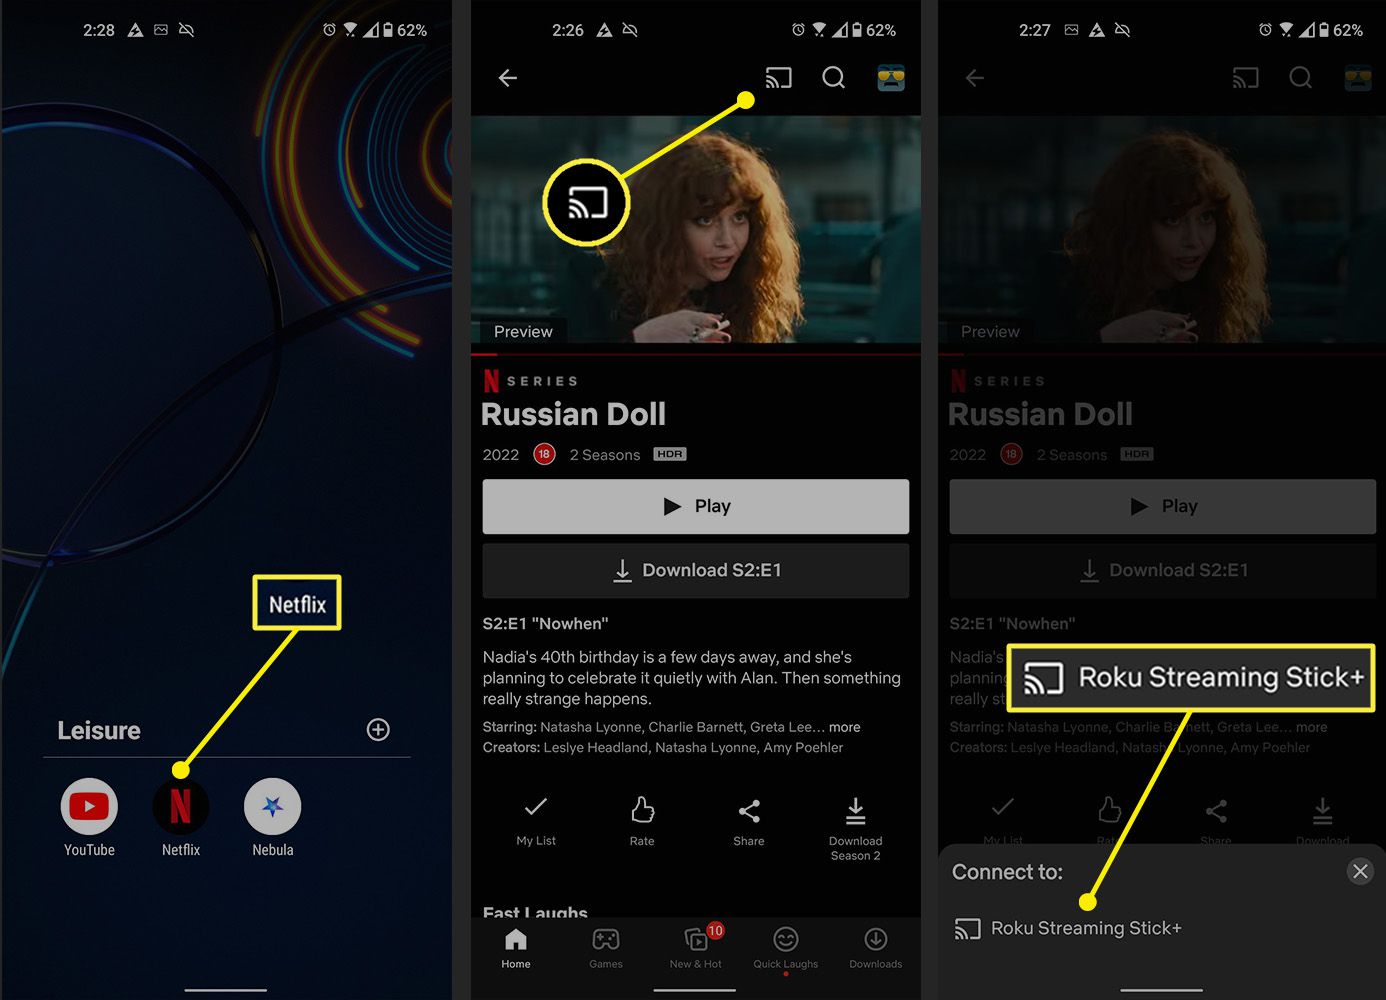
- Look for the casting icon or “cast” option within the app. This is typically represented by a rectangular icon with curved lines in the bottom left or right corner.
- Tap on the casting icon to open the casting menu.
- A list of available devices for casting will appear. Look for your Roku TV in the list and select it.
- Your casting device will now attempt to connect to your Roku TV. Once the connection is established, you will see the content from your casting device mirrored on the larger screen of your Roku TV.
It’s important to note that the process of setting up casting may differ slightly depending on the app or platform you are using. Some apps may have their own unique casting menu or options. However, the general concept of selecting your Roku TV from the casting menu remains the same.
Now that you have set up casting on your casting device, you’re ready to move on to the final step: starting the casting process and enjoying your content on your Roku TV!
Step 5: Start casting to your Roku TV
Now that you have set up casting on your casting device, it’s time to start casting your favorite content to your Roku TV. Follow these steps to begin the casting process:
- Make sure that your casting device and Roku TV are connected to the same Wi-Fi network.
- Open the app or platform from which you want to cast on your casting device. This could be a video streaming app, a photo-sharing app, or even a web browser.
- Select the video, photo, or webpage you want to cast to your Roku TV. This will vary depending on the app or platform you are using.
- Look for the casting icon, usually located in the top or bottom corner of the app’s interface.
- Tap on the casting icon to open the casting menu.
- From the list of available devices, select your Roku TV.
- Your casting device will establish a connection with your Roku TV and begin casting the selected content.
Once the casting process is initiated, you will see the content from your casting device mirrored on your Roku TV screen. You can control playback and navigate through the content using your casting device, just as you would on your device’s screen.
Enjoy watching your favorite videos, viewing photos, or browsing the web on the bigger screen of your Roku TV. Remember to adjust the volume and other settings on your Roku TV for the best viewing experience.
If you encounter any issues during the casting process, ensure that both your casting device and Roku TV are connected to the same Wi-Fi network. Additionally, make sure that your casting device is compatible with the casting feature.
Congratulations! You have successfully casted to your Roku TV and are now enjoying your content on the big screen.
Conclusion
Casting to your Roku TV opens up a whole new world of entertainment possibilities. By following the steps outlined in this guide, you can easily cast your favorite videos, photos, and even your screen onto the larger screen of your Roku TV. This enhances your viewing experience and allows you to share content with friends and family.
Throughout this guide, we covered the essential steps to successfully cast to a Roku TV. From checking if your Roku device supports casting to connecting your Roku TV to the same network as your casting device, enabling screen mirroring, setting up casting on your casting device, and finally starting the casting process, each step is crucial for a seamless and enjoyable casting experience.
Remember, while the specific instructions may vary depending on your Roku model and casting device, the general concepts and principles remain the same. Always consult the user manual or the official Roku website for model-specific instructions.
Now it’s time to grab your favorite device, connect it to your Roku TV, and start casting your favorite content. Whether it’s watching a movie, sharing a photo slideshow, or playing games, casting takes your entertainment to the next level.
Enjoy the wonderful world of casting on your Roku TV and immerse yourself in a larger, shared experience.


