Introduction
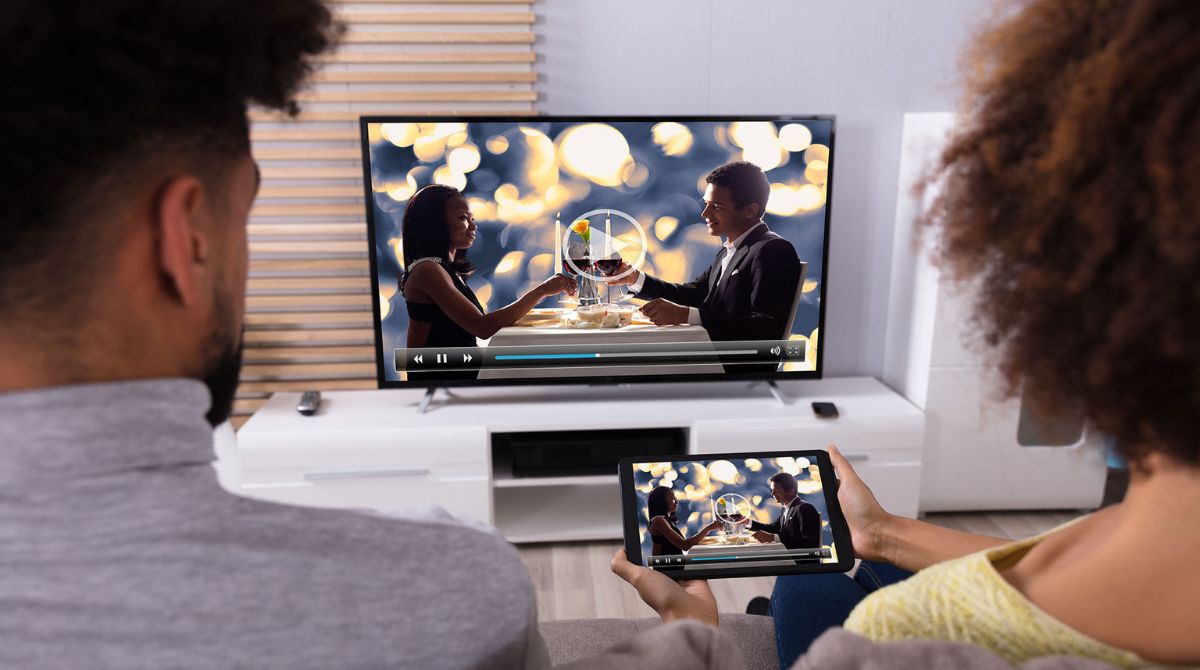
Welcome to the world of entertainment made even more convenient with the ability to cast from your tablet to your Roku TV. Streaming your favorite movies, TV shows, and videos directly on the big screen has never been easier. Whether you want to watch a thrilling action movie or share your vacation photos with friends and family, casting from your tablet to your Roku TV allows you to enjoy content in a whole new way.
In this guide, we will walk you through the simple steps to cast from your tablet to your Roku TV. By following these easy instructions, you’ll be able to seamlessly mirror your tablet’s screen onto your Roku TV and enjoy an immersive viewing experience.
Before we dive into the step-by-step process, make sure you have a stable Wi-Fi connection and that both your tablet and Roku TV are connected to the same network. Having a reliable connection ensures a smooth and uninterrupted casting experience.
So, let’s get started and learn how to cast from your tablet to your Roku TV!
Step 1: Ensure your Roku TV and Tablet are connected to the same Wi-Fi network
Before you can start casting from your tablet to your Roku TV, it’s crucial to confirm that both devices are connected to the same Wi-Fi network. This step is essential because it allows them to communicate with each other and establish a seamless connection for casting.
To ensure that your Roku TV and tablet are on the same Wi-Fi network, follow these simple steps:
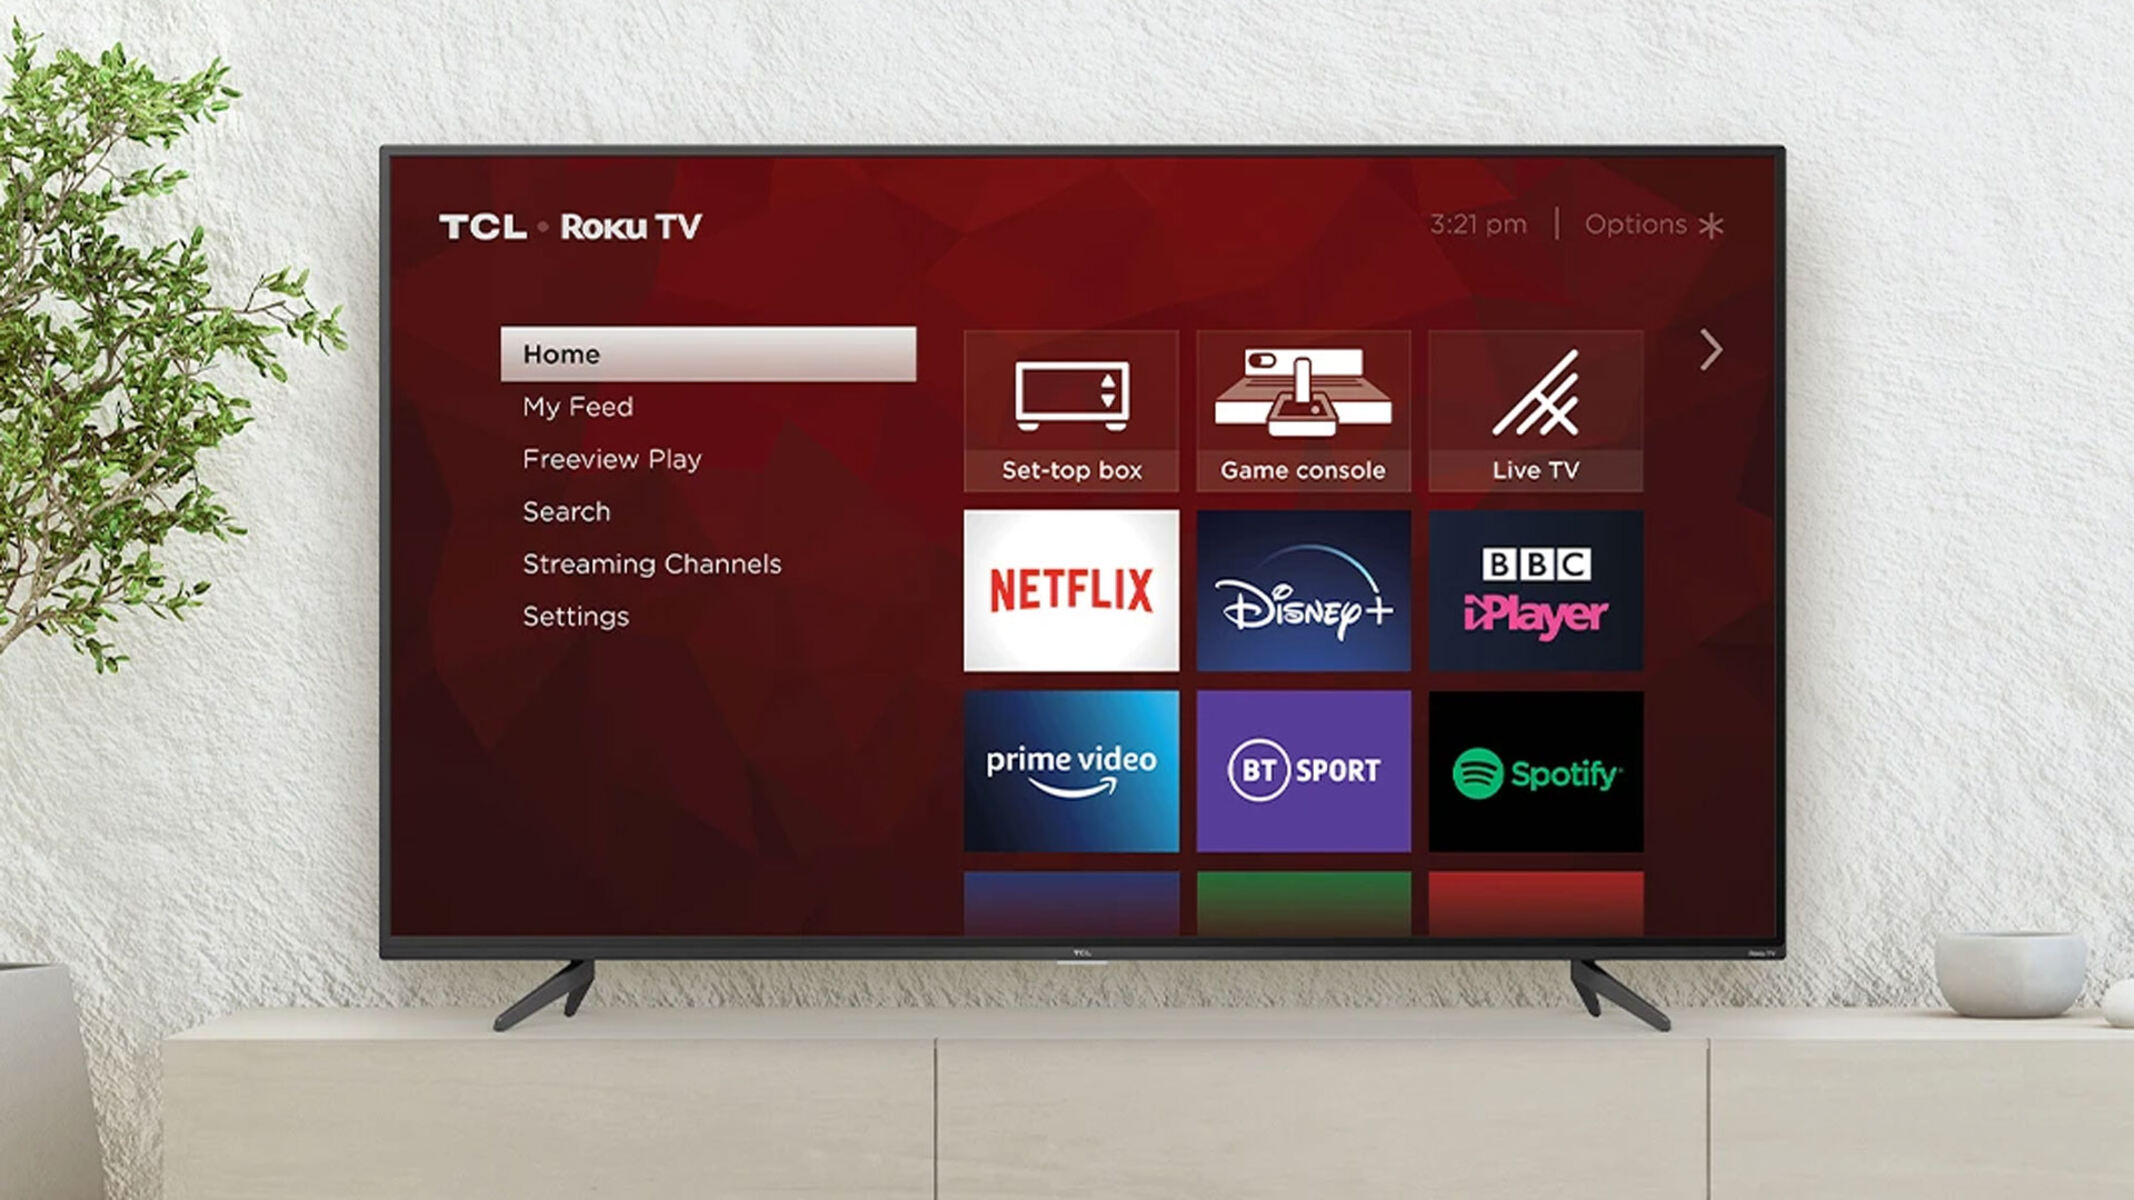
- First, turn on your Roku TV and navigate to the Home screen.
- On the Home screen, go to the Settings menu. You can easily access it by scrolling down and selecting the gear icon.
- In the Settings menu, find the Network option and select it. This will open the Network settings for your Roku TV.
- Within the Network settings, you should see the name of the Wi-Fi network that your Roku TV is currently connected to. Take note of this network name.
- Now, grab your tablet and go to the Settings menu. The process may vary slightly depending on your tablet’s operating system, but you can typically find the Settings app on your home screen or in the app drawer.
- Within the Settings menu on your tablet, locate the Wi-Fi or Network settings. Tap on it to open the Wi-Fi settings.
- In the list of available Wi-Fi networks, look for the network name that you noted from your Roku TV. Tap on it to connect your tablet to the same Wi-Fi network as your Roku TV.
- Once connected to the same network, your tablet and Roku TV can communicate with each other, paving the way for seamless casting.
By ensuring that both your Roku TV and tablet are connected to the same Wi-Fi network, you have completed the first step towards casting from your tablet to your Roku TV. Now, let’s move on to the next step and enable screen mirroring on your Roku TV.
Step 2: Enable Screen Mirroring on your Roku TV
To enable screen mirroring on your Roku TV, you need to access the settings and make sure this feature is enabled. Screen mirroring allows you to display the content from your tablet onto your Roku TV, creating a mirrored experience that enhances your viewing pleasure.
Follow these steps to enable screen mirroring on your Roku TV:
- Start by turning on your Roku TV and ensuring that it is connected to the same Wi-Fi network as your tablet.
- Use your Roku TV remote to navigate to the Home screen. You can do this by pressing the Home button on the remote.
- From the Home screen, scroll up or down and select the Settings option. The Settings menu will open.
- In the Settings menu, look for the System option and select it. This will open the System settings for your Roku TV.
- Within the System settings, choose the Screen Mirroring option. You may need to scroll down to find it.
- On the Screen Mirroring screen, you will see two options: “Screen mirroring mode” and “Prompt.” Select the “Screen mirroring mode” option.
- In the Screen mirroring mode, you will find three options: “Always allow,” “Prompt,” and “Never allow.” Choose the “Always allow” option to enable screen mirroring whenever you want to cast from your tablet.
- After selecting “Always allow,” go back to the previous screen and choose the “Prompt” option under the “Prompt” section. This will allow your Roku TV to prompt you whenever a device tries to connect for screen mirroring.
- With screen mirroring enabled, your Roku TV is now ready to receive the mirroring signal from your tablet.
Enabling screen mirroring on your Roku TV is a crucial step in the casting process. Once enabled, you can effortlessly mirror the content from your tablet onto the larger screen of your Roku TV. Let’s move on to the next step and open the display settings on your tablet.
Step 3: Open the Display settings on your tablet
In order to cast from your tablet to your Roku TV, you need to access the display settings on your tablet. This will allow you to select the option for screen mirroring and establish a connection between your tablet and your Roku TV.
To open the display settings on your tablet, follow these simple steps:
- Unlock your tablet and navigate to the home screen. You can do this by pressing the home button or swiping up, depending on the type of tablet you have.
- Once on the home screen, locate the settings app. It is usually represented by a gear or a set of sliders. Tap on the settings app to open it.
- Scroll through the list of options in the settings menu and look for the display or screen settings. The naming may vary slightly depending on your tablet’s make and model.
- Tap on the display or screen option to open the display settings menu.
- Within the display settings, look for an option that mentions mirroring or casting. This option may also be labeled as “Wireless display” or “Screen mirroring.”
- Tap on the mirroring or casting option to open the screen mirroring settings on your tablet.
- Once you are in the screen mirroring settings, your tablet will begin searching for available devices. This process may take a few seconds.
- After a moment, you should see a list of available devices to cast to. Look for your Roku TV in the list and tap on it to establish a connection.
- Depending on your tablet’s operating system, you may receive a prompt asking you to confirm the connection. If prompted, simply follow the instructions on your tablet’s screen to confirm the connection between your tablet and Roku TV.
- Once the connection is established, your tablet’s screen will start mirroring on your Roku TV, and you can begin enjoying your content on the bigger screen.
By opening the display settings on your tablet and selecting the option for screen mirroring, you have successfully established a connection between your tablet and your Roku TV. Now, let’s move on to the next step and choose your Roku TV from the list of available devices.
Step 4: Choose your Roku TV from the list of available devices
After opening the display settings on your tablet and initiating the screen mirroring process, you will be presented with a list of available devices to cast to. To cast from your tablet to your Roku TV, you need to select your Roku TV from this list.
Follow these steps to choose your Roku TV from the list of available devices:
- Look at the list of available devices on your tablet’s screen. This list may include other smart TVs, streaming devices, or other devices that support screen mirroring.
- Locate your Roku TV in the list of available devices. It should be labeled with the name you assigned to your Roku TV during the initial setup process.
- If you don’t see your Roku TV listed, make sure that both your tablet and Roku TV are connected to the same Wi-Fi network and that screen mirroring is enabled on your Roku TV.
- Once you have located your Roku TV in the list, tap on it to select it as the casting device.
- Your tablet will then send a signal to your Roku TV, initiating the screen mirroring process.
- Depending on your tablet and Roku TV models, you may see a notification or confirmation prompt on either or both devices. Follow the on-screen instructions to confirm the connection.
- After confirming the connection, your tablet’s screen will start mirroring on your Roku TV. You will now be able to see everything displayed on your tablet’s screen on the larger screen of your Roku TV.
By choosing your Roku TV from the list of available devices, you have successfully established a connection and initiated screen mirroring from your tablet to your Roku TV. Now, it’s time to move on to the next step and begin casting from your tablet to your Roku TV.
Step 5: Begin casting from your tablet to your Roku TV
Now that you have successfully established a connection between your tablet and your Roku TV, it’s time to start casting and enjoy your favorite content on the big screen. With screen mirroring enabled, you can seamlessly mirror your tablet’s screen onto your Roku TV.
To begin casting from your tablet to your Roku TV, follow these simple steps:
- Ensure that your tablet’s screen is on and unlocked.
- Open the app or content that you want to cast onto your Roku TV. It could be a streaming service, a video player, or any other app that supports casting.
- Once the content is playing on your tablet, swipe down from the top of the screen to access the notification center or control panel. Note that the process may vary slightly depending on your tablet’s make and model.
- Within the notification center or control panel, look for a screen mirroring or casting icon. It usually looks like a rectangle with a Wi-Fi symbol or several curved lines.
- Tap on the screen mirroring or casting icon to open the list of available devices to cast to.
- From the list of devices, select your Roku TV that you previously connected to.
- After selecting your Roku TV, your tablet’s screen will start mirroring on your TV. The content you were previously playing on your tablet will now be displayed on the larger screen of your Roku TV.
- Enjoy your favorite movies, TV shows, videos, or any other content on the big screen.
With these easy steps, you can begin casting from your tablet to your Roku TV and immerse yourself in a larger-than-life viewing experience. Take advantage of the convenience and enjoy your favorite content in a whole new way.
Now that you have learned how to start casting, let’s move on to the next step and explore how to customize your casting preferences.
Step 6: Customize your casting preferences
After successfully casting from your tablet to your Roku TV, you have the option to customize your casting preferences to enhance your viewing experience. Roku TV offers various settings and features that allow you to optimize your casting session.
Here are a few ways to customize your casting preferences:
- Adjust the volume: Once you are casting to your Roku TV, you can use your tablet’s volume buttons or on-screen controls to adjust the volume. This allows you to find the perfect sound level without having to reach for the TV remote.
- Control playback: Your tablet acts as a remote control when casting to your Roku TV. You can pause, play, rewind, or fast-forward the content directly from your tablet’s screen. This gives you full control over your casting experience.
- Explore additional features: Depending on the app or content you are casting, you may have access to additional features and settings on your tablet’s interface. These features could include subtitles, audio tracks, video quality options, and more. Take advantage of these options to personalize your viewing experience.
- Utilize other apps while casting: One of the advantages of casting is that you can continue using your tablet for other tasks while the content is playing on your Roku TV. You can open other apps, browse the web, or even respond to messages without interrupting the casting session.
- Disconnect when you’re done: When you’re finished casting, you can easily disconnect your tablet from your Roku TV. Simply swipe down from the top of your tablet’s screen, access the screen mirroring or casting menu, and select “Disconnect” or a similar option. This will revert your tablet’s display back to its original state.
By customizing your casting preferences, you can tailor the experience to your liking and make the most of your streaming sessions. Experiment with different settings, explore additional features, and enjoy the flexibility and convenience that casting from your tablet to your Roku TV offers.
Now that you know how to customize your casting preferences, let’s move on to the final step and learn how to end casting from your tablet to your Roku TV.
Step 7: End casting from your tablet to your Roku TV
When you’re finished casting from your tablet to your Roku TV, it’s important to properly end the casting session. Ending the session ensures that your tablet’s screen is no longer mirrored on your TV and allows you to resume using your tablet independently.
Here’s how you can end the casting session from your tablet to your Roku TV:
- On your tablet, go to the screen mirroring or casting menu by swiping down from the top of the screen.
- Look for the option to disconnect or stop casting. It may be labeled as “Disconnect,” “Stop Casting,” or something similar.
- Tap on the disconnect or stop casting option. Your tablet will then end the casting session.
- After disconnecting, the content will no longer be displayed on your Roku TV. Your tablet will return to its regular screen.
- If you’re using an app or streaming service, you can also stop casting by closing the app or navigating away from the casting content within the app. This will automatically end the casting session.
- Remember to turn off your Roku TV or switch to a different input if you’re no longer using it.
By following these simple steps, you can easily end the casting session from your tablet to your Roku TV. This will ensure that your tablet goes back to its normal functionality and that your Roku TV is ready for your next streaming adventure.
Now that you know how to end the casting session, you have successfully completed all the steps to cast from your tablet to your Roku TV. Enjoy the convenience and excitement of streaming your favorite content on the big screen!
Conclusion
With the ability to cast from your tablet to your Roku TV, you have unlocked a whole new level of entertainment. Streaming your favorite movies, TV shows, and videos on the big screen enhances the viewing experience and allows you to immerse yourself in a world of entertainment.
In this guide, we have covered all the necessary steps to easily cast from your tablet to your Roku TV. From ensuring both devices are connected to the same Wi-Fi network to customizing your casting preferences, we have provided a comprehensive walkthrough to help you get started.
By following these steps, you can seamlessly mirror your tablet’s screen onto your Roku TV and enjoy the convenience of controlling your streaming experience from your tablet. Whether you’re watching a gripping thriller, sharing memorable moments with loved ones, or simply indulging in your favorite content, casting from your tablet to your Roku TV opens up a whole new world of possibilities.
Remember to adjust the casting settings to suit your preferences, explore additional features, and disconnect properly when you’re done. This ensures a smooth and enjoyable casting experience every time.
So, grab your tablet, get your favorite content ready, and start casting to your Roku TV. Immerse yourself in the larger-than-life experience and enjoy the ultimate entertainment right in the comfort of your home.
Happy casting!