Introduction
When it comes to downloading files on your Android device, it’s not uncommon to encounter situations where you need to cancel a download. Whether it’s due to a change in your plans, limited storage space, or simply realizing that you no longer need the file, knowing how to cancel a download can be incredibly useful.
In this article, we will explore various methods to cancel downloads on your Android device. We’ll guide you through using the notification panel, the dedicated downloads app, and even the settings menu. By the end of this article, you’ll have the knowledge and tools to efficiently cancel downloads on your Android device whenever the need arises.
It’s important to note that the specific steps may vary slightly depending on your device model and Android version. However, the general process remains the same, and we’ll provide instructions that should work for most Android users.
So, if you’re ready to take control of your downloads and learn how to cancel them, let’s dive in and explore the different methods you can use on your Android device.
Reasons to Cancel a Download
There are several reasons why you may want to cancel a download on your Android device. Let’s take a look at some common scenarios:
- Change of plans: Sometimes, you may have started a download with the intention of using the file or application immediately. However, due to a change in circumstances or priorities, you may no longer require it. In such cases, canceling the download can help you avoid cluttering your device with unnecessary files.
- Insufficient storage space: If your device’s storage is running low, canceling a large download can free up valuable space. This is especially important when the download is for a file or application that you don’t desperately need.
- Internet connectivity issues: Poor or unstable internet connection can lead to slow download speeds or interrupted downloads. Canceling a download in such situations can save you from wasting your time and data on a download that may never complete.
- Accidental downloads: We’ve all been there – mistakenly tapping on a download link or initiating a download without intending to. Canceling the download promptly can prevent unnecessary consumption of data and storage space.
- Realizing the file is not what you expected: It’s not uncommon to start a download only to realize that the file is not what you were looking for or does not meet your requirements. In such cases, canceling the download saves you from cluttering your device with a file you have no use for.
Regardless of the reason, canceling a download on your Android device allows you to have better control over the files and applications you store on your device. Now that we understand the various scenarios that may call for canceling a download, let’s explore the methods you can use to accomplish this on your Android device.
How to Cancel a Download on Android
Cancelling a download on your Android device is a straightforward process. Here, we will guide you through three different methods to cancel downloads, depending on your preference and the situation at hand:
- Method 1: Using the Notification Panel: One of the quickest ways to cancel a download is through the notification panel. When a download is in progress, swipe down from the top of your screen to open the notification panel. Look for the download notification and simply tap on it to open the download details. Then, tap on the cancel button or the ‘X’ icon to cancel the download. This method is convenient when you want to quickly cancel a download without navigating through different menus.
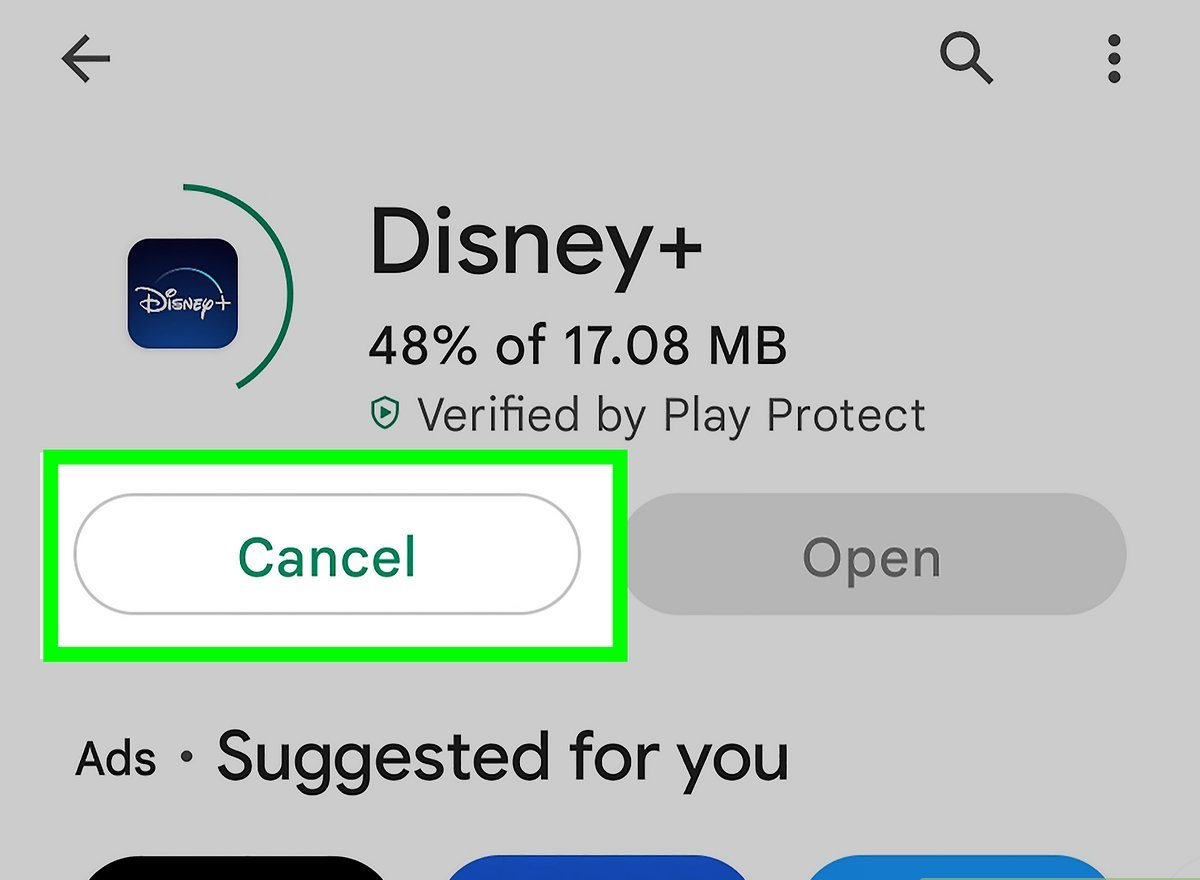
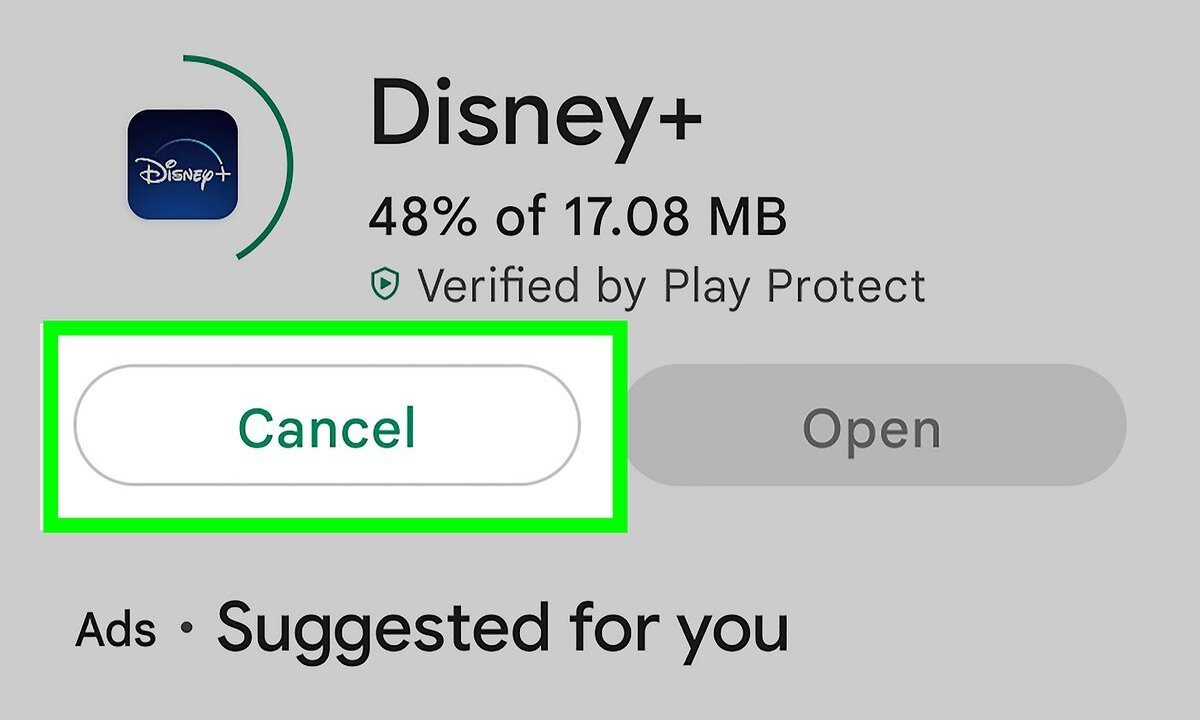
- Method 2: Through the Downloads App: The Downloads app is another way to manage and cancel your downloads. To cancel a download using this method, open the Downloads app on your Android device. Locate the download you wish to cancel, and then tap and hold on it. This will bring up a context menu with various options. Select the ‘Cancel’ option to stop the download. This method is ideal when you want to manage and track all your downloads in one central location.
- Method 3: Via the Settings Menu: If you prefer to cancel a download through the settings menu, follow these steps. Go to the ‘Settings’ app on your Android device and navigate to the ‘Apps’ or ‘Applications’ section. Look for the app responsible for the download, such as a web browser or a file manager. Tap on the app’s name to access its settings. Within the app settings, you should find the ‘Downloads’ or ‘Storage’ section. Here, you can view and manage all the current downloads. Locate the download you wish to cancel and select the ‘Cancel’ option. This method is useful when you want to have more control over the settings and preferences of the app responsible for the download.
Now that you are familiar with various methods to cancel a download, you can choose the one that suits your needs and preferences. However, it’s important to note that canceled downloads cannot be resumed, so make sure to cancel them only when necessary.
Next, we’ll share some tips to help you cancel downloads efficiently and avoid any potential issues.
Method 1: Using the Notification Panel
One of the quickest and most convenient ways to cancel a download on your Android device is through the notification panel. Here’s a step-by-step guide to using this method:
- When a download is in progress, swipe down from the top of your screen to open the notification panel. This will reveal a list of your recent notifications.
- Look for the notification related to the ongoing download. It might be labeled with the app or service name, along with the download progress and remaining time.
- Tap on the download notification to expand it and reveal more details about the download.
- Within the expanded view, you should see a ‘Cancel’ button or an ‘X’ icon. Tap on it to cancel the download.
By following these simple steps, you can quickly cancel a download directly from the notification panel without having to navigate through various menus or apps.
It’s important to note that the availability of the ‘Cancel’ button or ‘X’ icon may vary depending on the specific app or service responsible for the download. Some apps may have slightly different notification designs, but the general concept remains the same.
This method of canceling downloads is particularly useful when you need to cancel a download on the go or when you want to quickly free up storage space without having to open the respective app or interface.
Now that you are familiar with using the notification panel to cancel downloads, let’s explore another method using the dedicated Downloads app on your Android device.
Method 2: Through the Downloads App
If you prefer managing and canceling your downloads in one central location, using the dedicated Downloads app on your Android device is a convenient method. Here’s how you can cancel a download using this method:
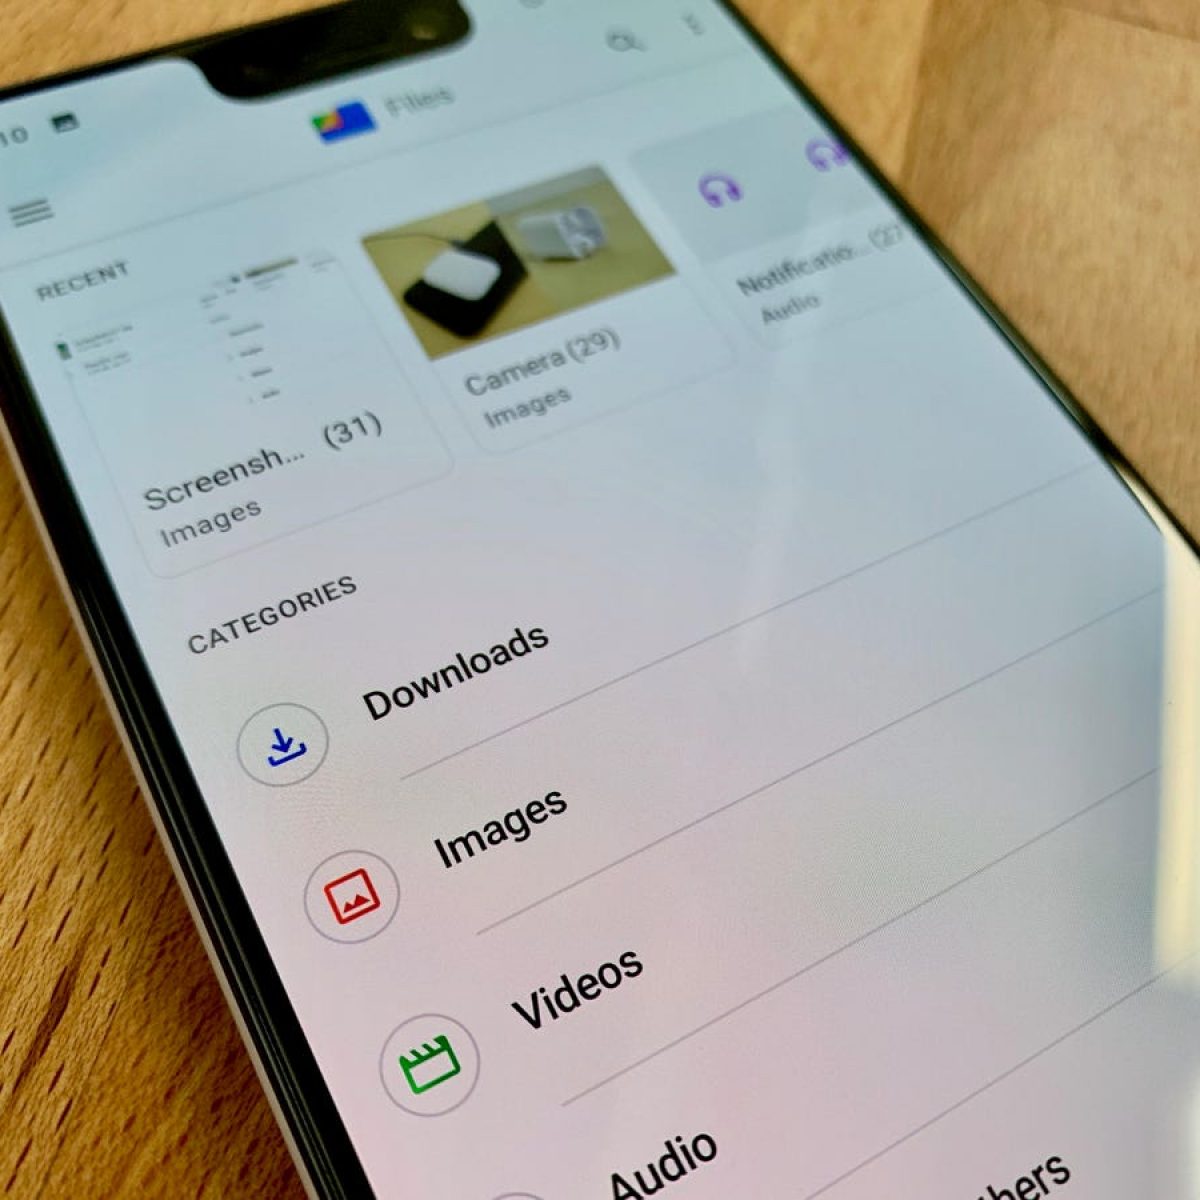
- Open the Downloads app on your Android device. This app is typically pre-installed on most Android devices, but if you can’t find it, you may need to download it from the Google Play Store.
- In the Downloads app, you will see a list of all the files you have downloaded or are currently downloading. Look for the download that you want to cancel.
- Once you have located the download, tap and hold on it. This action will bring up a context menu with various options.
- From the context menu, select the ‘Cancel’ option. This will immediately stop the download process.
By using the Downloads app to cancel your downloads, you can have a centralized view of all your downloads, making it easier to manage and track their progress. This method is particularly useful when you want to have full control over your downloads and quickly cancel any undesired ones.
It’s worth noting that the exact steps and interface of the Downloads app may vary slightly depending on your device’s manufacturer and the specific version of Android you are using. However, the general process of canceling a download remains consistent across most devices.
Now that you know how to cancel downloads using the dedicated Downloads app, let’s move on to another method that involves utilizing the settings menu on your Android device.
Method 3: Via the Settings Menu
If you prefer accessing the settings of the app responsible for the download, you can cancel a download through the settings menu on your Android device. Here’s a step-by-step guide to using this method:
- Open the ‘Settings’ app on your Android device. This app is typically represented by a gear icon and can be found in the app drawer or on the quick settings panel.
- Scroll through the settings menu and look for the ‘Apps’ or ‘Applications’ section. The exact name and location may vary depending on your device’s manufacturer and Android version.
- Tap on the ‘Apps’ or ‘Applications’ section to access the list of all installed apps on your device.
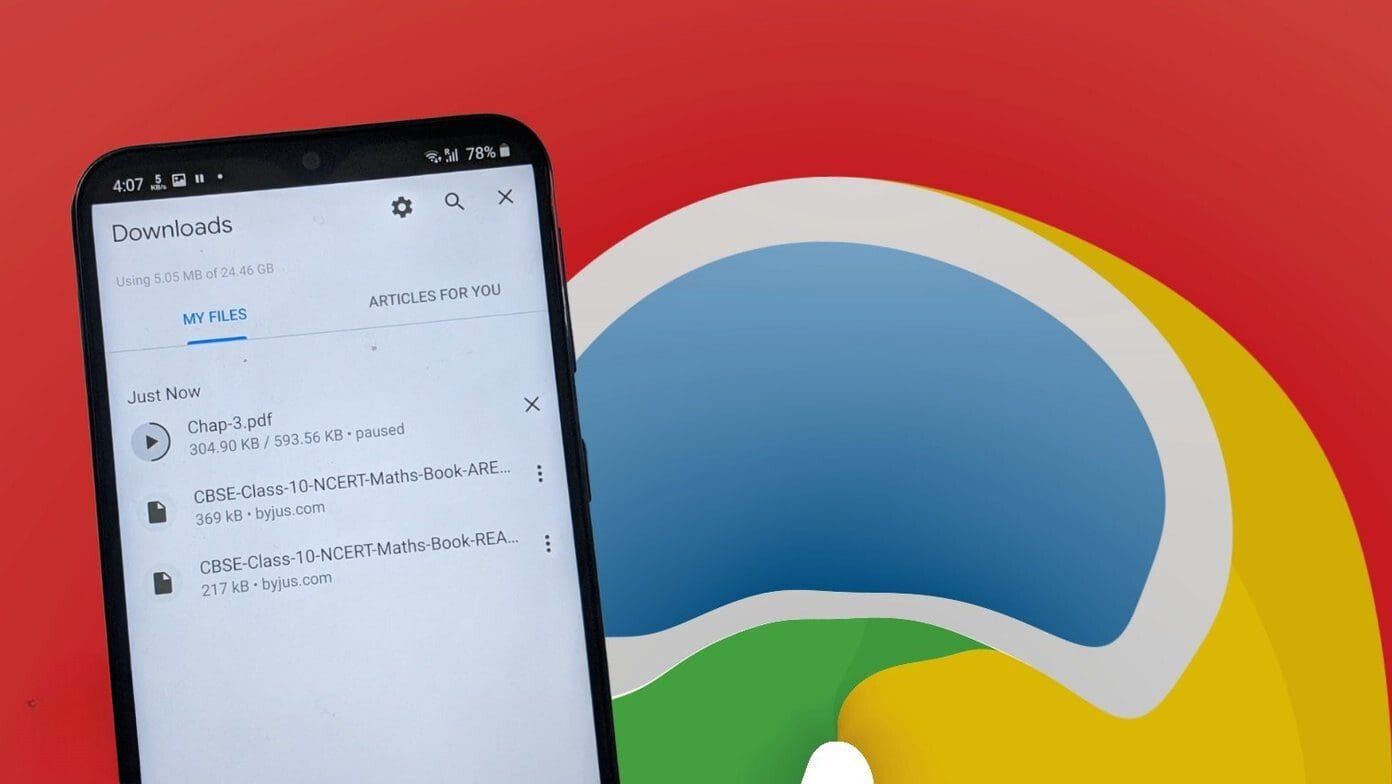
- Find the app responsible for the download you want to cancel. This could be a web browser, a file manager, or any other app handling downloads.
- Tap on the app’s name to access its settings and details.
- Within the app settings, you should see a ‘Downloads’ or ‘Storage’ section. This section allows you to manage and view all the current downloads associated with the app.
- Locate the specific download you wish to cancel and select the ‘Cancel’ option or a similar option depending on the app.
Cancelling a download through the settings menu gives you more control over the app’s preferences and settings related to downloads. It’s particularly useful when you want to have a comprehensive view of all downloads and customize the download behavior according to your preferences.
Please keep in mind that the specific steps and options in the settings menu may vary depending on your device’s manufacturer and the version of Android you are using. However, the general concept of navigating to the app settings and canceling the download should remain consistent.
Now that you are familiar with canceling downloads through the settings menu, let’s move on to some tips to help you cancel downloads efficiently and effectively.
Tips for Canceling Downloads Efficiently
Canceling downloads on your Android device can be a simple process, but there are a few tips and tricks you can follow to ensure you do it efficiently. Here are some helpful tips:
- Review the download: Before canceling a download, take a moment to review the file or application you are downloading. Double-check if it’s something you truly don’t need or if canceling it may cause any inconveniences.
- Act promptly: If you decide to cancel a download, do it as soon as possible. Cancelling early in the process can save you time, data, and storage space.
- Check the progress: Keep an eye on the progress of your downloads. If you notice a download is taking longer than expected or is stuck, it may be worth canceling and trying again.
- Consider your internet connection: If you have a slow or unreliable internet connection, it’s advisable to cancel large downloads that can consume a significant amount of data or take a considerable amount of time. This way, you can avoid wasting resources on a download that may not succeed.
- Organize your Downloads app: If you frequently cancel downloads, consider organizing your downloads within the Downloads app. This can help you easily locate and manage the specific downloads you want to cancel.
- Regularly clear your download history: Clearing your download history can help declutter the Downloads app and make it easier to manage current downloads. You can usually find the option to clear download history within the app’s settings.
- Use storage cleaning apps: If you frequently cancel downloads to free up storage space, consider using storage cleaning apps that can identify and remove unnecessary files and cached data from your device.
By following these tips, you can streamline the process of canceling downloads on your Android device and ensure that you are effectively managing your storage space and internet resources.
Now that you have learned various methods to cancel downloads and some helpful tips, you can confidently take control of your downloads and make better use of your Android device’s resources.
Conclusion
Cancelling downloads on your Android device is an essential skill that can help you manage your storage space, internet resources, and overall device performance. In this article, we explored three methods to cancel downloads: using the notification panel, the Downloads app, and the settings menu. Each method offers its own advantages, and you can choose the one that best suits your needs and preferences.
By using the notification panel, you can quickly cancel a download on the go without having to navigate through multiple menus. The Downloads app provides a centralized location for managing and tracking your downloads, while the settings menu allows you to customize your app preferences and settings.
We also discussed various reasons to cancel downloads, such as a change of plans, limited storage space, internet connectivity issues, accidental downloads, and realizing that the file is not what you expected.
To ensure efficient download cancellation, we provided some helpful tips, including reviewing the download, acting promptly, monitoring the progress, considering your internet connection, organizing the Downloads app, regularly clearing your download history, and utilizing storage cleaning apps.
Remember to familiarize yourself with the specific steps and options based on your device model and Android version. While the overall process remains consistent, there may be slight variations in the interface and terminology.
Now, armed with the knowledge and tools described in this article, you can confidently cancel downloads on your Android device whenever necessary, freeing up valuable storage space, conserving your internet resources, and optimizing your device’s performance.
So go ahead and take control of your downloads, making your Android experience even better.