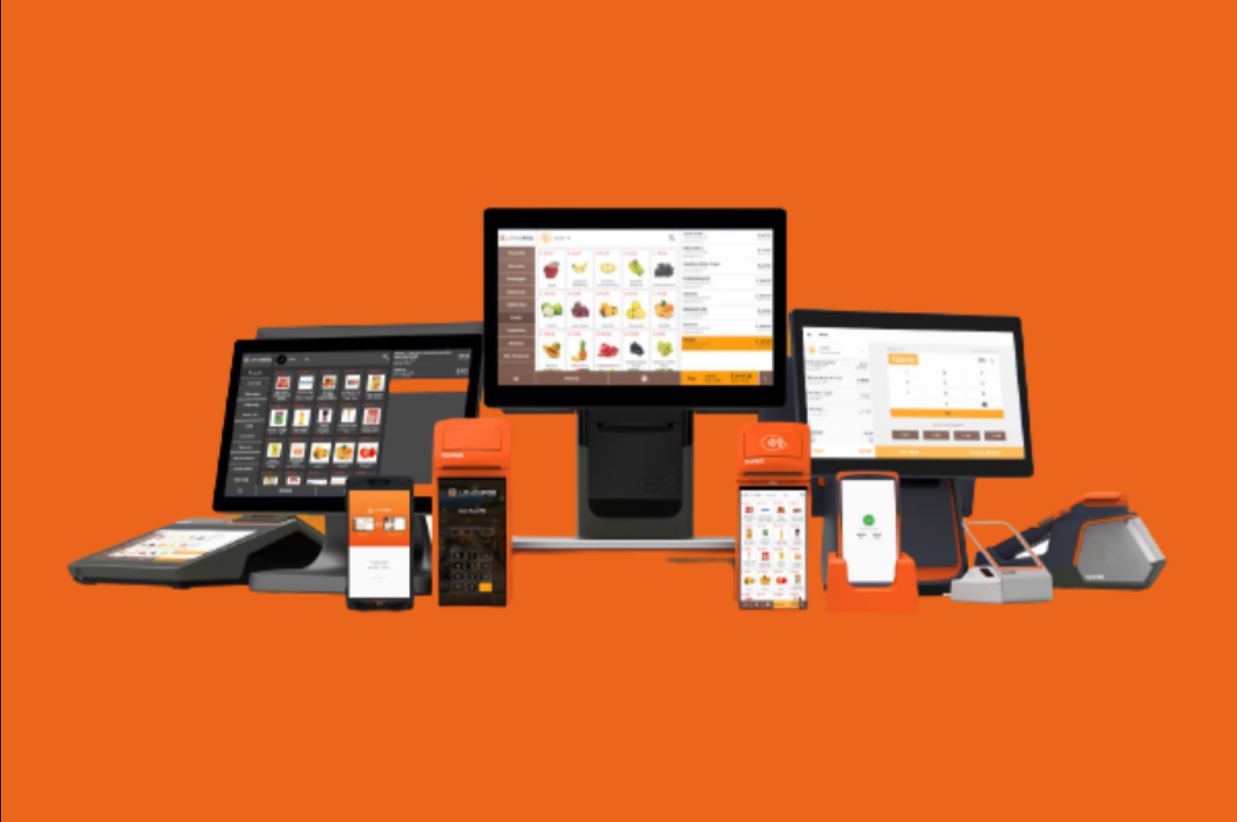
To build a POS system in Java, you will combine a Spring Boot backend for business logic and data persistence, a Java Swing frontend for the cashier interface, and the JavaPOS standard to integrate hardware like barcode scanners and receipt printers. This practical guide walks you through the core technical implementation, from project setup to secure payment processing, giving you a working foundation you can extend for production use.
How to build a pos system in java: project setup
Next, set up a Spring Boot project using Spring Initializr with the following dependencies: Spring Web, Spring Data JPA, Spring Security, and H2 Database (for local development) or PostgreSQL (for production). Choose Maven or Gradle as your build tool. Open the project in IntelliJ IDEA, Eclipse, or NetBeans and configure the application.properties file with your database connection details. For version control, initialize a Git repository to track changes. This setup gives you a solid foundation to build a POS system in Java, separating the REST API layer from the UI and hardware integration.
Building the user interface with Java Swing
For the cashier-facing UI, Java Swing remains a reliable choice because it is platform-independent and integrates well with JavaPOS. Use Oracle's JDeveloper IDE, which includes a GUI Builder that lets you visually design forms and automatically generates Java code. In the GUI Builder workspace, drag components from the Palette window (e.g., JButton, JTextField, JTable) onto the form. The Navigator window shows a tree hierarchy of all components, allowing you to select and rename them easily. Use layout managers like BorderLayout for the main frame, GridBagLayout for the product grid, and FlowLayout for the payment bar to ensure the UI resizes properly. For event handling, use the Connection wizard to bind button clicks to action listeners without writing boilerplate code. For example, attach an ActionListener to the "Add to Cart" button to update a JTable model with the selected product and quantity.
Designing the main POS screen
Create a main screen with a top panel for the current transaction total, a center panel with a scrollable product grid (using JButtons for each product), and a bottom panel for payment and checkout actions. Use a CardLayout to switch between the product grid and a payment view. For the product grid, populate buttons from the product database at startup. Each button's action command should carry the product ID so the event handler can look up the product details. Add a JTextField for barcode entry, and set its focus to capture scanner input. When a barcode is entered, trigger the same event as clicking the corresponding product button.
Integrating pos hardware with JavaPOS
JavaPOS (Java for Point of Sale Devices) is the industry standard for interfacing with POS hardware. It defines a two-layer architecture: Control Objects (the API your application uses) and Service Objects (vendor-provided drivers). To integrate a barcode scanner, add the jpos library to your project and instantiate a Scanner control object. In your code, open the scanner with a logical name (e.g., "Scanner"), claim it, and enable data events. The scanner will fire an event when a barcode is scanned, and you can read the data from the event's getStringData() method. For a receipt printer, use the POSPrinter control object. Open a channel, claim the printer, and send formatted text using printNormal() methods. For example, to print a receipt, you would print the store header, line items, total, and change. Always wrap hardware calls in try-catch blocks to handle disconnection or power-off scenarios gracefully. Test with a real device or a simulator that provides a virtual COM port.
Implementing the product database with Spring Boot
Create a JPA entity called Product with fields for id, name, barcode, price, and stock quantity. Define a ProductRepository interface extending JpaRepository to get CRUD methods. Then, build a RESTful controller with endpoints for listing products, fetching a single product by barcode, adding new products, updating prices, and deleting items. For example, a GET /api/products endpoint returns all products as JSON, which the Swing UI consumes to populate the grid. Use Spring Data's query derivation to add a method like findByBarcode(String barcode) for fast lookup. For the database, configure H2 for development with spring.h2.console.enabled=true to inspect data, or use PostgreSQL with the appropriate driver and connection settings. Seed the database with sample data using a CommandLineRunner bean to insert initial products. This backend serves as the single source of truth for the product catalog, and the Swing UI calls these REST endpoints via RestTemplate or WebClient.
Handling sales transactions and payment processing
Implement the shopping cart logic in a service class that keeps a list of CartItem objects (product, quantity, line total). When a user adds a product, check if it already exists in the cart; if so, increment the quantity. Calculate the subtotal by summing line totals. Apply discounts using a strategy pattern: define a Discount interface with a method apply(double subtotal), then implement percentage discounts, fixed-amount coupons, and buy-one-get-one-free promotions. For payment processing, introduce JPOS, an open-source library that handles ISO-8583 messaging for financial transactions. JPOS simplifies communication with payment gateways by managing message formatting, session handling, and EMV encryption. In your payment service, create a Transaction object with card number, expiry, amount, and type (sale, refund). Use JPOS to pack an ISO-8583 message, send it to the gateway, and parse the response. For a basic simulation, you can mock the gateway in development. After a successful payment, decrement stock quantities in the database via a transactional service method, and save the sale record with a timestamp, item list, and total. Finally, generate a receipt string and send it to the JavaPOS printer.
Adding user authentication and security
Secure the POS system with Spring Security. Define a User entity with username, password (hashed with BCrypt), and a role (e.g., CASHIER, MANAGER, ADMIN). Create a UserRepository and a UserDetailsService that loads users from the database. Configure a SecurityFilterChain to require authentication for all endpoints except the login page. For the Swing client, implement a login dialog that sends credentials to a /api/auth/login endpoint. On success, the server returns a JWT token or a session ID, which the client stores and includes in subsequent REST calls via an interceptor. Use method-level security with @PreAuthorize to restrict operations: for example, only managers can access the discount configuration endpoints, while cashiers can only process sales. For the desktop UI, hide or disable buttons based on the user's role. This ensures that only authorized personnel can perform sensitive actions like voiding transactions or viewing sales reports. Additionally, log all authentication attempts and transaction events to an audit table for traceability.
Related reading: How To Print W-2 In Quickbooks Online, How To Set Up ACH Payment In Quickbooks, and How To Rotate In Solidworks With Trackpad.