Introduction
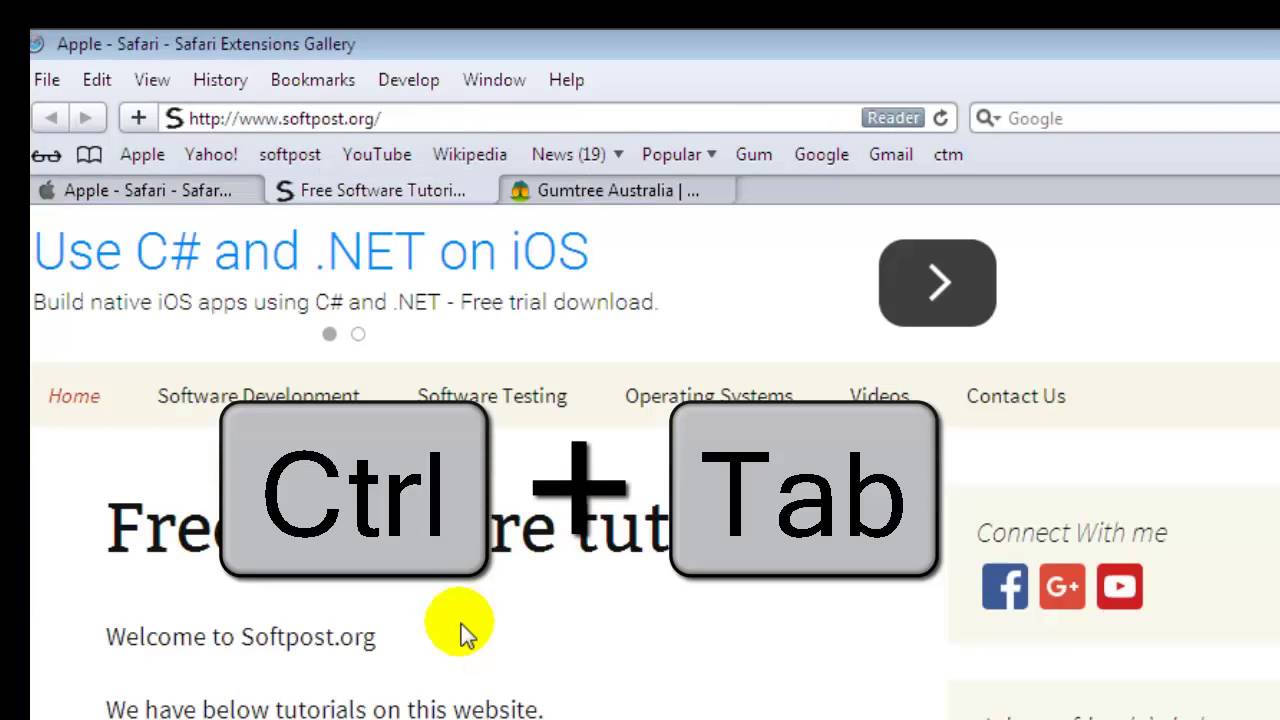
Switching between tabs on a Mac is a common task that many users perform on a daily basis. Whether you’re browsing the web, working on multiple projects, or managing various applications, being able to efficiently switch between tabs is essential for productivity and convenience.
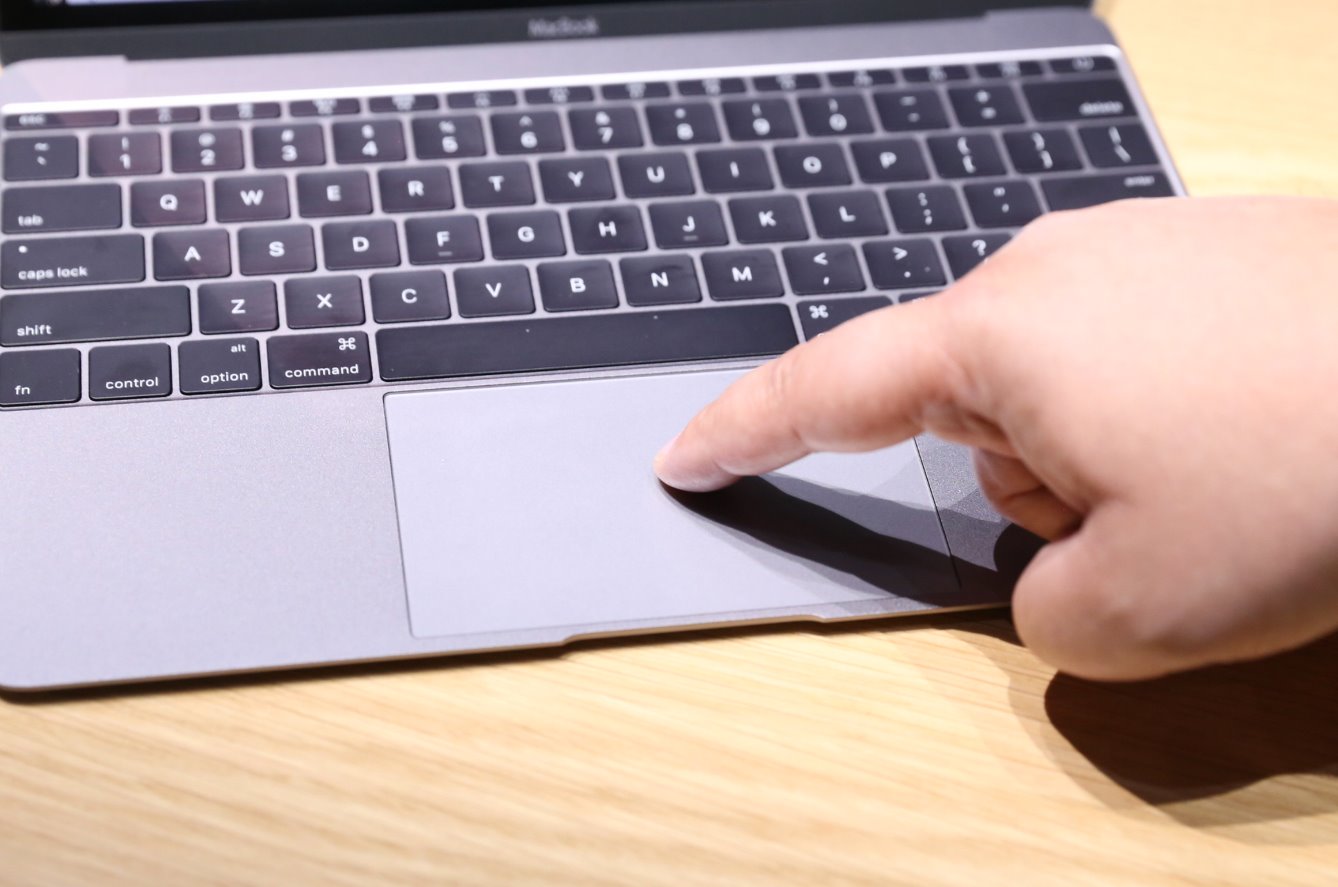
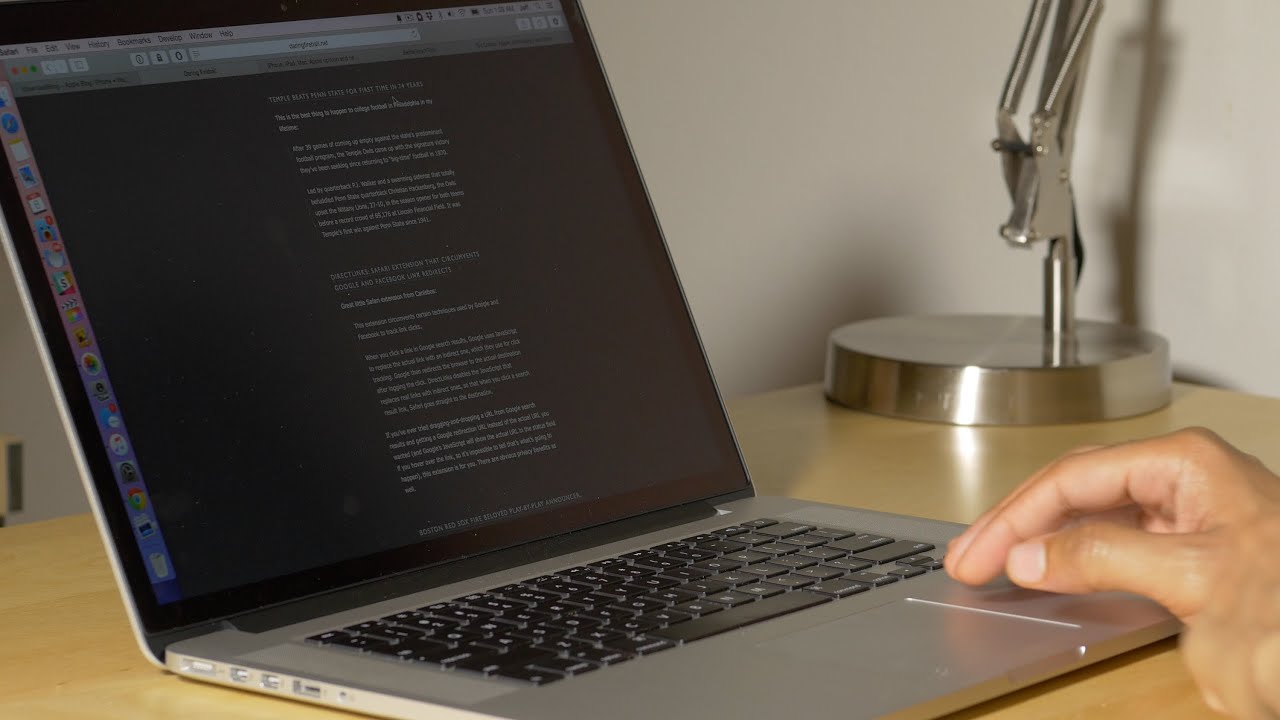
One of the most effective and intuitive ways to switch between tabs on a Mac is by using the trackpad. The trackpad offers a seamless and ergonomic experience, allowing users to navigate through their open tabs with ease.
In this article, we will explore the different trackpad gestures available on Mac that enable quick and effortless tab switching. We will also discuss how you can customize these gestures to suit your preferences and workflow.
By mastering these trackpad gestures, you can streamline your multitasking process and navigate through your tabs more efficiently, saving valuable time and effort.
Whether you’re a student, professional, or casual user, this guide will provide you with the knowledge and skills to make the most out of your Mac’s trackpad and enhance your browsing and multitasking experience.
Why Use Trackpad for Switching Between Tabs on Mac
The trackpad on a Mac offers several advantages when it comes to switching between tabs. Here are a few reasons why using the trackpad for tab switching is beneficial:
- Convenience: The trackpad is conveniently located on your laptop, allowing for easy and quick access to tab switching gestures without the need for additional peripherals.
- Seamless Integration: Apple has designed the trackpad to seamlessly integrate with the macOS operating system. This ensures smooth and responsive tab switching gestures that enhance the overall user experience.
- Efficiency: The trackpad gestures for tab switching are designed to be intuitive and efficient. With a simple swipe, you can navigate between tabs without having to rely on keyboard shortcuts or clicking on individual tabs, saving you time and effort.
- Multi-Touch Gestures: The trackpad supports multi-touch gestures, allowing for more flexibility in tab switching. You can use various combinations of finger swipes to navigate through your tabs, providing a more tactile and immersive experience.
- Reduced Strain: Using the trackpad for tab switching can help reduce strain on your fingers and wrists. Unlike using a mouse or keyboard shortcuts, the trackpad allows for a more natural and ergonomic hand position, minimizing the risk of repetitive strain injuries.
By utilizing the trackpad for tab switching, you can enjoy a seamless and efficient browsing experience on your Mac. The combination of convenience, integration, efficiency, multi-touch gestures, and reduced strain make the trackpad an ideal tool for navigating through your open tabs.
How to Enable Trackpad Gesture for Tab Switching
Enabling trackpad gestures for tab switching on your Mac is a straightforward process. Here’s how you can do it:
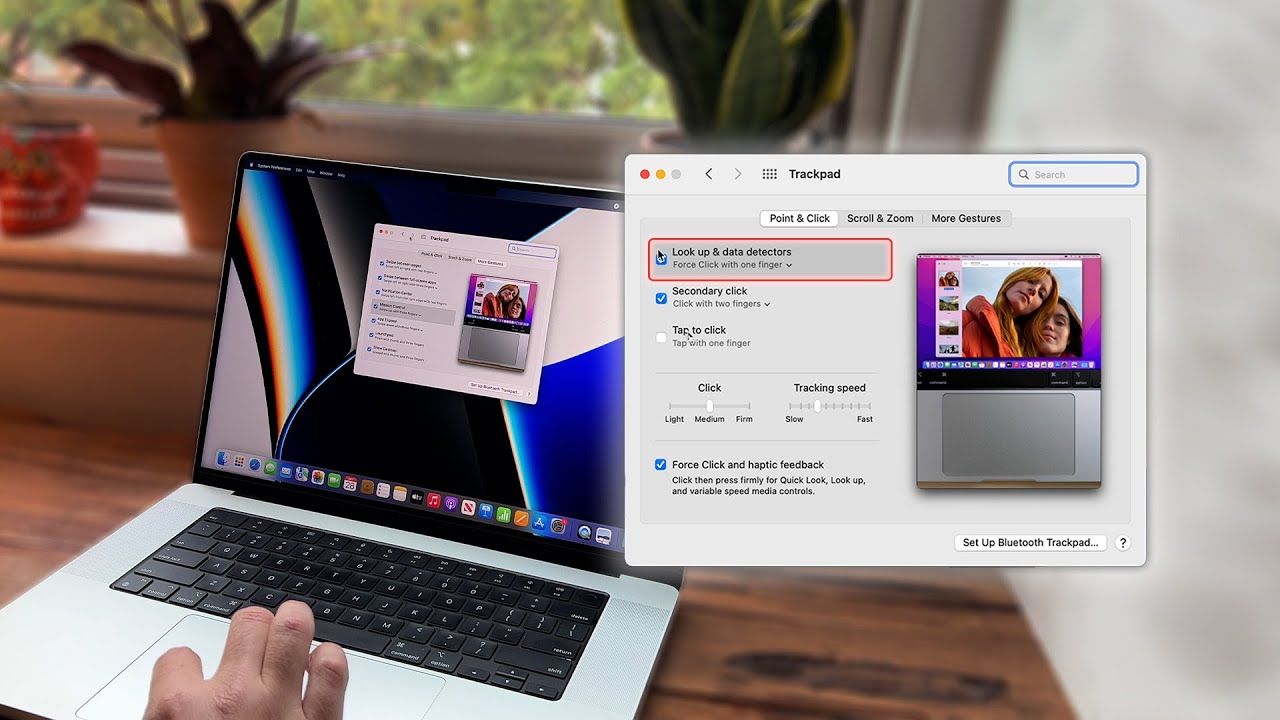
- Open System Preferences: Click on the Apple menu in the top-left corner of your screen and select “System Preferences” from the dropdown menu.
- Select Trackpad: In the System Preferences window, locate and click on the “Trackpad” icon.
- Choose “More Gestures”: Within the Trackpad settings, navigate to the “More Gestures” tab. Here, you will find a range of customizable gestures for your trackpad.
- Enable Tab Switching Gesture: Look for the option labeled “Swipe between full-screen apps” or a similar description. Check the box next to it to enable the gesture.
- Adjust Trackpad Sensitivity: If necessary, you can adjust the sensitivity of the trackpad gestures to your liking. Experiment with the settings until you find the most comfortable and responsive configuration.
- Test the Gesture: Once you’ve enabled the tab switching gesture, you can test it out. Open a few tabs in your preferred web browser and then swipe left or right on the trackpad using three fingers. You should see the tabs switch back and forth as you perform the gesture.
By following these steps, you can enable the trackpad gesture for tab switching on your Mac. This allows you to seamlessly navigate through your open tabs using intuitive and efficient swiping motions.
Two-Finger Swipe Gesture
The two-finger swipe gesture is a popular method for switching between tabs on a Mac trackpad. It offers a simple and intuitive way to navigate through your open tabs. Here’s how you can perform the two-finger swipe gesture:
- Place your fingers on the trackpad: Position two fingers (usually your index and middle finger) on the trackpad’s surface. Make sure your fingers are in a comfortable position and have a good grip.
- Swipe left or right: Once your fingers are on the trackpad, swipe left or right in a horizontal motion. Use a smooth and controlled movement to initiate the tab switch. You can start the swipe from either edge of the trackpad, depending on your preference.
- Observe the tab switch: As you perform the two-finger swipe gesture, you will see the active tab switch to the next or previous tab in your web browser or application. This allows you to quickly navigate through your open tabs without having to click on individual tabs or use keyboard shortcuts.
The two-finger swipe gesture is a versatile and efficient method for tab switching. It provides a seamless and tactile experience, making it easier to manage and navigate through multiple tabs on your Mac.
It’s worth noting that different applications and web browsers may have slight variations in how they interpret the two-finger swipe gesture. Some may require enabling specific settings, while others may have additional functionality tied to this gesture. Be sure to explore the settings and preferences of your preferred applications to make the most out of the two-finger swipe gesture for tab switching.
Three-Finger Swipe Gesture
The three-finger swipe gesture is another powerful way to switch between tabs on a Mac trackpad. It offers a slightly different experience compared to the two-finger swipe gesture, allowing for additional functionality and flexibility. Here’s how you can perform the three-finger swipe gesture:
- Position your fingers: Rest three fingers (such as your thumb, index, and middle finger) on the trackpad. Ensure that your fingers are comfortably placed and have a good grip.
- Swipe left or right: Using a smooth and controlled motion, swipe left or right horizontally with your three fingers on the trackpad. The swipe can start from either edge of the trackpad, depending on your preference.
- Observe the tab switch: As you perform the three-finger swipe gesture, you will notice that the active tab switches to the next or previous tab in your web browser or application, similar to the two-finger swipe gesture. Additionally, some applications may utilize the three-finger swipe gesture to reveal other functionalities, such as switching between full-screen apps or displaying the Mission Control view.
The three-finger swipe gesture offers a heightened level of control and convenience for tab switching. Its multi-finger nature allows for smoother navigation and adds versatility to your trackpad usage. By utilizing this gesture, you can navigate through your tabs swiftly and efficiently, improving your overall productivity.
Do keep in mind that the interpretation of the three-finger swipe gesture may vary depending on the application or web browser you are using. It’s worth exploring the settings and preferences of your preferred applications to discover additional functionalities that can be triggered by the three-finger swipe gesture.
Four-Finger Swipe Gesture
The four-finger swipe gesture is a powerful and versatile way to switch between tabs on a Mac trackpad. It offers additional functionality and customization options compared to the two and three-finger swipe gestures. Here’s how you can perform the four-finger swipe gesture:
- Position your fingers: Place four fingers (such as your thumb, index, middle, and ring finger) on the trackpad. Make sure your fingers are comfortably positioned and have a firm grip.
- Swipe left or right: Using a smooth and controlled motion, swipe left or right horizontally with your four fingers on the trackpad. The swipe can start from either edge of the trackpad, based on your preference and comfort.
- Observe the tab switch and other functionalities: As you perform the four-finger swipe gesture, you will notice that the active tab switches to the next or previous tab in your web browser or application, similar to the two and three-finger swipe gestures. In addition, the four-finger swipe gesture can also trigger other actions, such as revealing the Notification Center or launching Mission Control, depending on your macOS settings and app configurations.
The four-finger swipe gesture provides an enhanced level of control and customization for tab switching, as well as access to other system functions. By utilizing this gesture, you can navigate through your tabs seamlessly, while also leveraging the power of additional macOS features.
It’s important to note that the interpretation of the four-finger swipe gesture may vary depending on the applications and settings you have. Certain applications might utilize this gesture for specific actions, so it’s worth exploring the preferences and settings of your favorite apps to fully harness the potential of the four-finger swipe gesture.
Customizing Trackpad Gestures for Tab Switching
One of the great advantages of using a Mac trackpad is the ability to customize gestures to suit your specific preferences and workflow. This includes customizing trackpad gestures for tab switching. Here’s how you can tailor these gestures to enhance your tab navigation experience:
- Open System Preferences: Click on the Apple menu in the top-left corner of your screen and select “System Preferences” from the dropdown menu.
- Select Trackpad: In the System Preferences window, click on the “Trackpad” icon.
- Navigate to “More Gestures”: Within the Trackpad settings, click on the “More Gestures” tab. Here, you will find a range of customizable gestures for your trackpad.
- Modify Tab Switching Gesture: Look for the option related to tab switching or navigating between open windows. You can modify the gesture by selecting a different swipe direction or adjusting the number of fingers required for the gesture. For example, you can switch from a three-finger swipe to a four-finger swipe or change the direction from horizontal to vertical.
- Experiment with Different Settings: Play around with the trackpad gesture settings to find the configuration that feels most comfortable and intuitive to you. Consider factors such as finger placement, swipe direction, and the number of fingers required. Tweak the settings until you find the ideal setup that matches your personal preferences and enhances your tab switching experience.
By customizing the trackpad gestures for tab switching, you can optimize your workflow and streamline your multitasking process. Tailoring these gestures allows you to have more control and flexibility in navigating through your tabs, making it easier to find the information or content you need swiftly and efficiently.
Remember that the customization options for trackpad gestures may vary depending on your macOS version and specific trackpad model. Explore the settings and preferences available to you to unlock the full potential of customizing trackpad gestures for tab switching based on your unique needs and preferences.
Conclusion
Switching between tabs on a Mac is made effortless and efficient with the use of trackpad gestures. Whether you prefer the simplicity of the two-finger swipe gesture, the versatility of the three-finger swipe gesture, or the additional functionality of the four-finger swipe gesture, the trackpad offers a seamless and ergonomic way to navigate through your open tabs.
By enabling and customizing these trackpad gestures, you can enhance your browsing and multitasking experience on your Mac. The convenience, integration, efficiency, and multi-touch capabilities of the trackpad allow for quick and intuitive tab switching, reducing strain on your fingers and wrists.
Remember to explore the System Preferences and application settings to tailor the trackpad gestures to your liking. Experiment with different swipe directions, finger combinations, and sensitivity settings to find the configuration that best suits your workflow and preferences.
Whether you’re a student, a professional, or a casual user, mastering the trackpad gestures for tab switching will undoubtedly improve your productivity and streamline your tasks on a Mac. Take the time to familiarize yourself with these gestures and enjoy the seamless and efficient navigation through your tabs.
So go ahead, unlock the full potential of your Mac’s trackpad and discover the joy of effortless tab switching!