Introduction
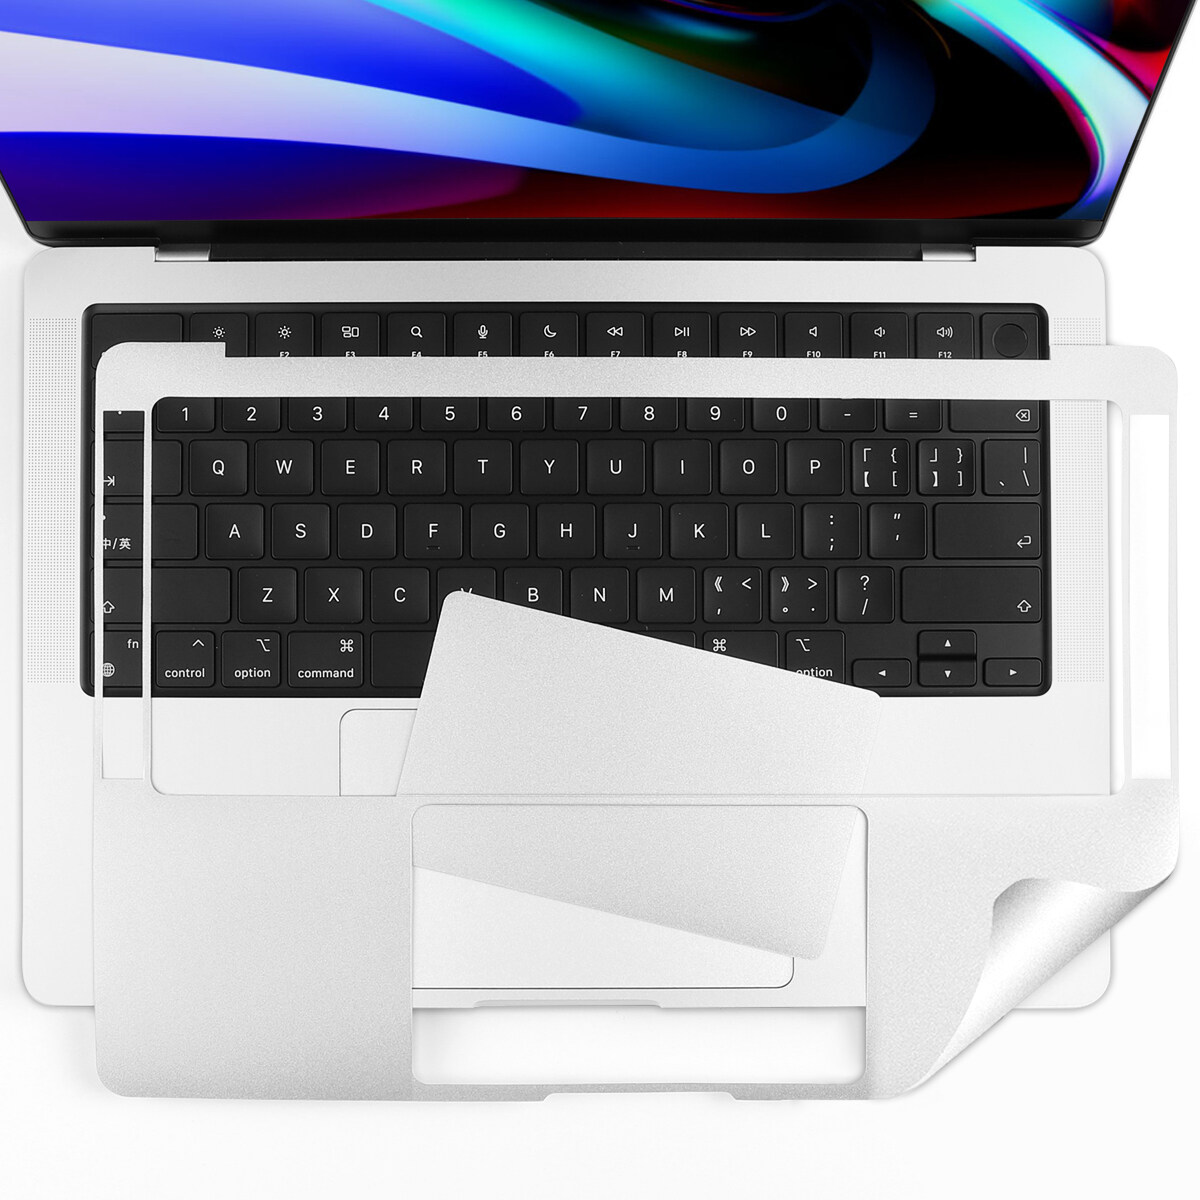
Welcome to the world of Macbooks, where precision, convenience, and sleek design go hand in hand. As a Macbook user, you have the advantage of using one of the most advanced trackpads available in the market. The trackpad not only replaces the conventional mouse but also offers a plethora of intuitive gestures and features to enhance your productivity and browsing experience.
In this article, we will guide you on how to make the most out of your Macbook’s trackpad. Whether you are a new Macbook user or have been using it for a while, you will find valuable tips and tricks to help you navigate and customize your trackpad settings to suit your preferences. So, let’s dive in!
Before we begin, it is essential to note that the instructions provided in this article are specifically for Macbooks running on macOS. Some features may vary depending on your model and operating system version, so make sure you check your system settings accordingly.
Whether you use your Macbook for work, entertainment, or both, the trackpad is a vital tool that enables you to interact with your device effortlessly. The trackpad’s smooth and responsive surface allows you to perform various actions with simple gestures, eliminating the need for an external mouse.
Throughout this guide, we will cover everything from basic trackpad navigation to advanced multi-touch gestures. You will also learn how to customize your trackpad settings to better suit your preferences and troubleshoot any trackpad issues that may arise.
So, whether you are a student, professional, or casual user, get ready to master the art of using your Macbook’s trackpad efficiently. Let’s explore the world of gestures, functions, and personalization options that await you!
Getting Started
If you’re new to using a Macbook trackpad or need a quick refresher, this section will help you get started. Here are the essential steps to begin using your trackpad:
- Positioning: Place your Macbook on a flat surface, ensuring that the trackpad is easily accessible and within comfortable reach.
- Power On: Press the power button on your Macbook to turn it on. Once your Macbook is booted up, you will be ready to start using the trackpad.
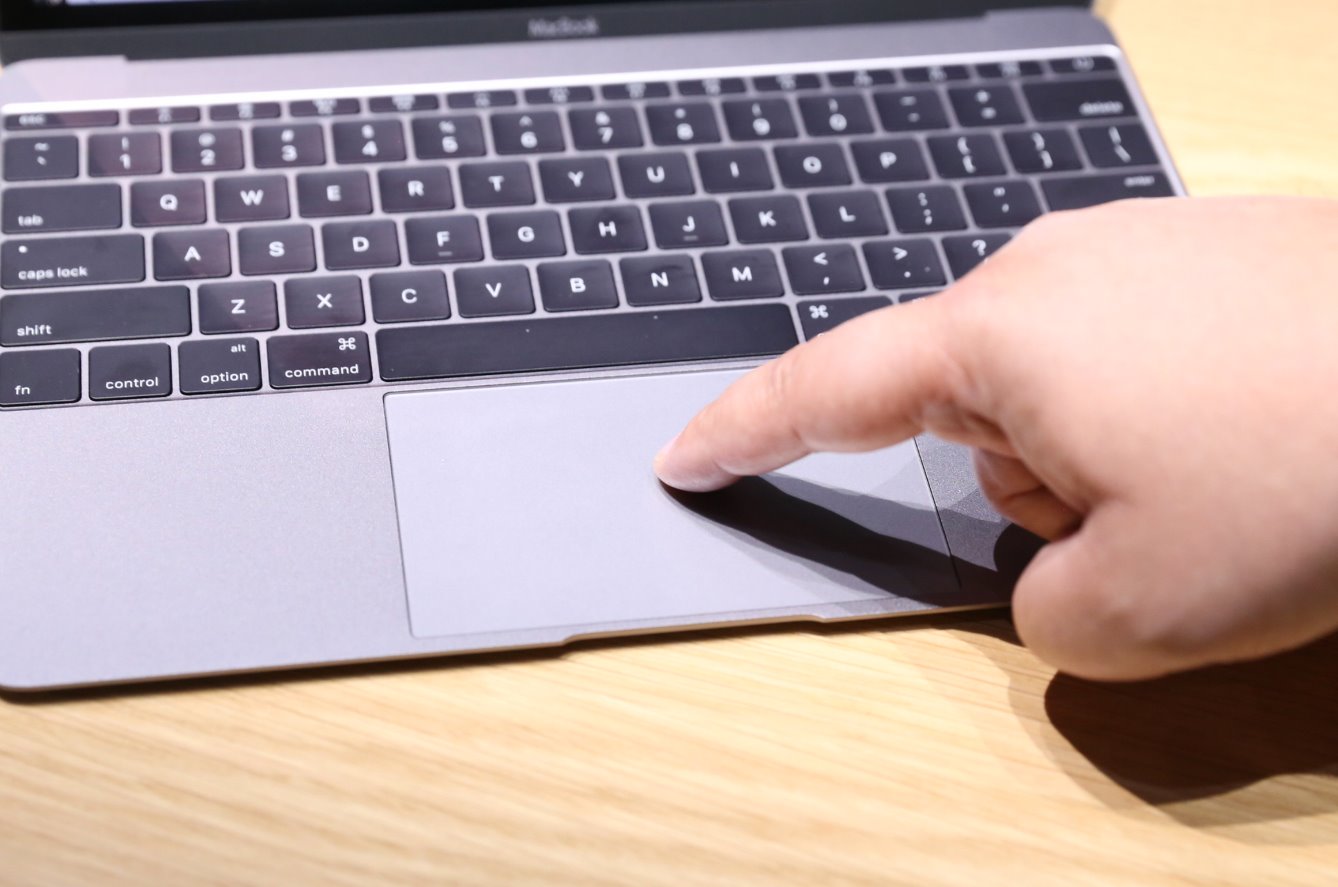
- Optimal Finger Placement: Position your finger(s) lightly on the trackpad surface. Avoid applying excessive pressure, as the trackpad is designed to respond to gentle touches and gestures.
- Basic Navigation: To move the cursor on screen, swipe your finger lightly in the desired direction. You can adjust the sensitivity of the trackpad in the system preferences to suit your preferences.
- Clicking: To perform a primary click, gently press down on the trackpad with one finger. You will hear and feel a subtle click, indicating that the click has been registered. To perform a secondary click (equivalent to the right-click on a mouse), lightly tap the trackpad with two fingers simultaneously.
- Scrolling: To scroll vertically, swipe two fingers up or down on the trackpad surface. You can also enable natural scrolling in the system preferences, which allows for a more intuitive scrolling experience.
By following these basic steps, you can start using your Macbook trackpad effectively. Familiarizing yourself with these foundational techniques will make it easier to perform more advanced gestures and actions in the future.
Now that you are comfortable with the basic functionality of your trackpad, let’s move on to exploring how you can customize its settings to further enhance your user experience.
Adjusting Trackpad Settings
Your Macbook allows you to tailor the trackpad settings to your liking. Whether you prefer a faster or slower cursor movement, want to enable additional gestures, or require accessibility features, adjusting the trackpad settings can greatly enhance your overall user experience. Here are the steps to adjust trackpad settings:
- Access System Preferences: Click on the Apple menu in the top-left corner of the screen and select “System Preferences” from the drop-down menu.
- Select Trackpad: In the System Preferences window, click on the “Trackpad” icon. This will open the Trackpad settings.
- Customize Gestures: Navigate to the “Gestures” tab. Here, you can enable or disable various touch gestures, such as swipe between pages, pinch to zoom, and mission control. Experiment with different options to find gestures that best suit your workflow.
- Adjust Tracking Speed: Under the “Point & Click” tab, you can adjust the tracking speed of your trackpad. Move the slider to the left for slower movement or to the right for faster movement. Test different speeds until you find the one that feels most comfortable for you.
- Enable Tap to Click: If you prefer not to physically click the trackpad, you can enable “Tap to Click” under the “Point & Click” tab. This allows you to perform clicks by lightly tapping the trackpad surface.
- Configure Secondary Click: To change the behavior of the secondary click (right-click), go to the “Point & Click” tab and click on the drop-down menu next to “Secondary click.” You can choose “Click in bottom right corner” or “Click in bottom left corner” depending on your preference.
- Utilize Accessibility Features: If you have specific accessibility needs, navigate to the “Accessibility” tab in the Trackpad settings. Here, you can enable features like “Enable dragging” or “Three Finger Drag” for enhanced control and ease of use.
Remember to experiment with different settings to find the configuration that works best for you. The trackpad settings can be adjusted at any time, allowing you to adapt to different tasks and preferences effortlessly.
Now that you have customized your trackpad settings, let’s move on to learning the various gestures you can perform with your Macbook trackpad to navigate and interact with your device more efficiently.
Navigating with Trackpad Gestures
Your Macbook trackpad offers a wide range of gestures that allow you to navigate through applications, switch between screens, and perform various tasks with ease. Mastering these gestures can greatly enhance your productivity. Here are some essential trackpad gestures to help you navigate your Macbook:
- Swipe Between Pages: Use a two-finger swipe to the left or right to navigate between pages in web browsers, documents, or apps that support this gesture. It’s like flipping through the pages of a book.
- Switch between Full-Screen Apps: Swipe left or right with three fingers to switch between full-screen applications. This gesture is ideal for quickly switching between different tasks without minimizing windows.
- Show Mission Control: Spread your thumb and three fingers apart to simultaneously reveal all open windows, desktops, and the Dashboard using Mission Control. This gesture provides a bird’s-eye view of your entire workspace.
- Launch App Exposé: Place three fingers on the trackpad and swipe them downwards to activate App Exposé. This gesture displays all open windows for the currently active application, making it easier to locate a specific window.
- Pinch to Zoom: Place two fingers on the trackpad and pinch them together or spread them apart to zoom in or out on images, webpages, or documents. This gesture allows you to quickly adjust the zoom level without using keyboard shortcuts.
- Rotate: With two fingers on the trackpad, rotate them in a circular motion to rotate images or objects in compatible applications. This gesture is handy for adjusting the orientation of images or maps.
- Swipe between Spaces: If you use multiple desktop spaces, swipe left or right with four fingers to switch between different spaces. This gesture provides a seamless transition between different workspaces.
- Scroll in PDFs and Documents: To scroll through large documents or PDFs quickly, use two fingers to swipe up or down on the trackpad surface. This gesture allows for smooth and effortless navigation.
Practice these gestures regularly, and soon they will become second nature to you. Remember to explore the Trackpad settings to enable or disable specific gestures according to your preferences.
Now that you have a good grasp of basic trackpad navigation gestures, let’s explore the world of multi-touch gestures that offer even more functionality and control over your Macbook.
Using Multi-Touch Gestures
One of the standout features of your Macbook trackpad is its ability to recognize and respond to multi-touch gestures. These gestures offer a whole new level of control and efficiency, allowing you to perform complex actions with just a few simple touches. Here are some essential multi-touch gestures that can revolutionize your Macbook experience:
- Three-Finger Swipe: Swipe left or right with three fingers to switch between full-screen applications or navigate through web browsers, documents, and other supported applications. This gesture provides a seamless way to move between different tasks effortlessly.
- Three-Finger Tap: If you want a quick definition of a word or access contextual menus, use a three-finger tap on a word to bring up a dictionary definition or the right-click menu. This gesture saves time and adds convenience to your workflow.
- Three-Finger Drag: Enable the “Three Finger Drag” option in the Accessibility settings, and you can use three fingers to drag windows, objects, and text around the screen. This gesture is especially useful for users with mobility difficulties or those who prefer a different way of interacting with their Macbook.
- Pinch with Thumb and Three Fingers: Use your thumb and three fingers to pinch together on the trackpad to access Launchpad. This gesture provides a quick and easy way to view all your installed applications and launch them with a single tap.
- Swipe up with Four Fingers: Swiping up with four fingers reveals the all-new Control Center in macOS, providing quick access to essential system controls, such as Wi-Fi, Bluetooth, volume, and screen brightness. This gesture eliminates the need to navigate through system menus.
- Pinch to Desktop: Place your thumb and three fingers on the trackpad and pinch them together to view your desktop instantly, allowing you to quickly access files or drag and drop items onto the desktop.
- Tap to Zoom: Double-tap with two fingers to zoom in and out on a webpage or image. This gesture is particularly useful when you need to focus on details or when reading small text.
These multi-touch gestures provide an intuitive and efficient way to interact with your Macbook. Take the time to practice and master these gestures, and you will unlock a whole new level of productivity and ease of use.
Now that you are familiar with multi-touch gestures, let’s move on to the next section, where you will learn how to customize the functions of your trackpad to suit your personal preferences and workflow.
Customizing Trackpad Functions
Your Macbook allows you to customize the trackpad functions to align with your personal preferences and optimize your workflow. By customizing the trackpad, you can enhance productivity and tailor the user experience to suit your needs. Here are some ways to customize the functions of your trackpad:
- Access System Preferences: Begin by clicking on the Apple menu in the top-left corner of your screen and selecting “System Preferences” from the drop-down menu.
- Select Trackpad: In the System Preferences window, click on the “Trackpad” icon to open the Trackpad settings.
- Customize Gestures: Explore the “Gestures” tab, where you can enable or disable specific touch gestures. You can also modify existing gestures by clicking on them and choosing a different action from the dropdown menu.
- Adjust Tracking Speed: Under the “Point & Click” tab, you can adjust the tracking speed of your trackpad. Drag the slider to the left for a slower speed or to the right for a faster speed.
- Create Custom Shortcuts: In the “More Gestures” tab, you have the option to create custom shortcuts using trackpad gestures. For example, you can assign a specific gesture to launch an application or perform a system action.
- Enable Tap to Click: If you prefer not to physically click the trackpad, you can enable “Tap to Click” in the “Point & Click” tab. This allows you to perform clicks by simply tapping the trackpad surface.
- Personalize Pressure Sensitivity: For Macbooks equipped with Force Touch technology, you can adjust the pressure sensitivity in the “Force Touch” tab. Experiment with different settings to find the level of sensitivity that suits you best.
- Configure Secondary Click: Under the “Point & Click” tab, you can customize the behavior of the secondary click (right-click). Choose between clicking in the bottom right or bottom left corner of the trackpad.
By customizing the functions of your trackpad, you can streamline your workflow and make your interactions with your Macbook more efficient and personalized. Take the time to experiment with different settings and gestures to find the configuration that works best for you.
Now that you have customized your trackpad functions, let’s move on to troubleshooting any potential trackpad issues that you may encounter.
Troubleshooting Trackpad Issues
While Macbooks are known for their reliable trackpads, occasional issues may arise that affect their functionality. If you encounter any trackpad problems, don’t worry! Here are some common troubleshooting steps to help you resolve trackpad issues:
- Check Trackpad Connection: Ensure that your trackpad is securely connected to your Macbook. If you are using a wireless trackpad, make sure it is turned on and properly paired with your device.
- Restart your Macbook: A simple restart can often fix minor glitches or temporary issues with the trackpad. Click on the Apple menu and select “Restart” to reboot your Macbook.
- Clean the Trackpad: Dust, dirt, or debris on the trackpad surface can interfere with its functionality. Use a soft, lint-free cloth to gently clean the trackpad, ensuring there are no obstructions or residues affecting its responsiveness.
- Update macOS: Make sure you are running the latest version of macOS. Updates often include bug fixes and improvements that can resolve trackpad issues. To check for updates, go to the Apple menu, select “System Preferences,” and click “Software Update.”
- Reset Trackpad Settings: If you are experiencing persistent issues, you can reset the trackpad settings to their default configuration. In the Trackpad settings, click on the “Reset” button.
- Check Trackpad Battery: If you are using a wireless trackpad, ensure that the batteries have sufficient charge. Replace the batteries if necessary.
- Disconnect External Devices: Disconnect any external devices connected to your Macbook, such as a mouse or other peripherals. Sometimes, conflicts between devices can affect trackpad functionality.
- Check Accessibility Settings: If you have enabled any accessibility features that affect the trackpad, make sure they are properly configured. Disable and re-enable them to see if that resolves the issue.
If none of the above steps resolve the trackpad issue, you may need to contact Apple Support for further assistance or schedule an appointment at an Apple Authorized Service Provider.
Remember, troubleshooting steps may vary depending on your specific issue and the macOS version you are using. Always refer to Apple’s official support resources or consult with an expert if you encounter persistent trackpad problems.
Now that you are equipped with troubleshooting know-how, you can confidently resolve any trackpad issues that come your way.
Conclusion
Congratulations! You’ve now become well-versed in the art of using your Macbook trackpad effectively. By understanding its functions, customizing settings, and troubleshooting issues, you can maximize productivity and enhance your overall user experience.
We started by introducing you to the world of Macbook trackpads, highlighting their advanced features, precision, and convenience. Then, we guided you through the basics of getting started with your trackpad, including positioning, power-on, and essential navigation techniques.
Next, we explored how to adjust trackpad settings to tailor its functions to your liking. By customizing gestures, adjusting tracking speed, and enabling tap-to-click, you can optimize the trackpad to suit your unique preferences and workflow.
We then delved into the world of trackpad gestures, from basic navigation swipes to advanced multi-touch gestures. By mastering these gestures, you can navigate through applications, switch between full-screen apps, and perform various tasks with intuitive ease.
Additinally, we introduced you to troubleshooting steps to address common trackpad issues. From checking connections to resetting settings, these troubleshooting tips can help you resolve any trackpad problems that may arise.
Remember, practice makes perfect! The more you use your trackpad and explore its features, the more comfortable and efficient you will become with it.
Now go ahead and unleash the full potential of your Macbook trackpad. Customize it, experiment with gestures, and enjoy the seamless navigation and control it offers. Happy trackpad-ing!