Introduction
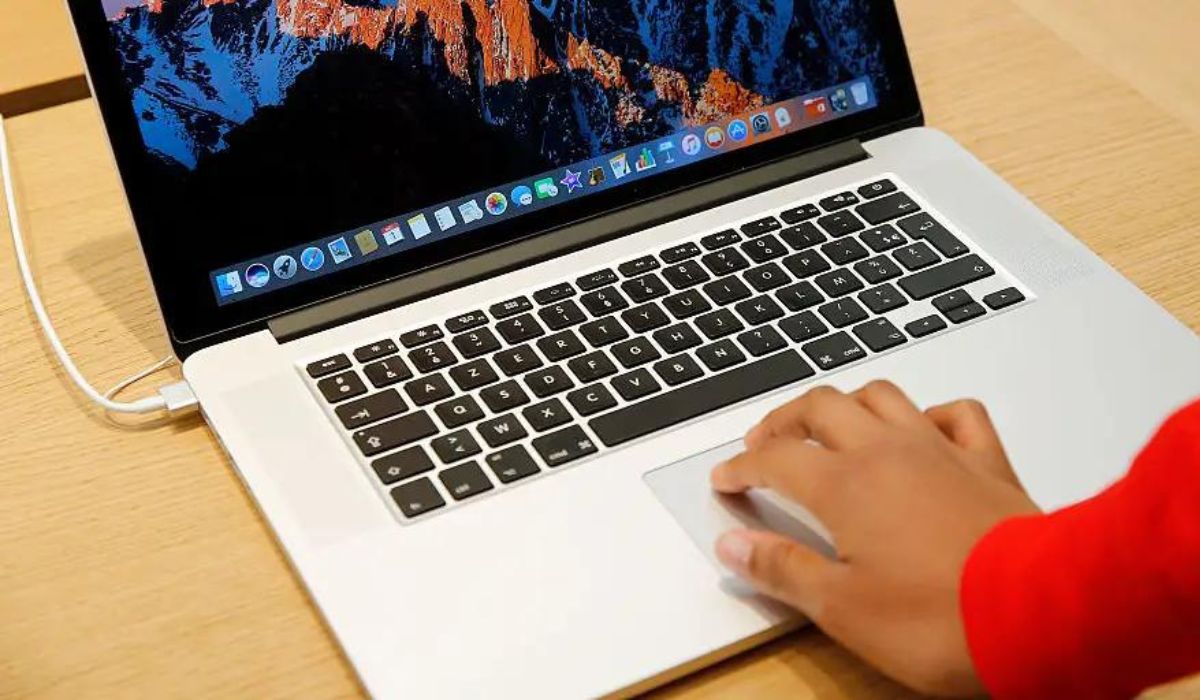
The trackpad on a Macbook is a powerful tool that allows users to interact with their device in a seamless and intuitive way. From navigating websites and documents to executing multitouch gestures, the trackpad offers a wide range of functionalities. One of the essential features that users rely on is the ability to scroll through content effortlessly.
In this article, we will explore the various ways to scroll using the trackpad on a Macbook. Whether you are a new Macbook user or looking to enhance your scrolling experience, these tips and tricks will help you become a pro at navigating through your device with ease.
Scrolling with the trackpad is a fundamental skill that helps you browse websites, read documents, and navigate through lengthy articles or social media feeds. By mastering different scrolling techniques, you can save time and operate your Macbook more efficiently.
Throughout this article, we will cover the different gestures available to accomplish smooth and seamless scrolling on your Macbook. From enabling the scroll feature to customizing the scroll direction, we will provide step-by-step instructions and valuable tips to ensure you get the most out of your trackpad.
So, whether you are working on a school project, researching a topic of interest, or simply enjoying your favorite websites, read on to learn how to scroll like a pro using the trackpad on your Macbook.
Trackpad Gestures on Macbook
Before we dive into the specifics of scrolling, let’s familiarize ourselves with the different trackpad gestures available on a Macbook. These gestures allow you to perform various actions using simple finger movements, making your navigation experience more efficient and enjoyable.
The Macbook trackpad supports a wide range of gestures, including:
- Pinch to zoom: This gesture enables you to zoom in or out on images, web pages, or documents by placing two fingers on the trackpad and pinching them together or spreading them apart.
- Swipe between full-screen apps: You can quickly switch between full-screen apps by using a three-finger swipe gesture to the left or right on the trackpad.
- Mission Control: By using a three-finger swipe upwards on the trackpad, you can activate Mission Control, which provides an overview of all open windows and applications on your Macbook.
- Show desktop: To minimize all open windows and reveal the desktop, place your thumb and three fingers on the trackpad and spread them apart.
- Launchpad: Launchpad allows you to view and open applications on your Macbook. Simply use a pinch gesture with your thumb and three fingers to invoke Launchpad.
These are just a few examples of the many gestures available on the Macbook trackpad. Mastering these gestures will greatly enhance your overall navigation and productivity on your Macbook.
Now that we have covered the various trackpad gestures, let’s move on to understanding how to enable the scroll feature on your Macbook.
Enabling the Scroll Feature
Before you can start scrolling on your Macbook trackpad, you need to ensure that the scroll feature is enabled. By default, most Macbooks have scrolling enabled, but it’s always good to double-check.
To enable the scroll feature on your Macbook, follow these steps:
- Click on the Apple menu, located at the top-left corner of your screen.
- Select “System Preferences” from the dropdown menu.
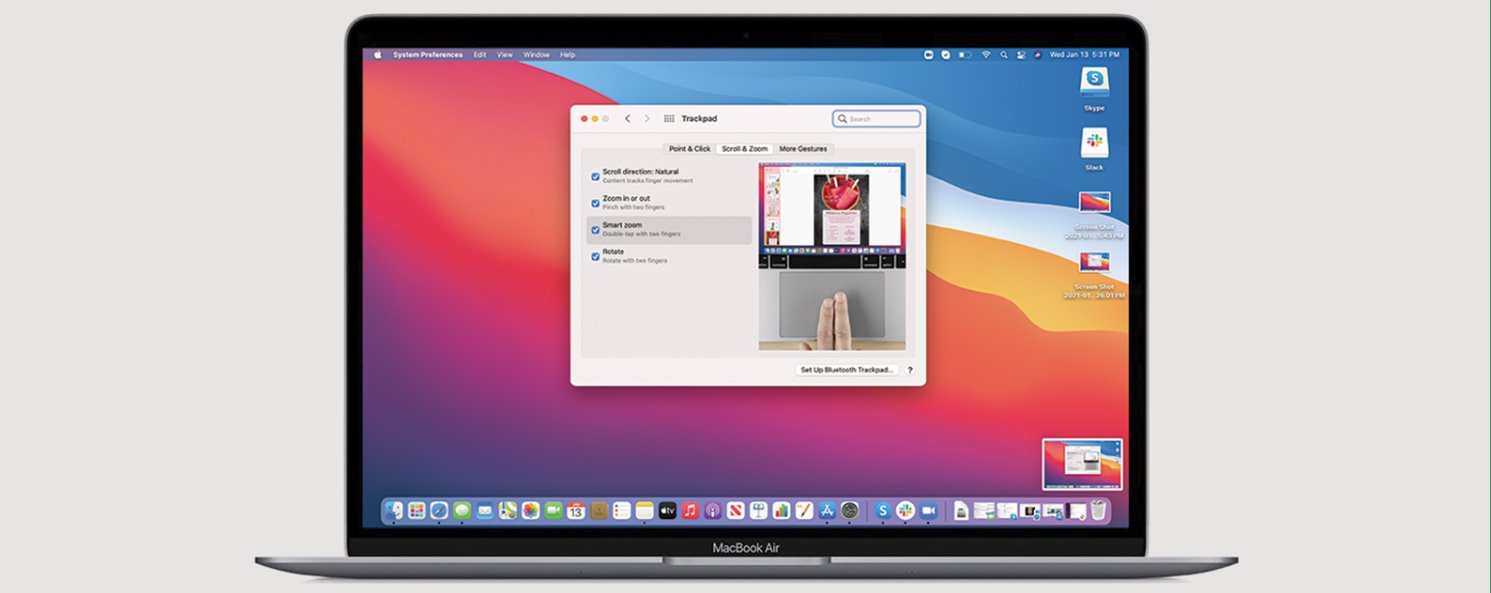
- In the System Preferences window, click on “Trackpad.”
- Go to the “Scroll & Zoom” tab.
- Ensure that the “Scroll direction: natural” option is checked. This setting allows you to scroll in a natural way, where dragging two fingers upwards on the trackpad makes the content move upwards as well.
If the “Scroll direction: natural” option is already selected, then the scroll feature is already enabled on your Macbook. However, if it is not selected, check the box to enable it.
Enabling the scroll feature is essential to ensure a smooth scrolling experience. Once you have confirmed that the scroll feature is enabled, you can proceed to explore the different scrolling gestures available on your Macbook trackpad.
The Two-Finger Scroll
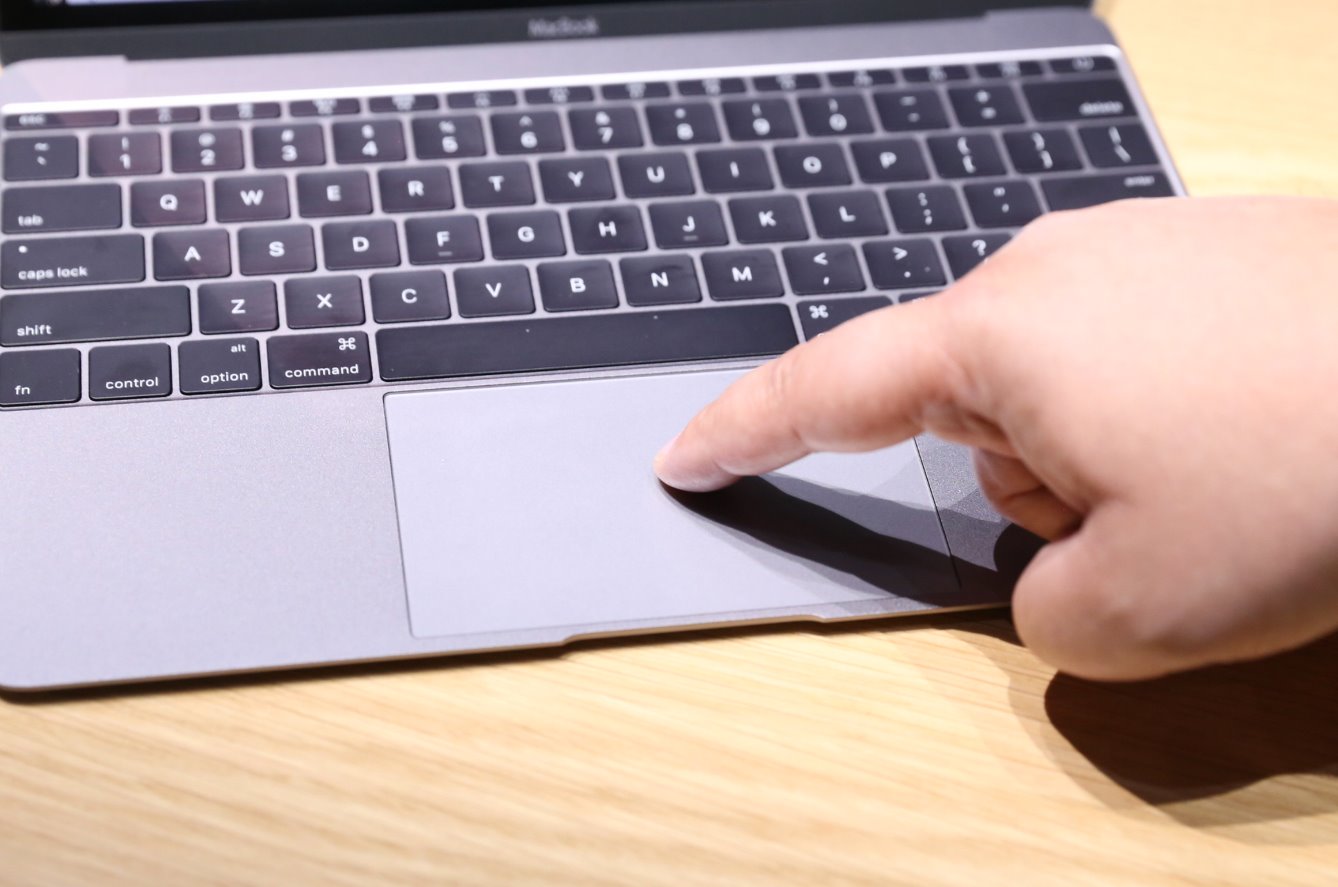
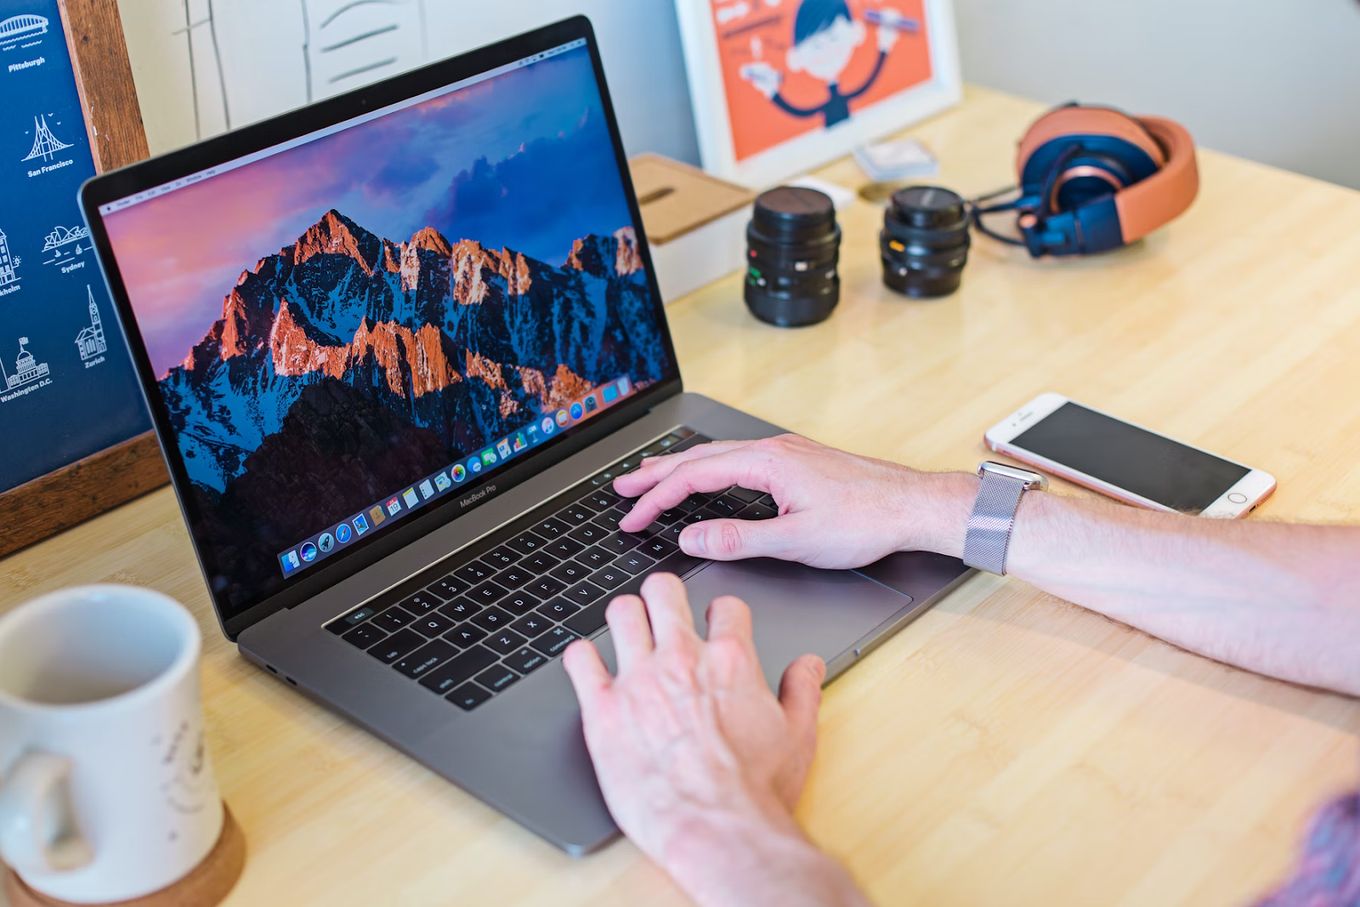
The two-finger scroll is one of the most common and convenient ways to navigate through content on your Macbook. To perform a two-finger scroll, follow these steps:
- Place two fingers on the trackpad, usually your index and middle fingers.
- Gently move your fingers up or down on the trackpad to scroll through the content.
As you scroll, the page or document on your screen will move accordingly, allowing you to effortlessly browse through the content.
The two-finger scroll is a versatile gesture that works in various applications and web browsers. Whether you’re reading an article, scrolling through social media feeds, or navigating through a lengthy document, the two-finger scroll provides a smooth and intuitive scrolling experience.
You can also adjust the speed of your two-finger scroll by going to the Trackpad settings in the System Preferences. Here, you can fine-tune the scrolling speed to your preference, making it more comfortable and personalized for your usage.
Mastering the two-finger scroll will allow you to quickly and efficiently browse through content on your Macbook. Its simplicity and versatility make it an essential gesture to familiarize yourself with.
Now that you’ve learned the two-finger scroll, let’s explore another useful scrolling gesture on the Macbook trackpad – the three-finger scroll.
The Three-Finger Scroll
The three-finger scroll is another handy gesture that allows you to navigate through content on your Macbook with ease. It offers a slightly different scrolling experience compared to the two-finger scroll.
Follow these steps to perform a three-finger scroll:
- Place three fingers on the trackpad, usually your index, middle, and ring fingers.
- Gently move your fingers up or down on the trackpad to scroll through the content.
Similar to the two-finger scroll, the page or document on your screen will move accordingly as you scroll using three fingers.
The three-finger scroll is particularly useful when you have multiple windows or applications open on your Macbook. By using this gesture, you can smoothly switch between full-screen apps or navigate through different open windows with minimal effort.
Additionally, you can customize the three-finger scroll gesture’s functionality by adjusting the settings in the Trackpad section of the System Preferences. Here, you can specify whether you want the gesture to switch between applications, activate Mission Control, or perform other actions.
By familiarizing yourself with the three-finger scroll gesture, you can enhance your multitasking abilities and streamline your workflow on your Macbook.
Now that you’ve mastered the two-finger and three-finger scroll gestures, let’s take a look at another scrolling technique available on the Macbook trackpad – the edge scroll.
The Edge Scroll
The edge scroll is a unique scrolling technique that allows you to scroll through content by using the edges of the trackpad. It offers a different approach to scrolling compared to the two-finger and three-finger gestures.
To perform the edge scroll, follow these steps:
- Move your cursor to the edge of the content you want to scroll.
- Gently swipe your finger along the edge of the trackpad to scroll in the respective direction.
As you perform the edge scroll, the page or document on your screen will move accordingly, allowing you to navigate through the content.
The edge scroll is particularly useful when you have limited space on your trackpad. It provides an alternative scrolling method that doesn’t require multi-finger gestures, making it a convenient option for users with different preferences or physical limitations.
If you find that the edge scroll feature is not working as expected or you prefer to use other scrolling techniques, you can customize the trackpad settings in the System Preferences. Here, you can enable or disable the edge scroll feature and adjust the sensitivity according to your preferences.
By familiarizing yourself with the edge scroll technique, you can have more control over your scrolling experience and optimize your workflow on your Macbook.
Now that you’ve learned about the edge scroll, let’s move on to customizing the scroll direction on your Macbook trackpad.
Customizing the Scroll Direction
By default, the scroll direction on a Macbook trackpad is set to “natural,” where dragging two fingers upwards on the trackpad makes the content move upwards as well. However, if you prefer a different scroll direction, you have the option to customize it to your liking.
To customize the scroll direction on your Macbook, follow these steps:
- Click on the Apple menu in the top-left corner of the screen.
- Select “System Preferences” from the dropdown menu.
- In the System Preferences window, click on “Trackpad.”
- Go to the “Scroll & Zoom” tab.
- Uncheck the box next to “Scroll direction: natural” to switch to the opposite scroll direction.
Once you have customized the scroll direction, test it out by using the two-finger or three-finger scroll gestures. The content on your screen should now move according to your selected scroll direction.
Customizing the scroll direction allows you to adapt your scrolling experience to your personal preference and habits. Whether you prefer the natural scroll or a different direction, Macbook gives you the flexibility to make it your own.
Keep in mind that if you frequently switch between different devices or platforms, adjusting the scroll direction to match your other devices or operating systems can help create a more consistent user experience.
Now that you know how to customize the scroll direction, let’s summarize what we have learned in this article and conclude our exploration of scrolling on the Macbook trackpad.
Conclusion
The trackpad on a Macbook offers a seamless and intuitive way to navigate through content, and mastering the scrolling techniques can greatly enhance your productivity and user experience. In this article, we covered the different trackpad gestures available on a Macbook, including the two-finger scroll, three-finger scroll, and the edge scroll.
The two-finger scroll is a versatile gesture that allows you to smoothly scroll through content using two fingers on the trackpad. It is a common and convenient scrolling technique that works in various applications and web browsers.
The three-finger scroll provides a unique scrolling experience and is particularly useful when you have multiple windows or applications open. It allows you to effortlessly switch between full-screen apps or navigate through different open windows.
The edge scroll is an alternative scrolling technique that allows you to scroll along the edges of the trackpad. It offers a different approach to scrolling and can be a convenient option for users with limited space or preferences for different gestures.
We also discussed how to customize the scroll direction on your Macbook trackpad, allowing you to adapt the scrolling experience to your personal preference and habits. Whether you prefer the natural scroll or a different direction, Macbook gives you the flexibility to make it your own.
By mastering these trackpad gestures and customizing the scroll direction, you can optimize your scrolling experience and navigate through content with ease on your Macbook.
Remember, practice makes perfect! Take some time to familiarize yourself with these gestures and start incorporating them into your daily workflow. Soon enough, you’ll become a pro at scrolling with the trackpad on your Macbook.
So, go ahead and start exploring the incredible world of scrolling on your Macbook. Happy scrolling!