Introduction
Are you looking to maximize your productivity when using your Mac? Would you like to have a more intuitive and efficient way to control your cursor? Look no further than your trusty iPad! With just a few simple steps, you can transform your iPad into a trackpad for your Mac, offering you a whole new level of control and convenience.
Whether you’re editing documents, designing graphics, or simply browsing the web, using your iPad as a trackpad can greatly enhance your workflow. By seamlessly integrating your iPad and Mac, you can enjoy the precision of a trackpad with the familiarity and versatility of your iPad’s touchscreen.
In this article, we will guide you through the process of setting up your iPad as a trackpad for your Mac. We will cover all the necessary steps, from ensuring both devices are on the same Wi-Fi network to customizing trackpad options on your iPad. So, grab your iPad and let’s get started!
Step 1: Ensure your iPad and Mac are on the same Wi-Fi network
Before you can use your iPad as a trackpad for your Mac, it is important to make sure that both devices are connected to the same Wi-Fi network. This is necessary for them to communicate and establish a connection.
To check if your iPad and Mac are on the same network, start by opening the Settings app on your iPad. Tap on Wi-Fi, and ensure that it is connected to a network. Note down the name of the network for reference.
Next, navigate to your Mac and click on the Wi-Fi icon in the menu bar. A list of available networks will appear. Make sure that your Mac is connected to the same network that your iPad is connected to.
If your Mac is not connected to the correct network, click on the network name and enter the network password if necessary. Once your Mac is connected to the same network as your iPad, you are ready to proceed to the next step.
Ensuring that both your iPad and Mac are on the same Wi-Fi network is crucial for the successful communication between the two devices. This step lays the foundation for the seamless integration of your iPad as a trackpad for your Mac.
Step 2: Enable ‘Handoff’ on your Mac
Once you have confirmed that both your iPad and Mac are connected to the same Wi-Fi network, the next step is to enable the ‘Handoff’ feature on your Mac. Handoff allows your devices to work together seamlessly, enabling you to switch between them effortlessly.
To enable Handoff on your Mac, start by clicking on the Apple menu in the top-left corner of your screen. From the dropdown menu, select ‘System Preferences’. In the System Preferences window, click on ‘General’.
In the General tab, you will find an option labeled ‘Allow Handoff between this Mac and your iCloud devices’. Ensure that the checkbox next to this option is ticked. If it is already ticked, Handoff is already enabled on your Mac.
Enabling Handoff on your Mac allows it to establish a connection and communicate with your iPad, enabling the trackpad functionality. It also ensures that any active app or document on your Mac can be seamlessly transferred to your iPad for continued work.
Once you have enabled Handoff on your Mac, you are one step closer to using your iPad as a trackpad. Now, let’s move on to the next step and enable ‘Continuity’ on your iPad for a complete integration experience.
Step 3: Enable ‘Continuity’ on your iPad
Continuity is a feature that allows your iPad and Mac to work seamlessly together, enabling you to transition between devices effortlessly. By enabling Continuity on your iPad, you will be able to use your iPad as a trackpad for your Mac.
To enable Continuity on your iPad, begin by opening the Settings app. Scroll down and tap on ‘General’. In the General settings, look for ‘Handoff’ and make sure the option is turned on. This ensures that your iPad is ready to receive and send information to your Mac.
Next, go back to the main Settings page and tap on ‘Wi-Fi’. Make sure that Wi-Fi is turned on, and your iPad is connected to the same Wi-Fi network as your Mac.
Now, it’s time to enable Bluetooth. Go back to the main Settings page and tap on ‘Bluetooth’. Toggle the switch to ensure that Bluetooth is turned on. This is important for establishing a secure and stable connection between your iPad and Mac.
Enabling Continuity on your iPad is a crucial step in utilizing your iPad as a trackpad for your Mac. It allows your devices to communicate and exchange data seamlessly, creating a unified and efficient working experience.
Once you have enabled Continuity on your iPad, you are ready to move on to the next step and start using your iPad as a trackpad for your Mac. We will guide you through the process of opening an app on your Mac and using your iPad to control the cursor.
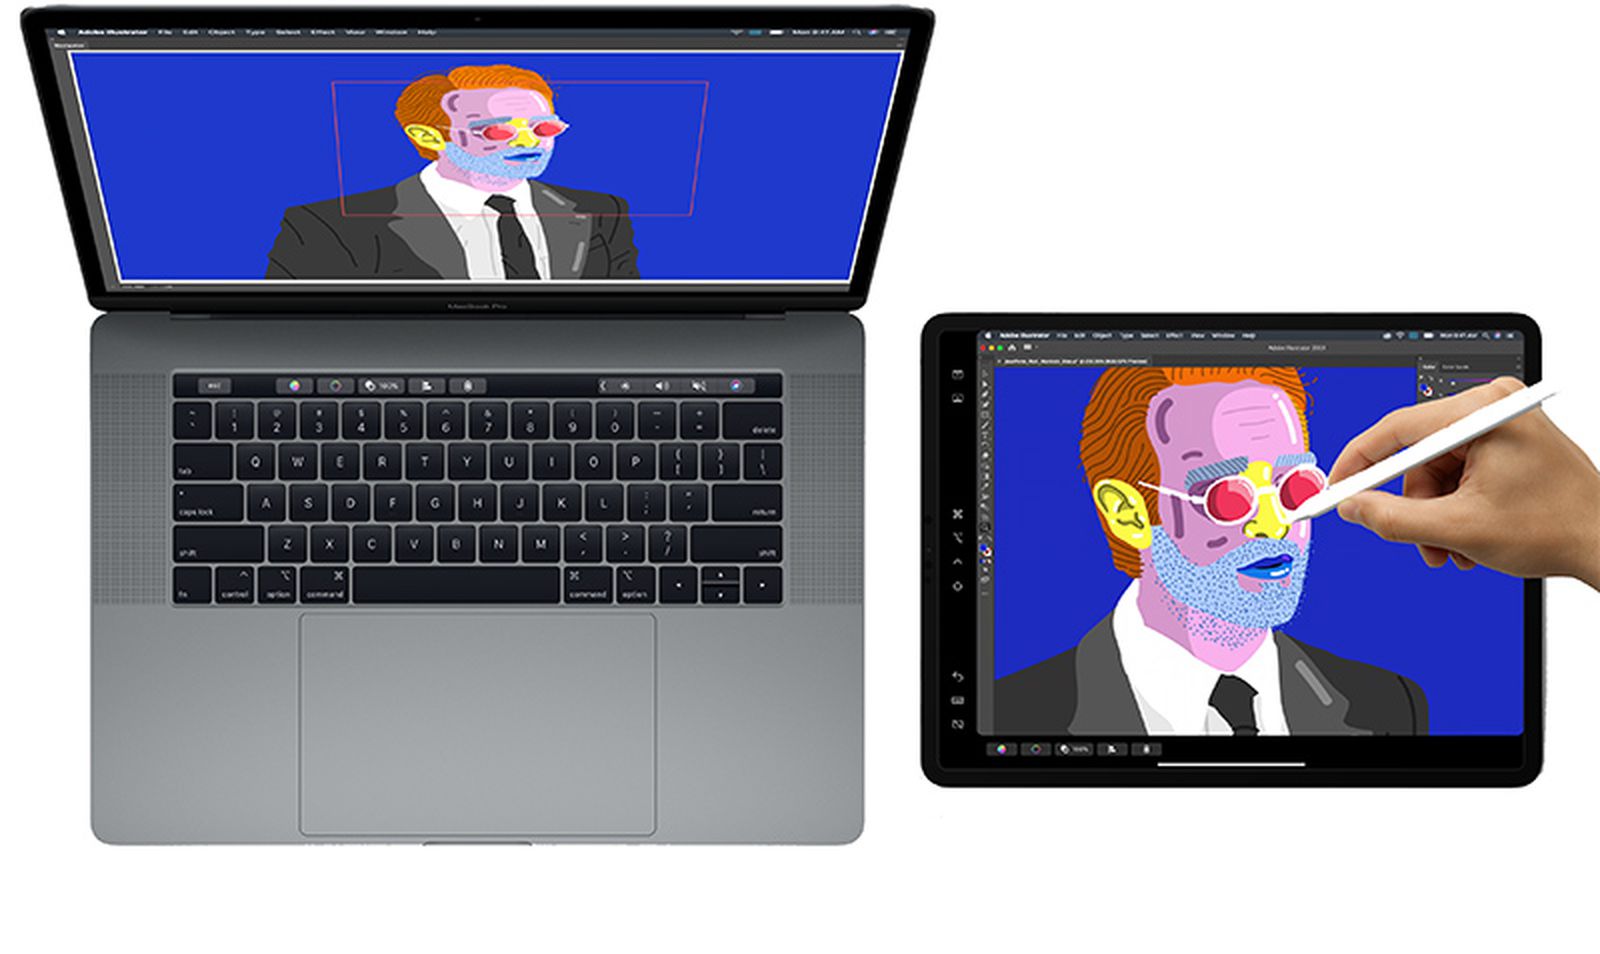
Step 4: Open an app on your Mac and swipe up from the bottom of your iPad screen
Now that you have enabled Continuity on your iPad, it’s time to put your iPad to work as a trackpad for your Mac. Start by opening an app on your Mac that you would like to control using your iPad.
Once the app is open on your Mac, it’s time to activate the trackpad functionality on your iPad. To do this, swipe up from the bottom of your iPad screen. This will reveal the Dock, the same way you would normally access it.
At the bottom of the Dock, you will see a row of app icons. Look for the app that you have opened on your Mac and tap on its icon. This will activate the trackpad mode on your iPad, turning the screen into a virtual trackpad.
Now, as you move your finger on the iPad screen, you will see the cursor on your Mac follow your movements. You can use the virtual trackpad on your iPad to navigate, click, and perform gestures just like you would with a traditional trackpad or mouse.
Opening an app on your Mac and swiping up from the bottom of your iPad screen activates the trackpad feature, allowing you to control your Mac using your iPad. It’s a convenient way to have the freedom and precision of a trackpad while using your iPad’s familiar touch interface.
In the next step, we will explore how to customize the trackpad options on your iPad to suit your preferences and enhance your control over your Mac.
Step 5: Use your iPad as a trackpad for your Mac
Now that you have activated the trackpad feature on your iPad, it’s time to familiarize yourself with using your iPad as a trackpad for your Mac. With your iPad in trackpad mode, you can perform various actions to control your cursor and navigate your Mac efficiently.
To move the cursor on your Mac, simply slide your finger across the iPad screen. The cursor on your Mac will mirror your movements, allowing you to precisely position it wherever you need it. This provides you with a smooth and intuitive way to navigate through documents, websites, and apps.
You can perform a single tap on the iPad screen to perform a left-click on your Mac, just like you would with a traditional trackpad. To perform a right-click or secondary click, you can use a two-finger tap on the iPad screen. This allows you to bring up context menus and access additional options.
In addition to basic navigation and clicking, you can also perform gestures on your iPad trackpad to interact with your Mac. For example, you can use a two-finger swipe to scroll through documents or webpages, and a three-finger swipe to switch between different apps or desktop spaces.
Using your iPad as a trackpad for your Mac offers you the convenience of touch control combined with the precision of cursor manipulation. It can greatly improve your productivity and make your workflow more fluid and efficient.
In the next step, we will explore how you can customize trackpad options on your iPad, allowing you to personalize the trackpad experience to suit your preferences and needs.
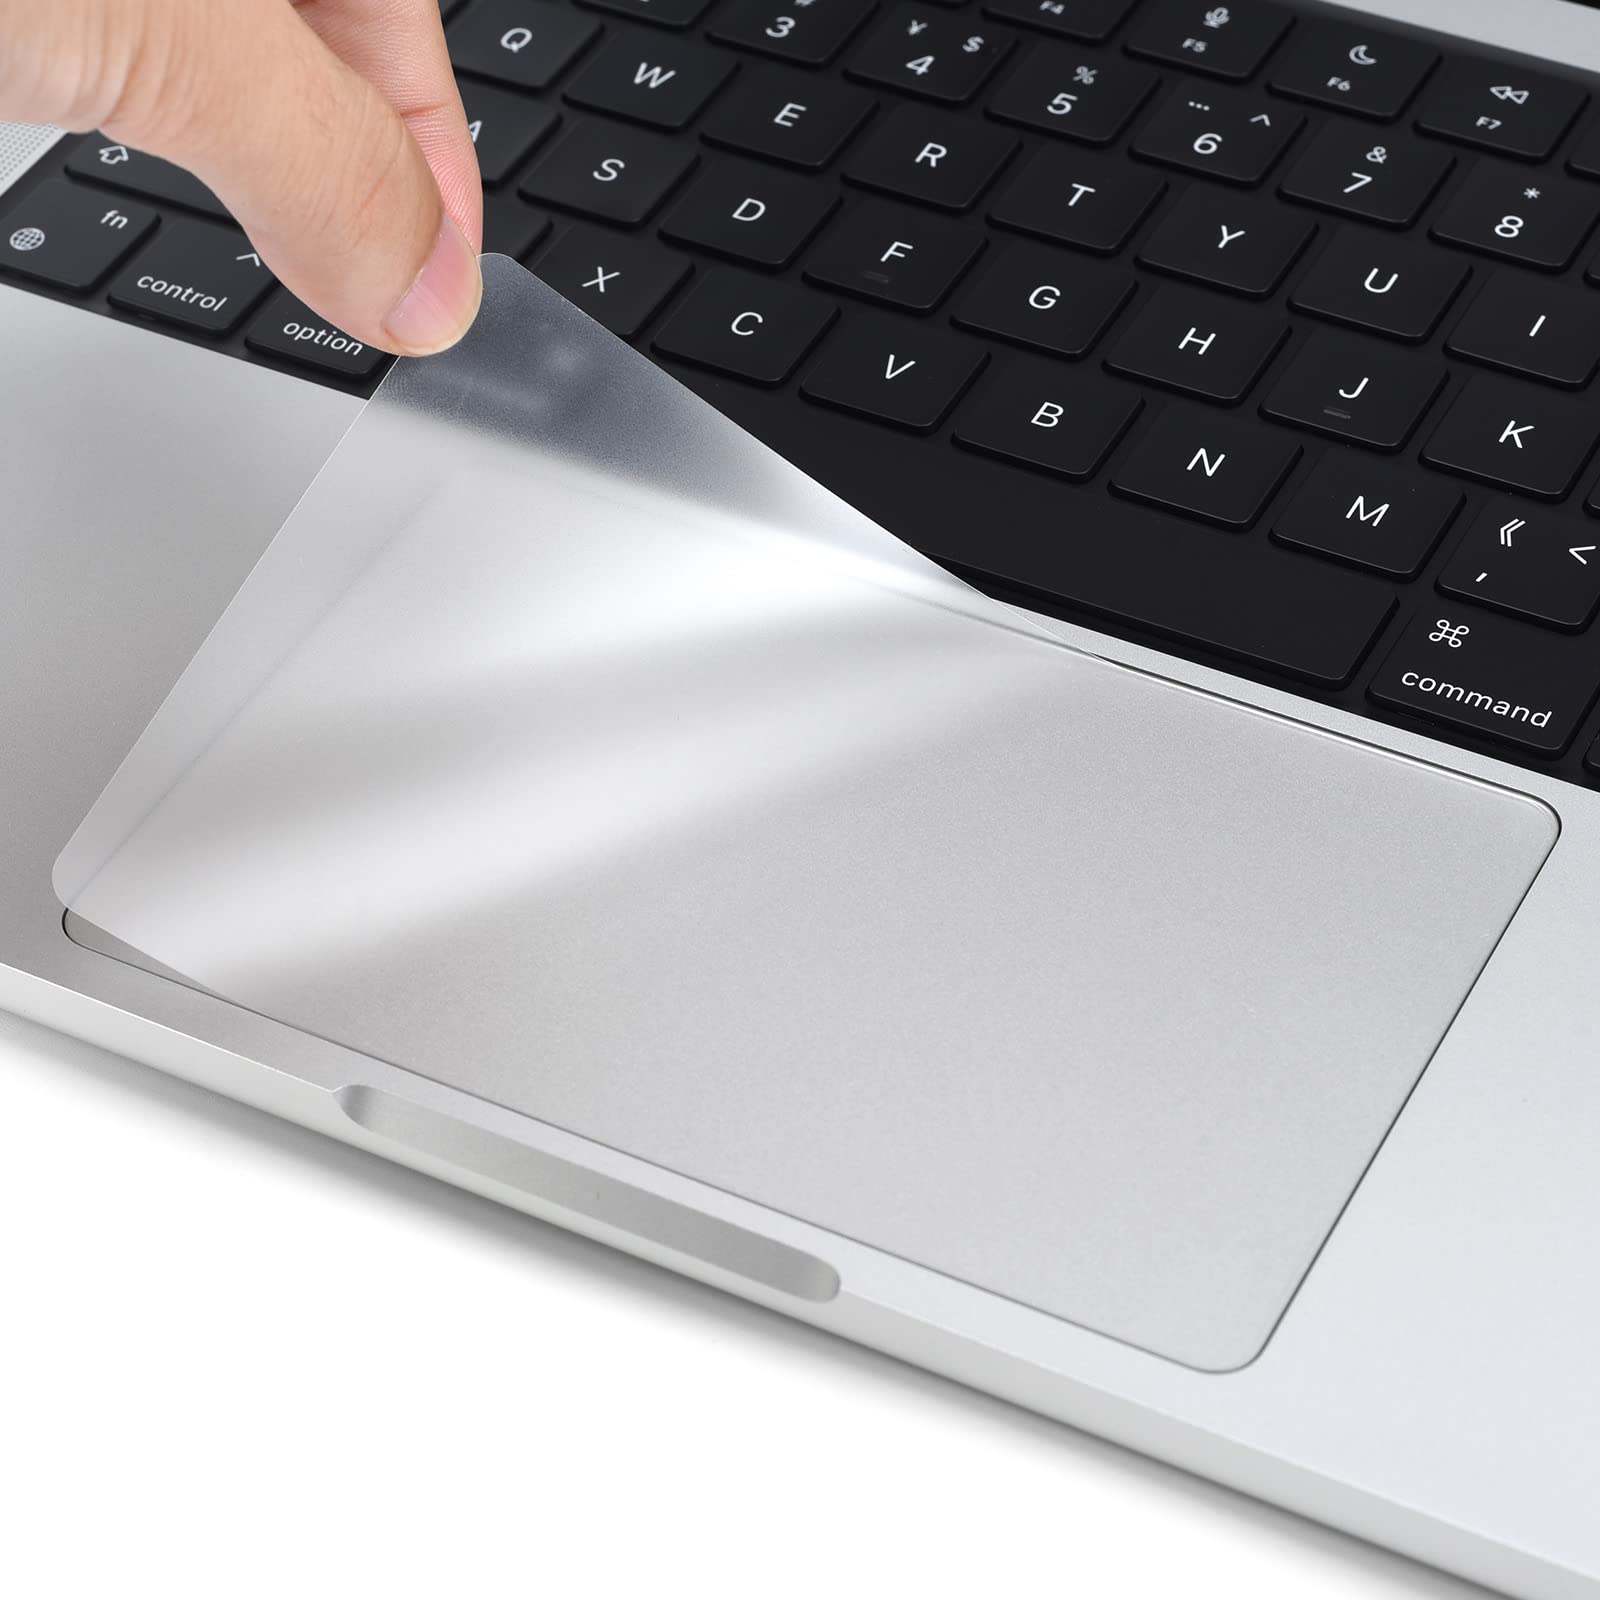
Step 6: Customize trackpad options on your iPad
One of the great features of using your iPad as a trackpad for your Mac is the ability to customize the trackpad options to your liking. By personalizing these settings, you can enhance your trackpad experience and make it even more tailored to your preferences.
To customize the trackpad options on your iPad, begin by opening the Settings app. Scroll down and tap on ‘General’. Then, tap on ‘Trackpad & Mouse’.
In the Trackpad & Mouse settings, you will find various options that you can adjust. These options include the Tracking Speed, which determines how fast the cursor moves when you slide your finger on the iPad screen, and the Scrolling Speed, which controls the speed at which you can scroll through documents and webpages.
You can also enable or disable ‘Tap to Click’, which allows you to perform a left-click by tapping on the iPad screen, and ‘Silent Clicking’, which reduces the click sound when you tap or click on the trackpad.
Furthermore, you have the option to enable or disable ‘Secondary Click’, which enables or disables the right-click function, and ‘Three Finger Drag’, which allows you to drag items on your Mac using a three-finger gesture on the iPad.
By customizing these trackpad options, you can fine-tune the trackpad experience on your iPad to match your preferences and maximize your productivity. Experiment with different settings to find the configuration that works best for you.
In the next step, we will conclude our guide and recap the steps you took to set up and use your iPad as a trackpad for your Mac. Let’s wrap up this exciting journey!
Step 7: Use gestures on your iPad trackpad
Using gestures on your iPad trackpad can greatly enhance your control over your Mac and streamline your workflow. These gestures allow you to perform various actions with a simple swipe or pinch, adding a new level of efficiency to your work.
One of the most useful gestures is the two-finger swipe, which allows you to scroll through documents, webpages, and lists. Simply place two fingers on the iPad trackpad and swipe up or down to effortlessly navigate through content on your Mac.
If you have multiple apps or desktop spaces open on your Mac, you can use the three-finger swipe gesture to switch between them. Swipe left or right with three fingers to move between apps or desktop spaces, making multitasking a breeze.
To access the Mission Control feature on your Mac, use the three-finger swipe upwards gesture on your iPad trackpad. This will bring up an overview of all your open windows, allowing you to easily switch between applications or create new desktop spaces.
Pinching with two fingers on the iPad trackpad simulates the pinch-to-zoom gesture, allowing you to zoom in or out on documents, images, and webpages on your Mac. This gesture is particularly handy when working on detailed designs or when reading small text.
By familiarizing yourself with these gestures and integrating them into your workflow, you can navigate your Mac more efficiently and perform tasks with ease. Taking advantage of these gestures will help you make the most out of using your iPad as a trackpad.
Congratulations! You have successfully learned how to set up and use your iPad as a trackpad for your Mac. By following these steps, you can now enjoy the convenience of touch control and the precision of cursor manipulation, providing you with a seamless and efficient working experience.
Whether you’re editing documents, designing graphics, or simply browsing the web, your iPad trackpad offers a versatile and intuitive tool to enhance your productivity on your Mac. Explore the possibilities, customize the settings, and make the most out of this powerful combination of devices.
Conclusion
In this guide, we have walked you through the process of using your iPad as a trackpad for your Mac. By following the steps outlined, you have gained the ability to control your Mac with the touch of your fingers, creating a seamless and efficient workflow.
We began by ensuring that your iPad and Mac are on the same Wi-Fi network, establishing the foundation for communication between the two devices. Then, we enabled the ‘Handoff’ feature on your Mac and ‘Continuity’ on your iPad to allow for smooth transitions and data exchange.
Next, we covered how to open an app on your Mac and activate the trackpad mode on your iPad, effectively turning it into a virtual trackpad. We explored the various gestures and actions you can perform, such as moving the cursor, left-clicking, and right-clicking.
We also delved into customizing the trackpad options on your iPad, allowing you to tailor the experience to your preferences and needs. Additionally, we highlighted the importance of using gestures to further streamline your control over your Mac.
Using your iPad as a trackpad for your Mac offers you the best of both worlds— the familiar touch interface of your iPad and the precise control of a trackpad. It enhances your productivity and simplifies your workflow, making tasks easier and more enjoyable.
So go ahead, explore the possibilities, and unleash the full potential of your iPad and Mac combination. Whether you’re editing, designing, or simply browsing, your iPad trackpad will be your trusty companion, providing you with a seamless and efficient working experience.
Remember to experiment with settings, gestures, and customization options to find what works best for you. Embrace the versatility and convenience that using your iPad as a trackpad brings, and take your productivity to new heights.
Congratulations on completing this guide! Now, it’s time to put your newfound knowledge into practice and enjoy the benefits of using your iPad as a trackpad for your Mac. Happy working!