Introduction
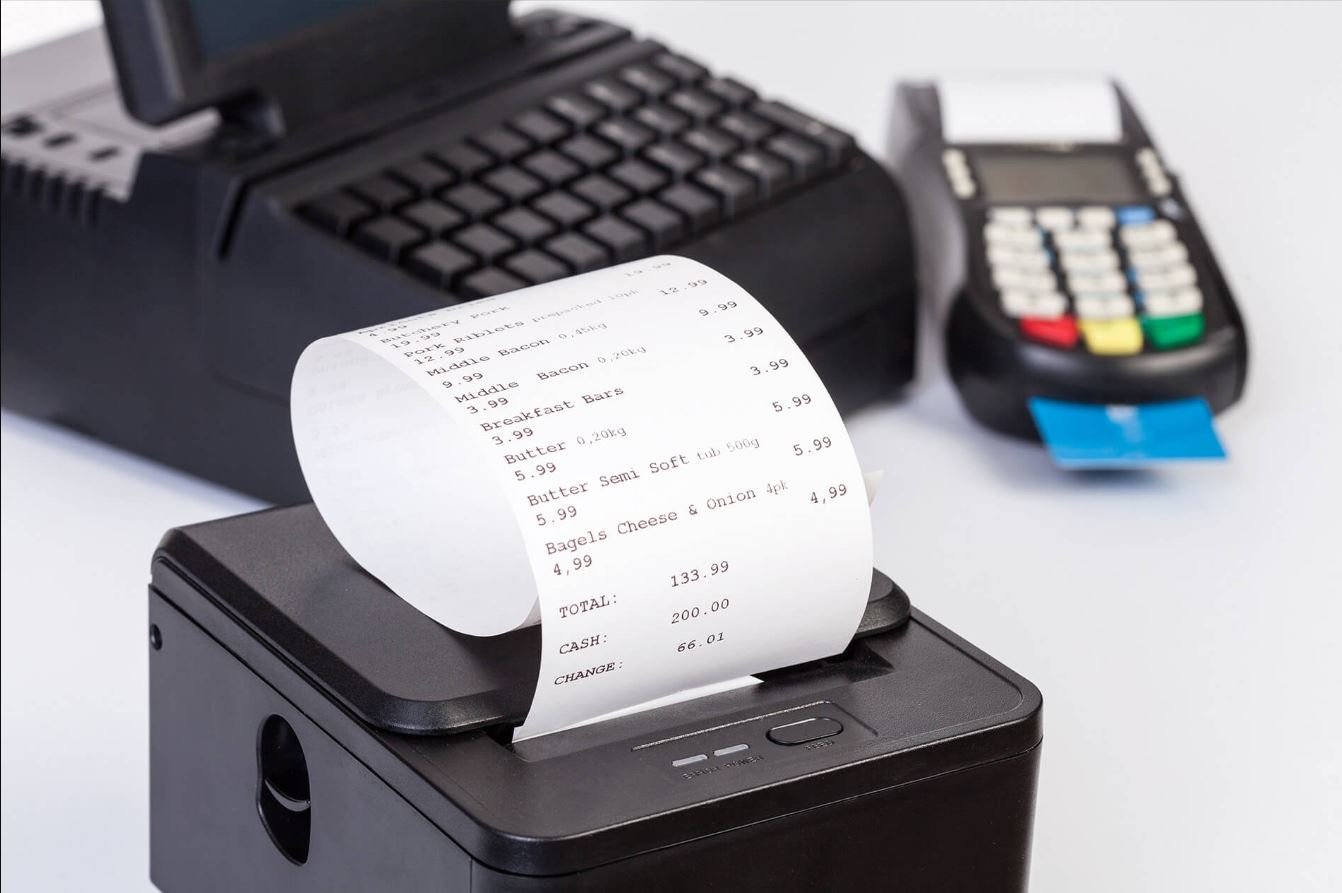
Connecting a printer to a Point of Sale (POS) system is essential for businesses looking to efficiently and accurately generate receipts and process transactions. Whether you’re setting up a new POS system or upgrading your existing one, the process of connecting a printer can seem daunting. However, with the right guidance and a few simple steps, you can easily connect your printer to your POS system and start printing receipts in no time.
In this article, we will guide you through the process of connecting your printer to a POS system, providing you with clear instructions and tips to ensure a seamless connection. We will cover everything from gathering the necessary materials to configuring the printer settings. So, whether you’re a small business owner, a restaurant manager, or a retail store operator, this article is designed to help you successfully connect your printer to your POS system.
Before we dive into the step-by-step process, it’s important to note that the specific instructions may vary depending on the make and model of your printer and POS system. However, the general principles and procedures remain the same. It’s always a good idea to consult the user manuals for your printer and POS system for any specific instructions or troubleshooting tips. With that in mind, let’s get started!
Step 1: Gather the necessary materials
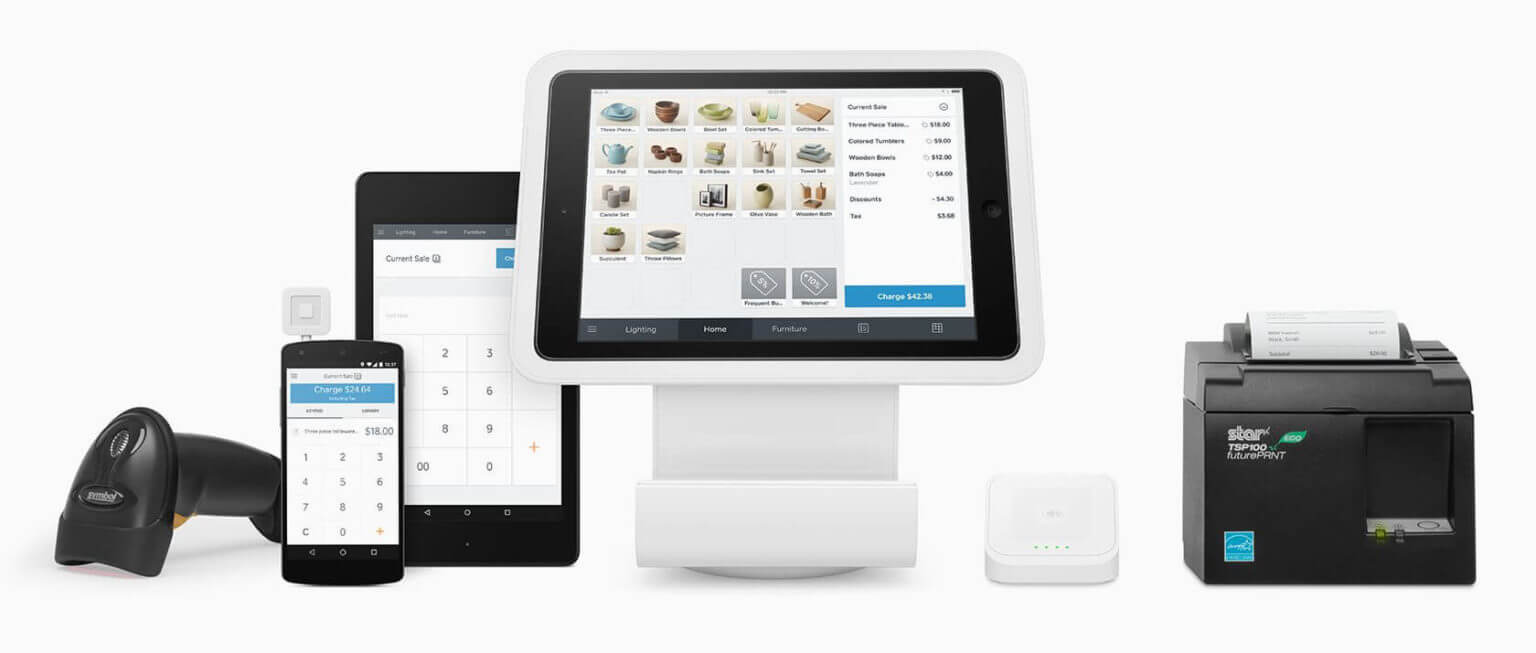
Before you begin connecting your printer to your POS system, it’s important to gather all the necessary materials. This will ensure a smooth setup process and prevent any delays or disruptions. Here are the key materials you’ll typically need:
- Printer: Select a printer that is compatible with your POS system. It’s essential to choose a reliable printer that can efficiently handle the printing requirements of your business.
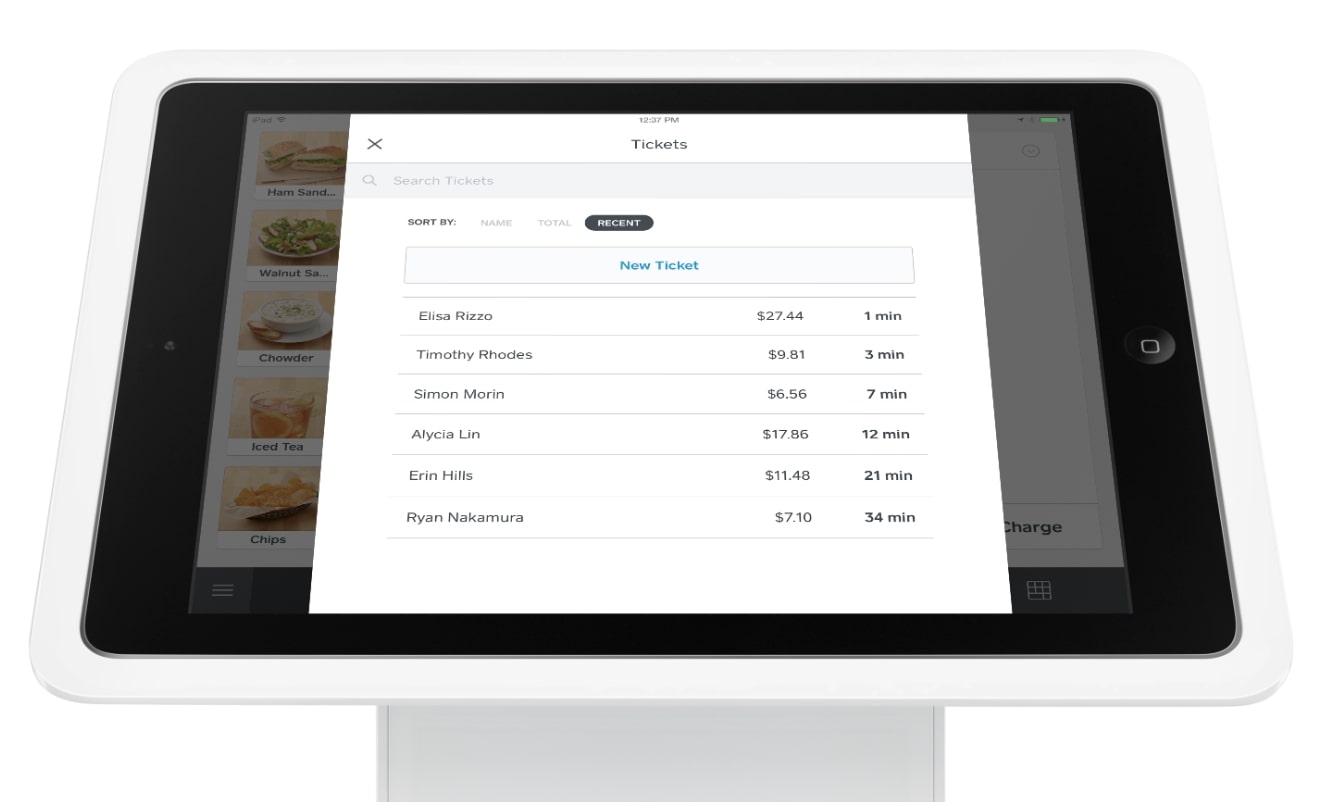
- POS system: Ensure that your POS system is properly set up and ready for the printer connection. This includes having the necessary software installed and configured.
- Printer driver software: Check if your printer requires specific driver software to communicate with the POS system. If so, download and install the latest driver from the manufacturer’s website.
- Interface cables: Depending on the printer and POS system, you may need specific interface cables to establish a connection. Common interface options include USB, Ethernet, Serial, or Bluetooth.
- Power cables: Ensure that you have the appropriate power cables to connect the printer and POS system to a power source.
- Paper rolls: Don’t forget to stock up on receipt paper rolls that are compatible with your printer. Having an adequate supply of paper will prevent any interruptions in printing.
- Documentation: Keep any user manuals, installation guides, or reference materials provided by the printer and POS system manufacturers handy. These resources can be valuable references throughout the setup process.
By gathering these materials beforehand, you’ll have everything you need to proceed with connecting your printer to the POS system seamlessly. Additionally, it’s a good idea to ensure that all the equipment is in proper working condition to avoid any complications during the setup process.
Step 2: Install printer driver software
Once you have gathered all the necessary materials, the next step is to install the printer driver software. The printer driver acts as a bridge between the printer and the POS system, enabling them to communicate effectively. Installing the correct driver software ensures that your printer functions optimally with the POS system.
To install the printer driver software, follow the steps below:
- Refer to the printer’s user manual or manufacturer’s website to identify the appropriate driver software for your printer model.
- Download the latest version of the driver software from the manufacturer’s website. Make sure to select the version that matches your operating system.
- Once the driver software has finished downloading, locate the file and double-click on it to start the installation process.
- Follow the on-screen prompts to complete the installation. This may involve accepting the software license agreement, choosing the installation location, and configuring any additional settings.
- After the installation is complete, restart your computer to ensure that the driver software is properly installed and loaded.
It’s important to note that some printers may require you to connect the printer to the computer before installing the driver software. In such cases, carefully follow the instructions provided by the manufacturer to ensure a successful installation.
Once the driver software is installed, your printer is ready to be connected to the POS system. In the next step, we’ll guide you through the process of connecting the printer, establishing a connection, and configuring the printer settings to ensure optimal performance.
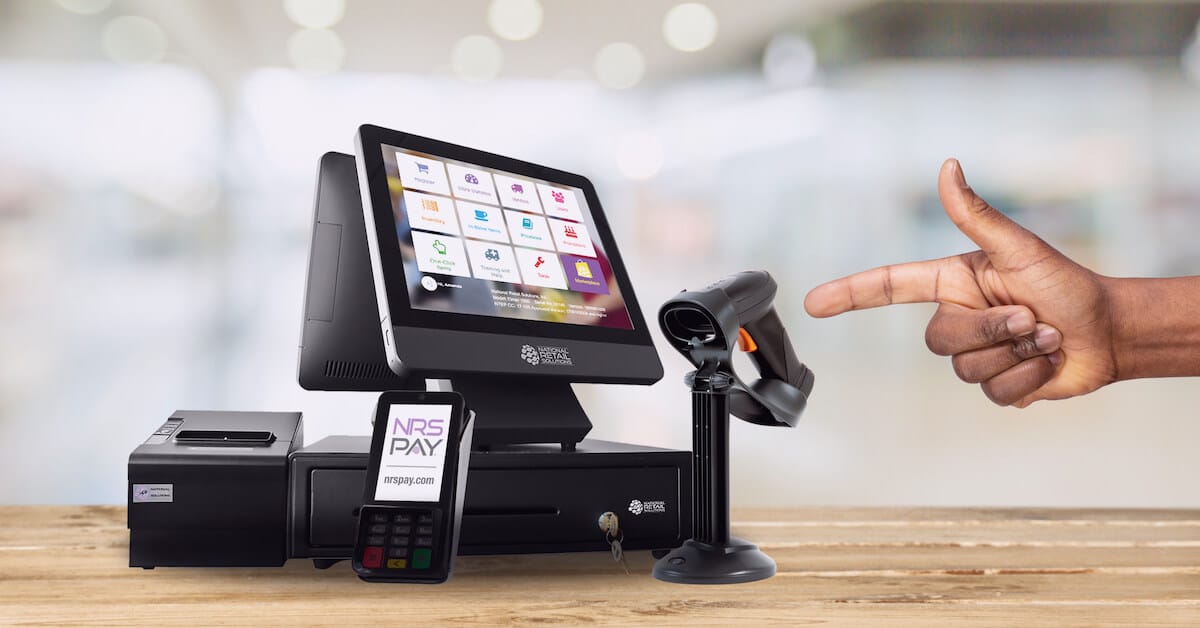
Step 3: Connect the printer to the POS system
With the printer driver software installed, you’re now ready to connect the printer to your POS system. The specific connection method will vary depending on the printer and POS system you’re using. Here are the general steps to connect the printer:
- Ensure that both the printer and POS system are powered off.
- Locate the appropriate interface port on the printer. This could be a USB, Ethernet, Serial, or Bluetooth port, depending on the printer model.
- Connect one end of the interface cable to the corresponding port on the printer.
- Next, locate the corresponding interface port on the POS system. It is typically labeled and located on the back or side of the system.
- Connect the other end of the interface cable to the interface port on the POS system.
- Ensure that the connections are secure and properly aligned.
- Power on both the printer and the POS system.
Once the printer and POS system are powered on, they will attempt to establish communication through the interface cable. Depending on your system configuration, you may need to perform additional steps to set up the printer within the POS software. Consult the user manual or documentation provided with your POS system to configure the printer settings accordingly.
It’s worth noting that some printers may require additional configuration steps, such as assigning the correct port settings or adjusting the communication parameters. Again, refer to the printer’s user manual or manufacturer’s website for specific instructions on configuring the printer settings.
Congratulations! You have successfully connected your printer to the POS system. In the next step, we’ll guide you through configuring the printer settings to ensure smooth printing and optimal performance.
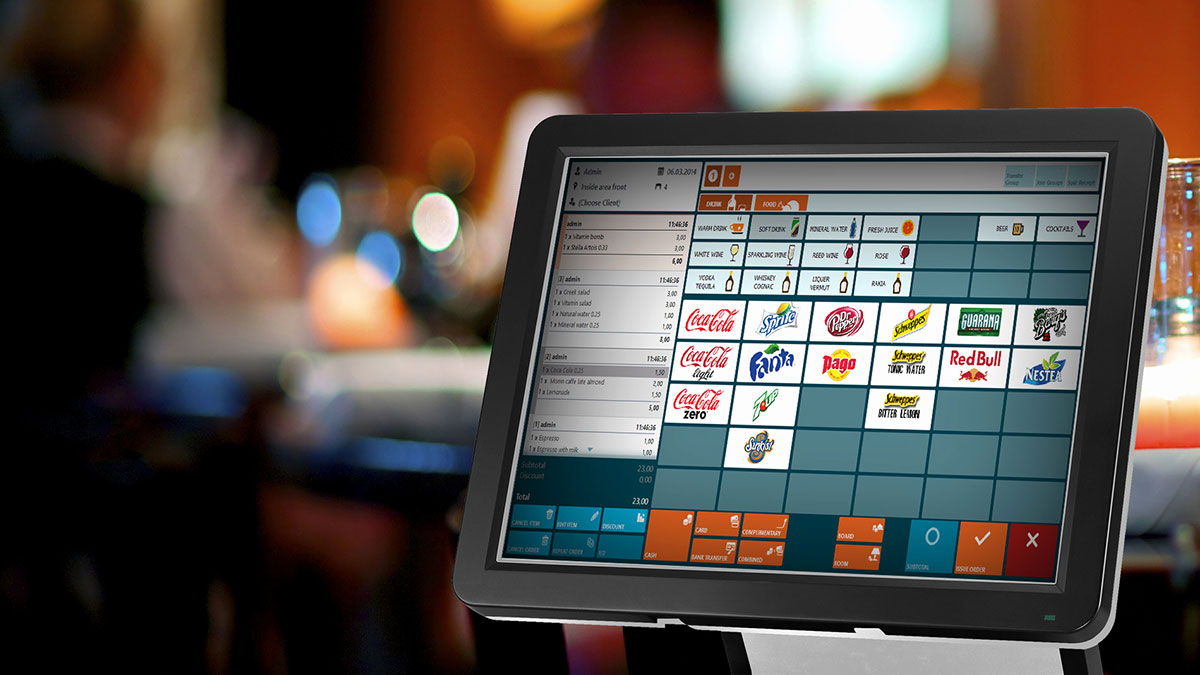
Step 4: Configure the printer settings
After connecting the printer to your POS system, it’s important to configure the printer settings to ensure smooth printing and optimal performance. The configuration process may involve adjusting settings such as paper size, printing density, logo printing, and more. Here’s how you can configure the printer settings:
- Access the printer settings by navigating to the printer settings menu on your POS system or by using the printer’s control panel.
- Review the available settings and adjust them according to your specific requirements. Common settings to consider include paper size, printing speed, and logo printing options.
- Ensure that the paper size setting matches the type of receipt paper you’re using. Incorrect paper size settings can lead to printing issues and misalignment.
- If your printer supports logo printing, upload your business logo and configure the settings to include the logo on receipts. This adds a professional touch and enhances brand recognition.
- Verify the printing density or darkness setting. Adjust it as needed to achieve optimal print quality. Be cautious not to set it too high, as it may lead to excessive ink or thermal paper usage.
- Explore any additional settings that are specific to your printer model and POS system. Consult the user manual or online resources for detailed information.
- Save your settings and perform a test print to ensure that the configuration changes have been applied correctly.
It’s important to note that the configuration process may vary depending on your printer model and POS system. Refer to the user manuals for both the printer and POS system or consult the manufacturer’s website for specific instructions on configuring the printer settings.
By properly configuring the printer settings, you can ensure that your receipts are printed accurately and in the desired format. This helps maintain a professional image for your business and enhances the overall customer experience.
In the final step, we’ll guide you through testing the connection between the printer and POS system to ensure everything is functioning correctly.
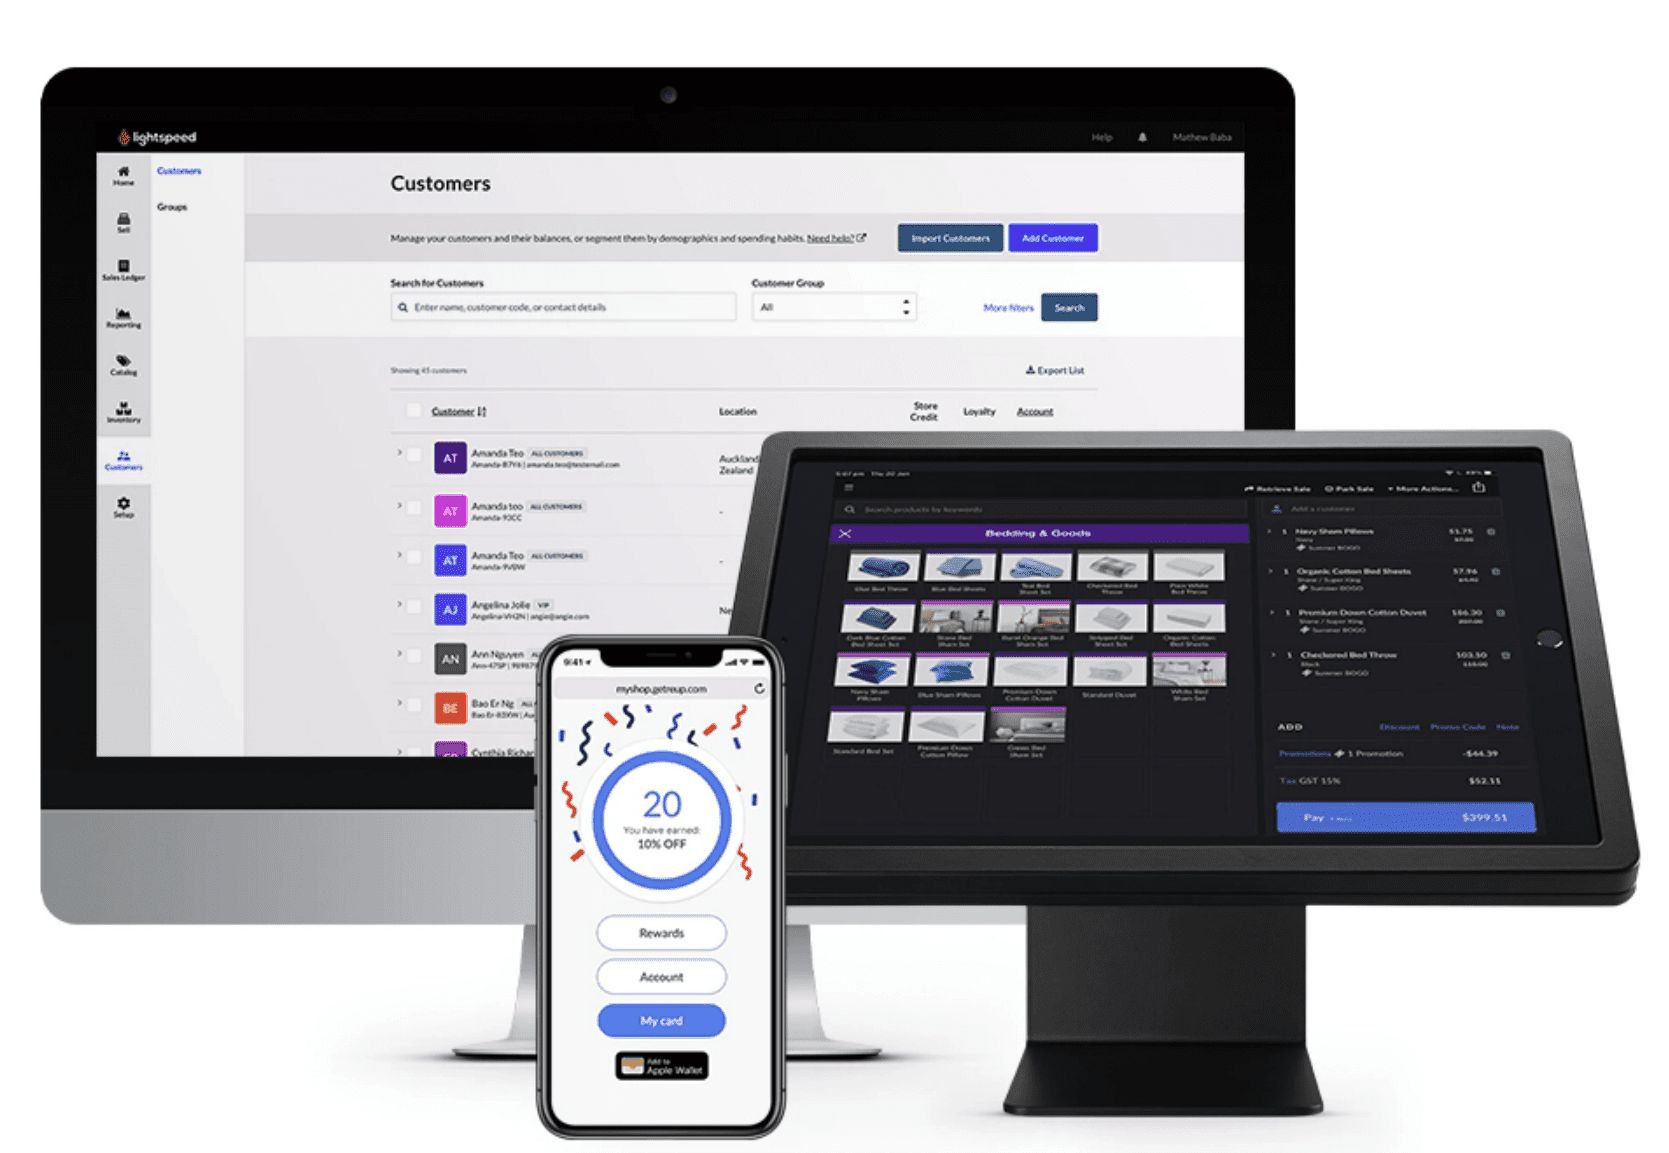
Step 5: Test the connection
Once you have connected and configured your printer to the POS system, the final step is to test the connection to ensure that everything is working correctly. A successful test print confirms that the printer is properly communicating with the POS system and ready for use. Follow these steps to test the connection:
- Access the printing option within your POS system software. This can usually be found in the settings or configuration menu, labeled as “Printer Setup” or a similar term.
- Select the appropriate printer from the list of available printers.
- Choose a sample receipt or test print option from the menu, if provided.
- Initiate the test print to generate a sample receipt.
- Check the printed receipt for accuracy, legibility, and alignment. Ensure that all text and graphics appear as intended and that there are no printing errors.
- If any issues are detected, double-check your printer settings and ensure that the printer driver software is properly installed. Make any necessary adjustments or troubleshooting steps as per the manufacturer’s guidelines.
Performing a test print allows you to identify and resolve any issues before using the printer for actual transactions. It also provides an opportunity to verify that the printer is producing clear and error-free receipts. If you encounter any problems during the test print, don’t hesitate to consult the troubleshooting section of the printer’s user manual or contact technical support for assistance.
Once you have successfully completed the test print and are satisfied with the results, your printer is ready to use with your POS system. Enjoy the benefits of efficient and accurate receipt printing, making your business operations smoother and more professional.
Conclusion
Connecting a printer to your POS system is a vital step in streamlining your business operations and ensuring efficient transaction processing. By following the step-by-step process outlined in this article, you can successfully connect your printer to your POS system with ease.
In the beginning, we emphasized the importance of gathering all the necessary materials, including the printer, POS system, printer driver software, interface cables, power cables, and receipt paper rolls. Having these materials readily available saves time and prevents delays during the setup process.
Next, we discussed the installation of printer driver software, which acts as a vital communication link between your printer and POS system. By following the manufacturer’s instructions and ensuring that the correct driver software is installed, you can ensure the smooth functioning of your printer.
We then walked you through the process of physically connecting the printer to the POS system. Whether you’re using USB, Ethernet, Serial, or Bluetooth, ensuring proper connections and powering on both devices is crucial for establishing communication between them.
Configuring the printer settings is the next critical step to ensure optimal printing quality and efficiency. Adjusting settings such as paper size, printing density, and logo printing options will help you achieve professional-looking receipts that reflect your brand.
Lastly, we highlighted the importance of testing the connection by performing a sample print. Verifying the accuracy, legibility, and alignment of the printed receipt ensures that your printer is working correctly and ready for real-time transactions.
By following these steps, you can confidently connect your printer to your POS system and enjoy smooth and efficient receipt printing. If you encounter any difficulties along the way, consult the user manuals or contact technical support for further assistance.
Now, armed with the knowledge and guidance provided in this article, it’s time to connect your printer and elevate your business’s point of sale experience. Enjoy the convenience, accuracy, and professionalism that a connected printer brings to your transactions.