Introduction
Welcome to the exciting world of digital art! If you’re a budding artist or an experienced illustrator, using a tablet with a software like Paint Tool Sai can take your creativity to new heights.
Paint Tool Sai is a popular digital painting software known for its user-friendly interface, extensive brush library, and powerful features. It provides artists with a wide range of tools to create stunning digital artwork.
Whether you’re a beginner or a seasoned artist, this guide will walk you through the process of using Paint Tool Sai with your tablet. From installation to creating your first masterpiece, you’ll learn everything you need to know to get started.
So, grab your tablet, install Paint Tool Sai, and let’s dive into the world of digital art!
In the following steps, we’ll cover the installation process, setting up your tablet, configuring tablet settings in Paint Tool Sai, familiarizing yourself with the tools, adjusting pressure sensitivity, using hotkeys for efficiency, creating a new canvas, drawing or painting, utilizing layers for easier editing, and finally, saving and exporting your artwork.
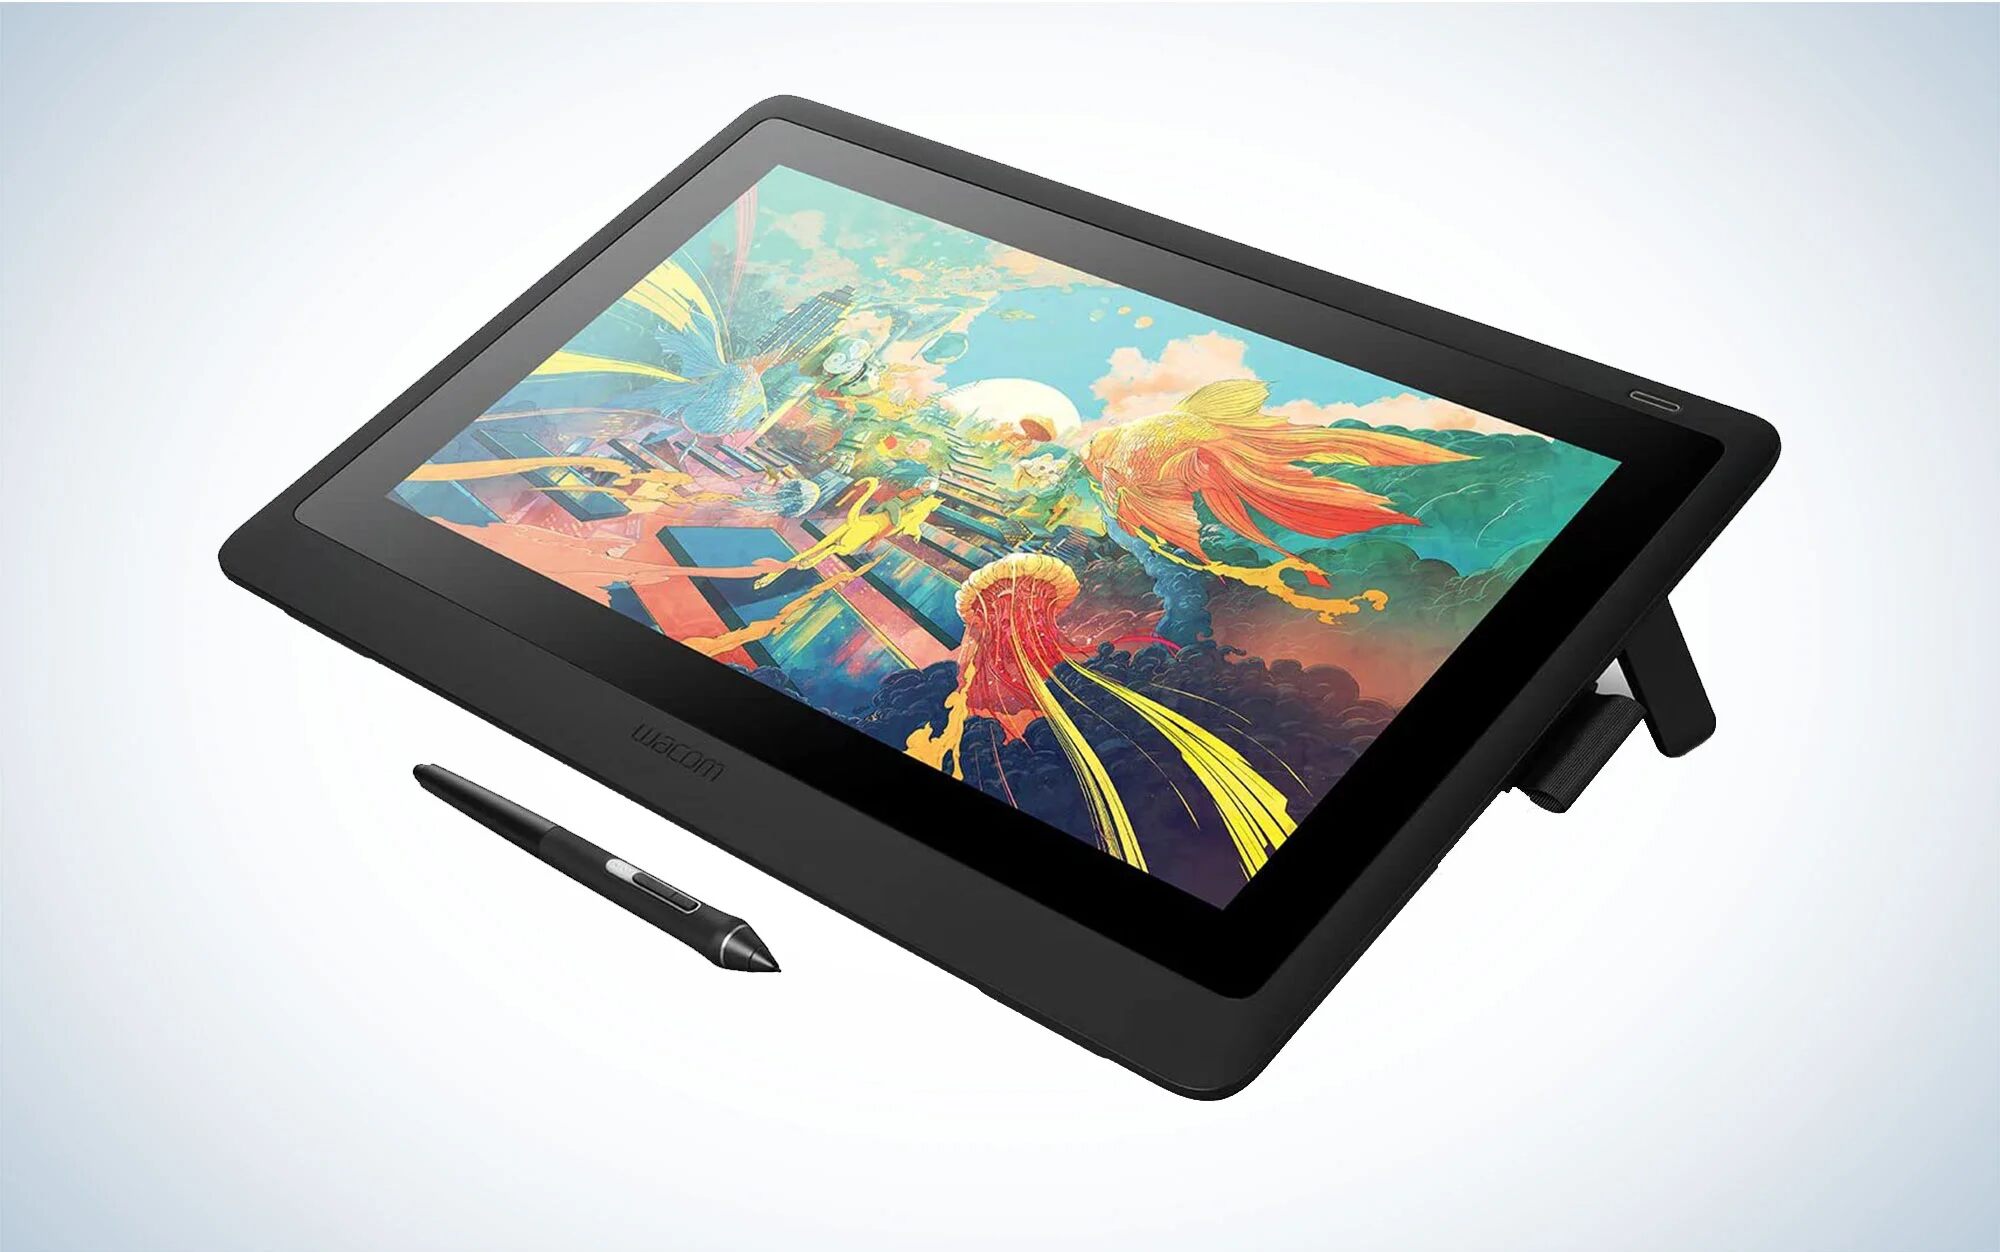
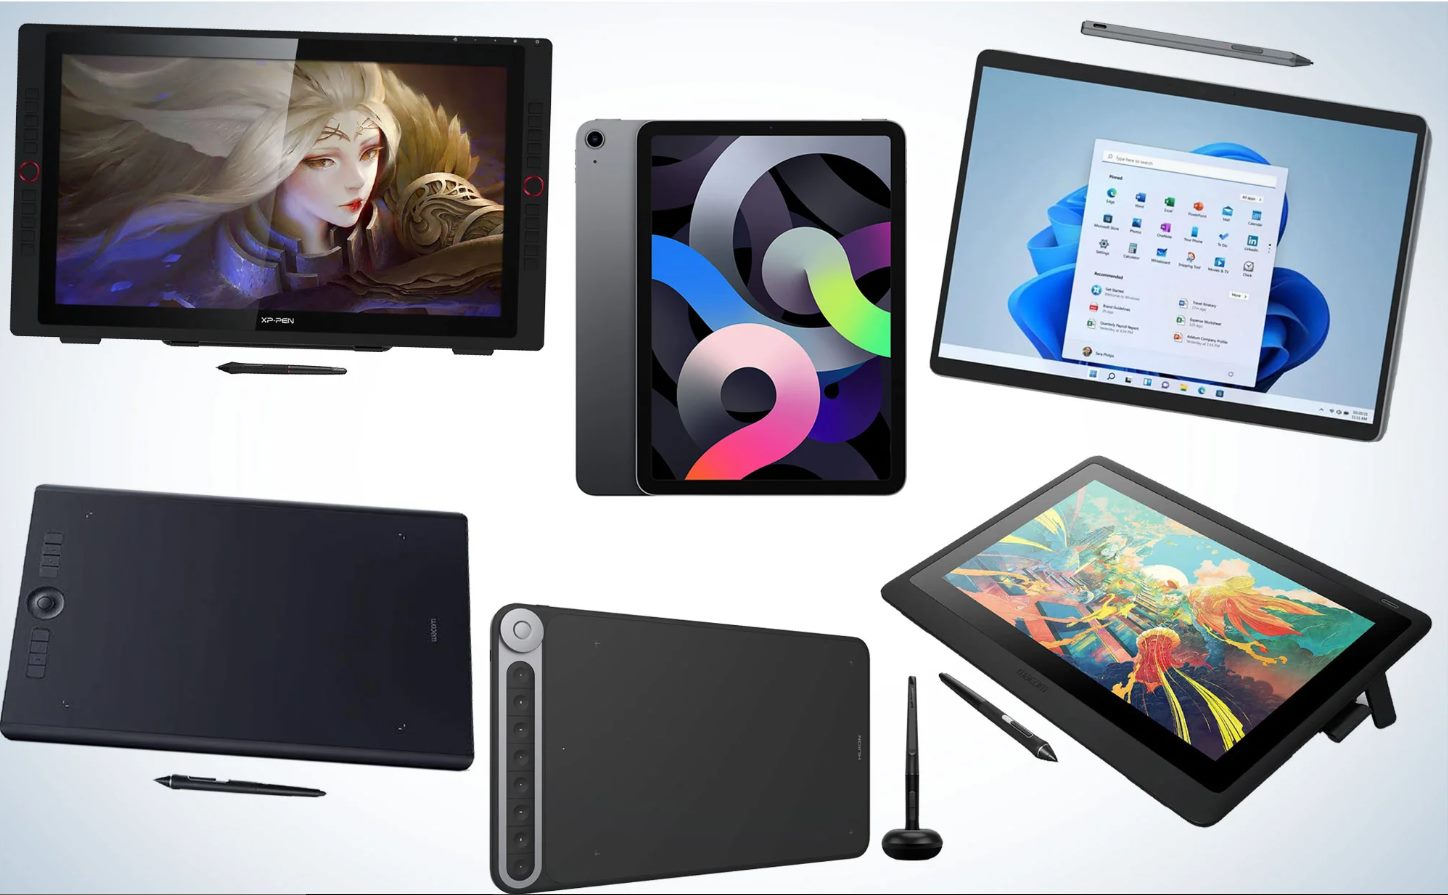
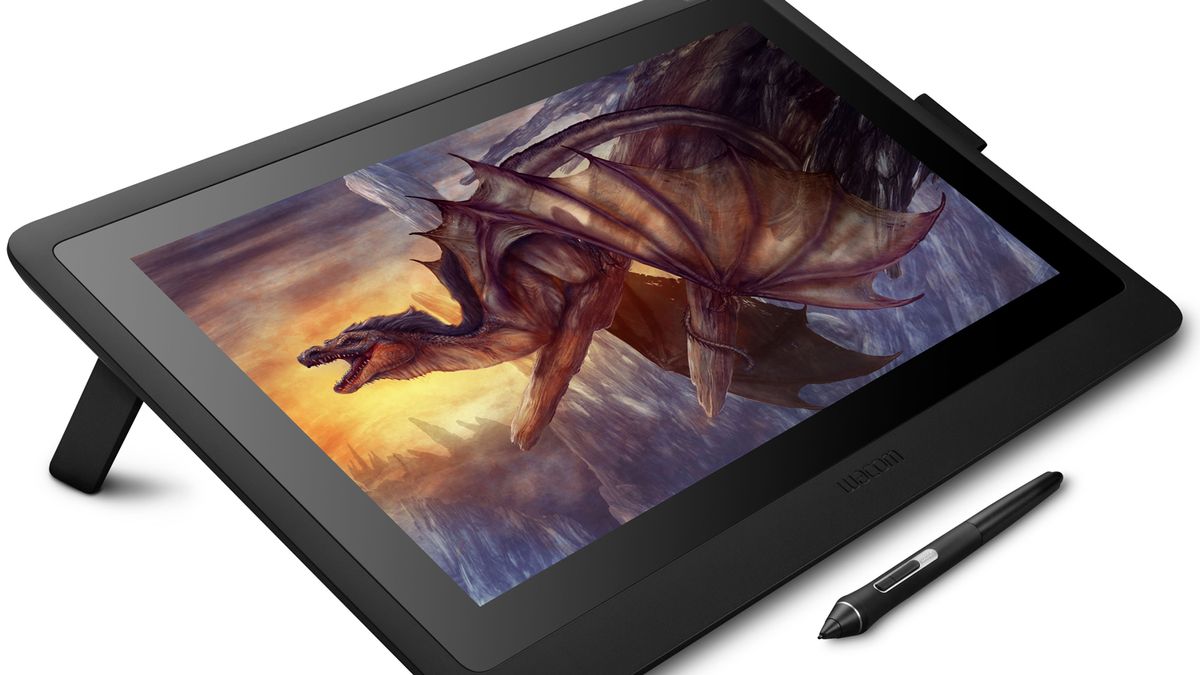
Whether you’re using a Wacom, Huion, or any other tablet brand, this guide will provide you with the foundational knowledge to make the most out of Paint Tool Sai. So, let’s get started on your digital art journey!
Step 1: Install Paint Tool Sai
Before you can start using Paint Tool Sai with your tablet, you’ll need to install the software on your computer. Follow these steps to get Paint Tool Sai up and running:
- Start by downloading Paint Tool Sai from the official website. You can find the download link on the developer’s website.
- Once the download is complete, locate the setup file and double-click on it to begin the installation process.
- Follow the on-screen instructions to install Paint Tool Sai. Make sure to read the terms and conditions before proceeding.
- Choose the destination folder where you want to install the software. You can either go with the default location or select a different folder of your choice.
- After selecting the destination folder, click on the “Install” button to start the installation. The process may take a few minutes depending on your computer’s speed.
- Once the installation is complete, you’ll see a confirmation message. Click on the “Finish” button to exit the installer.
With Paint Tool Sai successfully installed, you’re now ready to move on to the next step of setting up your tablet to work seamlessly with the software.
Note: Paint Tool Sai is a paid software, but it offers a trial version that can be used for a limited period. If you’re satisfied with the trial version, consider purchasing the full version to access all the features and support the developers.
Now that you have Paint Tool Sai installed on your computer, let’s proceed to the next step and set up your tablet to ensure optimal performance.
Step 2: Set up your tablet
Setting up your tablet correctly is crucial to ensure a smooth and accurate drawing experience in Paint Tool Sai. Follow these steps to set up your tablet:
- Connect your tablet to your computer using the provided USB cable. Make sure the tablet is powered on.
- Install any necessary drivers for your tablet. Most tablet manufacturers provide drivers on their websites. Download and install the appropriate driver for your specific tablet model.
- Once the driver is installed, restart your computer to apply any necessary changes.
- After your computer has restarted, go to the tablet settings on your computer. This can usually be found in the Control Panel or System Preferences, depending on your operating system.
- Within the tablet settings, you’ll find options to customize various aspects of your tablet, such as the pen pressure sensitivity, button configuration, and more. Adjust these settings according to your preferences and needs.
- Make sure that your tablet is properly calibrated. Most tablets have a calibration feature that allows you to align the cursor on the screen with the position of your pen. Follow the instructions provided by your tablet manufacturer to calibrate your tablet.
- Test your tablet to ensure everything is functioning correctly. Open Paint Tool Sai and try drawing or using the pen on the canvas. If everything works as expected, you’re ready to move on to the next step.
By following these steps, you’ll have your tablet set up and ready to maximize your experience with Paint Tool Sai. Each tablet may have slightly different settings and calibration processes, so make sure to refer to the instructions provided by the manufacturer for precise guidance.
Now that your tablet is set up, let’s proceed to the next step and configure the tablet settings in Paint Tool Sai for optimal performance.
Step 3: Configure tablet settings in Paint Tool Sai
Configuring the tablet settings within Paint Tool Sai will ensure that your tablet works seamlessly with the software and that you can take full advantage of its features. Follow these steps to configure the tablet settings:
- Launch Paint Tool Sai on your computer.
- Go to the “Options” menu at the top of the application window and select “Tablet.”
- In the Tablet settings window, you will find various options to customize the tablet behavior. Here are some key settings you may want to adjust:
- Pressure Sensitivity: Adjust the pressure sensitivity to control how strokes are rendered based on the pressure applied to the tablet’s pen. Experiment with different settings to find the one that suits your drawing style best.
- Tablet Buttons: Configure the tablet buttons according to your preference. Assign common functions such as Undo, Redo, or brush size adjustment to the tablet buttons for quick access.
- Display Pen Pressure: Enable this option to display a visual indicator of the pressure applied by the pen as you draw, helping you gauge your stroke intensity.
- Make the desired adjustments to the tablet settings, and then click on the “OK” button to apply the changes.
Configuring the tablet settings in Paint Tool Sai allows you to personalize your digital art workflow and tailor it to your unique preferences. By adjusting the pressure sensitivity and assigning custom functions to the tablet buttons, you can achieve more control and efficiency while drawing or painting.
Now that you have configured the tablet settings in Paint Tool Sai, you’re ready to dive into the exciting world of digital art. Let’s move on to the next step and familiarize yourself with the various tools available in the software.
Step 4: Familiarize yourself with the tools
Paint Tool Sai offers a wide array of tools and features to help you create stunning digital artwork. Familiarizing yourself with these tools will allow you to unleash your creativity and take full advantage of the software’s capabilities. Here are some key tools to explore:
- Brushes: Paint Tool Sai offers a variety of brush options that simulate different materials and styles. Experiment with brushes of varying sizes, opacity, and textures to achieve the desired effects in your artwork.
- Color Palette: The color palette allows you to select and mix colors for your artwork. You can choose colors from a pre-existing palette or create custom colors by adjusting the RGB or HSB values.
- Layers: Layers are essential for organizing your artwork and making editing easier. You can create multiple layers and stack them on top of each other to work on different elements of your artwork separately.
- Selection Tools: Paint Tool Sai provides various selection tools such as the marquee selection, lasso selection, and magic wand selection. These tools allow you to select specific areas of your artwork for editing or manipulation.
- Eraser: The eraser tool comes in handy for removing or correcting mistakes in your artwork. It can be used to erase specific parts of a layer or even an entire layer.
- Transform Tools: Transform tools like move, scale, rotate, and skew enable you to adjust the position, size, and orientation of your artwork. These tools help in refining the composition and overall look of your digital creation.
- Blur, Sharpen, and Smudge Tools: These tools allow you to soften or enhance certain areas of your artwork. The blur tool softens edges, the sharpen tool increases clarity, and the smudge tool blends colors together for a smoother transition.
Take the time to experiment with these tools to understand their functionality and how they can be used to achieve different effects in your artwork. Don’t be afraid to explore and try out new techniques to unleash your creativity.
With the knowledge of these essential tools, you’re equipped to start creating amazing digital artwork in Paint Tool Sai. In the next step, we’ll explore how to adjust the pressure sensitivity to enhance your drawing experience even further.
Step 5: Adjust pressure sensitivity
One of the key advantages of using a tablet with Paint Tool Sai is the ability to adjust the pressure sensitivity. By fine-tuning this setting, you can control the thickness, opacity, and intensity of your brush strokes based on the pressure you apply with the pen. Follow these steps to adjust the pressure sensitivity:
- Open Paint Tool Sai and create a new canvas or open an existing artwork.
- Select a brush tool from the toolbar.
- On the top menu, you’ll find the brush settings. Look for the “Min Size” and “Max Size” options, as well as the “Density” or “Opacity” settings.
- Begin by making light strokes on the canvas to test the pressure sensitivity. Observe how the brush size and opacity change based on the pressure applied.
- If the pressure sensitivity feels too sensitive or not sensitive enough, adjust the “Min Size” and “Max Size” settings to increase or decrease the range of brush sizes affected by pressure.
- To fine-tune the opacity or density based on pressure, adjust the corresponding setting to your preference. Increase the value if you want more opacity or density with greater pressure, and decrease it for less opacity or density.
- Continue experimenting with different brush tools and adjustments to find the pressure sensitivity that works best for your drawing style.
By customizing the pressure sensitivity, you can achieve more natural and responsive brush strokes, adding depth and dimension to your artwork. Take the time to perfect this setting to enhance your drawing experience and produce more dynamic illustrations.
Now that you’ve adjusted the pressure sensitivity, you’re ready to move on to the next step and discover how to use hotkeys in Paint Tool Sai for increased efficiency.
Step 6: Use hotkeys for efficiency
Mastering hotkeys in Paint Tool Sai can greatly enhance your workflow and improve efficiency while creating digital art. Hotkeys are keyboard shortcuts that allow you to quickly access various functions and tools within the software. Follow these steps to leverage hotkeys for increased efficiency:
- Start by familiarizing yourself with the default hotkeys in Paint Tool Sai. Some common hotkeys include:
- B: Activate the brush tool
- E: Switch to the eraser tool
- C: Enable the color picker
- Ctrl+Z: Undo your last action
- Ctrl+Y: Redo your previous action
- Learn additional hotkeys for tools and functions that you frequently use. Paint Tool Sai allows you to customize hotkeys to your liking. To do this:
- Go to the “Options” menu in the upper toolbar.
- Select “Keyboard shortcuts” from the drop-down menu.
- Assign or change hotkeys for specific functions according to your preference. Make sure to choose hotkeys that are easy to remember and access.
- Take the time to practice using the hotkeys. It may feel challenging at first, but with practice, using hotkeys will become second nature, saving you valuable time and effort while working on your artwork.
- Consider creating a cheat sheet or sticky note with a list of your customized hotkeys. Having a quick reference nearby will help you remember the hotkeys and use them more efficiently.
- Regularly review your hotkey customization and make adjustments as needed. As you become more familiar with Paint Tool Sai and develop your own workflow, you may discover new functions or tools that can benefit from a dedicated hotkey.
By utilizing hotkeys, you can streamline your workflow, minimize the need for mouse movements, and achieve a more seamless and efficient digital art creation process. Practice incorporating hotkeys into your routine, and you’ll experience a significant boost in productivity and speed.
Now that you’re armed with the knowledge of hotkeys, it’s time to move on to the next step and learn how to create a new canvas in Paint Tool Sai.
Step 7: Create a new canvas
Before you can start working on your digital artwork in Paint Tool Sai, you need to create a new canvas. The canvas serves as your virtual workspace where you can unleash your creativity. Follow these steps to create a new canvas:
- Launch Paint Tool Sai on your computer.
- In the top menu, click on “File” and select “New” from the drop-down menu, or use the hotkey combination “Ctrl+N”.
- A new window will appear, allowing you to specify the canvas settings:
- Width and Height: Enter the desired dimensions for your canvas. You can choose a standard aspect ratio or customize it to your specific requirements.
- Resolution: Set the resolution of your canvas, usually measured in pixels per inch (PPI) or dots per inch (DPI). A higher resolution will result in more detailed artwork, but keep in mind that it may require more system resources.
- Color Mode: Choose between RGB (Red, Green, Blue) or CMYK (Cyan, Magenta, Yellow, Key) color modes. RGB is typically used for digital artwork intended for screens, while CMYK is suitable for print.
- Once you’ve chosen your desired canvas settings, click on the “OK” button to create the new canvas.
With your canvas created, you’re now ready to unleash your creativity and start bringing your digital art to life. Keep in mind that you can always adjust these settings later if needed, so don’t worry too much about getting everything perfect at this stage.
Experiment with different canvas sizes, resolutions, and color modes to find the best configurations for your specific project. Creating a new canvas in Paint Tool Sai sets the stage for your artistic journey, providing you with a blank canvas ready to be filled with your imagination.
In the next step, we’ll explore the process of drawing or painting on your newly created canvas using the tools available in Paint Tool Sai.
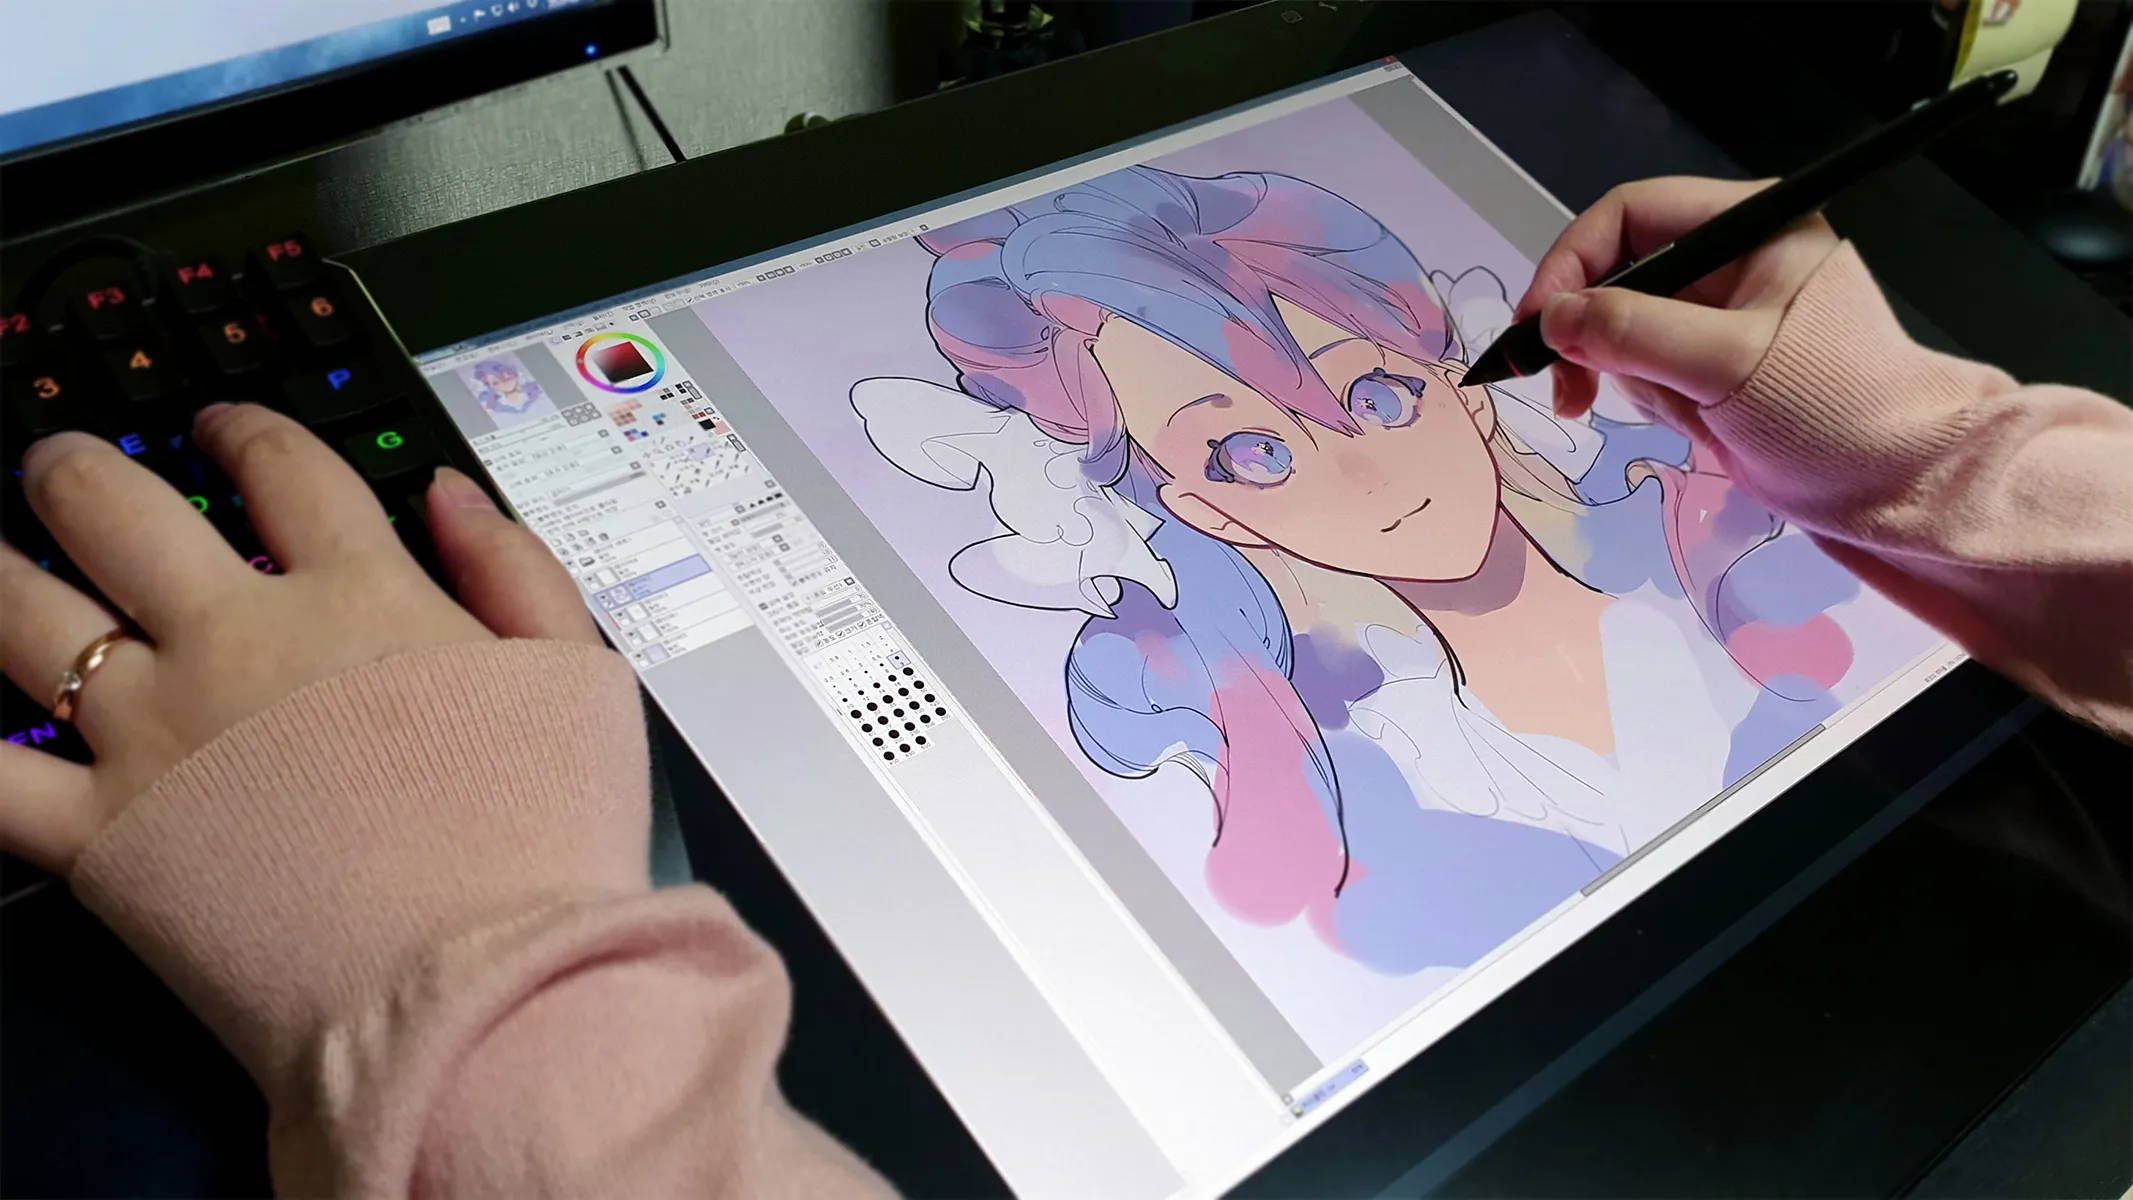
Step 8: Start drawing or painting
Now that you have your canvas set up, it’s time to unleash your creativity and start drawing or painting in Paint Tool Sai. Follow these steps to get started:
- Select a brush tool from the toolbar. You can choose from a variety of brushes with different shapes, sizes, and textures.
- Adjust the brush settings such as the size, opacity, and hardness according to your preference. You can find these settings in the top menu or the brush panel.
- Choose your desired color from the color palette or create custom colors by adjusting the RGB or HSB values.
- Position your cursor on the canvas, and using your tablet pen, start making strokes to create your artwork. Experiment with different brush strokes, pressure levels, and colors to achieve the desired effect.
- Utilize layers to organize your artwork and make editing easier. Create new layers for different elements or sections and use blending modes to achieve the desired visual effects.
- Take advantage of the various tools available, such as the eraser, selection tools, transform tools, and more, to refine your artwork and make adjustments as needed.
- Don’t be afraid to experiment, try out different techniques, and let your creativity guide you as you explore the possibilities within Paint Tool Sai.
Remember, digital art is a journey of exploration and self-expression. Enjoy the process, have fun, and don’t be afraid to make mistakes. Paint Tool Sai offers a robust set of tools and features that can help you bring your artistic vision to life.
As you continue to practice and refine your skills, you’ll enhance your ability to create stunning digital artwork in Paint Tool Sai. So, grab your tablet pen, let your imagination run wild, and start creating your masterpiece.
In the next step, we’ll dive into the concept of layers and how they can enhance your editing capabilities.
Step 9: Use layers for easier editing
Layers are a powerful feature in Paint Tool Sai that allow you to organize and edit your artwork more efficiently. By utilizing layers, you can work on different elements separately, make changes without affecting the rest of the artwork, and achieve more complex and professional-looking results. Follow these steps to make the most out of layers:
- To create a new layer, go to the “Layers” menu and click on the “New Layer” button, or use the shortcut “Ctrl+Shift+N”.
- Arrange the layers in the layer panel according to the hierarchy of your artwork. Place the elements that appear in the background on lower layers and the foreground elements on higher layers.
- Use the blending modes available to control how each layer interacts with the layers beneath it. Experiment with different blending modes to achieve the desired visual effects for your artwork.
- Adjust the opacity of each layer to control the transparency and visibility of the elements. Lowering the opacity can help create subtle blending and build up depth in your artwork.
- When working on a specific element, make sure to select the correct layer to avoid unintentional changes to other parts of your artwork.
- Take advantage of layer masks to selectively apply or remove certain areas of a layer without permanently altering the image.
- Group related layers to keep your workspace organized. You can easily group layers by selecting them and clicking on the “Group” button in the layer panel.
- Remember to name your layers appropriately to make it easier to identify and locate them during the editing process.
By utilizing layers effectively, you have more flexibility and control over your artwork. You can make edits, try out different variations, and experiment with different effects without the fear of permanently altering your original work.
Now that you understand the power of layers, you’re equipped with a versatile tool to take your artwork to the next level. In the final step, we’ll explore how to save and export your artwork in Paint Tool Sai.
Step 10: Save and export your artwork
Once you’ve completed your digital artwork in Paint Tool Sai, it’s essential to save and export it in a suitable format to preserve your hard work and share it with others. Follow these steps to save and export your artwork:
- To save your artwork, go to the “File” menu and click on “Save” or use the shortcut “Ctrl+S”. Choose a location on your computer where you want to save the file, provide a name, and select the desired file format. Paint Tool Sai saves files in its unique “.sai” format, which allows you to retain all the layers and editable elements for future editing. Saving in the Paint Tool Sai format ensures that you can continue working on your artwork with all its layers intact.
- If you want to share your artwork or use it in other applications, you’ll need to export it in a more common file format such as JPEG, PNG, or TIFF. To export your artwork, go to the “File” menu and select “Save As” or “Export”. Choose the desired file format, adjust any additional settings, such as resolution or compression level, and save the file in your desired location.
- If you plan to print your artwork, consider exporting it in a high-resolution file format with CMYK color mode, such as TIFF or PDF. This ensures that the print quality is preserved and that the colors are accurately represented.
- For online sharing or displaying your artwork on websites or social media platforms, exporting as JPEG or PNG formats would usually suffice. JPEG is more suitable for photographs or complex images, while PNG is ideal for graphics or images with transparent backgrounds.
- Once you’ve saved or exported your artwork, take a moment to review the file and ensure that it looks as intended. Open it in an image viewer or your preferred graphics software to double-check the colors, details, and overall appearance.
Remember, it’s always a good practice to create backups of your artwork files to prevent any accidental loss or corruption. Consider saving copies of your work on external storage devices, cloud storage, or other reliable backup solutions.
By saving and exporting your artwork in the appropriate formats, you can preserve your creative endeavors and share them with others, whether it’s for personal enjoyment, showcasing your talent, or professional purposes.
With Step 10 completed, you have successfully reached the end of this guide. Congratulations on learning how to use Paint Tool Sai with your tablet! Now, it’s time to unleash your creativity and continue honing your digital art skills.
Conclusion
Congratulations on completing this guide on using Paint Tool Sai with your tablet! You’ve acquired the knowledge and skills to embark on your digital art journey and create stunning artwork with this versatile software. Here’s a recap of the steps we covered:
- Installed Paint Tool Sai on your computer, ensuring that you have the necessary drivers for your tablet.
- Set up your tablet correctly, adjusting the settings to achieve optimal performance and responsiveness.
- Configured tablet settings within Paint Tool Sai, customizing pressure sensitivity, tablet buttons, and more.
- Familiarized yourself with the various tools available, such as brushes, color palettes, layers, and selection tools.
- Adjusted pressure sensitivity to achieve precise and dynamic brush strokes.
- Utilized hotkeys to enhance your workflow and increase efficiency while working in Paint Tool Sai.
- Created a new canvas, setting the dimensions, resolution, and color mode for your artistic project.
- Began drawing or painting on your canvas, exploring different techniques and unleashing your creativity.
- Used layers to organize and edit your artwork more efficiently, allowing for non-destructive changes and complex compositions.
- Saved and exported your artwork, ensuring that you preserved your hard work and could share it with others in various formats.
With these steps, you’ve gained a solid foundation in using Paint Tool Sai with your tablet. Remember, digital art is a journey of continuous learning and exploration. Practice regularly, experiment with different techniques, and don’t be afraid to push your creative boundaries.
Additionally, consider exploring advanced tutorials, joining online communities, and seeking feedback from fellow artists to further refine your skills and grow as an artist. The more you immerse yourself in the world of digital art, the more you’ll develop your unique style and produce captivating artworks.
So, grab your tablet, open Paint Tool Sai, and let your imagination soar. Embrace the endless possibilities of digital art, and enjoy the process of bringing your creative vision to life!