Introduction
The XP-Pen tablet offers a versatile and intuitive way to interact with your computer, whether you’re an artist, designer, or simply looking for a smoother and more precise navigation experience. Turning on your XP-Pen tablet is the first step in getting started with this powerful tool. In this guide, we will walk you through the process of turning on your XP-Pen tablet, from unboxing to installation, so you can start unleashing your creativity in no time.
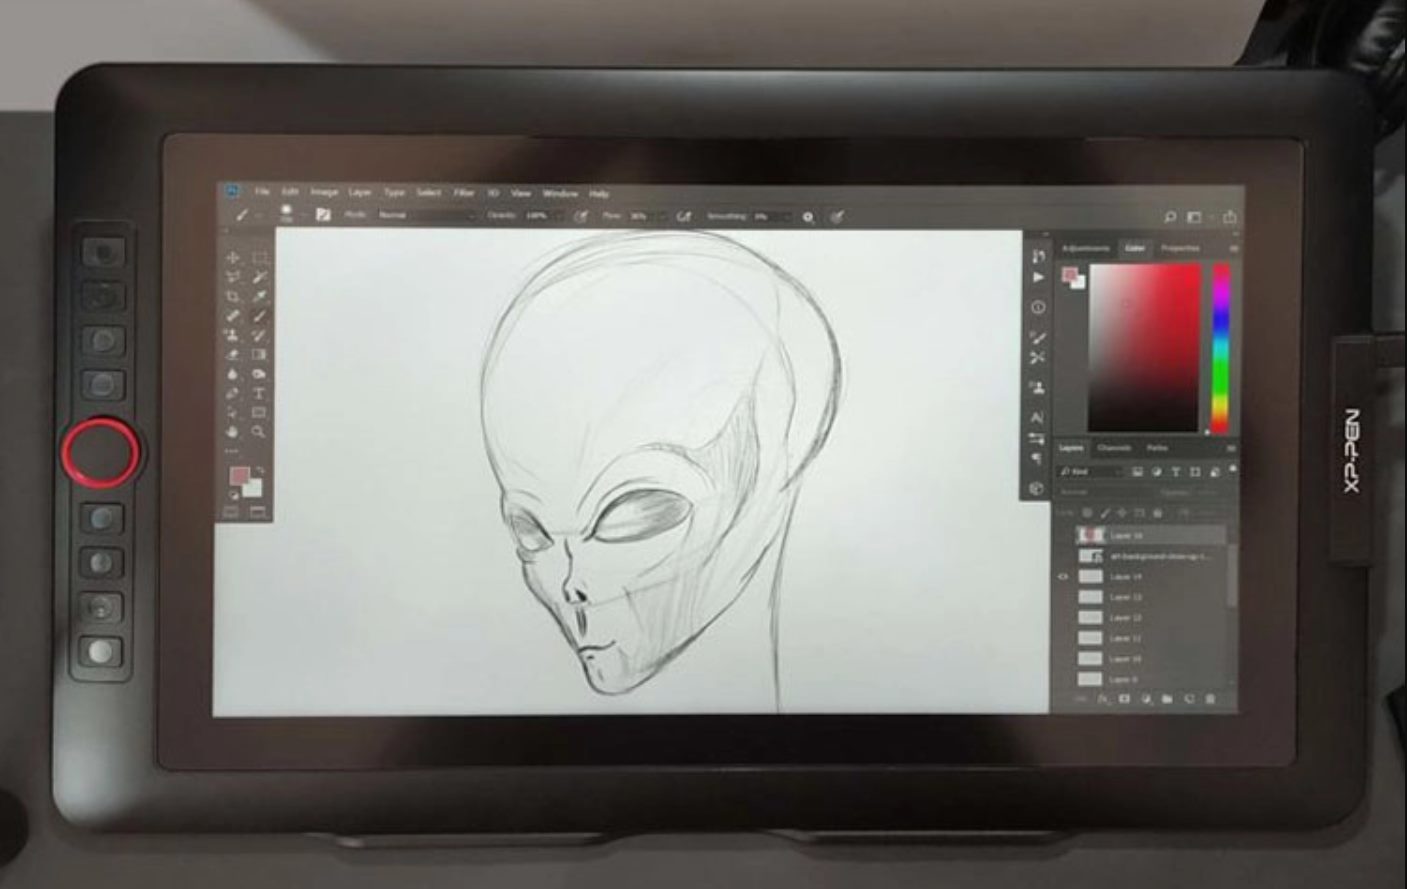
With its sleek design and advanced features, the XP-Pen tablet is a popular choice among digital artists. It provides a seamless connection between the pen and the tablet surface, allowing for precise and natural strokes. Whether you are creating digital illustrations, editing photos, or designing graphics, the XP-Pen tablet can greatly enhance your workflow and productivity.
Before you begin using your XP-Pen tablet, it’s important to unbox it carefully and familiarize yourself with its components. This will ensure that you have all the necessary accessories and can set it up correctly. Once you have unboxed the tablet, you can proceed to connect it to your computer via the USB cable and install the required drivers.
Setting up the XP-Pen tablet is a straightforward process, but it’s crucial to follow the manufacturer’s instructions to ensure proper functionality. Once you have successfully installed the drivers, you can adjust the tablet settings to suit your personal preferences. You can customize pen pressure sensitivity, button functions, and other parameters in order to optimize your workflow.
After configuring the tablet settings, it’s recommended to perform a quick test to ensure that the tablet is working correctly. This involves making a few strokes on the tablet surface and checking if they are accurately reflected on your computer screen. If you encounter any issues during this step, troubleshooting techniques are available to resolve common problems.
In summary, turning on your XP-Pen tablet involves unboxing, connecting, installing drivers, adjusting settings, and performing a quick test. By following the step-by-step instructions provided in this guide, you will be able to set up your XP-Pen tablet seamlessly and enjoy a smoother, more intuitive digital experience.
Step 1: Unboxing the XP-Pen tablet
Unboxing your XP-Pen tablet is an exciting first step towards exploring its incredible capabilities. Follow these steps to ensure a smooth unboxing experience:
- Start by finding a clean and clutter-free workspace where you can unpack your XP-Pen tablet. Make sure you have enough space to spread out the components.
- Open the box carefully and remove the contents. You will typically find the tablet itself, the stylus pen, a USB cable, a pen holder, and replacement nibs.
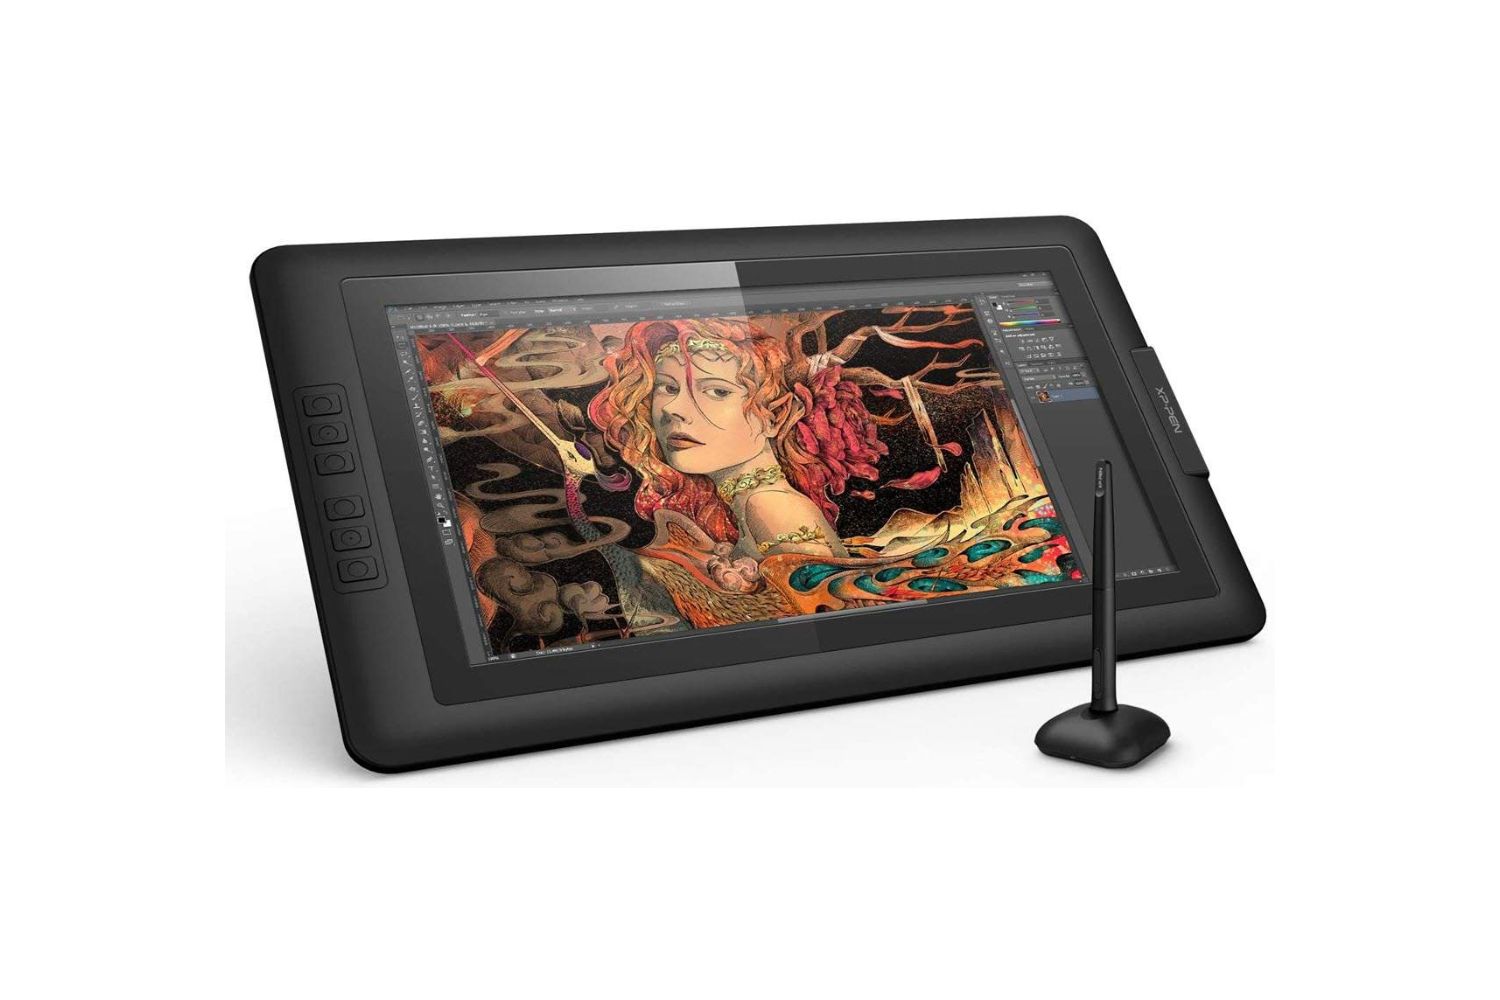
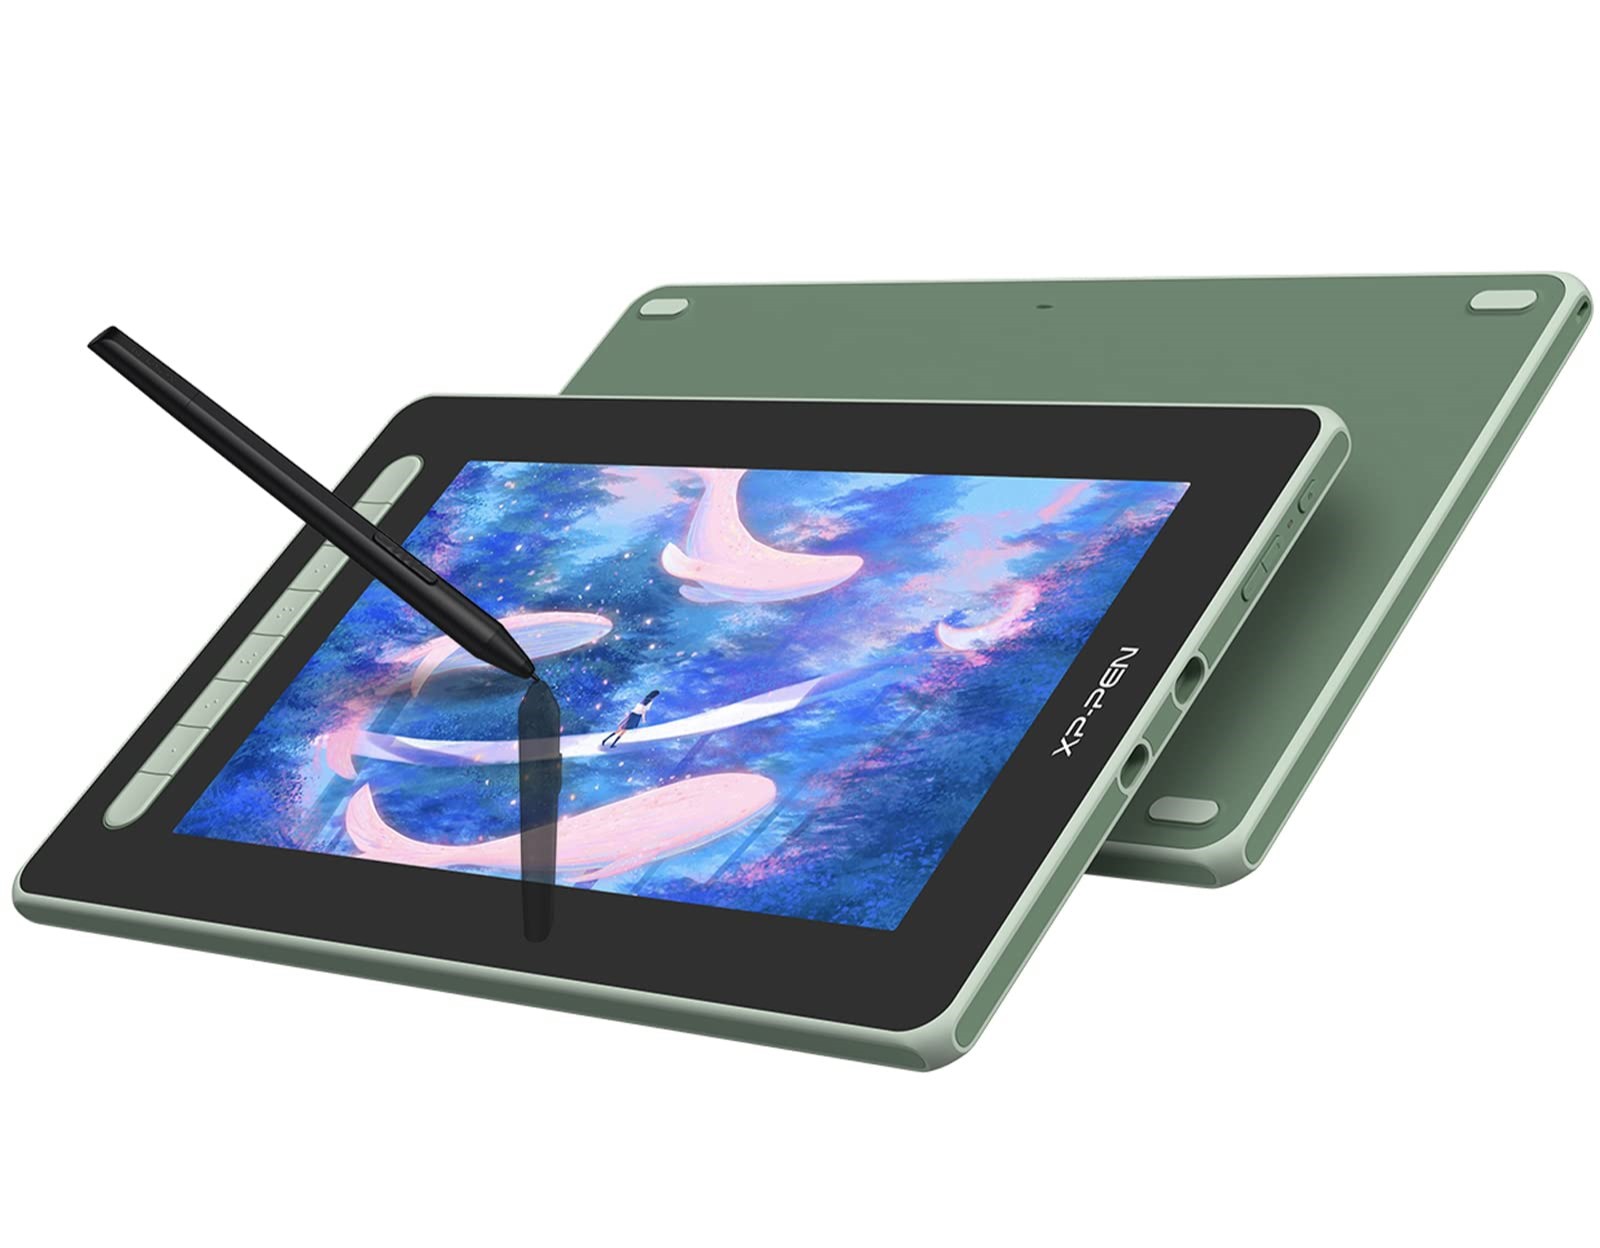
- Take a moment to examine the tablet. Note its size, weight, and overall build quality. The XP-Pen tablet is known for its sleek design and premium materials.
- Next, locate the stylus pen. Remove it from its packaging and familiarize yourself with its features. The pen is often battery-free and pressure-sensitive, enabling you to create precise and intricate artwork.
- You will also find a USB cable in the box. Unravel the cable and check its length. Ensure that it is long enough to comfortably reach your computer’s USB port.
- Inspect the pen holder, which serves as a convenient storage solution for your stylus pen. Some pen holders also double as a pen stand, allowing you to prop up the pen when not in use.
- Finally, check for any additional accessories, such as replacement nibs. These nibs can be useful when your current nib starts to wear down after prolonged use.
As you unbox the XP-Pen tablet, make sure to keep track of all the components and packaging. It’s a good idea to save the original box and packaging materials in case you ever need to transport or store the tablet in the future. Being organized during the unboxing process will make it easier for you to set up and use your XP-Pen tablet.
Once you have successfully unboxed your XP-Pen tablet and examined its components, you are ready to move on to the next step: connecting the tablet to your computer.
Step 2: Connecting the XP-Pen tablet to your computer
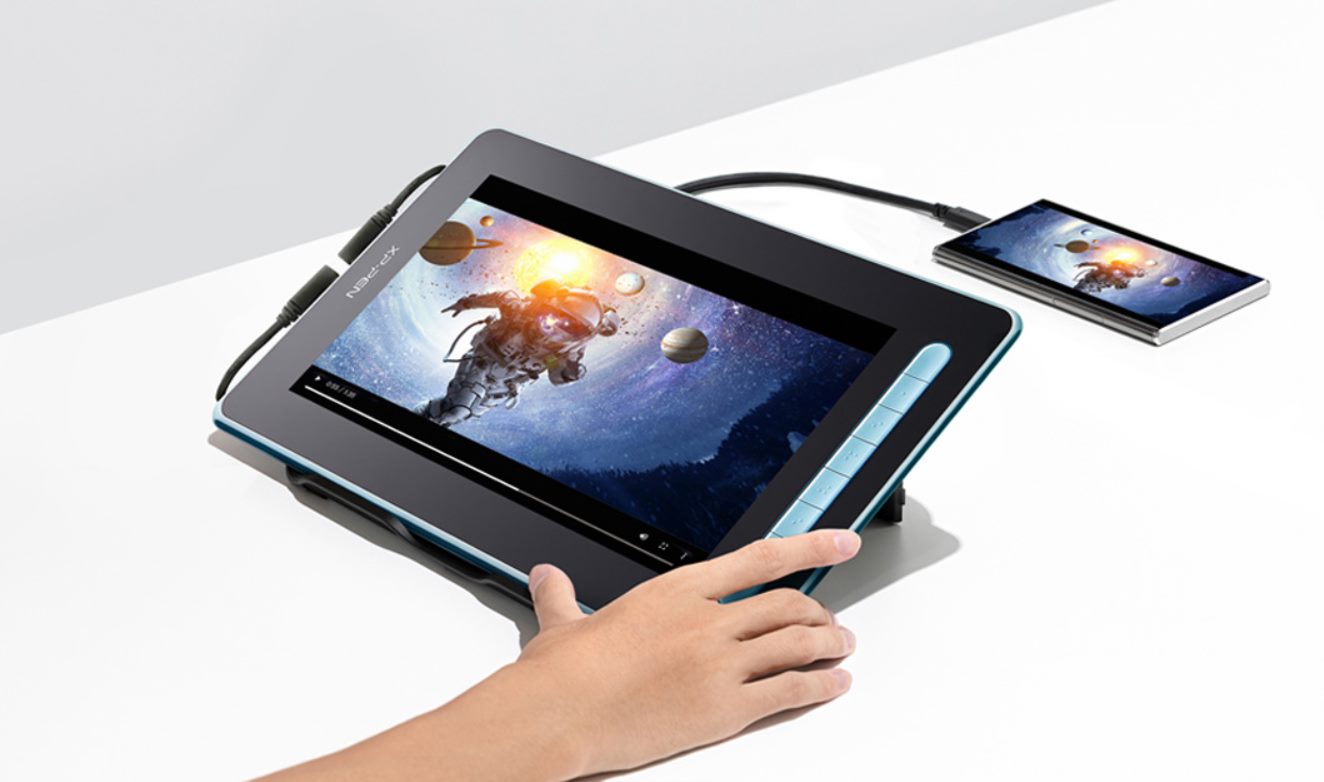
Now that you have finished unboxing your XP-Pen tablet, it’s time to connect it to your computer. Follow these steps to ensure a seamless connection:
- Locate the USB cable that came with your XP-Pen tablet. Plug one end of the cable into the designated USB port on the tablet.
- The other end of the USB cable will have a standard USB-A connector. Insert this end into an available USB port on your computer. It’s recommended to use a USB 3.0 port for faster data transmission.
- Once the cable is securely connected, you should see a notification on your computer indicating that a new device has been connected.
- Now it’s time to wait for the computer to recognize the XP-Pen tablet. In most cases, the drivers will be automatically detected and installed by the operating system. If prompted, follow the on-screen instructions to complete the driver installation process.
- While the drivers are being installed, it’s important not to disconnect the USB cable. Allow the installation process to complete to ensure proper functionality of the tablet.
- Once the drivers are successfully installed, you may need to restart your computer to activate the changes.
- After restarting your computer, the XP-Pen tablet should be fully connected and ready to use. Test the connection by using the stylus pen to make a few strokes on the tablet’s surface. Check if the strokes are accurately reflected on your computer screen.
- If you encounter any issues with the connection, double-check the USB cable and make sure it is securely connected. You can also try connecting the cable to a different USB port to troubleshoot any potential port-related issues.
By following these steps, you should be able to connect your XP-Pen tablet to your computer successfully. The stable connection between the tablet and the computer is essential for a smooth and responsive drawing experience.
With your XP-Pen tablet now connected, you can proceed to the next step: installing the necessary drivers.
Step 3: Installing the necessary drivers
Installing the necessary drivers is a crucial step to ensure the optimal performance of your XP-Pen tablet. Follow these steps to install the drivers:
- Once you have connected your XP-Pen tablet to your computer, the operating system should automatically detect the tablet and attempt to install the drivers. However, it’s recommended to visit the XP-Pen website to download the latest drivers specifically designed for your tablet model.
- Go to the XP-Pen official website and navigate to the Support section. Look for the “Drivers” or “Downloads” page.
- Select your tablet model from the available options. Make sure you choose the correct model to ensure compatibility.
- Choose your computer’s operating system, such as Windows or macOS, and select the appropriate version.
- Click on the download link to start downloading the driver package. The file size may vary depending on the tablet model and driver version.
- Once the download is complete, locate the driver file on your computer and double-click it to begin the installation process.
- Follow the on-screen instructions to install the drivers. You may be prompted to accept the terms and conditions and choose the installation location.
- During the installation, it’s important not to disconnect the XP-Pen tablet from your computer. This ensures a smooth installation process.
- Once the installation is complete, restart your computer to activate the changes and ensure that the drivers are fully functional.
After restarting your computer, your XP-Pen tablet should be ready to use with the newly installed drivers. Check the tablet settings on your computer to verify that the drivers have been successfully installed.
If you encounter any issues during the installation process or face compatibility problems, it’s advisable to contact XP-Pen customer support for further assistance. They can provide guidance and help you troubleshoot any driver-related issues.
Now that the drivers are installed, you can move on to the next step: adjusting the tablet settings to suit your preferences.
Step 4: Adjusting the tablet settings
After installing the drivers for your XP-Pen tablet, it’s time to customize the tablet settings to optimize your drawing experience. Follow these steps to adjust the tablet settings:
- Begin by accessing the tablet settings menu. This can usually be done by locating the tablet’s icon in the system tray on your computer or by launching the tablet’s software application.
- Once you have opened the tablet settings menu, you will find various options that you can adjust to suit your preferences.
- One important setting to consider is pen pressure sensitivity. By adjusting this setting, you can control how much pressure is required for the tablet to register a stroke. Experiment with different pressure levels to find the one that feels most comfortable and natural to you.
- Furthermore, you can customize the function of the tablet’s buttons, if applicable. These buttons can be assigned different functions such as undo, zoom, or brush size adjustment. Assign functions that are frequently used in your workflow to make your work more efficient.
- Another setting to explore is the tablet’s active area. This allows you to define the portion of the tablet’s surface that corresponds to your computer screen. Adjusting the active area ensures that your cursor movements accurately match your hand movements on the tablet.
- Some XP-Pen tablets also offer additional features like tilt and rotation sensitivity. These settings allow you to create more dynamic and expressive artwork by utilizing the angle and rotation of the stylus pen.
- As you adjust the tablet settings, it’s a good idea to test them in a drawing application or software of your choice. This will help you fine-tune the settings and ensure that the tablet responds to your input accurately.
- Make sure to save your settings once you are satisfied with the adjustments. This will ensure that your preferences are retained even after restarting your computer.
Remember that adjusting the tablet settings is a personal preference, and what works for one person may not work for another. Take your time to explore the different options, experiment with various settings, and find the ones that enhance your drawing experience and workflow.
Now that you have adjusted the tablet settings, it’s time to move on to the next step: testing the XP-Pen tablet to ensure it is working properly.
Step 5: Testing the XP-Pen tablet
After setting up and adjusting the tablet settings, it’s essential to perform a quick test to ensure that your XP-Pen tablet is working as expected. Follow these steps to test your XP-Pen tablet:
- Launch a drawing software or application on your computer, such as Adobe Photoshop, Corel Painter, or Krita.
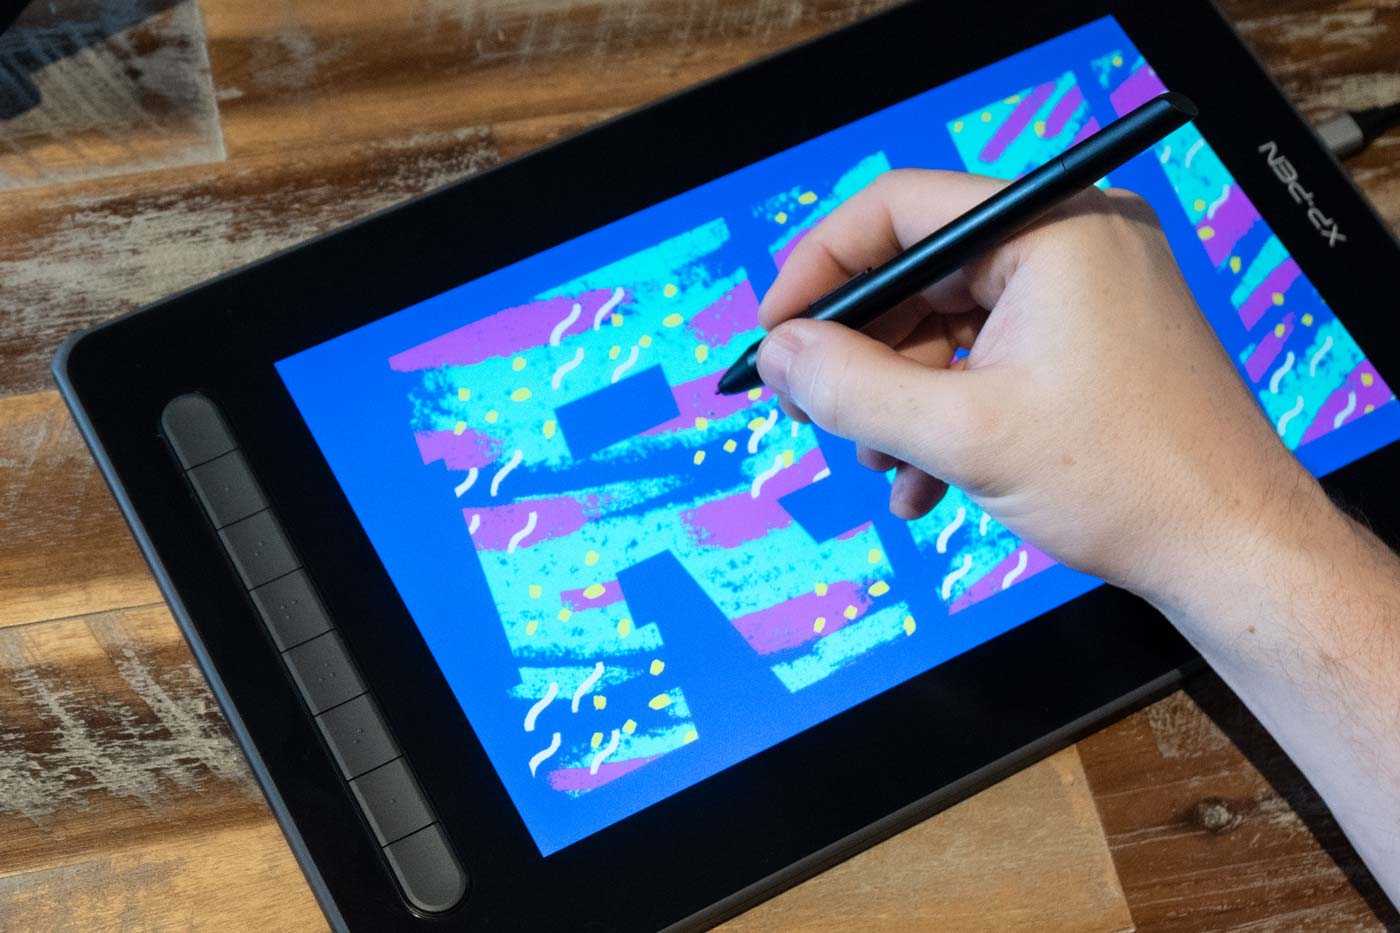
- Select the brush or pen tool in the software and make sure it’s set to respond to pen input.
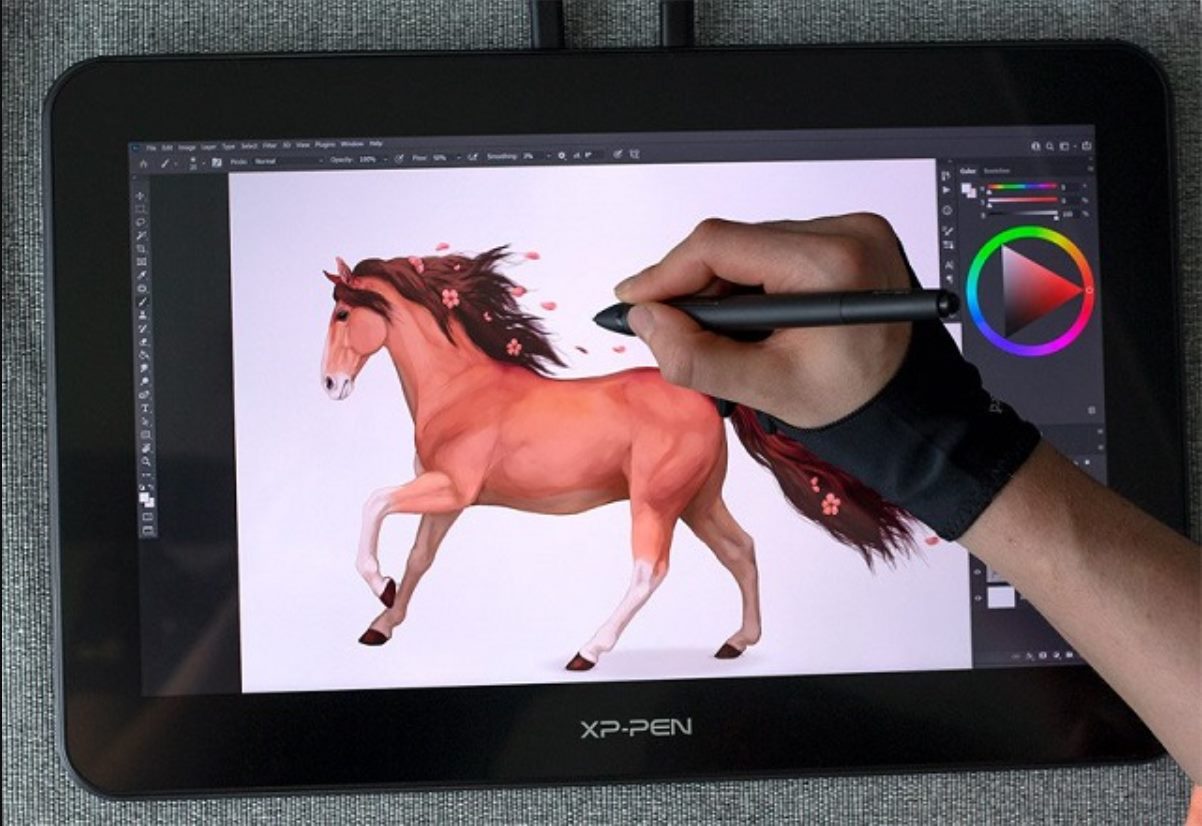
- Take the stylus pen and make a few strokes on the tablet’s surface. Observe if the strokes are accurately replicated on the computer screen. You should see your drawings and lines appear in real-time as you draw on the tablet.
- Test the pressure sensitivity by varying the pressure applied to the stylus pen. Notice if the brush size or opacity changes accordingly. The stroke thickness should vary based on your pressure sensitivity settings.
- Try out the tablet’s buttons, if applicable, to make sure they are assigned the correct functions and are responding properly. For example, if you assigned one of the buttons to the undo function, pressing it should undo your last action in the drawing software.
- If your tablet has additional features like tilt or rotation sensitivity, experiment with them by tilting or rotating the pen to see if the software accurately reflects those movements.
- If you encounter any issues during the testing process, double-check your tablet settings and refer to the user manual or online resources for troubleshooting guidance.
By performing this quick test, you can ensure that your XP-Pen tablet is functioning correctly and that it accurately translates your pen movements into digital artwork. It’s important to test all the essential functionalities and features of the tablet to guarantee a smooth drawing experience.
If you encounter any persistent issues or if the tablet is not responding as expected, you can contact XP-Pen’s customer support for further assistance. They will be able to provide specific troubleshooting steps or guide you through any necessary repairs or replacements.
Once you have successfully completed the testing phase and are satisfied with the performance of your XP-Pen tablet, you are ready to unleash your creativity and enjoy a seamless digital drawing experience.
Conclusion
Setting up and turning on your XP-Pen tablet is an exciting endeavor that opens up a world of creative possibilities. By following the step-by-step process outlined in this guide, you can unbox your tablet, connect it to your computer, install the necessary drivers, adjust the settings, and test its functionality.
The unboxing process allows you to familiarize yourself with the components of the XP-Pen tablet, including the tablet itself, stylus pen, USB cable, and pen holder. Taking the time to carefully unbox and inspect these components ensures a smooth setup process.
Connecting the tablet to your computer is a simple process, involving the use of a USB cable. Ensuring a stable connection is crucial for accurate pen input and seamless drawing experiences.
Installing the necessary drivers is essential in order to fully utilize the features and functionalities of the XP-Pen tablet. By visiting the XP-Pen website and downloading the appropriate drivers for your tablet model and operating system, you can ensure optimal performance.
Adjusting the tablet settings to suit your personal preferences is an important step. Customizing pen pressure sensitivity, button functions, active area, and other settings allows you to tailor the tablet to your unique requirements, enhancing your creative workflow.
Performing a thorough test of your XP-Pen tablet ensures that it is functioning as expected. Testing pen sensitivity, pressure levels, button assignments, and additional features such as tilt or rotation sensitivity allows you to verify that the tablet accurately translates your pen inputs into digital artwork.
Once you have completed the setup process and performed the necessary tests, you are ready to embark on your creative journey. The XP-Pen tablet will serve as your trusted companion, providing you with a seamless and intuitive way to express your artistic vision.
Remember, while this guide provides a comprehensive overview, always consult the manufacturer’s instructions and user manual for detailed information specific to your XP-Pen tablet model. If you encounter any difficulties during the setup process, XP-Pen’s customer support is available to assist you.
Now, let your creativity flourish with your newly turned-on XP-Pen tablet! Enjoy the smooth and precise drawing experience that it offers and explore the endless possibilities of digital art.