Can You Run Blender Without a Graphics Card?
Yes, you can run Blender without a dedicated graphics card, and you can absolutely use blender without graphics card by relying on your CPU or integrated graphics. While performance will be significantly slower for complex scenes and final renders, the software is fully functional on machines without a discrete GPU, making it accessible for learning, modeling, and even producing finished work with the right optimizations.
Minimum System Requirements for Integrated Graphics
Before diving into workflows, it's critical to verify that your system meets Blender's baseline specifications. Recent versions like Blender 4.0 require a GPU (integrated or dedicated) with at least 2GB VRAM and OpenGL 4.3 support. This means older integrated chips may fail to launch the viewport entirely, so check your graphics drivers and hardware capabilities first. Intel Iris Xe integrated GPUs are supported, but their performance is limited by the lack of dedicated VRAM, which directly impacts texture memory and viewport responsiveness. For system memory, a minimum of 8GB RAM is required, but 32GB is recommended for comfortable use and handling complex projects without crashes or excessive swapping.
How to Set Up CPU Rendering in Blender
If your integrated GPU struggles with Cycles rendering, switching to CPU compute is your primary fallback. While CPU rendering is considerably slower than GPU rendering, it leverages your processor's full power and avoids graphics driver issues entirely. Here's how to configure it:
Step 1: Open Render Properties
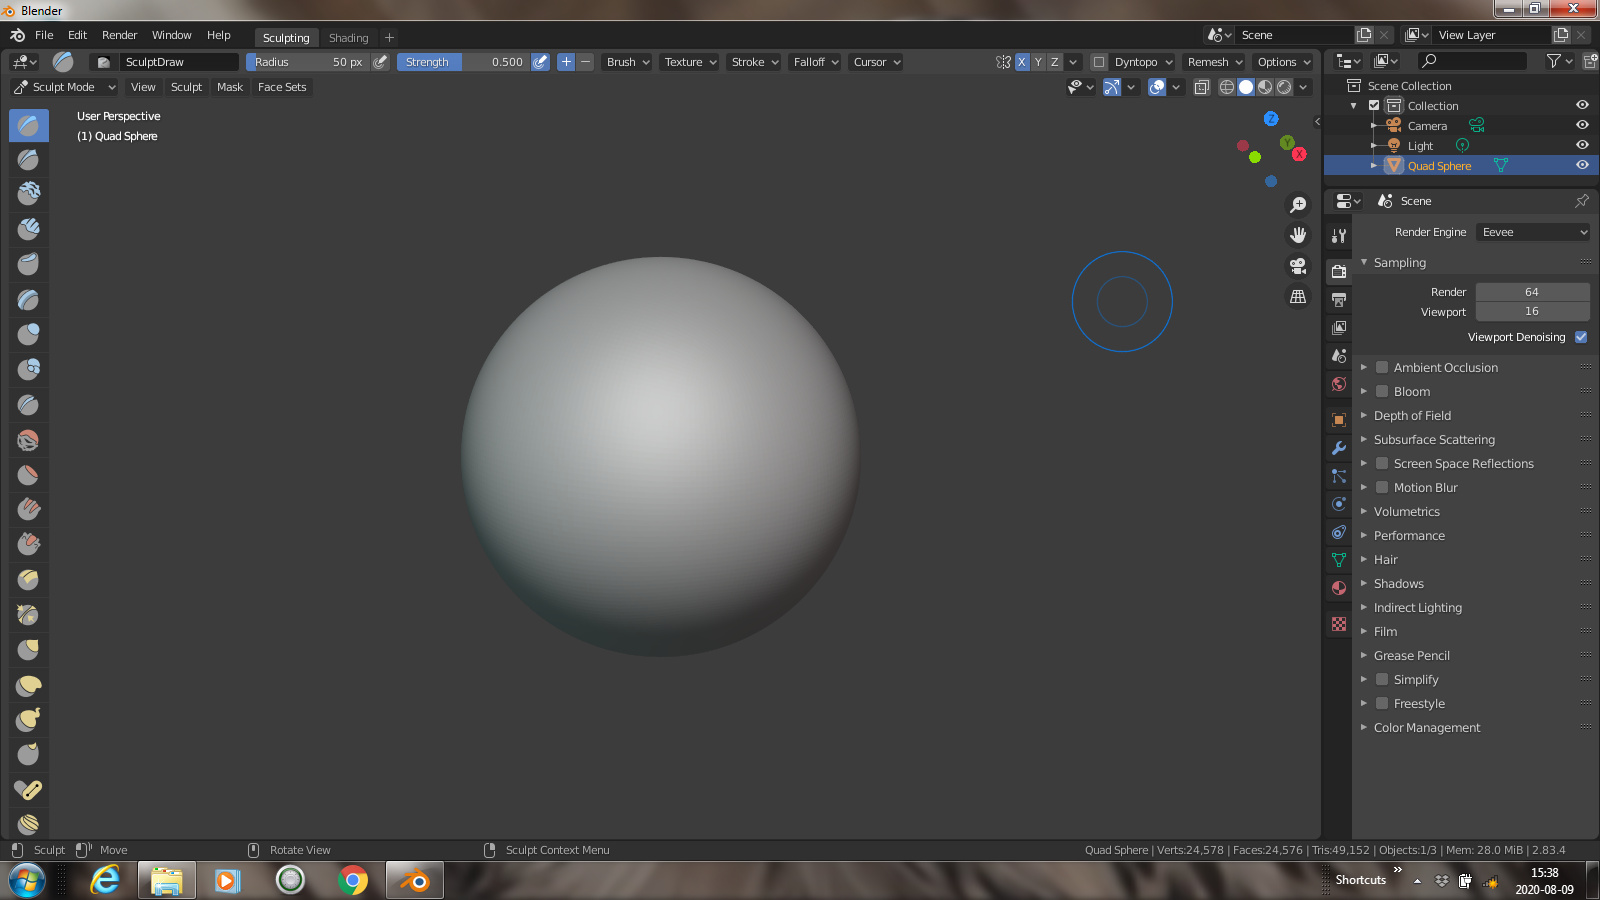
In the Properties window (usually on the right side of the interface), click the Render tab, it looks like a small camera icon. This opens the global render settings for your scene.
Step 2: Change the Compute Device
Choose "CPU" instead of "GPU Compute." This tells Blender to use your processor for all ray-tracing calculations, which is the most reliable method when no dedicated graphics card is available.
Step 3: Adjust Threads (Optional)
By default, Blender uses all available CPU cores, which is fine for dedicated rendering sessions. However, if you need to keep your system responsive for other tasks, you can manually cap the thread count to leave some cores free. For most users, leaving it on "Auto" is the best balance.
Optimizing Viewport Performance on Integrated Graphics
The viewport is where you'll spend most of your time, and integrated graphics will lag here unless you make targeted adjustments. The goal is to reduce the computational load on your GPU while maintaining a usable workspace. These settings are essential for smooth navigation and editing:
Lower Viewport Samples
Reduce this from the default (often 32 or 64) down to 8 or even 4. This dramatically cuts the number of rays calculated per frame in the viewport, making rotation and zoom operations much snappier. You'll see a grainier preview, but that's acceptable during modeling.
Use Solid or Wireframe Shading
These modes bypass material calculations and lighting entirely, which is the single biggest performance win for integrated GPUs.
Reduce Subdivision Levels
If you use Subdivision Surface modifiers, lower the "Viewport" subdivision level to 1 or even 0 during editing. Keep the "Render" subdivision level higher for final output. This prevents the viewport from trying to display dense geometry that would overwhelm your integrated GPU's limited processing power.
Disable Shadows in Eevee
If you prefer Eevee for previewing, the Eevee render engine also benefits significantly from a dedicated GPU for faster performance. This removes a costly real-time calculation. You can re-enable it when you need to preview lighting accurately.
Using Cloud Rendering for Final Output
When your local hardware is too slow for production-quality frames, cloud rendering is a practical escape hatch. Services like SheepIt Render Farm and GarageFarm.NET let you upload your .blend file, configure render settings on their website, and receive finished frames without taxing your machine. This is especially useful for animations or high-resolution stills that would take hours or days locally. The workflow is straightforward: upload your project, set resolution and frame range, submit the job, and monitor progress remotely. While there's often a cost per frame or a subscription fee, it's far cheaper than buying a new GPU. This approach also frees your computer for other tasks during rendering, and you can iterate on scene changes while the farm processes your final output.
What to Expect: Performance Realities
Be honest with yourself about the limitations. Using integrated graphics means Cycles renders will be dramatically slower, often 5 to 10 times slower than even a mid-range dedicated GPU. Eevee viewport lag is also a constant companion; you'll need to rely on the optimizations above to keep your workflow fluid. Memory constraints are another hurdle: with 8GB of RAM, large scenes with high-resolution textures will cause out-of-memory errors, so you'll need to keep textures small and geometry efficient. However, these limitations are not insurmountable. Many artists have completed professional projects using only CPU rendering and cloud services. The key is to plan your scene budgets carefully, use viewport optimizations aggressively, and reserve local rendering for quick previews rather than finals. With patience and the right setup, you can produce excellent work without ever owning a graphics card.
\nRelated reading: How To Use Proton VPN and How To Use Lockdown Browser.