Overview
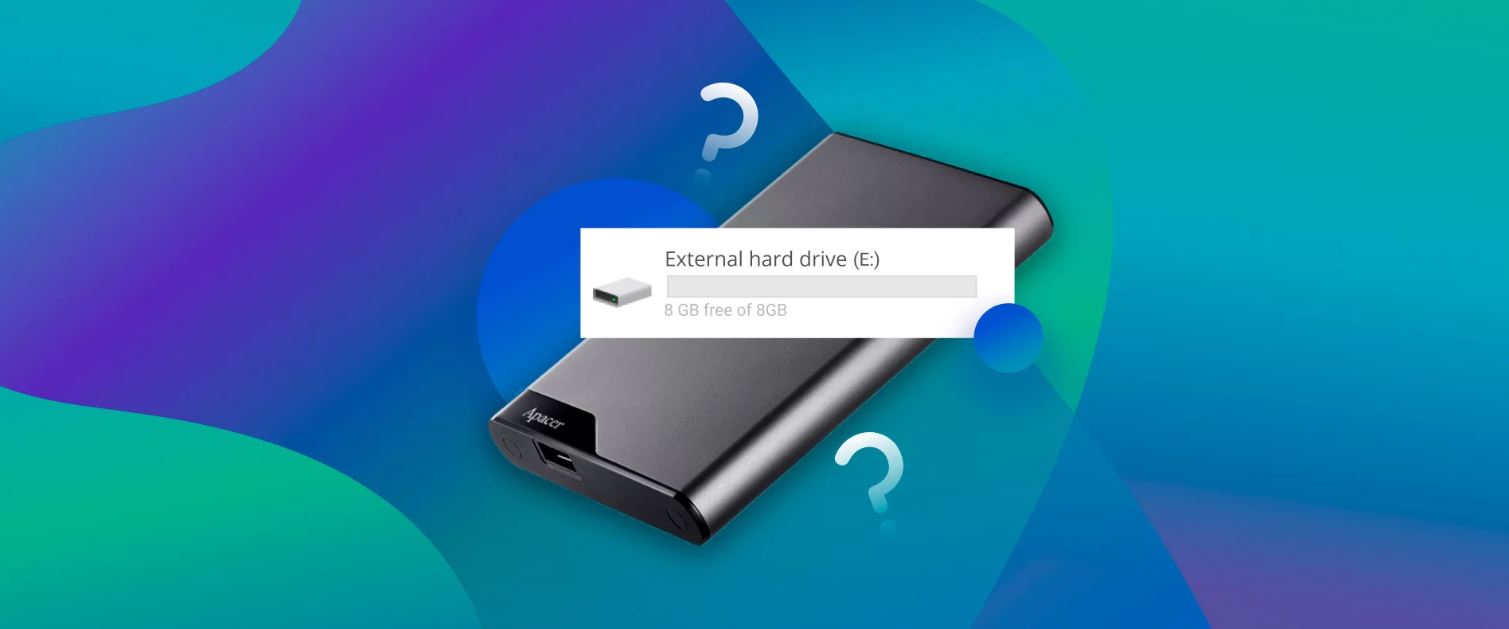
A bootable external hard drive is a useful tool that allows you to boot your computer directly from the external drive instead of the internal hard drive. This can be beneficial in various situations, such as when your computer’s internal hard drive is not functioning properly or if you want to install a new operating system or perform system recovery.
In this article, we will guide you through the process of creating a bootable external hard drive and booting from it on Windows 10. By following these steps, you can have a reliable backup option and the flexibility to troubleshoot or perform tasks on your computer without relying on the internal hard drive.
Before we dive into the details, there are a few prerequisites to note. Firstly, you will need an external hard drive with sufficient storage space to accommodate the operating system files. It is recommended to use a USB 3.0 or higher drive for faster data transfer rates. Additionally, you need access to a working computer with admin rights to prepare the external hard drive.
The process involves creating a bootable USB drive using a tool like Rufus, which allows you to create bootable media from ISO files. Next, you will need to access your computer’s BIOS settings to change the boot order, ensuring that the external hard drive is set as the primary boot device. Finally, you can restart your computer and boot from the external hard drive, allowing you to access the operating system or perform the desired tasks.
If you encounter any issues during the process, we will also provide troubleshooting tips to help resolve common problems. Remember to save any important data from your computer before attempting to boot from an external hard drive, as the process may involve formatting or reinstalling the operating system.
Now that you have a clear overview of what we will cover, let’s move on to the next section, where we will discuss the prerequisites in more detail.
Prerequisites
Before you begin the process of creating a bootable external hard drive and booting from it on Windows 10, there are a few prerequisites that you need to fulfill. These prerequisites ensure a smooth and successful procedure. Let’s take a look at what you need:
1. External Hard Drive: You will need an external hard drive with sufficient storage space to accommodate the operating system files. It is recommended to have at least 16GB of storage for most operating systems, though specific requirements may vary.
2. USB 3.0 or Higher: To ensure faster data transfer rates, it is advisable to use a USB 3.0 or higher external hard drive. This will help in speeding up the booting process and overall performance.
3. Working Computer: You will need access to a working computer with admin rights. This computer will be used to prepare the external hard drive and perform the necessary steps to create a bootable drive.
4. Operating System ISO: You should have a copy of the operating system ISO file that you want to install or use from the external hard drive. Make sure you have a legitimate and licensed copy of the operating system to ensure compliance.
5. USB Flash Drive: In order to create the bootable external hard drive, you will need a USB flash drive to serve as the intermediary storage device. This flash drive will be used to transfer the operating system files to the external hard drive.
6. Back Up Important Data: Before you proceed with any steps, it is crucial to back up any important data from your computer. The process of creating a bootable external hard drive may involve formatting or reinstalling the operating system, which can result in data loss.
Once you have all these prerequisites in place, you are ready to move on to the next section, where we will guide you through the process of creating a bootable external hard drive using a tool called Rufus.
Creating a Bootable External Hard Drive
Creating a bootable external hard drive is a straightforward process that involves using a tool called Rufus. Rufus is a free and reliable tool that allows you to create bootable media from ISO files. Follow the steps below to create a bootable external hard drive:
- Download Rufus: Start by downloading Rufus from the official website (https://rufus.ie/) and install it on your computer.
- Launch Rufus: Open Rufus from your desktop or the Start menu. Make sure your external hard drive is connected to your computer.
- Select the External Hard Drive: In Rufus, under the “Device” section, select your external hard drive from the drop-down menu. Make sure you choose the correct drive to avoid data loss.
- Select the ISO File: Under the “Boot selection” section, click on the “Select” button and browse to the location where you have saved the ISO file of the operating system you want to install on the external hard drive.
- Choose Partition Scheme and File System: For most modern systems, the recommended partition scheme is “MBR” and the file system is “FAT32”. However, if you plan to install a 64-bit operating system or have specific requirements, you can choose the appropriate options accordingly.
- Click Start: Once you have made the required selections, click on the “Start” button to begin the process. Rufus will display a warning that all data on the external hard drive will be destroyed. Ensure that you have backed up any important files on the drive before proceeding.
- Wait for the Process to Complete: Rufus will now format the external hard drive and copy the ISO file contents to create a bootable drive. This process may take a few minutes, depending on the size of the ISO file and the speed of your computer and external hard drive.
- Success Message: Once the process completes successfully, Rufus will display a “Ready” message. You can now close Rufus, safely eject the external hard drive from your computer, and proceed to the next section.
Congratulations! You have successfully created a bootable external hard drive using Rufus. In the next section, we will guide you through the process of changing the boot order in the BIOS to boot from the external hard drive.
Changing Boot Order in BIOS
Once you have created a bootable external hard drive using Rufus, the next step is to change the boot order in the BIOS settings. This step ensures that your computer recognizes the external hard drive as the primary boot device. Follow the steps below to change the boot order in BIOS:
- Restart Your Computer: Begin by restarting your computer if it is currently turned on. Make sure your bootable external hard drive is connected to the computer.
- Access BIOS Settings: During the startup process, you will need to access the BIOS settings. Most computers require you to press a specific key, such as F2, F10, or Delete, to enter the BIOS. Look for a prompt on your screen that indicates the correct key to enter BIOS during startup.
- Navigate to the Boot Menu: Once you have entered the BIOS settings, navigate to the “Boot” or “Boot Order” menu. The location and naming of this menu may vary depending on your computer’s manufacturer and BIOS version.
- Set the External Hard Drive as the Primary Boot Device: In the Boot menu, locate the option that allows you to change the boot order. This option is usually labeled as “Boot Order,” “Boot Priority,” or “Boot Sequence.” Move the external hard drive to the top of the boot order list. You may need to use the arrow keys on your keyboard to highlight the external hard drive and then use the designated keys to move it up in the boot order.
- Save and Exit: After setting the external hard drive as the primary boot device, save the changes in the BIOS settings and exit the BIOS. In most cases, you can press a key, such as F10, to save the changes and exit.
- Restart Your Computer: Once you have saved the changes and exited the BIOS, your computer will restart. It will now attempt to boot from the external hard drive first.
That’s it! You have successfully changed the boot order in the BIOS to prioritize the external hard drive as the primary boot device. In the next section, we will guide you on how to boot from the external hard drive on Windows 10.
Booting from External Hard Drive
After setting the external hard drive as the primary boot device in the BIOS, you are now ready to boot your computer from the external hard drive. Follow the steps below to boot from the external hard drive on Windows 10:
- Ensure External Hard Drive is Connected: Make sure that your bootable external hard drive is securely connected to your computer.
- Restart Your Computer: If your computer is currently turned on, restart it to initiate the booting process.
- Watch for Startup Screen: As your computer boots up, pay attention to the startup screen. It typically displays the manufacturer’s logo or a brief message indicating which key to press to access the boot menu or boot device selection.
- Access Boot Menu: Press the specified key displayed on the startup screen to access the boot menu or boot device selection. This key is usually F12, Esc, or F10, but it depends on the manufacturer of your computer. If you are unsure, consult your computer’s documentation or perform a quick internet search.
- Select Boot from External Hard Drive: In the boot menu or boot device selection, use the arrow keys on your keyboard to highlight the option that corresponds to your bootable external hard drive. Once selected, press Enter to begin the booting process.
- Wait for Booting Process: Your computer will now boot from the external hard drive. The speed of the booting process may vary depending on the performance of your computer and the external hard drive.
- Follow On-Screen Instructions: Once the booting process is complete, you will be presented with the operating system installation or recovery options. Follow the on-screen instructions to proceed with the desired actions, such as installing or repairing the operating system.
That’s it! You have successfully booted your computer from the external hard drive. You can now utilize the operating system on the external hard drive or perform the necessary tasks you intended. In the next section, we will provide some troubleshooting tips to help you overcome common issues you may encounter in the booting process.
Troubleshooting Tips
While booting from an external hard drive on Windows 10 is a relatively straightforward process, you may encounter some issues along the way. Here are some troubleshooting tips to help you overcome common problems and ensure a successful booting experience:
- Check External Hard Drive Connection: Ensure that the external hard drive is securely connected to your computer. Sometimes loose connections can prevent the computer from recognizing the external hard drive as a bootable device.
- Verify Boot Order in BIOS: Double-check the boot order in the BIOS settings to ensure that the external hard drive is set as the primary boot device. If necessary, repeat the steps outlined in the “Changing Boot Order in BIOS” section to make the necessary adjustments.
- Use a Different USB Port: If your computer has multiple USB ports, try using a different port to connect the external hard drive. Some ports may have better compatibility or power delivery than others.
- Try a Different USB Cable: If you are using a USB cable to connect the external hard drive, try using a different cable. Faulty or damaged cables can hinder the proper functioning of the external hard drive.
- Update BIOS and Drivers: Ensure that your computer’s BIOS and drivers are up to date. Outdated firmware or drivers can cause compatibility issues with the external hard drive and prevent proper booting.
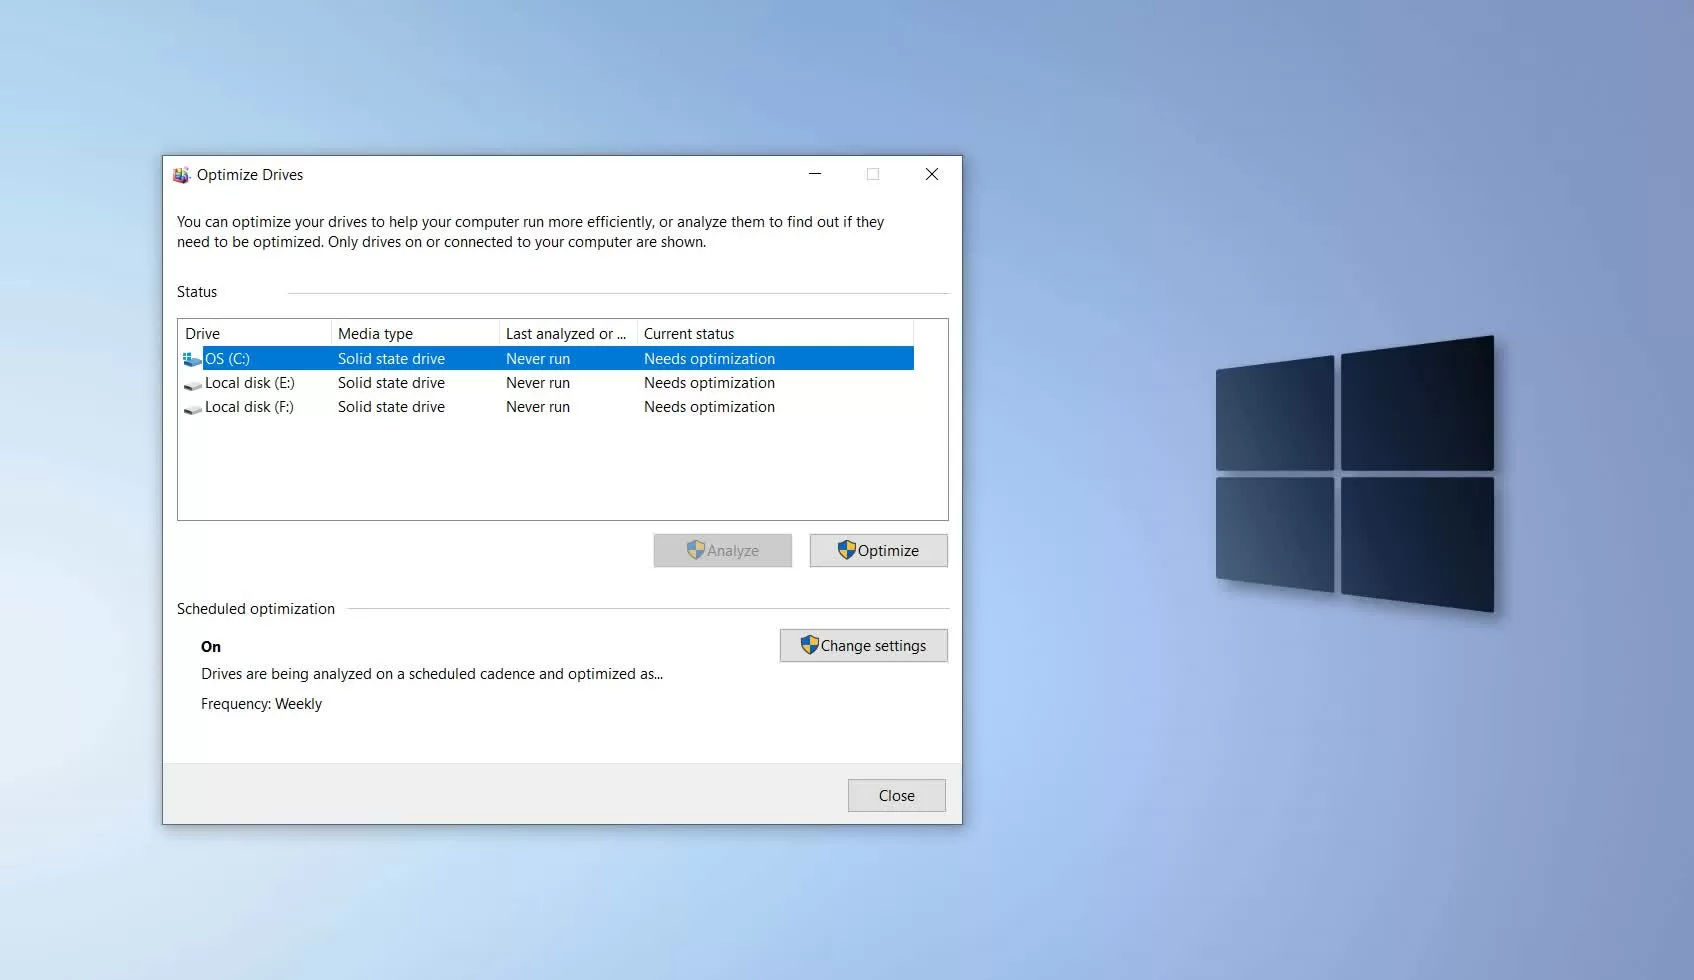
- Check External Hard Drive Format: Verify that the external hard drive is formatted correctly. It should be formatted using a file system that is compatible with the operating system you are trying to install or use. For Windows 10, the recommended file system is NTFS.
- Use a Different Tool: If you have been using Rufus to create the bootable external hard drive and encountering issues, consider using an alternative tool such as UNetbootin or Windows USB/DVD Tool. Different tools may yield different results.
- Reset BIOS to Default Settings: In some cases, resetting the BIOS settings to default can resolve compatibility issues. Refer to your computer’s documentation or manufacturer’s website for instructions on how to reset the BIOS.
- Try on a Different Computer: If you have access to another computer, try booting from the external hard drive on that computer. This can help determine if the issue is specific to your computer or the external hard drive itself.
By following these troubleshooting tips, you should be able to identify and resolve common issues that may arise when booting from an external hard drive. If you still encounter difficulties, consider seeking further assistance or reaching out to the manufacturer of your computer or external hard drive for additional support.
Conclusion
Booting from an external hard drive on Windows 10 can be a valuable tool in various situations, such as system recovery, operating system installation, or troubleshooting. By following the steps outlined in this article, you can create a bootable external hard drive using Rufus, change the boot order in the BIOS settings, and successfully boot your computer from the external hard drive.
We discussed the prerequisites for the process, including having a suitable external hard drive, a working computer, the operating system ISO file, and a backup of important data. Creating a bootable external hard drive with Rufus was explained step by step, along with crucial settings like the partition scheme and file system.
To ensure a successful boot, we covered the process of changing the boot order in the BIOS settings, allowing the computer to recognize the external hard drive as the primary boot device. Additionally, we provided troubleshooting tips to help you overcome common issues that may arise during the booting process.
Remember, booting from an external hard drive provides flexibility and reliability, but it is essential to have backups and ensure the legitimacy of the operating system you are using. Always exercise caution and follow best practices to avoid data loss or system malfunctions.
We hope this guide has been helpful and empowering in enabling you to boot from an external hard drive on Windows 10. Enjoy the benefits of having a portable and versatile operating system solution at your fingertips!


