Introduction
Welcome to this guide on how to assign tasks in Asana, a popular project management tool. Asana is designed to help teams organize, track, and collaborate on tasks and projects effectively. Within Asana, you can create projects, assign tasks to team members, set due dates, and monitor progress, ensuring that everyone is on the same page and working towards a common goal.
Assigning tasks in Asana is a simple yet powerful way to distribute workload and maintain clarity within your team. By properly allocating tasks, you can streamline communication, avoid duplicating efforts, and ensure that deadlines are met. Whether you are a project manager, team lead, or team member, understanding how to assign tasks in Asana is essential for maximizing productivity and achieving project success.
In this guide, we will walk you through the step-by-step process of assigning tasks in Asana. We will cover everything from creating projects to adding team members, creating tasks, setting due dates, and monitoring progress. By the end of this guide, you will have a comprehensive understanding of how to effectively assign tasks in Asana, allowing you to take full advantage of this powerful project management tool.
So, let’s dive in and learn how to assign tasks in Asana!
Step 1: Creating a Project in Asana
Before you can start assigning tasks in Asana, you need to create a project. A project serves as a container for all the related tasks and sub-tasks. Here’s how you can create a project in Asana:
- Open Asana and log in to your account.
- On the left-hand side of the screen, click on the “+” button to create a new project.
- Choose either “Team project” or “My project” depending on where you want the project to be located.
- Give your project a name that clearly represents its purpose or goal.
- Optionally, add a project description to provide more context to your team members.
- Once you are done, click on the “Create Project” button.
By following these steps, you have successfully created a project in Asana. Projects act as a central hub for all related tasks, allowing you to easily manage and organize your team’s work. You can create multiple projects within Asana, each dedicated to a specific goal or area of focus.
Remember, when creating a project, think about the scope, objectives, and team members involved. This will help you ensure that the project is structured in a way that aligns with your team’s goals and workflows.
Now that you have created a project, it’s time to move on to the next step: adding team members to the project.
Step 2: Adding Team Members to the Project
Once you have created a project in Asana, the next step is to add team members who will be responsible for completing tasks within the project. Collaborating with the right team members is crucial for effective task assignment and project management. Here’s how you can add team members to your project in Asana:
- Navigate to the project where you want to add team members.
- Click on the “Share” button, typically located at the top-right corner of the project view.
- In the popup window, you can enter the names or email addresses of the team members you want to add. As you type, Asana will suggest matching users from your team.
- Select the team members you want to add and specify their access level. You can choose between “Editor” and “Follower.” Editors can create and modify tasks within the project, while followers can only view the project and its tasks.
- Click on the “Add” button to add the selected team members to the project.
Once you have added team members, they will receive an email notification informing them about their addition to the project. They can then access the project and start collaborating on tasks.
Adding the right team members ensures that everyone involved has the necessary visibility and authority to contribute to the project’s success. It promotes transparency, accountability, and streamlined communication among team members.
In the next step, we will learn how to create tasks within the project and assign them to team members.
Step 3: Creating Tasks
Now that you have set up the project and added team members, it’s time to start creating tasks within Asana. Tasks represent individual activities or deliverables that need to be completed as part of the project. Here’s how you can create tasks in Asana:
- Open the project where you want to create the task.
- Click on the “+” button located below the project name to add a new task.
- In the task creation window, enter a descriptive title for the task.
- Optionally, you can provide additional details about the task in the task description field. This can include specific instructions, requirements, or any relevant information that team members should be aware of.
- Save the task by clicking on the “Add Task” button.
By following these steps, you have successfully created a task in Asana. Repeat this process for each task that needs to be completed within the project. You can create as many tasks as necessary, and Asana provides various features to help you organize and prioritize them.
Remember to provide clear and concise task titles and descriptions to ensure that team members understand what needs to be done. This clarity will help prevent any confusion or misunderstandings during the task execution phase.
In the upcoming steps, we will learn how to assign tasks to team members and set due dates and priorities.
Step 4: Assigning Tasks to Team Members
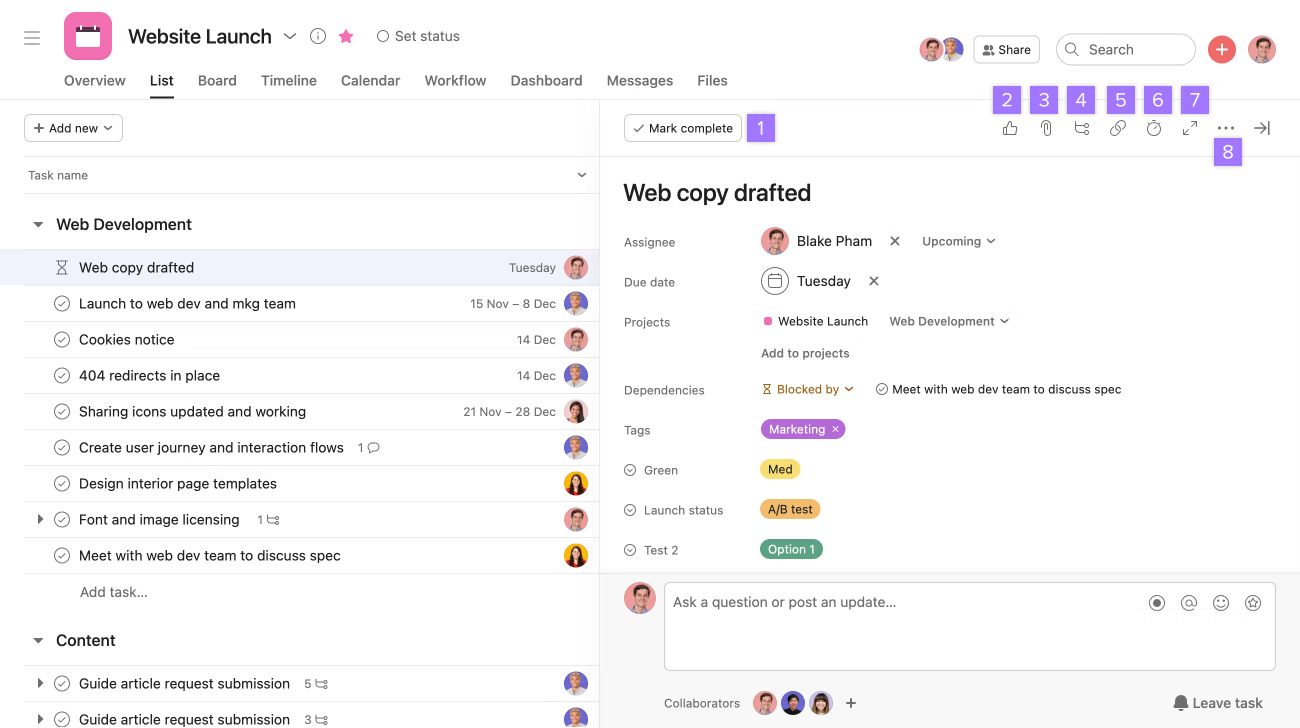
Assigning tasks to the right team members is a crucial part of project management in Asana. It ensures that each task is delegated to the most suitable person, taking into account their skills, availability, and workload. Here’s how you can assign tasks to team members in Asana:
- Open the task that you want to assign to a team member.
- Click on the assignee field, typically located next to the task title.
- In the assignee dropdown menu, select the team member you want to assign the task to. You can either choose from the team members you added to the project or enter their name or email address to search for them.
- Once you have selected the assignee, close the dropdown by clicking outside of it.
By following these steps, you have successfully assigned a task to a team member in Asana. The assignee will receive a notification about their task assignment and will be able to access the task and start working on it.
Assigning tasks to team members ensures clear accountability and ownership of each task. It helps distribute the workload evenly among team members, prevent duplication of efforts, and streamline task execution.
In the next step, we will learn how to set due dates and priorities for tasks in Asana for better time management.
Step 5: Setting Due Dates and Priorities
Setting due dates and priorities for tasks in Asana is crucial for effective time management and project planning. By assigning specific deadlines and priorities to tasks, you can ensure that work is completed in a timely manner and that resources are allocated appropriately. Here’s how you can set due dates and priorities for tasks in Asana:
- Open the task that you want to set a due date and priority for.
- Click on the due date field, typically located next to the task title or under the task details.
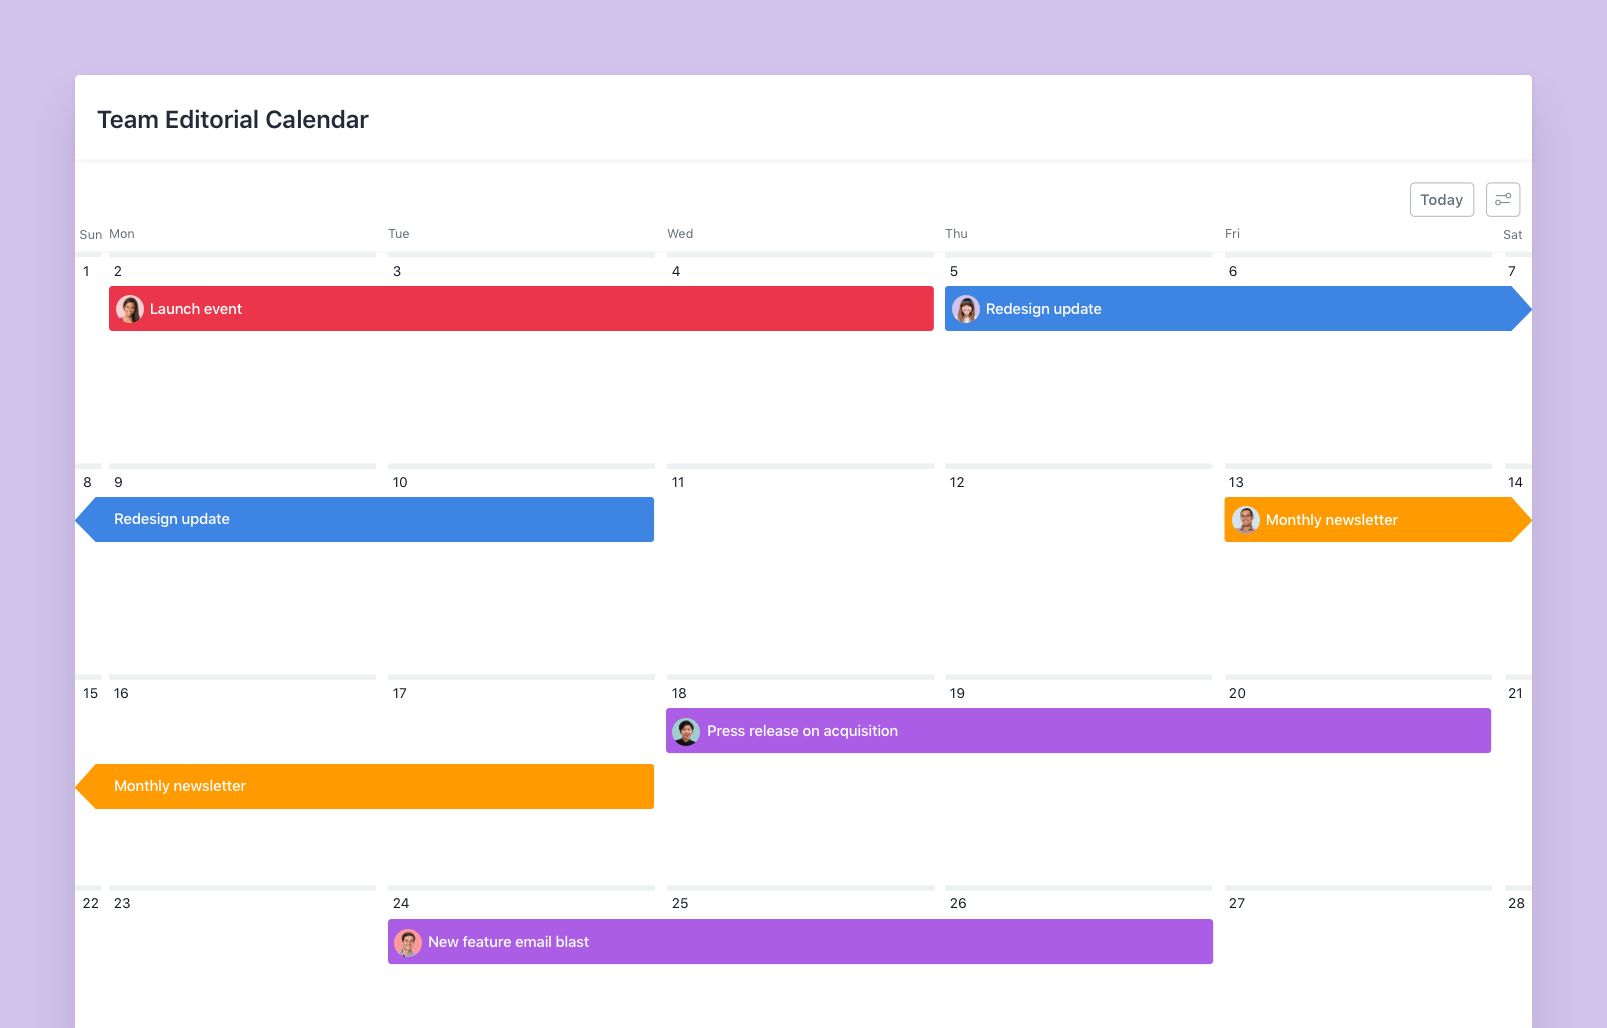
- Select the desired due date from the calendar control or enter it manually.
- Optionally, you can also set the priority of the task. Asana allows you to define priorities as either low, medium, or high.
- Save the changes by clicking outside of the due date or priority field.
By following these steps, you have successfully set a due date and priority for the task in Asana. The due date will help team members understand the timeframe within which the task should be completed, while the priority provides an indication of its relative importance or urgency.
Setting due dates and priorities allows you to effectively manage your team’s workload, ensure that tasks are completed on time, and prioritize resources based on project requirements. It provides a clear roadmap for task execution and helps you stay organized throughout the project lifecycle.
In the next step, we will explore how to add additional details and attachments to tasks in Asana for better task understanding and execution.
Step 6: Adding Additional Details and Attachments to Tasks
In Asana, you have the flexibility to add additional details and attachments to tasks, providing more context and resources for task execution. These additional details can include important instructions, reference materials, relevant links, or any other information that will help team members complete the task effectively. Here’s how you can add additional details and attachments to tasks in Asana:
- Open the task to which you want to add additional details or attachments.
- Under the task title or description, you will find options to add comments, subtasks, due dates, and attachments.
- To add additional details, click on the “Add a comment” field and enter the relevant information. You can also mention specific team members or use formatting options to make the comment more organized and visually appealing.
- To attach files or documents to the task, click on the “Attach files” button. You can then choose to upload files from your computer, link files from cloud storage services, or even attach files directly from other Asana tasks or projects.
- Save the changes by clicking on the “Submit” or “Save” button.
By following these steps, you have successfully added additional details and attachments to the task in Asana. These additions provide valuable information and resources for team members, ensuring that they have everything they need to successfully complete the task.
Adding details and attachments enhances collaboration, reduces ambiguity, and promotes better task understanding. It also acts as a central repository for all supporting materials related to the task, making it easier for team members to access and reference them.
In the next step, we will discuss how to effectively monitor progress and update task status in Asana.
Step 7: Monitoring Progress and Updating Task Status
Monitoring the progress of tasks and updating their status is crucial for effective project management in Asana. It allows you to track the completion of tasks, identify any bottlenecks or issues, and ensure that the project is on track to meet its goals. Here’s how you can monitor progress and update task status in Asana:
- Open the task that you want to monitor or update.
- Under the task details, you will find options to update the task’s status, assignee, due date, and more.
- To update the task’s status, click on the status field and choose the appropriate option from the dropdown menu. Asana provides commonly used status options such as “Not started,” “In progress,” and “Completed.”
- You can also provide additional information or comments about the task’s progress in the comments section. This can include updates, milestones achieved, or any relevant information that team members should be aware of.
- Save the changes by clicking outside of the status or comments field.
By following these steps, you can effectively monitor the progress of tasks and keep track of their status in Asana. Updating the task’s status and providing regular updates helps keep everyone informed and allows the project manager and team members to stay aligned with project goals and timelines.
Monitoring progress and updating task status promotes transparency and accountability within the team. It enables project managers to identify any potential roadblocks, make informed decisions, and take appropriate actions to ensure smooth task execution.
In the next step, we will discuss how to review and approve completed tasks in Asana.
Step 8: Reviewing and Approving Completed Tasks
Reviewing and approving completed tasks is an essential step in the task assignment process. It allows project managers or team leads to ensure that tasks have been completed correctly and meet the required standards. Here’s how you can review and approve completed tasks in Asana:
- Open the completed task that you want to review and approve.
- Read through the task details, including any comments or attachments, to ensure that the task has been completed as expected.
- If necessary, you can comment on the task to provide feedback or ask for clarifications from the assignee.
- If the task meets the required standards, you can mark it as approved or completed within Asana.
- For tasks that require additional steps or revisions, you can reassign them to the assignee or discuss the necessary changes using Asana’s comment system.
By following these steps, you can effectively review and approve completed tasks in Asana. This step ensures that completed tasks meet the desired quality and align with the project’s objectives. It provides a feedback loop to maintain clear communication between the project manager and team members.
Reviewing and approving completed tasks helps maintain accountability and ensures that the project progresses smoothly. It enables project managers to identify any issues, provide feedback, and make necessary adjustments to keep the project on track.
With the completion of this step, you have successfully learned how to review and approve completed tasks using Asana, bringing the task assignment process to its final stage.
Conclusion
Assigning tasks in Asana is a fundamental aspect of effective project management. By following the step-by-step process outlined in this guide, you can streamline task assignment, improve collaboration, and ensure that projects are completed successfully. Let’s recap the key steps involved:
- Create a project in Asana to serve as a container for all related tasks.
- Add team members to the project, ensuring that the right individuals are involved.
- Create tasks within the project, providing clear titles and descriptions.
- Assign tasks to team members, distributing workload and promoting accountability.
- Set due dates and priorities, ensuring that tasks are completed on time and resources are allocated appropriately.
- Add additional details and attachments to tasks, providing context and resources for task execution.
- Monitor progress and update task status regularly, keeping track of task completion and project milestones.
- Review and approve completed tasks, ensuring that they meet the required standards.
By effectively utilizing Asana’s features and following these steps, you can improve task management, enhance collaboration, and drive project success. Asana provides a comprehensive platform for task assignment, making it easier to communicate, organize, and prioritize work within your team.
Remember, task assignment is not a one-time process but an ongoing effort. Regularly review, update, and adapt task assignments as the project progresses and circumstances change. This will help you maintain flexibility, respond to challenges, and ensure the successful completion of your project.
Now that you have a solid understanding of how to assign tasks in Asana, you can confidently manage your projects, empower your team, and achieve your project objectives efficiently.


