Introduction
In today’s fast-paced world, managing tasks and staying organized is essential for personal and professional success. With the plethora of digital tools available, finding the right task management platform can make a world of difference. One popular tool that has gained significant popularity is Asana.
Asana is a powerful project management and task tracking platform that allows individuals and teams to collaborate, prioritize, and complete tasks efficiently. With its intuitive interface and robust features, Asana has become a go-to tool for organizations of all sizes.
One of the key features that sets Asana apart is its ability to color code tasks. Color coding can be a game changer when it comes to task management, as it provides a visual cue to quickly identify task types, priorities, or progress. Whether you’re a seasoned Asana user or just getting started, understanding how to effectively use color coding in Asana can greatly enhance your productivity and organization.
In this article, we will explore the importance of color coding in task management and provide a step-by-step guide on how to color code tasks in Asana. We will also share some tips and best practices to help you make the most out of this feature. So, let’s get started and unlock the power of color coding in Asana.
Why color coding is important in task management
Task management can often become overwhelming, especially when dealing with a large number of tasks and overlapping deadlines. This is where color coding comes in as a powerful tool to bring order and clarity to your workflow. Here are some reasons why color coding is important in task management:
- Visual cues for easy identification: Color coding allows you to assign specific colors to different task categories, priorities, or project stages. This visual distinction helps you quickly identify and differentiate tasks at a glance, saving time and reducing the chance of overlooking important tasks.
- Quick prioritization: By assigning different colors to represent task priorities, you can easily understand what needs immediate attention versus what can be addressed later. This helps in prioritizing tasks and meeting deadlines effectively.
- Enhanced organization: Color coding allows you to group related tasks together based on project, client, or team. This creates a more structured and organized approach to task management, making it easier to locate specific tasks and track progress within different projects.
- Improved collaboration: When working in a team, color coding can provide a unified visual language that everyone understands. Team members can quickly identify their assigned tasks and spot any dependencies or overlaps, fostering better communication and collaboration.
- Increased productivity: The use of colors in task management reduces cognitive load and helps you focus on what matters most. With a clear and organized system in place, you can work more efficiently, prioritize effectively, and make better decisions about task allocation and time management.
Overall, color coding is an invaluable tool in task management that brings visual clarity, organization, and efficiency to your workflow. By leveraging the power of colors, you can streamline your tasks, stay on top of deadlines, and enhance collaboration within your team.
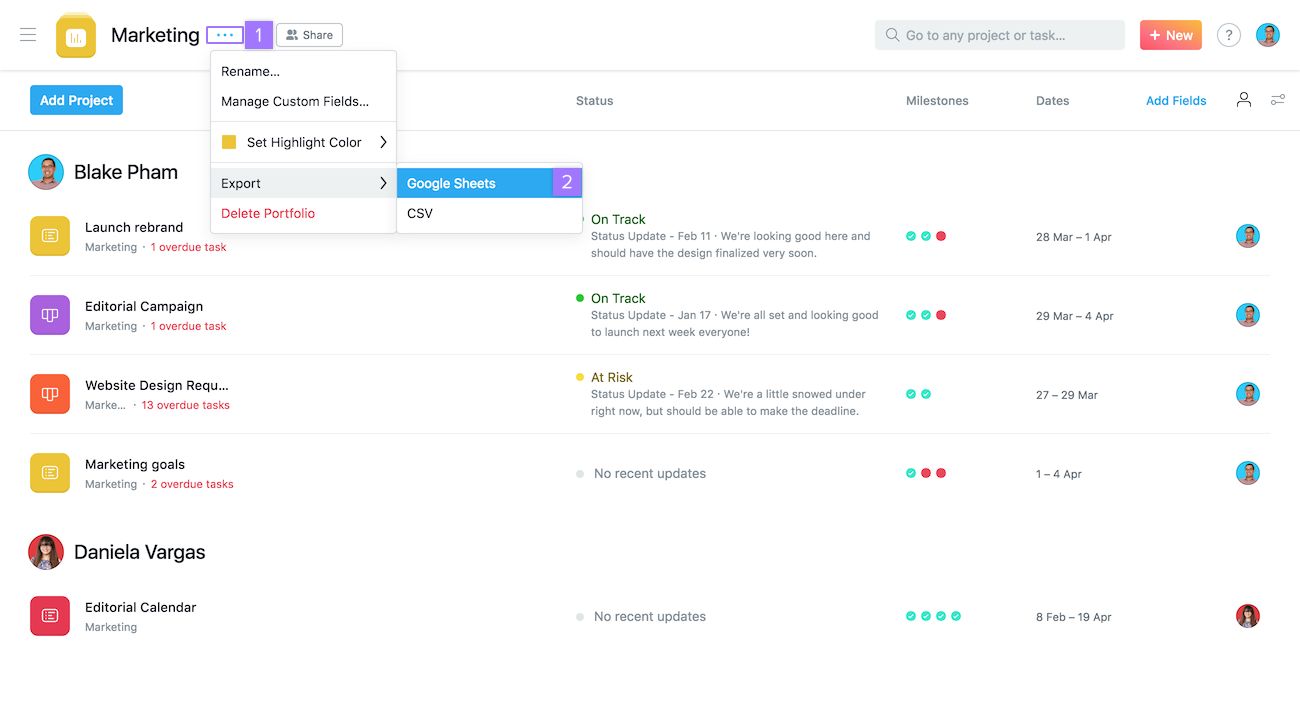
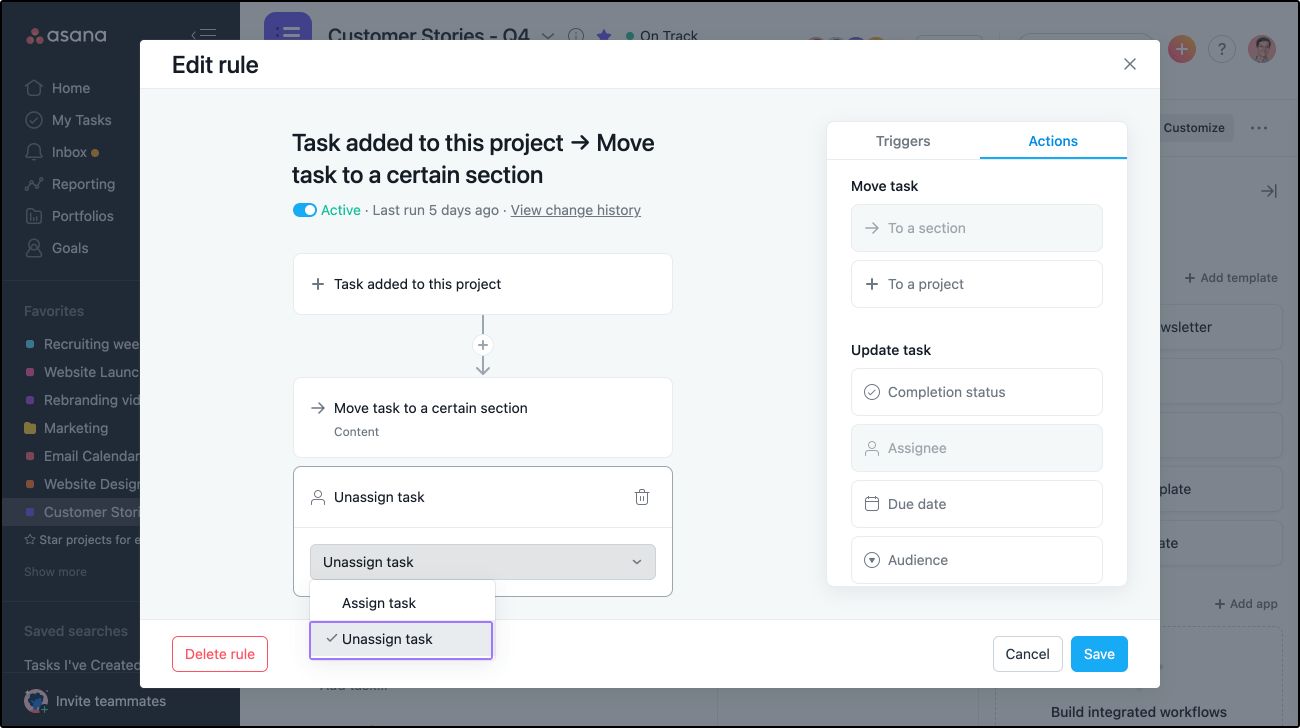
How to color code tasks in Asana
Color coding tasks in Asana is a simple and effective way to visually organize your workflow. Asana provides several options to customize and assign colors to tasks. Here’s how you can color code tasks in Asana:
- Open Asana and navigate to the project or workspace where you want to color code the tasks.
- Select the task you want to color code by clicking on it to open the task details.
- In the right panel, locate the “Tags” section and click on the “Add Tag” button.
- Enter a new tag name or choose an existing tag from the dropdown menu.
- Click on the colored circle next to the tag name to choose the desired color for the tag. Asana provides a palette of colors to select from.
- After selecting the color, click “Create” to create the tag with the assigned color.
- To apply the color to the task, click on the task name at the top of the right panel and choose the tag from the dropdown menu under the “Tags” section.
- Repeat these steps for each task you want to color code, assigning different tags and colors as needed.
Once you have color-coded your tasks, you will see the assigned colors displayed on the task lists within the project or workspace. This visual representation allows you to quickly identify the status, priority, or any other criteria you have assigned to the tasks.
It’s important to note that color coding is not only limited to individual tasks. You can also apply colors to sections, subtasks, or even projects by using the same process. Experiment with different color combinations and naming conventions to find a system that works best for your workflow.
Now that you know how to color code tasks in Asana, it’s time to explore some tips and best practices to make the most out of this valuable feature. Let’s dive in!
Step-by-step guide to color coding tasks in Asana
Color coding tasks in Asana is a straightforward process that can significantly improve your task management workflow. Follow these step-by-step instructions to effectively color code tasks in Asana:
- Open Asana and navigate to the project or workspace where you want to color code tasks.
- Select the specific task you want to color code by clicking on it, which will open the task details.
- In the right panel, locate the “Tags” section and click on the “Add Tag” button.
- A text box will appear where you can enter a new tag name or choose an existing tag from the dropdown menu. Choose a name that clearly represents the purpose or category of the tasks you are color coding.
- Next, click on the colored circle next to the tag name. This will open the color palette where you can choose the appropriate color for the tag.
- Select the color that best suits the category or priority of the task. Asana provides a wide range of colors to choose from, ensuring flexibility in creating your color coding system.
- After selecting the color, click the “Create” button to create the tag with the assigned color.
- To apply the color tag to the task, click on the task name at the top of the right panel. In the dropdown menu under the “Tags” section, select the tag you created in the previous step.
- Repeat these steps for each task you want to color code, assigning different tags and colors as necessary.
Once you have successfully color coded your tasks, the assigned colors will be visible in the task lists within the project or workspace. This visual representation will make it easier for you and your team to quickly identify task categories, priorities, or any other criteria you have assigned to the tasks.
Remember, you can extend the color coding system beyond individual tasks and apply it to sections, subtasks, or even projects by utilizing the same process. Experiment with different color combinations and naming conventions to find a system that works best for your specific tasks and workflow.
Now that you have mastered the step-by-step process, let’s delve into some tips and best practices to make the most out of color coding in Asana.
Tips and best practices for effective color coding in Asana
Color coding tasks in Asana can greatly improve your task management efficiency and organization. Here are some tips and best practices to help you make the most out of color coding in Asana:
- Establish a consistent system: Create a clear and consistent color coding system that aligns with your workflow and project needs. For example, you can assign specific colors to represent task categories, priorities, or project stages to ensure uniformity across your tasks.
- Keep it simple: Avoid using too many colors or tags, as it can become overwhelming and defeat the purpose of color coding. Stick to a limited number of colors that can be easily recognized and remembered by you and your team.
- Use colors intuitively: Choose colors that intuitively represent the meaning or significance of the tasks. For example, you might use red for urgent tasks, green for completed tasks, and yellow for tasks that require additional attention.
- Collaborate with your team: If you are working in a team, ensure that everyone understands and follows the color coding system. This will promote consistency, effective communication, and smooth collaboration among team members.
- Regularly review and update: As your projects and priorities evolve, make sure to review and update your color coding system accordingly. Adopt a flexible approach that allows you to adapt the colors to changing circumstances.
- Provide color coding key or legend: Share a color coding key or legend with your team to ensure everyone understands the meaning behind each color. This will avoid confusion and promote clarity in task management.
- Incorporate filters: Asana provides powerful filtering options based on tags. Utilize filters to view specific categories of tasks within a project or workspace, making it easier to focus on specific areas or priorities.
- Experiment and iterate: Don’t be afraid to experiment with different color combinations and tag names to refine your color coding system. Regularly assess its effectiveness and make adjustments as needed to optimize your task management process.
- Document your system: Create a document or guide that outlines your color coding system and share it with your team. This document will serve as a reference and ensure consistency even as team members join or leave the project.
By incorporating these tips and best practices, you can harness the power of color coding in Asana to stay organized, prioritize effectively, and streamline your task management workflow.
Conclusion
Color coding tasks in Asana is a game changer when it comes to task management. By assigning specific colors to tasks, you can visually organize and prioritize your workflow, making it more efficient and effective. Asana provides an intuitive interface and robust features that allow you to easily implement color coding and customize it to suit your needs.
In this article, we discussed the importance of color coding in task management. We explored how it provides visual cues for easy identification, quick prioritization, enhanced organization, improved collaboration, and increased productivity. By leveraging the power of colors in task management, you can streamline your tasks, stay on top of deadlines, and foster better communication within your team.
We also provided a step-by-step guide on how to color code tasks in Asana. From creating tags with specific colors to applying them to tasks, you now have the knowledge to implement this feature and enhance your task management process.
Additionally, we shared some tips and best practices to help you effectively color code tasks in Asana. By establishing a consistent system, keeping it simple, using colors intuitively, collaborating with your team, regularly reviewing and updating, and providing a color coding key, you can optimize your color coding approach and maximize its benefits.
Remember, color coding is a flexible tool that can be adapted to fit your specific project requirements. Don’t hesitate to experiment, iterate, and refine your color coding system to align with your evolving needs.
Now, armed with the knowledge and tools to color code tasks in Asana, you can take control of your task management process, increase productivity, and achieve greater success in your personal and professional endeavors.