Introduction
Welcome to this tutorial on how to add subtitles in Adobe Premiere Pro. Subtitles are a great way to make your videos more accessible to a wider audience and enhance the viewing experience. Whether you want to add subtitles for a foreign language film or ensure clear and accurate captions for better comprehension, Premiere Pro offers a user-friendly solution.
Adobe Premiere Pro is a powerful tool for video editing, and it provides various features to help you create professional-looking videos with ease. Adding subtitles is just one of the many features that can elevate the quality and accessibility of your video content.
In this tutorial, we will explore a step-by-step approach to adding subtitles to your videos in Premiere Pro. We will cover importing your video into Premiere Pro, creating a new captions track, generating automatic captions, editing and fine-tuning the captions, customizing their appearance, and finally, exporting and saving the subtitled video.
Whether you are a content creator, filmmaker, or video editor, this tutorial will equip you with the necessary skills to enhance your videos by adding subtitles. Subtitles not only make your content accessible to a global audience but also improve engagement and comprehension.
Before we begin, it’s important to note that Premiere Pro supports various subtitle file formats like SRT, VTT, and SCC. You can create your subtitles in an external program and import them, or you can use Premiere Pro’s built-in captioning tools to generate captions directly within the software.
Now, let’s dive into the step-by-step process of adding subtitles in Adobe Premiere Pro and unlock the potential of your videos!
Step 1: Import your video into Premiere Pro
The first step in adding subtitles to your video is to import it into Adobe Premiere Pro. Follow these simple steps:
- Launch Adobe Premiere Pro and create a new project or open an existing one.
- Go to the “File” menu and select “Import” or use the shortcut Ctrl+I (Windows) or Command+I (Mac).
- Navigate to your video file on your computer and select it.
- Click on the “Import” button to bring the video into Premiere Pro’s project panel.
- Once imported, you will see the video file in the project panel. You can now drag and drop it onto the timeline to start editing.
It’s important to ensure that the video file you import is in a compatible format supported by Premiere Pro. Commonly used formats like MP4, MOV, and AVI work well with the software. If your video is in a different format, you may need to convert it using a third-party tool before importing it into Premiere Pro.
Premiere Pro also provides options to import multiple video files at once. This is useful if you have a series of videos or clips that you want to add subtitles to.
Additionally, if you have a separate audio file for your video, you can import it into Premiere Pro and synchronize it with the video to ensure accurate timing of the subtitles. This is especially important if you plan to create closed captions or subtitles that are synced with the speech in the video.
Once your video is imported and placed on the timeline, you are ready to move on to the next step: creating a new captions track.
Step 2: Create a new captions track
After importing your video into Adobe Premiere Pro, the next step is to create a new captions track. This track will serve as a container for your subtitles. Follow these steps:
- Locate the timeline panel in Premiere Pro. It is usually located in the bottom half of the interface.
- Right-click on the track header area, where the audio and video tracks are displayed, and select “Add Track” from the context menu.
- A drop-down menu will appear. Choose “Subtitles” from the list of available track types.
- You will now see a new track labeled “Subtitles” added to the timeline panel.
The captions track allows you to add and manage the subtitles for your video. It is specifically designed to work with subtitles, making it easier to synchronize them with the visual and audio elements of your video.
Having a dedicated captions track also allows you to have greater control over the placement and timing of your subtitles. You can easily adjust the positioning of the subtitles on the screen, change the duration of individual captions, and fine-tune the appearance of the subtitles to suit your video’s aesthetic.
By creating a separate track for captions, you can keep your subtitles organized and isolated from other elements on the timeline, such as audio and video clips. This not only simplifies the editing process but also prevents any accidental interference with other tracks while working on your subtitles.
Now that you have created a captions track in Premiere Pro, you are ready to proceed to the next step: generating automatic captions.
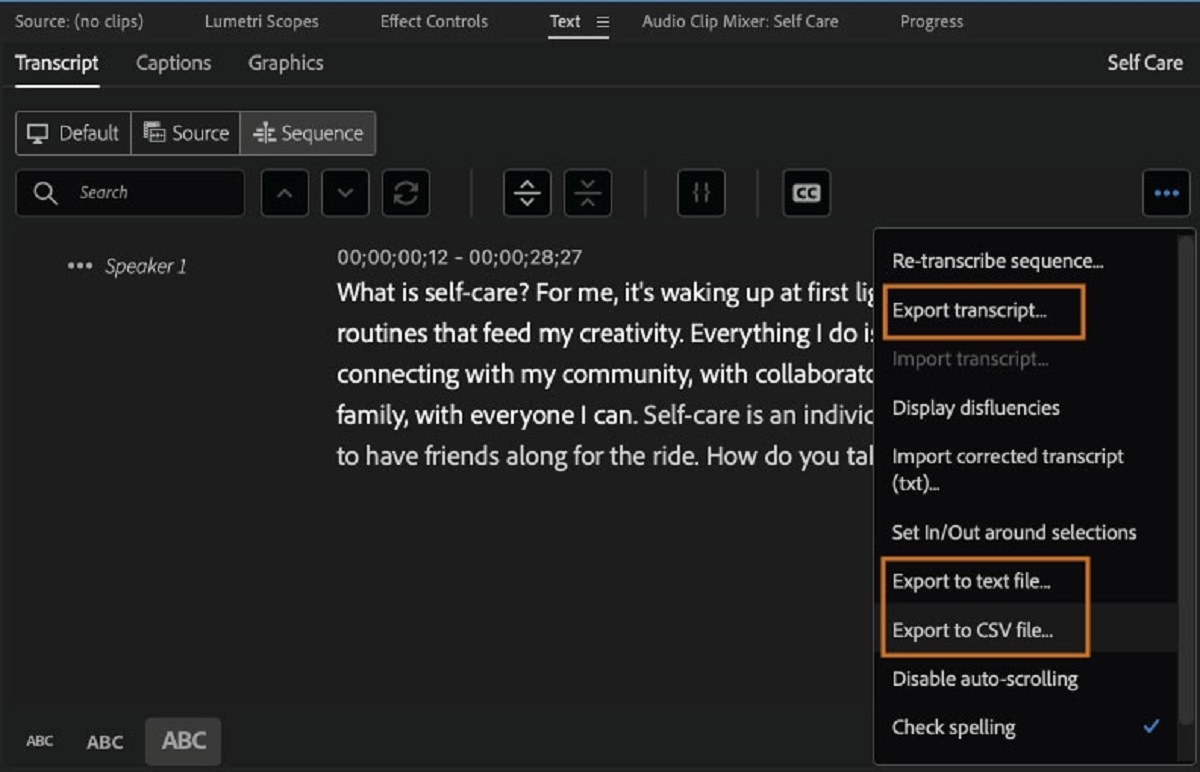
Step 3: Generate automatic captions
Once you have created a captions track in Adobe Premiere Pro, the next step is to generate automatic captions for your video. Premiere Pro offers a built-in feature that uses machine learning technology to transcribe the speech in your video and generate captions automatically. Follow these steps:
- Ensure that the captions track is selected in the timeline panel.
- Go to the “Window” menu and select “Captions” to open the Captions panel.
- In the Captions panel, click on the “Add caption” button. This will create a new caption item in the captions track.
- Select the newly created caption item and go to the “Text” menu in the Captions panel.
- Choose “Enable” and select “Speech-to-Text” from the sub-menu.
- A dialog box will appear asking if you want to analyze the audio. Click “Okay” to proceed.
- Premiere Pro will start analyzing the audio in your video and generate automatic captions in real-time.
- Once the analysis is complete, you will see the generated captions displayed in the Captions panel.
Premiere Pro’s automatic captioning feature utilizes advanced speech recognition technology to transcribe the spoken words in your video. While the accuracy of the automatic captions may vary depending on factors such as audio quality and speech clarity, it provides a starting point for your subtitles.
Now that you have generated the initial set of automatic captions, it’s time to move on to the next step: editing and fine-tuning the captions to ensure accuracy and readability.
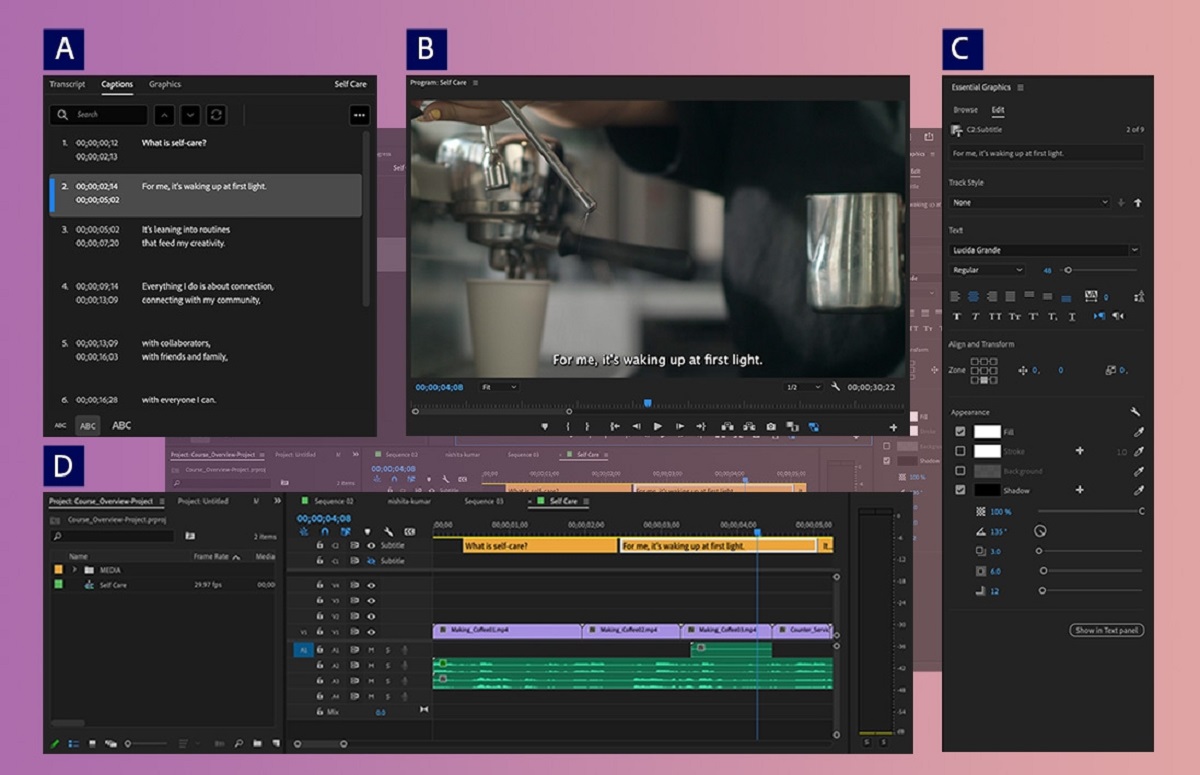
Step 4: Edit and fine-tune the captions
After generating automatic captions in Adobe Premiere Pro, it’s essential to edit and fine-tune them to ensure accuracy and readability. Follow these steps to refine your captions:
- Select the captions item in the timeline panel to activate the captions for editing.
- In the Captions panel, you will see the generated captions displayed as individual caption items.
- Play your video and synchronize the captions with the audio and visual elements. Adjust the timing of the captions if necessary.
- Edit the text of the captions to ensure accuracy. You can make changes by directly typing in the Captions panel.
- Use the Captions panel’s tools and controls to split, merge, and delete captions as needed. This allows you to create seamless and well-timed subtitles.
- Preview your video with the edited captions to ensure they are synchronized and visually appealing.
- Make any additional adjustments or refinements to the captions until you are satisfied with the final result.
While the automatic captioning feature in Premiere Pro is a time-saving tool, it may not always produce captions that are 100% accurate. Factors such as background noise, accents, and complex speech can affect the accuracy of the generated captions. Therefore, it’s crucial to carefully review and edit the captions to maintain their quality.
During the editing process, pay attention to spelling, grammar, and punctuation to ensure clear and professional-looking captions. Additionally, strive to maintain a consistent style and formatting throughout the subtitles to enhance readability.
If your video has multiple speakers or dialogue that overlaps, you may need to manually adjust the timing and placement of the captions to accurately reflect the dialogues. This can be done by splitting or merging the captions and moving them on the timeline as needed.
By editing and fine-tuning the captions in Premiere Pro, you can ensure that your subtitles are accurate, synchronized, and visually appealing. Once you are satisfied with the edited captions, it’s time to move on to the next step: customizing the appearance of the captions.
Step 5: Customize the appearance of the captions
After editing and refining the captions in Adobe Premiere Pro, you have the option to customize their appearance to suit your video’s style and aesthetic. Follow these steps to customize the captions:
- Select the captions item in the timeline panel to activate the captions for customization.
- In the Captions panel, navigate to the “Appearance” section.
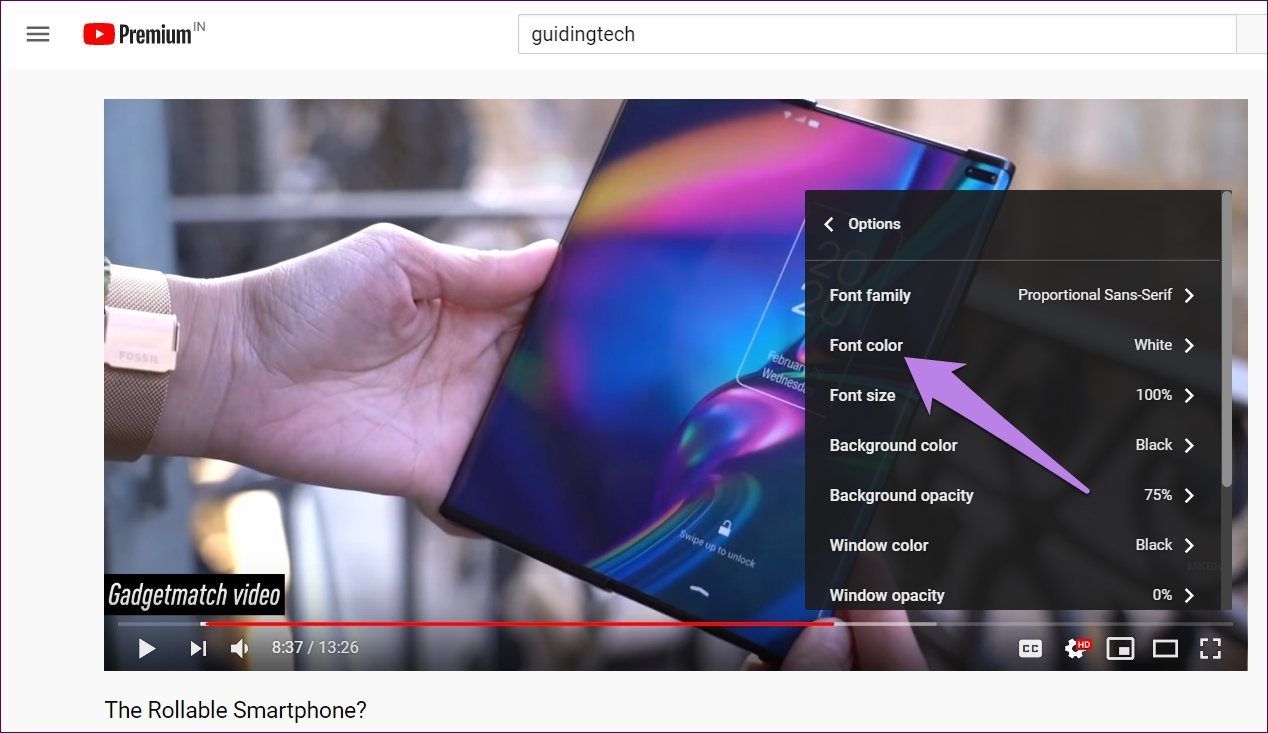
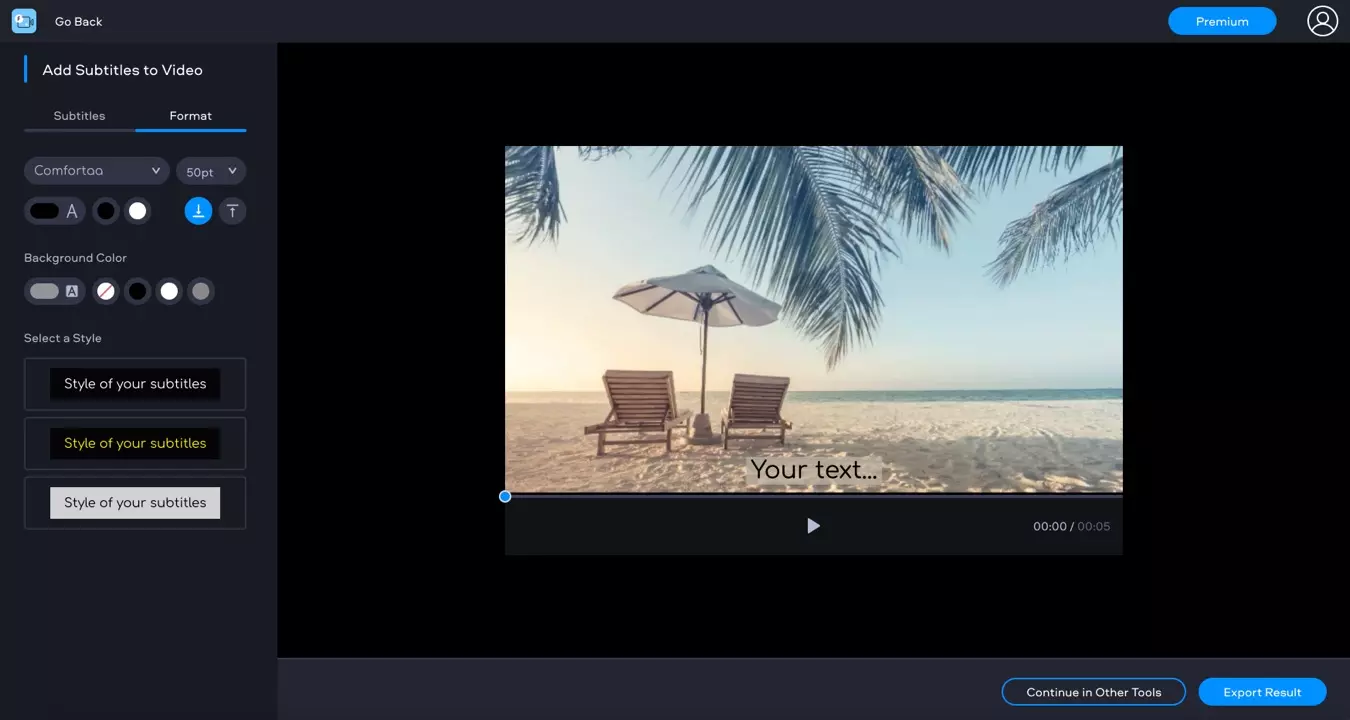
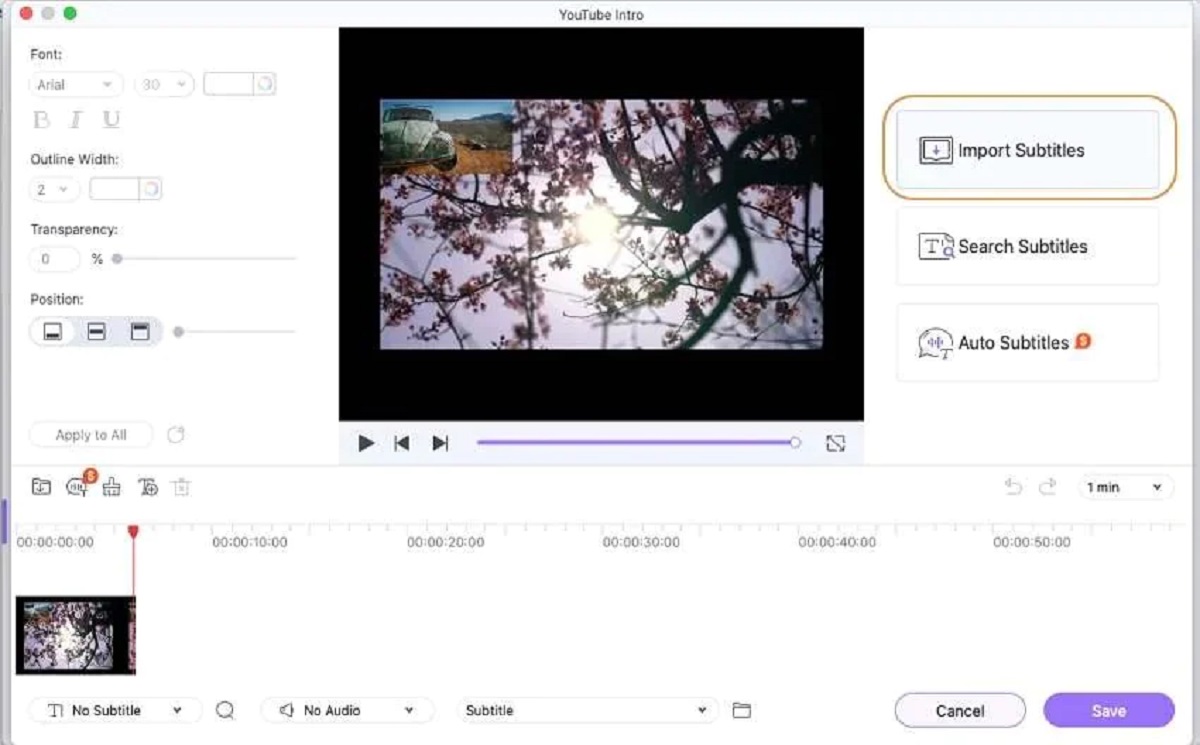
- Adjust the font type, size, color, and background color of the captions to match your video’s style. You can make these changes using the available options in the Captions panel.
- Explore additional styling options like drop shadows, stroke, and opacity to enhance the visibility and legibility of the captions.
- Preview the video with the customized captions to ensure that they blend seamlessly with the visual elements.
- Make any necessary adjustments to the appearance settings until you achieve the desired look for your subtitles.
Customizing the appearance of your captions allows you to add a personal touch and ensure that they are visually appealing. By matching the caption styling to your video’s overall design, you can create a cohesive and professional look.
It’s important to consider the readability of your captions when customizing their appearance. Choose a font that is clear and easy to read, and ensure that the color of the captions contrasts well with the video’s background to avoid any strain on the viewer’s eyes.
While customizing the appearance, aim for a balance between style and functionality. The goal is to make the captions visually appealing without compromising their purpose of conveying the dialogue or information accurately to the audience.
Once you have customized the appearance of your captions, take the time to review them in the context of your video. Ensure that they are well-positioned, legible, and consistent throughout the duration of the video.
Now that you have customized the appearance of the captions, it’s time to move on to the final step: exporting and saving your subtitled video.
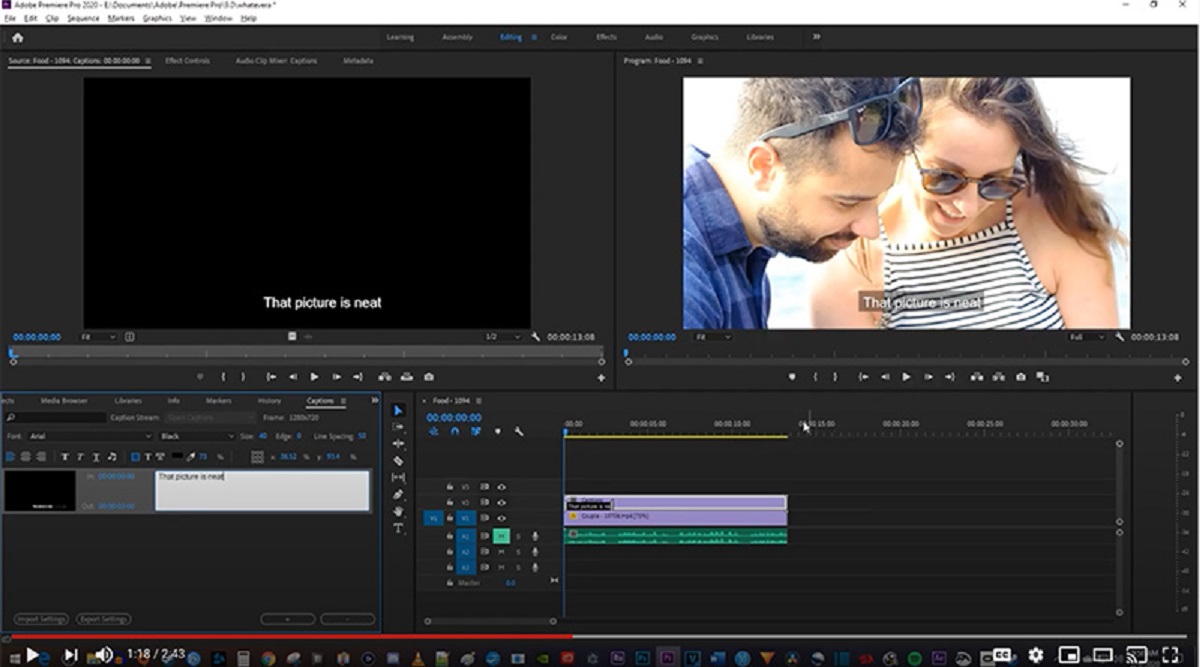
Step 6: Export and save your subtitled video
After adding and customizing subtitles in Adobe Premiere Pro, the final step is to export and save your video with the embedded subtitles. Follow these steps to export your subtitled video:
- Ensure that your captions are properly positioned and synchronized with the audio and visual elements in the timeline.
- Go to the “File” menu and select “Export” or use the shortcut Ctrl+M (Windows) or Command+M (Mac) to open the Export Settings dialog box.
- Select a format for your video export. Popular formats include MP4, MOV, and AVI. Choose the format that best suits your needs and specifications.
- Under the “Captions” section of the Export Settings dialog box, select “Burn Captions Into Video”. This will embed the subtitles directly into the video file.
- Specify the destination folder where you want to save your exported subtitled video.
- Click on the “Export” button to start the export process.
- Wait for Premiere Pro to render and export your subtitled video. The time taken will depend on the length and complexity of your video.
- Once the export is complete, you will have a subtitled video file saved in the specified destination folder.
By burning the captions into the video, the subtitles will be permanently embedded within the video file. This ensures that the subtitles are visible and accessible on any playback device or platform without the need for a separate subtitle file.
It’s important to note that exporting your subtitled video may take some time, especially if your video is lengthy or if you have added complex visual effects or graphics to your project. Be patient and let Premiere Pro complete the export process to ensure a high-quality subtitled video.
Once the export is finished, you can preview your subtitled video to ensure that the subtitles are correctly displayed and synchronized with the audio and visual elements of the video. Congratulations! You have successfully added, customized, and exported your subtitled video using Adobe Premiere Pro.
Now you can share your video with the world, knowing that it is accessible to a wider audience and offers an enhanced viewing experience with the embedded captions.
Conclusion
Adding subtitles to your videos can greatly improve their accessibility, reach, and overall viewing experience. With Adobe Premiere Pro, the process of adding, customizing, and exporting subtitles becomes seamless and efficient.
In this tutorial, we have covered six essential steps to help you add subtitles to your videos using Premiere Pro. We started by importing your video into Premiere Pro and creating a new captions track. Then, we generated automatic captions and learned how to edit and fine-tune them for accuracy. Next, we explored how to customize the appearance of the captions to match your video’s style. Finally, we walked through the process of exporting and saving your subtitled video.
By following these steps, you can ensure that your videos are more accessible to a wider audience. Subtitles not only benefit individuals with hearing impairments or those who speak a different language, but they also enhance comprehension, engagement, and overall viewer satisfaction.
Remember to pay attention to details such as timing, accuracy, readability, and visual appeal when adding subtitles. Take the time to review and adjust the captions to ensure they align perfectly with the audio and visual elements of your video.
Whether you are a filmmaker, content creator, or video editor, Adobe Premiere Pro provides a range of tools and features to simplify the process of adding subtitles to your videos. Experiment with different font styles, colors, and caption placements to create a visually pleasing result that complements your video’s theme.
Now that you have mastered the art of adding subtitles in Premiere Pro, you are ready to take your videos to the next level. Share your subtitled videos with confidence, knowing that they are accessible and appealing to a wider audience.
So, what are you waiting for? Start adding professional subtitles to your videos with Adobe Premiere Pro and unlock the full potential of your content!