Overview
Adding subtitles to your videos can significantly enhance their accessibility and viewership. Whether you want to reach a global audience or make your content more accessible to individuals with hearing impairments, Adobe Premiere Rush provides a simple and effective way to add subtitles to your videos.
Adobe Premiere Rush is a powerful video editing tool that allows you to create professional-looking videos with ease. It offers a wide range of features, including the ability to add captions and subtitles to your videos. With its user-friendly interface and intuitive controls, even beginners can quickly learn how to add subtitles and make their videos more engaging.
In this tutorial, we will walk you through the step-by-step process of adding subtitles to your videos in Adobe Premiere Rush. From importing your video clip to customizing the appearance and timing of your subtitles, we’ve got you covered.
By the end of this tutorial, you’ll be able to create captivating videos with subtitles that are perfectly synchronized with your audio. So, let’s get started and add those subtitles to your videos!
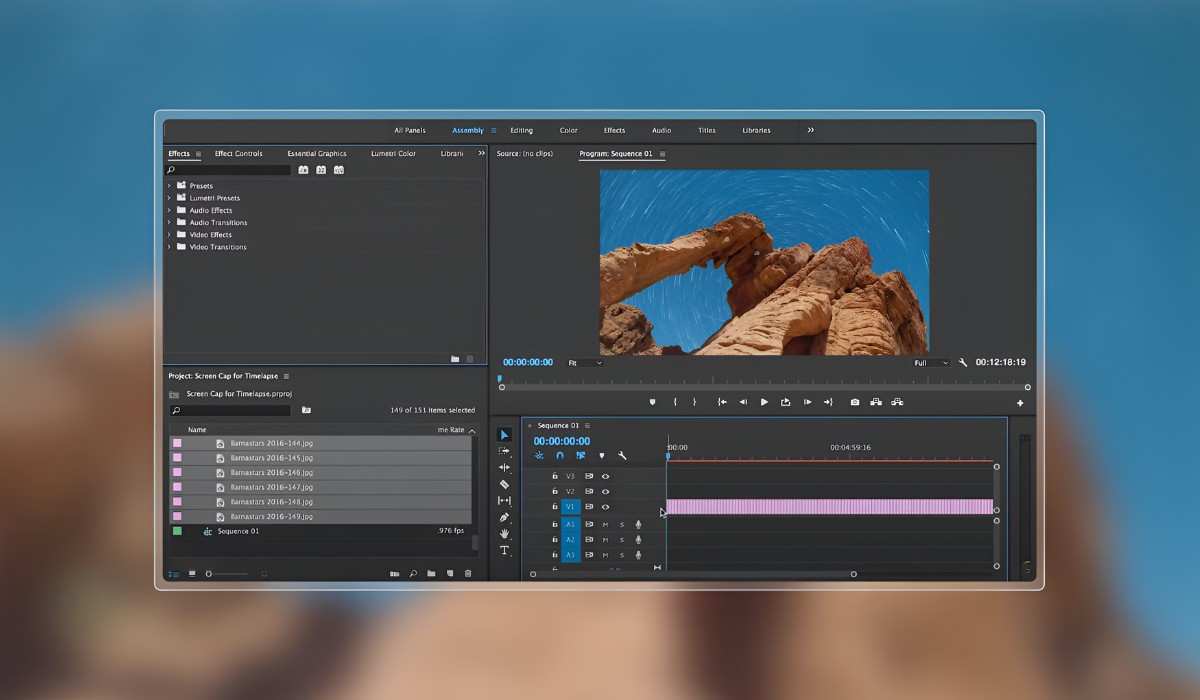
Step 1: Import your video clip
The first step in adding subtitles to your video is to import the video clip into Adobe Premiere Rush. Here’s how you can do it:
- Launch Adobe Premiere Rush on your computer.
- Click on the + icon in the media browser to import your video clip. You can also drag and drop the video file directly into the media browser.
- Once the video is imported, you’ll see it appear in the media browser section of the interface.
- Now, drag the video clip from the media browser section and drop it into the timeline.
- Your video clip is now ready for editing and adding subtitles.
Ensure that you have the video clip you want to add subtitles to, saved on your computer before starting this process. Adobe Premiere Rush supports various video formats, so you can import videos recorded from different devices or downloaded from the internet.
Remember to organize your project files in a way that makes it easy for you to access the video clip you want to work on. This will save you time and make the video editing process more efficient.
Step 2: Create a new caption track
Once you have imported your video clip into Adobe Premiere Rush, the next step is to create a new caption track. The caption track will serve as the container for your subtitles. Follow these steps to create a new caption track:
- In the timeline, locate the video clip you imported.
- Right-click on the video clip and select “Add Caption Track” from the context menu.
- A new caption track will now appear above the video clip in the timeline.
- You can rename the caption track by double-clicking on its name and entering a new name.
Creating a separate caption track allows you to have multiple sets of subtitles in different languages or styles for the same video. You can easily switch between caption tracks and make changes to the subtitles as needed.
Remember to keep your subtitle content ready before creating the caption track. It’s a good practice to prepare the subtitles in a separate text document and have them ready for the next steps in the process. This will save you time and help you maintain consistency with your subtitles.
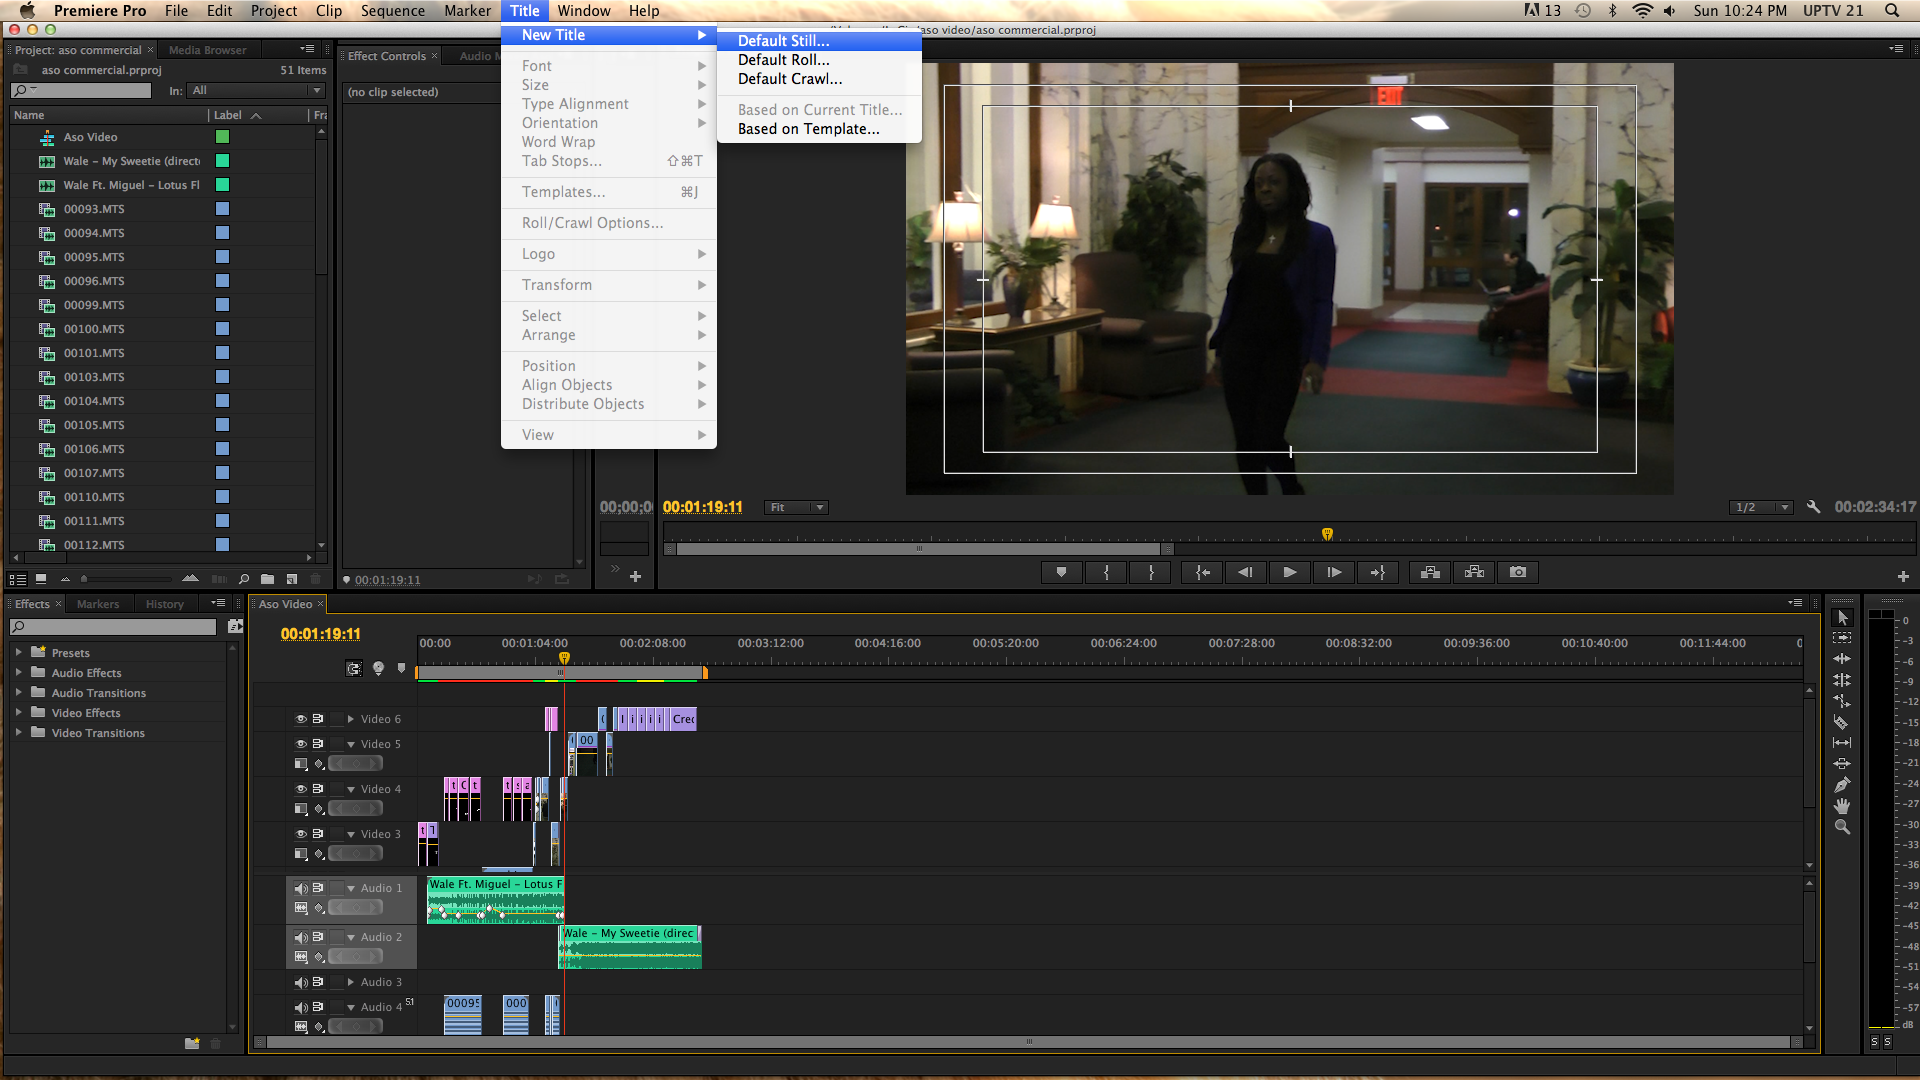
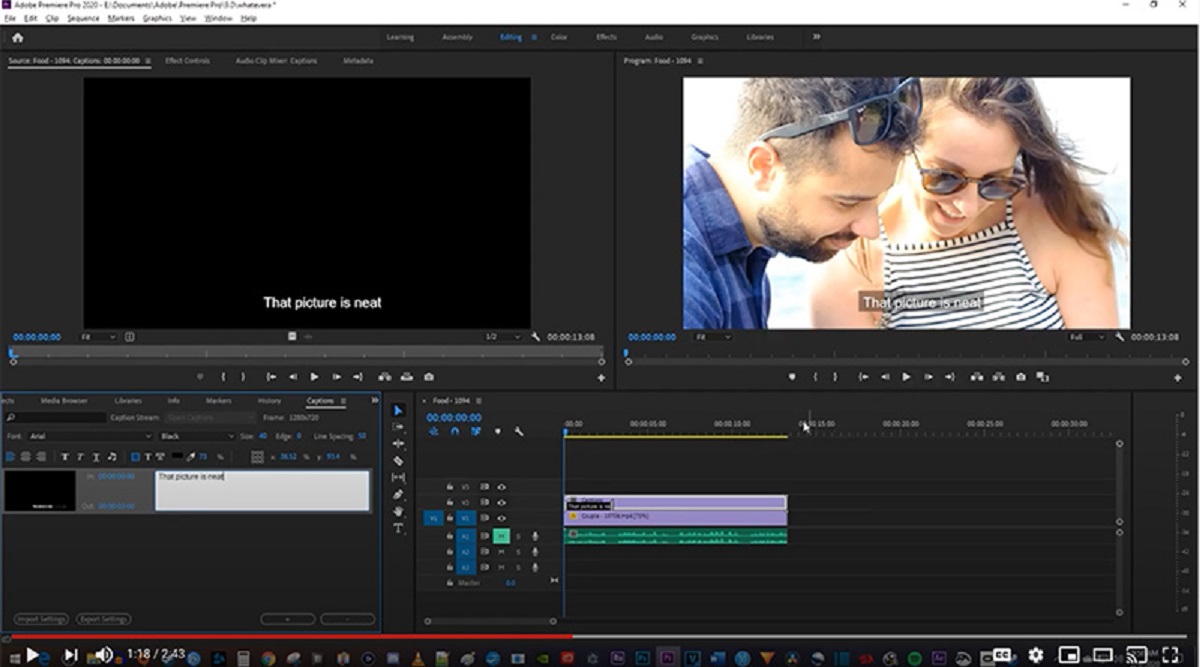
Step 3: Add subtitles
Now that you have created a new caption track, it’s time to add subtitles to your video clip in Adobe Premiere Rush. Follow these steps to add subtitles:
- In the timeline, select the caption track where you want to add subtitles.
- Click on the “T” icon located in the caption track header to open the text editor.
- A text box will appear in the preview panel, allowing you to enter your subtitles.
- Type in the subtitle text for the corresponding part of the video.
- Repeat the process for each subtitle you want to add to the video.
As you add subtitles, you can adjust the duration and position of each subtitle to ensure it appears at the right time and in the desired location on the video. Adobe Premiere Rush provides precise controls for fine-tuning the appearance and timing of your subtitles.
Remember to proofread your subtitles for accuracy and consistency. It’s essential to ensure that the subtitles are grammatically correct and in sync with the video’s audio. Taking the time to review and edit your subtitles will greatly enhance the overall quality of your video.
Continue adding subtitles for each part of the video until you have covered the entire duration. Adobe Premiere Rush makes it easy to make changes or add more subtitles as required.
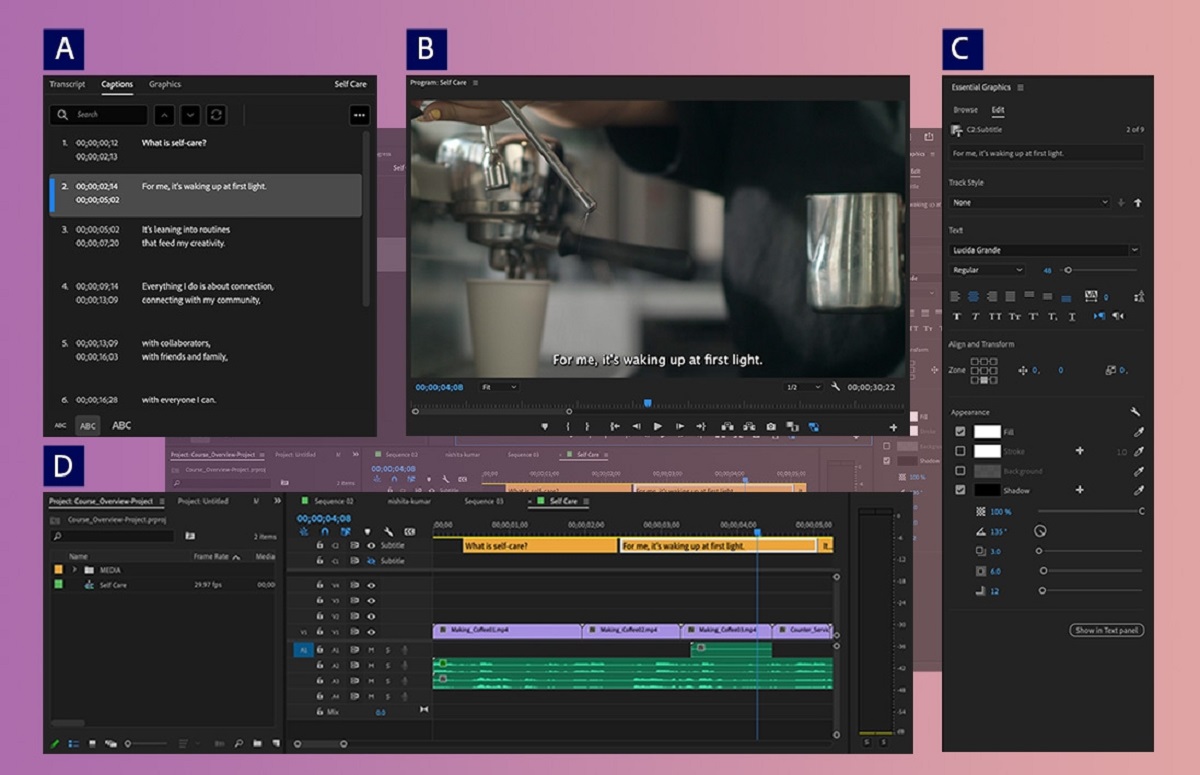
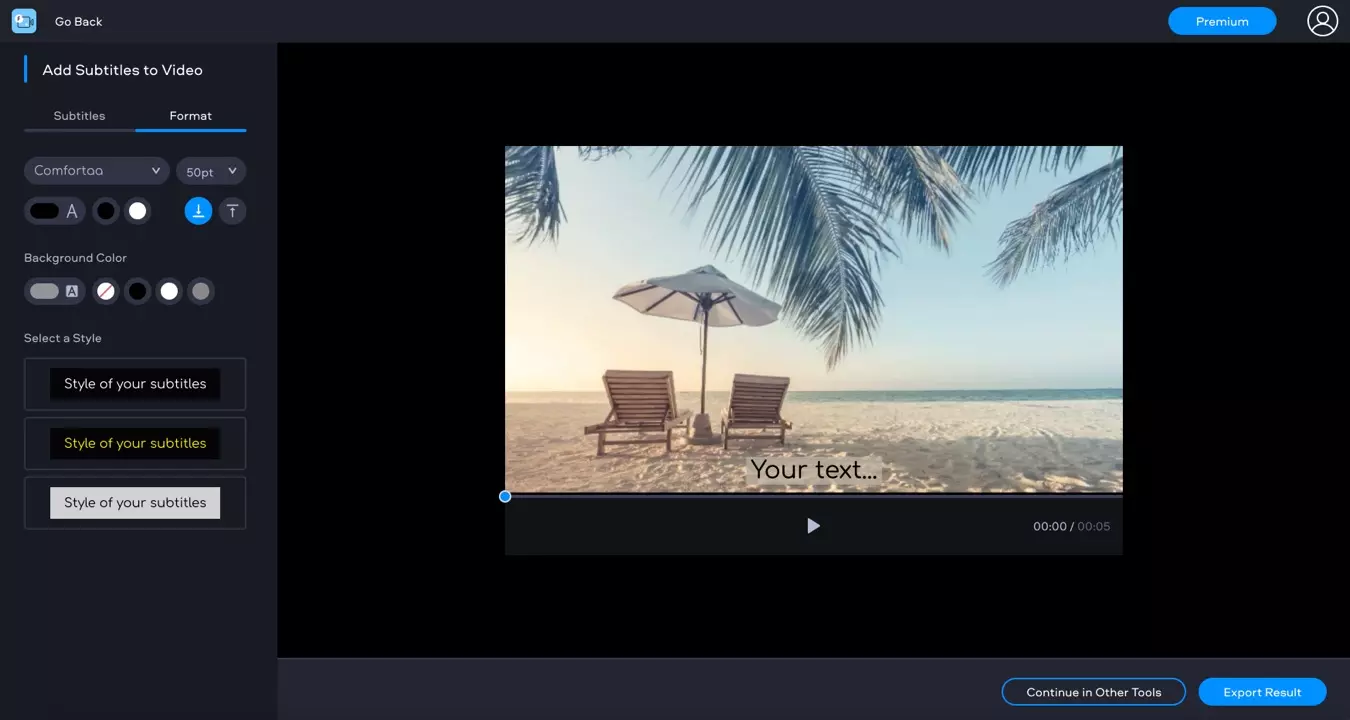
Step 4: Customize the appearance of your subtitles
After adding subtitles to your video in Adobe Premiere Rush, you can further enhance their appearance to match your desired style. Here’s how you can customize the appearance of your subtitles:
- Select the caption track where you want to customize the subtitles.
- In the Essential Graphics panel, you’ll find various options to modify the appearance of your subtitles.
- Adjust the font, size, color, and style of your subtitles using the available controls.
- You can also add background boxes or change the opacity to make the subtitles more visually prominent.
Adobe Premiere Rush provides a wide range of customization options, allowing you to create subtitles that align with your branding or video theme. Experiment with different font styles and colors to find the perfect look for your subtitles.
It’s important to ensure that your subtitles are easily readable against the video content. Choose a font size and color that contrasts well with the video background to ensure maximum legibility.
Don’t forget to preview your video with the customized subtitles to ensure that they appear as intended. Make any necessary adjustments until you are satisfied with the appearance of your subtitles.
Remember, the appearance of your subtitles can greatly impact the overall viewer experience. Well-designed and visually appealing subtitles can increase viewer engagement and make your video more memorable.
Step 5: Adjust the timing of your subtitles
Once you have added subtitles and customized their appearance in Adobe Premiere Rush, you may need to fine-tune the timing to ensure they align perfectly with the video’s audio. Follow these steps to adjust the timing of your subtitles:
- Select the caption track that contains the subtitles you want to adjust.
- In the timeline, you’ll see the individual subtitle blocks represented by rectangular boxes.
- Click and drag the edges of the subtitle boxes to adjust their duration and position on the video timeline.
- If needed, you can also click and drag an entire subtitle block to reposition it in the timeline.
- Preview your video to ensure that the subtitles are synchronizing properly with the audio.
- Make further adjustments as necessary to achieve the desired timing and synchronization.
It’s crucial to ensure that the subtitles appear on-screen at the right moment, aligning precisely with the spoken words in the video. Adjusting the timing of your subtitles will help maintain a seamless viewing experience for your audience.
Pay close attention to the rhythm and pace of the video when adjusting subtitle timing. Aim for natural pauses or breaks in the dialogue to place the subtitles for optimal readability and viewer comprehension.
Take your time in fine-tuning the timing of your subtitles, as this step is essential to ensure the best viewing experience for your audience.
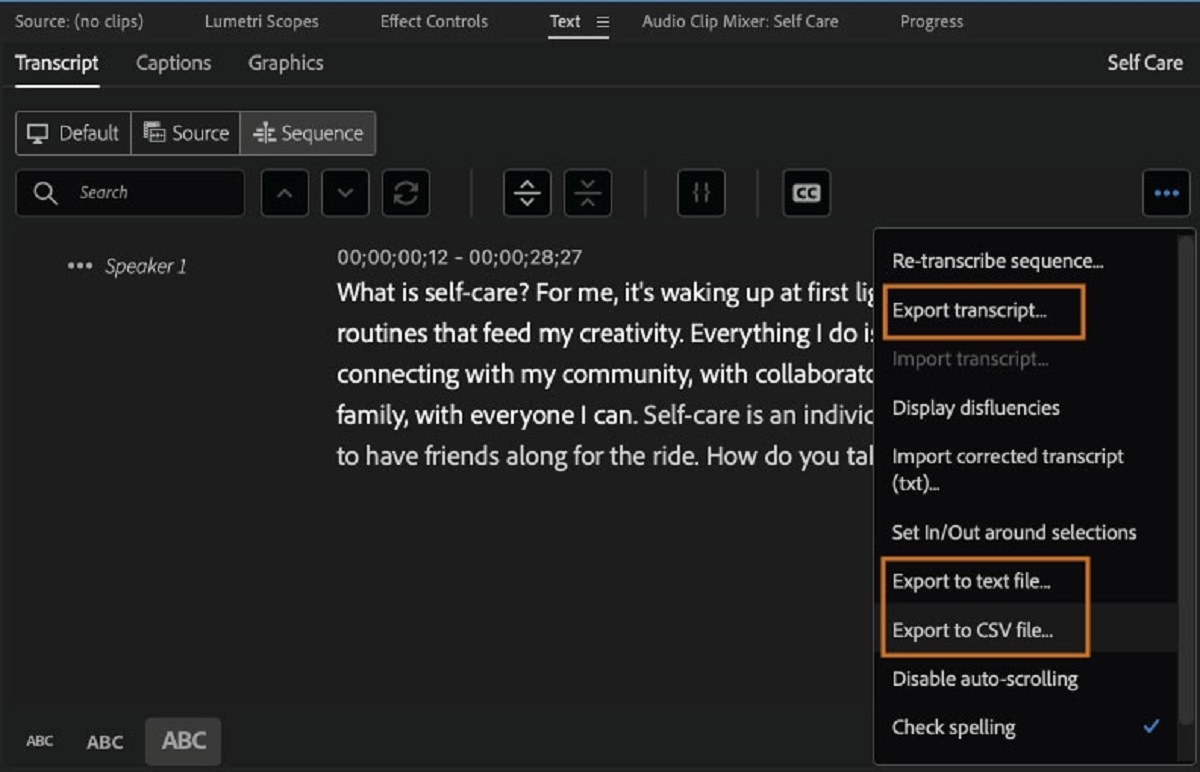
Step 6: Export your video with subtitles
Once you have added and finalized your subtitles in Adobe Premiere Rush, it’s time to export your video with the subtitles embedded. Follow these steps to export your video:
- Click on the “Export” button located in the top-right corner of the software interface.
- In the export settings window, choose the desired video format, resolution, and quality settings.
- Ensure that the “Include Captions” option is selected to include the subtitles in the exported video.
- Select the destination folder where you want to save the exported video.
- Click on the “Export” button to start the exporting process.
- Wait for the export process to complete. The duration will vary depending on the length and complexity of your video.
Once the export process is complete, you’ll have a video file with embedded subtitles that are ready to be shared with your audience. You can now upload the video to various platforms, such as social media, video sharing websites, or your own website.
Remember to preview the exported video to ensure that the subtitles are correctly displayed and synchronized with the audio. This step is crucial to confirm that the subtitles are accurately embedded in the final video.
By exporting your video with subtitles, you make your content accessible to a wider audience, including those who are deaf or hard of hearing. Subtitles also improve the overall viewing experience, allowing viewers to follow along easily and understand the content better.
Experiment with different export settings to find the balance between video quality and file size that best fits your requirements. Adobe Premiere Rush offers a range of export options to meet your specific needs.
Conclusion
Adding subtitles to your videos can greatly enhance their accessibility, reach, and overall viewership. With Adobe Premiere Rush, the process of adding subtitles becomes simple and straightforward, even for beginners. By following the step-by-step guide outlined in this tutorial, you can easily add subtitles to your videos and make them more engaging for your audience.
Starting with the import of your video clip, you can create a new caption track and add subtitles to match the spoken content. Customizing the appearance of your subtitles allows you to align them with your video’s style and branding. Additionally, adjusting the timing ensures that your subtitles perfectly synchronize with the audio, providing a seamless viewing experience.
Finally, exporting your video with embedded subtitles enables you to share your content with a wider audience, including viewers who are deaf or hard of hearing. By making your videos accessible and inclusive, you can expand your reach and connect with a diverse range of viewers.
Take some time to explore the various features and functions offered by Adobe Premiere Rush. With its user-friendly interface and powerful tools, you can create professional-looking videos that captivate and engage your audience.
Remember, subtitles play a vital role in increasing the overall appeal and accessibility of your videos. By adding subtitles, you can make a positive impact on your viewers and create a more inclusive viewing experience. So, start incorporating subtitles in your video projects and see the difference it can make!