Introduction
Instagram has become one of the most popular social media platforms, known for its focus on visual content. While it was initially a platform for sharing photos, Instagram has evolved to include videos as well. Uploading videos to Instagram allows users to express themselves creatively and engage with their followers in a more dynamic way.
However, many people find it challenging to navigate the process of uploading videos to Instagram, as there are specific requirements that need to be met to ensure optimal quality. This article aims to simplify the process by providing a step-by-step guide on how to upload videos to Instagram. Whether you want to share memorable moments, showcase your talent, or promote your brand, we’ve got you covered.
Before we delve into the different methods of uploading videos to Instagram, it’s essential to understand the platform’s video upload requirements. Instagram supports various video formats, including MP4 and MOV, and recommends specific video settings to ensure the best viewing experience for users. By following these guidelines, you can optimize your videos and make them look great on the platform.
So, if you’re ready to unleash your creativity and share captivating videos on Instagram, read on to discover the different options available to you and learn some valuable tips for enhancing your video quality. Let’s dive in!
Understanding Instagram’s Video Upload Requirements
Before you start uploading videos to Instagram, it’s important to familiarize yourself with the platform’s video upload requirements. By adhering to these guidelines, you can ensure that your videos meet the necessary specifications for optimal playback on Instagram.
First and foremost, Instagram supports certain video file formats, including MP4 and MOV. It’s recommended to use these formats when preparing your videos for upload. Additionally, keep in mind that Instagram has a maximum file size limit of 4GB per video, so make sure your video falls within this size range.
In terms of video length, Instagram allows videos up to 60 seconds in duration for regular posts. However, for IGTV (Instagram’s long-form video platform), you have the option to upload videos with a duration of up to 10 minutes for most accounts, and up to 60 minutes for verified accounts or accounts with larger followings.
Along with video format and length, pay attention to the aspect ratio of your videos. Instagram supports both landscape (16:9) and portrait (9:16) orientations. For optimal viewing experience on mobile devices, consider creating videos in portrait mode, as this format fills the entire screen and appears more immersive to users.
Furthermore, taking note of the recommended video settings is crucial. Instagram advises using a resolution of 1080 pixels (width) by 1920 pixels (height) for portrait videos and 1920 pixels (width) by 1080 pixels (height) for landscape videos. It’s also best to use a frame rate of 30 frames per second.
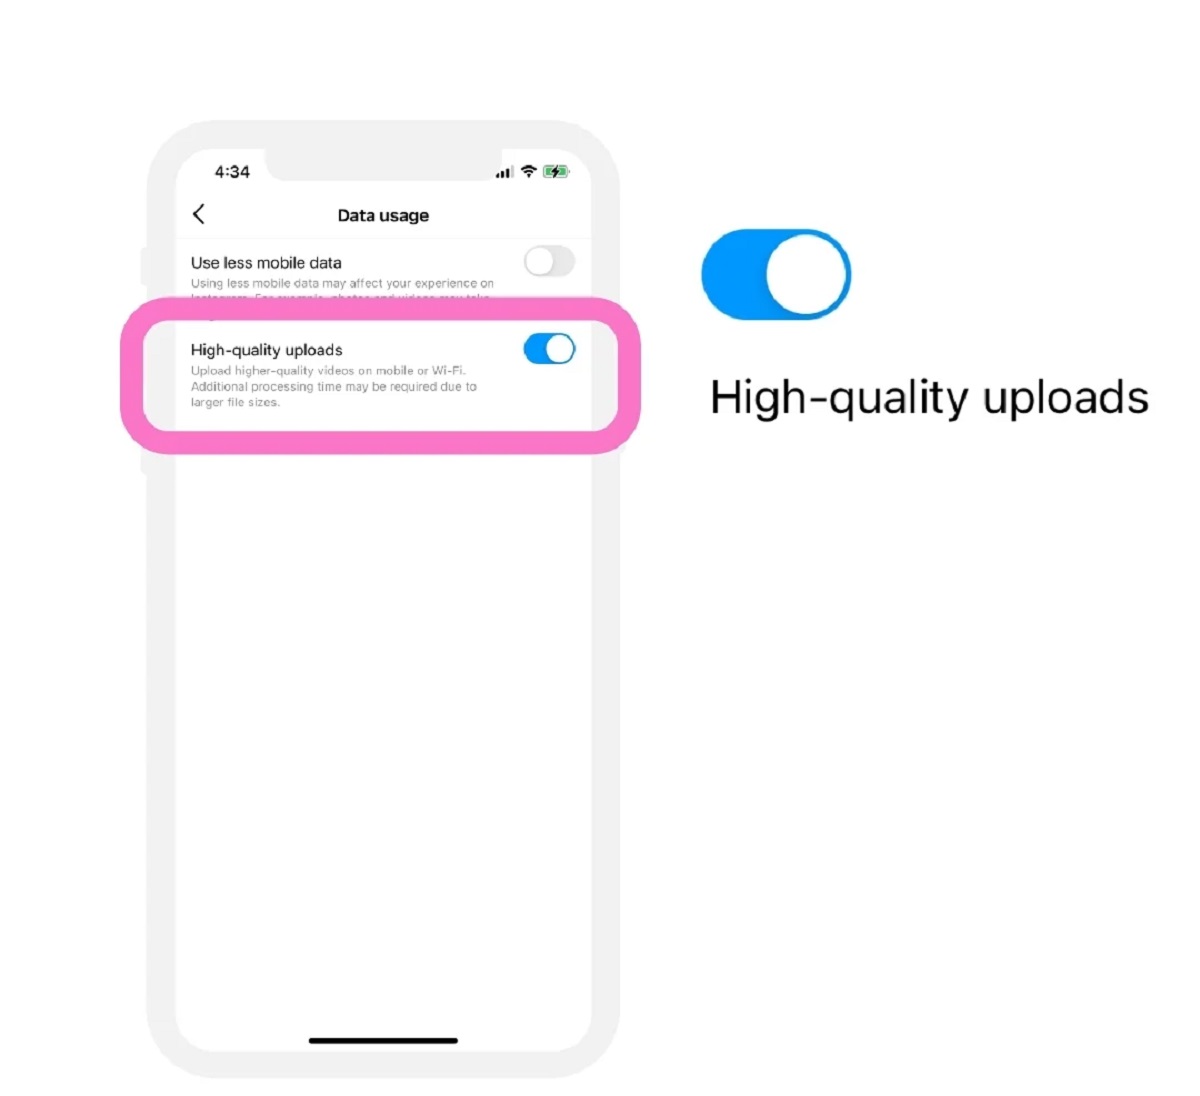
Lastly, keep in mind that Instagram applies compression to uploaded videos, which can sometimes result in a slight loss of quality. To mitigate this, it’s a good practice to encode your videos with a high-quality compression algorithm and maintain a reasonable file size without compromising on visual clarity.
By following these video upload requirements, you can ensure your videos are compatible with Instagram’s platform and display as intended. Now that you have a solid understanding of the technical aspects, let’s explore the different options for uploading videos to Instagram.
Options for Uploading Videos to Instagram
When it comes to uploading videos to Instagram, there are several options to choose from. The method you select will depend on your preference and the content you want to share. Let’s explore the different options:
Method 1: Uploading Videos Directly from Your Phone’s Camera Roll
The easiest and most straightforward way to upload videos to Instagram is by utilizing the platform’s built-in video upload feature. Simply open the Instagram app on your smartphone, tap the plus icon at the bottom of the screen, and select the video from your phone’s camera roll. After choosing the video, you can apply filters, add captions, and customize the visibility settings before posting it to your feed.
Method 2: Using Instagram’s In-App Camera to Record and Upload Videos
If you prefer to capture and upload videos directly within the Instagram app, you can make use of the in-app camera feature. This feature allows you to record videos in real-time, apply filters, add effects, and even use creative tools such as Boomerang or Superzoom. Once you’re satisfied with your recording, you can proceed to post it to your Instagram feed.
Method 3: Utilizing Third-Party Apps to Upload Videos to Instagram
In addition to the native Instagram features, there are also various third-party apps available that can enhance your video uploading experience. These apps offer additional editing tools, effects, and options to customize your videos before sharing them on Instagram. Some popular choices include InShot, Videoshop, and Adobe Premiere Rush. Simply export your edited video from the app and proceed to upload it to Instagram like you would with any other video.
Ultimately, the method you choose to upload videos to Instagram depends on your preference and the level of control you want over the content. Whether you prefer uploading videos from your camera roll, capturing them directly within the app, or using third-party apps, Instagram provides you with a range of options to showcase your creativity.
Now that you’re familiar with the different methods of uploading videos to Instagram, let’s move on to the next section to discover some useful tips for optimizing video quality.
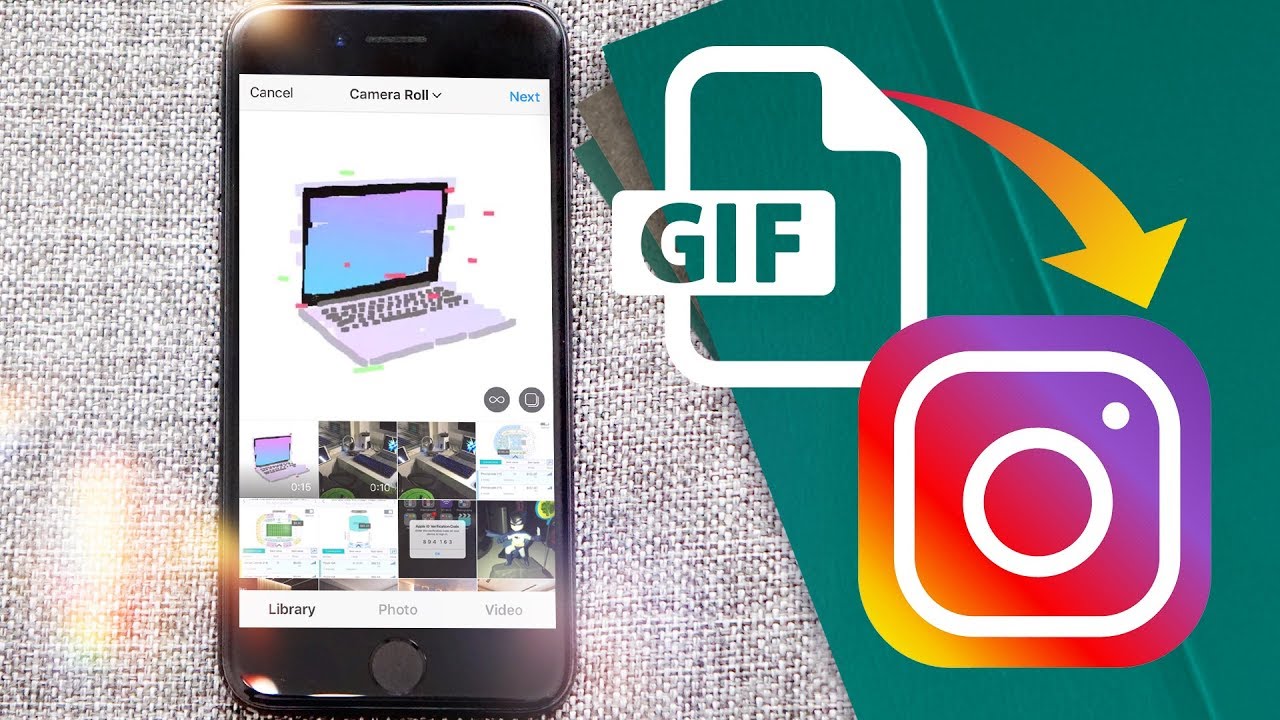
Method 1: Uploading Videos Directly from Your Phone’s Camera Roll
One of the simplest ways to upload videos to Instagram is by directly selecting them from your phone’s camera roll. This method allows you to choose pre-recorded videos and share them on your Instagram feed. Here’s how to do it:
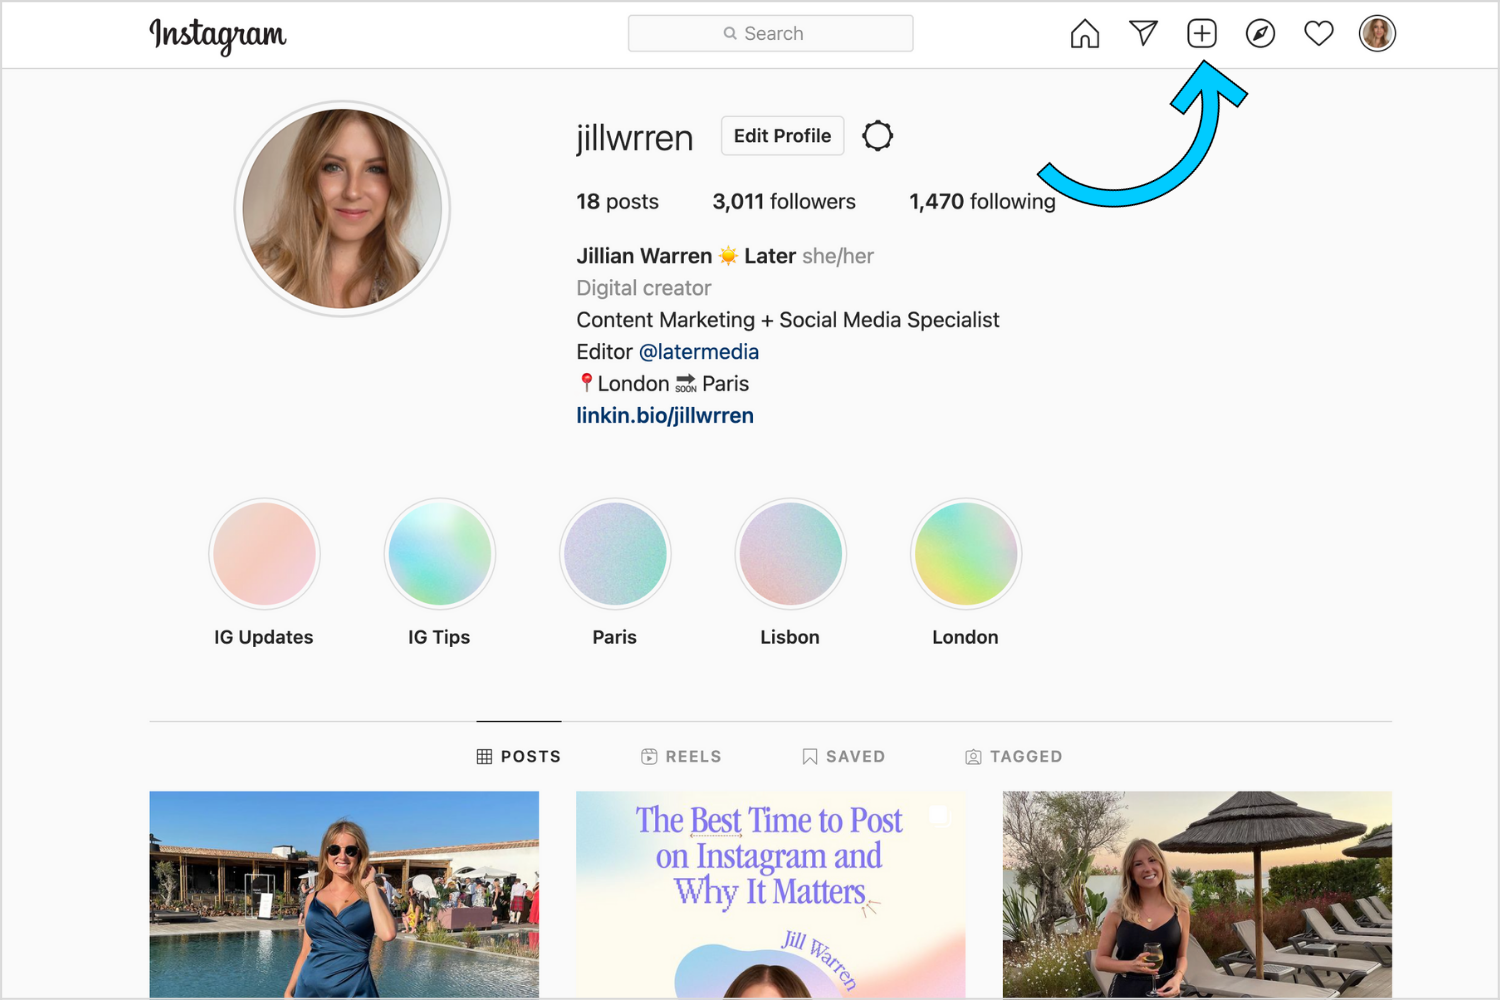
1. Open the Instagram app on your smartphone and tap on the plus icon at the bottom of the screen. This will open the upload screen.
2. At the bottom of the screen, you’ll see your camera roll represented by a thumbnail. Tap on it to access your phone’s gallery of videos.
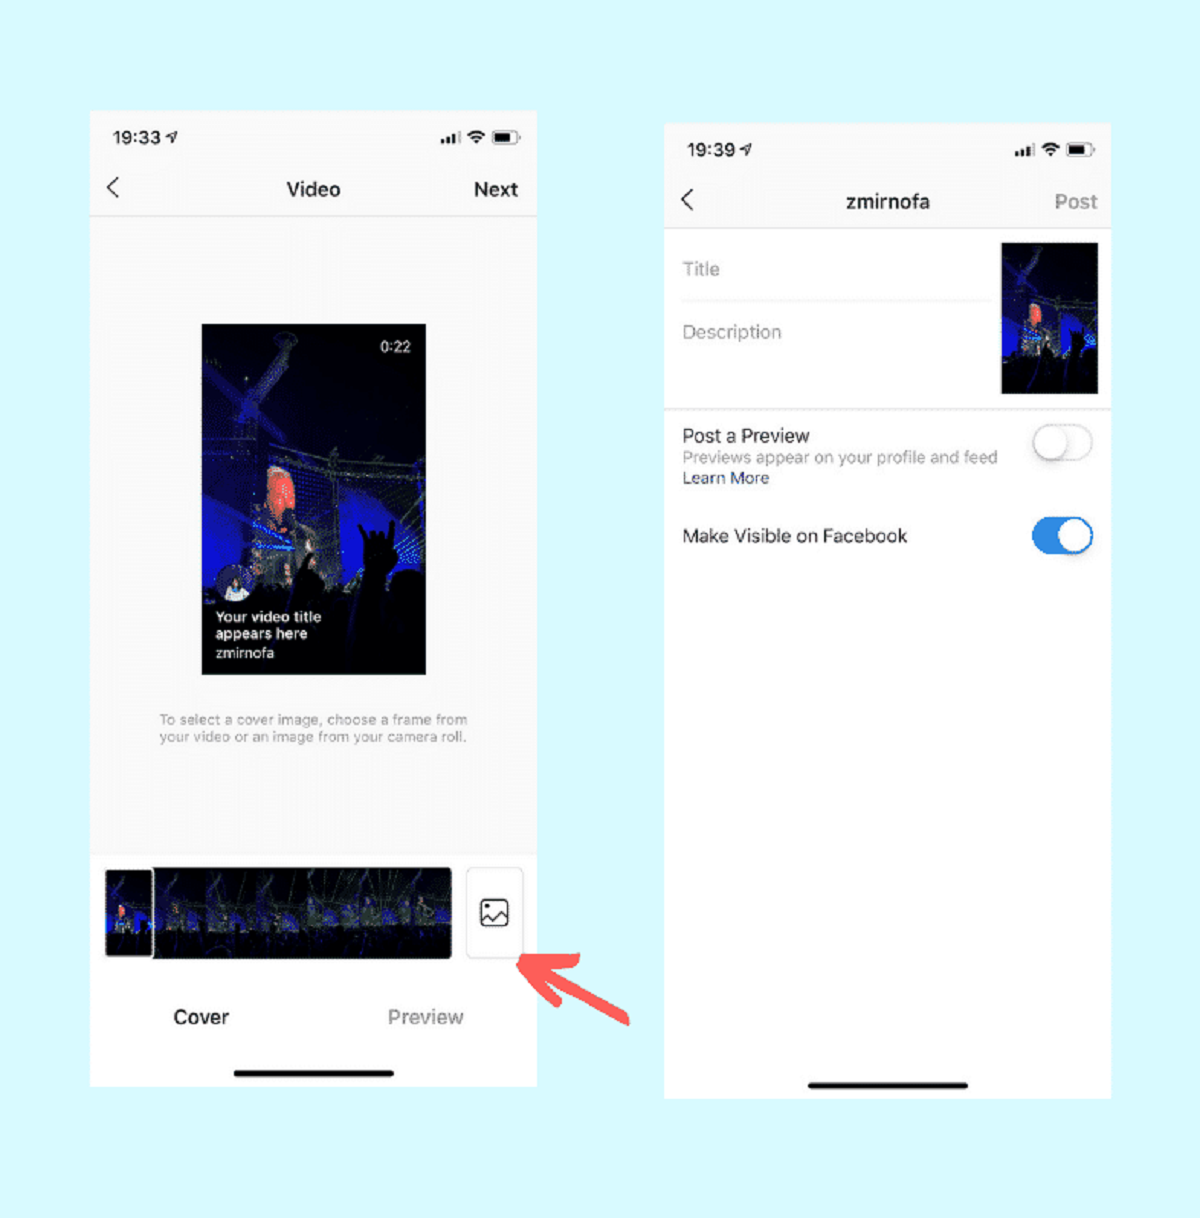
3. Browse through your camera roll and select the video you want to upload. Once you’ve chosen the video, tap ‘Next’ in the top-right corner.
4. On the next screen, you can apply Instagram filters to your video. Swipe left or right to preview and choose the filter that best enhances your video’s visual appeal. You can also tap the ‘Edit’ button to manually adjust brightness, contrast, and other settings.
5. After selecting your preferred filter, tap ‘Next’ to proceed to the caption and tagging screen. Add a caption to your video to provide context or share a story. You can also tag other users by tapping ‘Tag People’ or add location information by tapping ‘Add Location’.
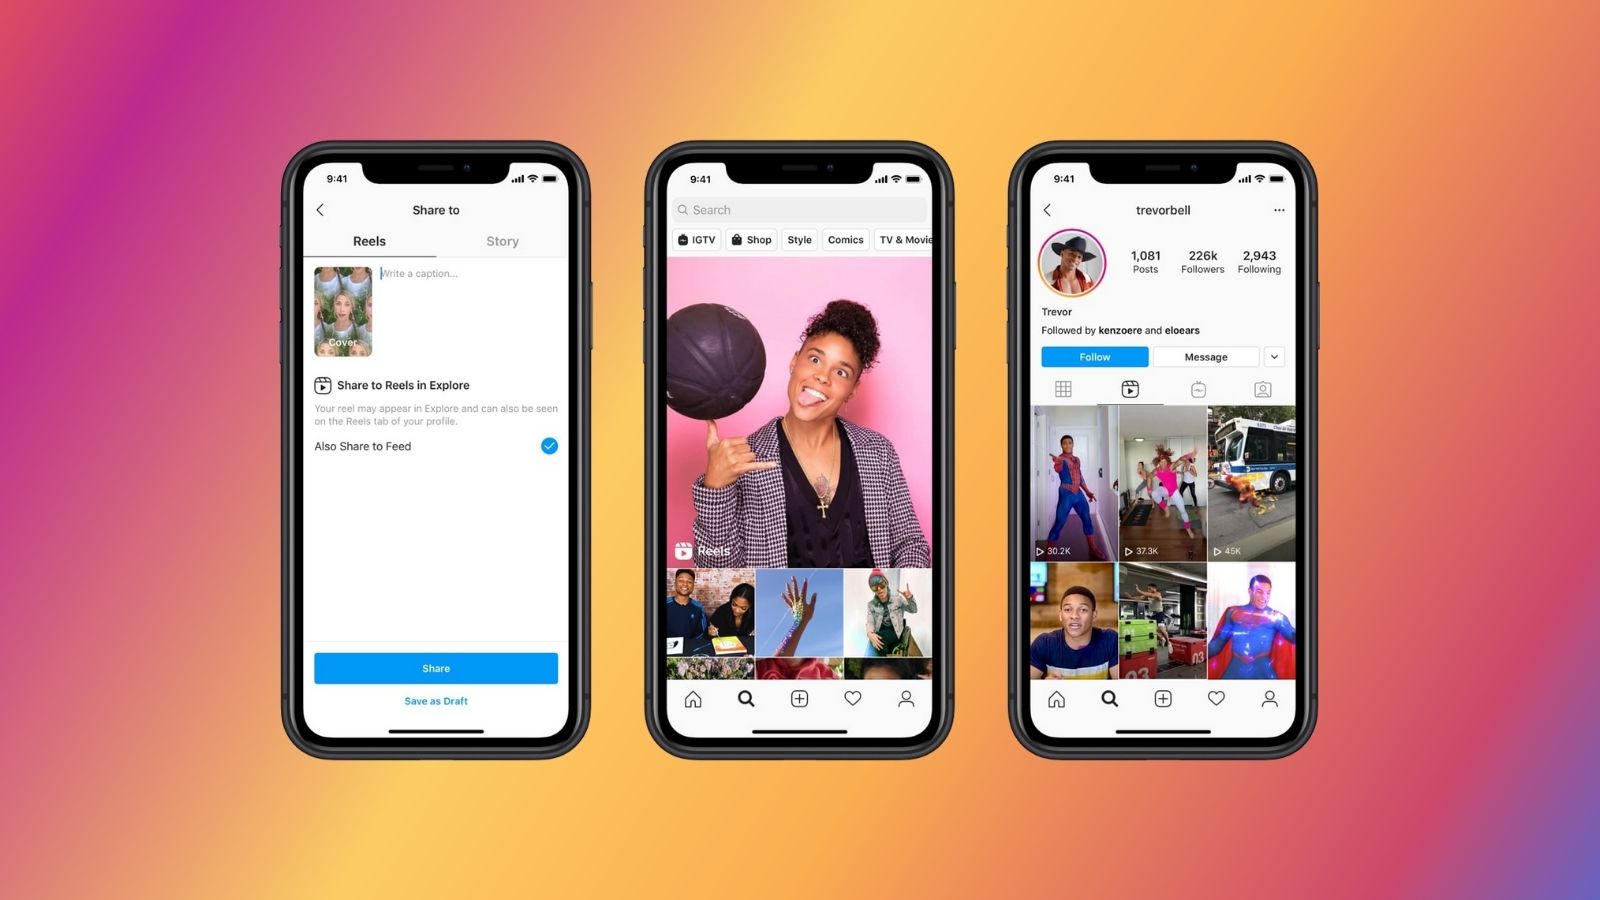
6. Once you’ve added your caption and tagging information, you can choose to share the video on your Instagram feed by tapping ‘Share’. Alternatively, you can tap on the down arrow next to ‘Share’ to select additional options such as sharing to your story, sending the video as a direct message, or sharing the post to other connected social media accounts.
That’s it! Your video will now be uploaded to your Instagram feed, making it visible to your followers and anyone who visits your profile. It’s worth noting that the video upload process may take some time, depending on the video’s size and your internet connection speed.
By uploading videos directly from your phone’s camera roll, you have the advantage of selecting your best pre-recorded content and sharing it on Instagram effortlessly. This method allows you to maintain the quality and resolution of your videos without the need for additional editing.
Now that you know how to upload videos from your camera roll, let’s explore another method for uploading videos to Instagram using the in-app camera feature.
Method 2: Using Instagram’s In-App Camera to Record and Upload Videos
Instagram offers an in-app camera feature that allows you to record and upload videos directly within the platform. This method is convenient if you want to capture spontaneous moments and share them instantly on your feed. Follow these steps to use Instagram’s in-app camera:
1. Launch the Instagram app on your smartphone and swipe right from your feed or tap on the camera icon in the top-left corner. This will open the in-app camera.
2. On the camera screen, you’ll find various options at the bottom. You can swipe left or right to select different camera modes such as Normal, Boomerang, Superzoom, or Hands-Free. Choose the mode that suits your video recording needs.
3. Once you’ve selected the desired mode, tap and hold the capture button to start recording your video. You can record for up to 60 seconds, but if you’re using the hands-free mode, the recording will stop automatically after 15 seconds.
4. While recording, you can tap the stop button to end the video or lift your finger from the capture button if you’re using the hands-free mode. You can also use the flip icon to switch between the front and rear cameras if you want to change the perspective.
5. After stopping the recording, you’ll be taken to the editing screen. Here, you can add filters, trim the video length, adjust the volume, and even draw or add text to your video by using the various creative tools available. Make any desired edits to enhance the visual appeal of your video.
6. Once you’ve finished editing, tap ‘Next’ in the top-right corner to proceed to the caption and tagging screen. Add a compelling caption to accompany your video and tag any relevant users using the ‘Tag People’ option. If you want to add a location, tap ‘Add Location’ and choose the appropriate place.
7. After adding your caption and tagging information, you can choose to share the video on your Instagram feed by tapping ‘Share’. Alternatively, you can tap on the down arrow next to ‘Share’ to access additional sharing options, such as sharing the video to your story or sending it as a direct message.
That’s it! Your video will now be uploaded to your Instagram feed, ready to be viewed by your followers and other Instagram users. Using Instagram’s in-app camera feature allows you to capture and share moments in real-time, adding an element of spontaneity to your video content.
Now that you’re familiar with using Instagram’s in-app camera, let’s explore a different method that involves utilizing third-party apps to upload videos to Instagram.
Method 3: Utilizing Third-Party Apps to Upload Videos to Instagram
If you’re looking for additional editing tools and features to enhance your video content before uploading it to Instagram, utilizing third-party apps can be an excellent choice. These apps offer a wide range of customization options, allowing you to take your videos to the next level. Here’s how you can use third-party apps to upload videos to Instagram:
1. Start by exploring the various third-party apps available for video editing and sharing. Some popular options include InShot, Videoshop, and Adobe Premiere Rush. Visit your app store and search for the app that resonates with your editing needs.
2. Once you’ve downloaded and installed the app, open it and import the video you want to upload to Instagram. Most apps provide easy-to-use interfaces that allow you to import videos from your phone’s camera roll or other connected devices.
3. After importing the video, you can utilize the app’s editing features to enhance your video content. Adjust the brightness, contrast, and saturation levels, apply filters and effects, add text overlays or stickers, and even incorporate transitions or music to create a polished result.
4. Once you’re satisfied with the edits, export the video from the app. Look for the option to save or export the video, which will generate a final version of your edited video that is ready for uploading to Instagram.
5. Now, open the Instagram app on your smartphone and tap the plus icon at the bottom of the screen, just as you would when uploading a video from your camera roll.
6. Instead of selecting the video from your camera roll, select the option to upload from your phone’s files or gallery. This will allow you to access the exported video file from the third-party app.
7. Locate and select the video you edited using the third-party app, and then proceed to apply filters, add captions, and adjust the visibility settings if desired.
8. Finally, tap ‘Share’ to upload the video to your Instagram feed, making it visible to your followers and anyone who visits your profile.
By utilizing third-party apps, you have access to a wider range of editing tools and effects, enabling you to create unique and visually appealing videos. These apps offer greater control and flexibility in customizing your videos before sharing them on Instagram.
It’s important to note that each third-party app may have its own interface and specific features, so take some time to explore and familiarize yourself with the app you choose. Experiment with different editing techniques to create videos that align with your creative vision.
Now that you’re aware of the third-party app option, let’s move on to the next section, which provides tips for optimizing video quality on Instagram.
Tips for Optimizing Video Quality on Instagram
When uploading videos to Instagram, optimizing the video quality is essential to ensure that your content looks its best on the platform. Here are some tips to help you enhance the quality of your videos:
1. Maintain the recommended video resolution: Instagram recommends using a resolution of 1080 pixels (width) by 1920 pixels (height) for portrait videos and 1920 pixels (width) by 1080 pixels (height) for landscape videos. By adhering to these resolutions, you can ensure your videos appear sharp and clear on users’ screens.
2. Pay attention to file size: While Instagram allows for larger file sizes, it’s important to strike a balance between video quality and file size. Compress your videos using efficient compression algorithms to reduce the file size without sacrificing too much quality. This will help your videos upload faster and consume less data for viewers.
3. Optimize video duration: Instagram allows for different video lengths depending on the type of content you’re posting. For regular posts, keep your videos concise, around 60 seconds or less, to capture viewers’ attention. If you’re uploading longer videos on IGTV, ensure they are engaging and hold viewers’ interest throughout.
4. Consider vertical videos: As a mobile-focused platform, Instagram highly emphasizes vertical viewing. Creating vertical videos (9:16 aspect ratio) that utilize the full screen can provide a more immersive experience for viewers and may yield better engagement.
5. Use good lighting and stabilize your footage: When recording videos, opt for well-lit environments as it helps to improve clarity and visibility. Additionally, use steady hands or a tripod to stabilize your footage, reducing the risk of shaky or blurry videos.
6. Add engaging captions and subtitles: Enhance the understanding and accessibility of your videos by adding captions or subtitles. This allows viewers to enjoy your content even when muted or in environments where audio is unavailable or not preferred, making your videos more inclusive and engaging.
7. Test and preview before posting: Before sharing your videos on Instagram, preview them to ensure they appear as intended. Check for any distortion, cropping, or loss of quality, and make necessary adjustments to improve the overall appearance of your video.
By following these tips, you can optimize your videos for Instagram and provide an enjoyable viewing experience for your audience. Remember, high-quality videos have a better chance of capturing attention and engaging viewers, helping you stand out in a crowded feed.
Now that you’re armed with knowledge on optimizing video quality, let’s dive into best practices for video captions and hashtags on Instagram.
Best Practices for Video Captions and Hashtags on Instagram
When uploading videos to Instagram, captions and hashtags play a crucial role in increasing discoverability and engagement. Here are some best practices to consider when crafting captions and utilizing hashtags for your videos:
1. Craft compelling and concise captions: Captions provide an opportunity to provide context, tell a story, or engage with your audience. Keep your captions concise and compelling, capturing the viewers’ attention in the limited space. You can use emojis, ask questions, or share interesting facts to encourage viewers to engage with your video.
2. Add a call-to-action (CTA): Encourage your viewers to take action by including a clear call-to-action in your caption. Whether it’s asking them to like, comment, share, or visit a link in your bio, CTAs help increase engagement and drive desired actions from your audience.
3. Utilize relevant hashtags: Hashtags are vital in getting your videos discovered by a wider audience. Research and use relevant hashtags that are popular within your niche or related to the content of your video. Avoid using excessive hashtags and instead focus on quality and relevance.
4. Experiment with branded hashtags: For branding purposes, consider creating a branded hashtag specifically for your videos. Encourage your audience to use and engage with the hashtag, creating a sense of community and making it easier for others to find your content.
5. Check trending hashtags: Stay updated with trending hashtags related to your industry or popular events. Including these relevant trending hashtags in your captions can expose your videos to a larger audience and increase the chances of being discovered.
6. Hide hashtags in your captions: To maintain a clean and visually appealing caption, you can hide hashtags by adding them as the first comment to your post. This way, your caption remains uncluttered while still benefiting from the visibility provided by the hashtags.
7. Engage with your audience: Once your video is live, make sure to actively engage with viewers who comment on your post. Respond to comments, answer questions, and show appreciation to create a sense of community and build strong connections with your audience.
8. Test and analyze: Experiment with different captions and hashtags to see what works best for your videos. Analyze the engagement metrics provided by Instagram’s Insights to understand which captions and hashtags generate the most views, likes, comments, and shares. Use this data to refine your caption and hashtag strategies moving forward.
By implementing these practices, you can optimize the visibility and engagement of your videos on Instagram. Captions and hashtags are powerful tools in reaching a wider audience and fostering meaningful interactions with your viewers.
Now that you have a clearer understanding of caption and hashtag best practices, let’s conclude by summarizing the key points discussed in this article.
Conclusion
Uploading videos to Instagram allows you to share captivating moments, express your creativity, and engage with your audience in a dynamic way. By understanding Instagram’s video upload requirements, you can ensure that your videos meet the necessary specifications for optimal playback on the platform.
We explored three different methods for uploading videos to Instagram. You can upload videos directly from your phone’s camera roll, use Instagram’s in-app camera to record and upload videos in real-time, or utilize third-party apps to enhance and customize your videos before sharing them on Instagram.
To optimize the quality of your videos on Instagram, consider maintaining the recommended video resolution, paying attention to file size, and creating videos in vertical format for a better mobile viewing experience. Additionally, adding captions, utilizing relevant hashtags, and engaging with your audience are key practices for increasing discoverability and fostering meaningful interactions.
Remember to test and analyze your videos’ performance using Instagram’s Insights, and adjust your strategies accordingly to maximize engagement and reach a wider audience. Continuously seek ways to improve the quality and appeal of your videos to stand out in the Instagram feed.
Now that you have the knowledge and tools to upload high-quality videos to Instagram, it’s time to unleash your creativity and share your stories with the world. Start creating and uploading videos that captivate and engage your audience, and watch as your presence on Instagram grows.
So, what are you waiting for? Start exploring the various methods of uploading videos, optimize their quality, craft compelling captions, and incorporate relevant hashtags. Get ready to make an impact with your videos on Instagram and take your social media game to new heights.