Introduction
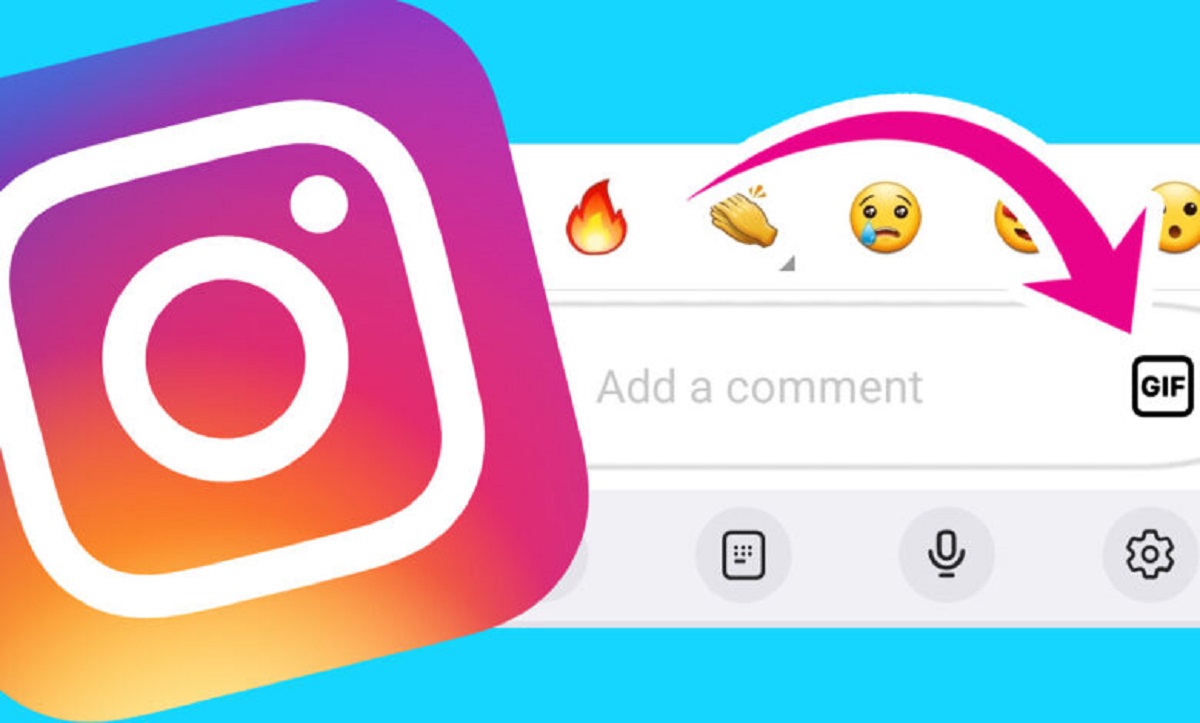
Instagram is a popular social media platform known for its visual content, and if you’re wondering how to post a GIF on Instagram, you’ve come to the right place. While Instagram doesn’t support GIF files directly, there are ways to share these animated images with your followers. In this article, we’ll guide you through the steps to take in order to post a GIF on Instagram and keep your feed lively and engaging.
GIFs, short for Graphics Interchange Format, are widely used online to convey emotions, reactions, and humor in a compact and looping format. They add a fun and dynamic element to your posts, helping you stand out in your followers’ feeds. Sharing GIFs on Instagram can elevate your content and keep your audience entertained and interested.
Although Instagram doesn’t have a built-in GIF upload feature, there are workarounds that allow you to share GIFs in the form of videos. By converting the GIF into a video format, you can maintain the original animation while complying with Instagram’s upload requirements. We’ll walk you through the process step-by-step, so you can start sharing GIFs with your followers in no time.
Whether you want to showcase your favorite movie scene, express a reaction, or simply inject some humor into your feed, learning how to post a GIF on Instagram will open up a whole new world of possibilities. Let’s dive into the process and get you on your way to creating engaging and captivating content.
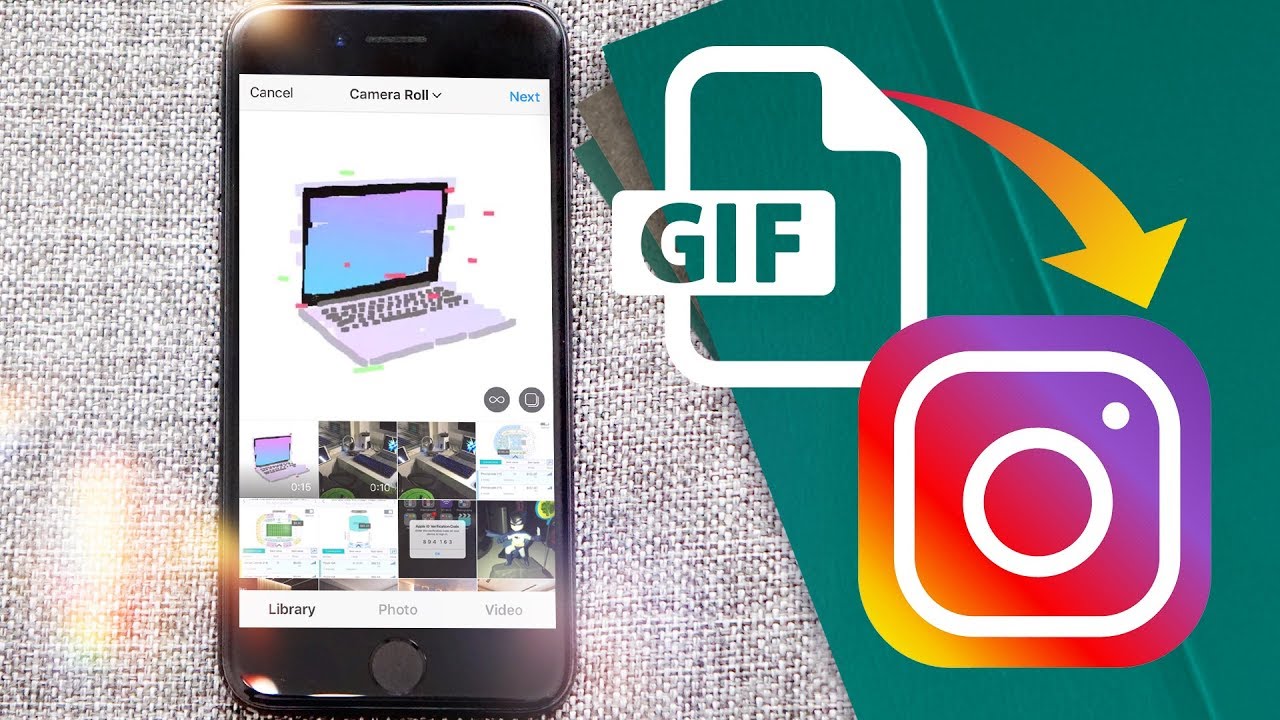
Step 1: Downloading and saving the GIF
The first step to posting a GIF on Instagram is to download and save the animated image onto your device. There are several ways you can do this:
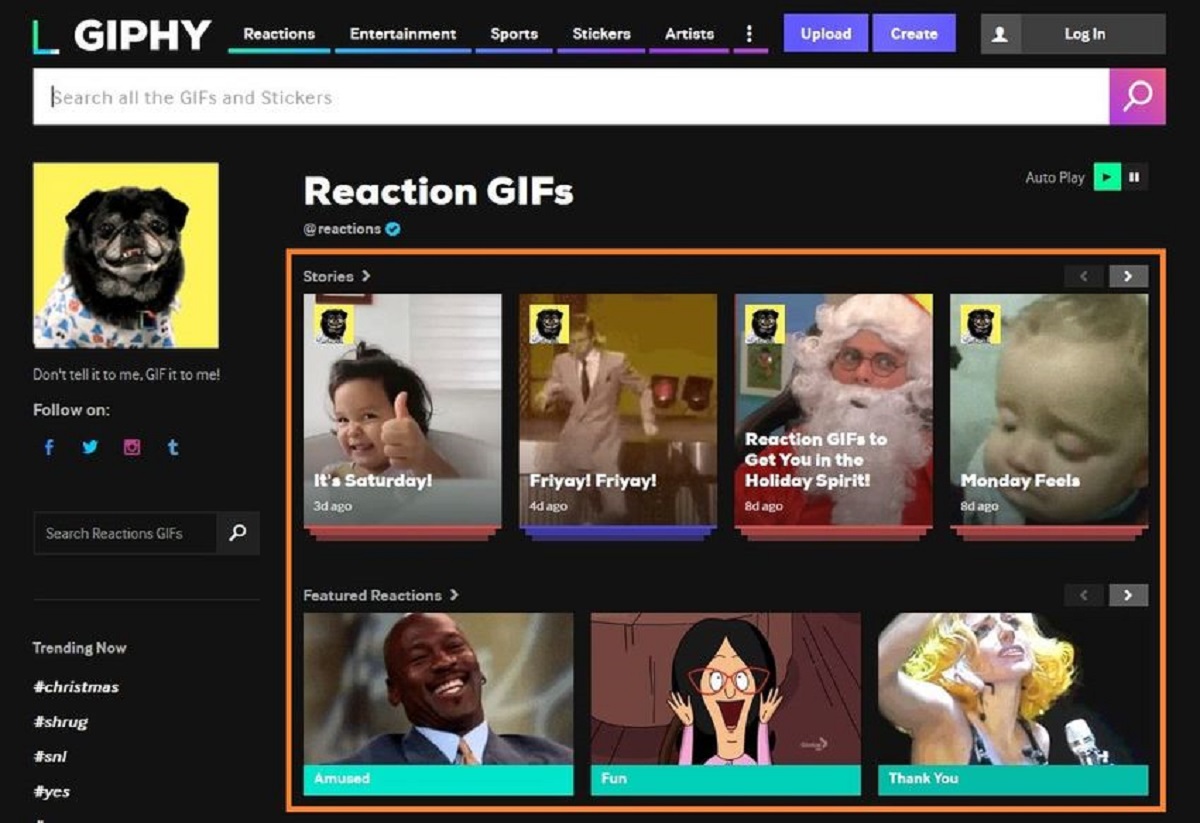
- Search for a GIF on popular online platforms such as Giphy, Tenor, or Imgur. These websites have extensive collections of GIFs that you can browse and choose from. Once you find the GIF you want to share, right-click on it and select “Save Image As” to save it to your computer or smartphone.
- If you have a specific GIF in mind or have received one from a friend, you can save it directly from messaging apps or social media platforms. Tap and hold on the GIF until a menu appears, and then select the option to save the image to your device’s camera roll or gallery.
Remember to save the GIF in a location on your device that you can easily access later. This will make it convenient when you need to convert it into a video format in the next steps.
Downloading and saving the GIF ensures that you have the file ready for the next steps of the process. Take your time to find the perfect GIF that matches your desired message or theme, as this will make your Instagram post more engaging and captivating to your audience.
Step 2: Converting the GIF to video format
Now that you have the GIF saved on your device, the next step is to convert it into a video format that is compatible with Instagram. Converting the GIF to a video will allow you to preserve the animation and upload it seamlessly to your Instagram feed. Here’s how you can do it:
- Look for a GIF-to-video converter app or website. There are many free options available that can help you with this conversion. Some popular choices include Ezgif, GIPHY GIF to MP4 Converter, and Online Converter.
- Open the GIF-to-video converter tool of your choice and select the option to upload or import the GIF that you downloaded in the previous step. This process may vary depending on the converter you’re using, but most will have a straightforward uploading process.
- Follow the prompts to convert the GIF into a video format. Depending on the converter, you may have the option to customize settings such as the video dimensions, frame rate, or quality. Instagram supports various video formats, but MP4 is generally the recommended format for compatibility.
- Once the conversion is complete, download the converted video file to your device. Make sure to save it in a location that you can easily access later.
By converting the GIF into a video format, you can maintain the animated nature of the image while ensuring it meets the requirements for uploading to Instagram. This step is crucial in preparing your GIF for the next stages of the process, where you’ll edit and upload it to your Instagram account.
Step 3: Editing the video (optional)
After converting the GIF to a video format, you have the option to add some edits or enhancements before uploading it to Instagram. While this step is optional, it can help you create a more polished and visually appealing final product. Here are some editing options you may consider:
- Video-trimming: Use a video editing software or app to trim the video and remove any unnecessary frames or segments. This allows you to focus on the most captivating part of the GIF and create a shorter, more attention-grabbing video for your Instagram post. Trim the video to a length that suits your preferences and Instagram’s video duration limits.
- Captions and overlays: If you want to add context or emphasize a specific message, consider adding text captions or overlays to your video. This can be done using video editing software or apps that offer text overlay features. Use creative fonts, colors, and animations to make your captions visually appealing and in line with your overall Instagram aesthetic.
- Filters and effects: Apply filters or effects to enhance the visual appeal of your GIF-turned-video. Many video editing tools provide a range of filters and effects that can alter the colors, contrast, or overall mood of your video. Experiment with different options to find a style that aligns with your content and personal preferences.
- Music and sound effects: If appropriate for your GIF, consider adding background music or sound effects to enhance the video. Choose music or sound effects that complement the mood or theme of the GIF and make sure you have the necessary rights or permissions to use the audio content.
Editing the video gives you the opportunity to customize and optimize it for your Instagram post, making it more engaging and captivating for your audience. However, remember to strike a balance and not overdo the edits, as you want the GIF to remain the focal point of the video.
Step 4: Uploading the video to Instagram
Now that you have converted and optionally edited the GIF into a video format, it’s time to upload it to your Instagram account. Follow these steps to successfully upload your GIF video:
- Open the Instagram app on your device and tap on the “+” button located at the bottom center of your screen. This will open the upload screen.
- Tap on the “Library” option to access the media files on your device.
- Navigate to the folder or location where you saved the GIF video after converting and editing it.
- Select the GIF video you want to upload. Instagram will automatically recognize it as a video file.
- Once you’ve selected the video, you have the option to apply any additional edits or filters within the Instagram app. You can adjust brightness, contrast, add filters, or make further trims to the video length.
- Tap “Next” after making any desired edits.
- In the caption field, you can add a description or any text you wish to accompany your GIF video. You can also include relevant hashtags to reach a wider audience.
- If desired, you can also tag other Instagram users or add a location to your post.
- Once you’re satisfied with the caption and other details, tap “Share” to upload your GIF as a video to your Instagram feed.
After following these steps, your GIF video will be uploaded to your Instagram account for all your followers to see. Keep in mind that Instagram may compress the video slightly during the upload process, so the quality may be slightly affected. Nonetheless, the animation and essence of the GIF should still be intact, providing an engaging viewing experience for your audience.
Step 5: Selecting a cover image
When you upload a GIF as a video on Instagram, the platform automatically selects a thumbnail or cover image to represent the video on your feed. However, you have the option to choose a different cover image that best represents the content of your GIF. Here’s how you can select a cover image:
- After uploading the GIF video, tap on the “Next” button to proceed to the next screen.
- On the next screen, you’ll see a timeline of key frames from your video. These frames serve as potential cover images.
- Scroll through the timeline to find the frame that best captures the essence of your GIF and represents it visually.
- Once you’ve chosen the desired frame, tap on it to select it as the cover image for your video.
- If you’re not satisfied with the timeline frames, you can tap on the “Cover” button in the bottom left corner. This allows you to select a different frame from the video by scrubbing through it.
- Once you’ve selected the cover image, you can proceed to add a caption, tags, and any other necessary details before posting the GIF video.
Choosing a compelling cover image is important as it provides a visual representation of your GIF video on your Instagram feed. It’s an opportunity to capture the attention of your followers and entice them to engage with your post. Take the time to find a cover image that accurately represents the content and intrigues your audience to watch the video.
Step 6: Adding captions and hashtags
Once you’ve selected the cover image for your GIF video, it’s important to add compelling captions and relevant hashtags to enhance the discoverability and engagement of your Instagram post. Captions provide context, convey your message, and engage your audience, while hashtags help categorize your content and make it more visible to a wider audience. Here’s how you can add captions and hashtags:
- In the caption field below your cover image, write a descriptive and engaging caption that complements your GIF video. You can provide additional context, share a story, ask a question, or add any relevant information to encourage your audience to watch and interact with the video.
- Consider using emojis to add visual appeal and reinforce the tone or message of your caption.
- After writing your caption, it’s time to add hashtags. Hashtags are keywords preceded by the “#” symbol that categorize your content. They allow users to discover your post when searching for or clicking on a specific hashtag.
- Brainstorm and research relevant hashtags that are popular within your niche or related to the content of your GIF video.
- Include a mix of popular and niche-specific hashtags to reach a broader audience while targeting a more specific demographic.
- Aim for a balance between broad hashtags with a large number of posts and more specific hashtags with lower competition. This will increase your chances of being discovered by potential followers and users interested in your content.
- You can include hashtags directly in the caption or add them as a separate comment on your post. Both methods are effective in increasing visibility.
- Consider using a hashtag generator or researching popular hashtags within your industry to ensure you’re using the most relevant and effective ones for your content.
Adding captions and hashtags not only provide context and organization to your GIF video post but also improve its visibility and discoverability. They engage your audience, encourage interactions, and attract potential followers who are interested in the content you’re sharing.
Step 7: Posting the GIF on Instagram
After you have added captions and hashtags to your GIF video, it’s time to post it on your Instagram account. Follow these final steps to share your GIF with your followers:
- Review your caption and hashtags to ensure they are accurate and make any necessary adjustments.
- Double-check the cover image, making sure it accurately represents the content of the GIF video and grabs attention.
- Tap on the “Share” button to publish your GIF video on your Instagram feed.
- Once posted, your GIF video will be visible on your profile for your followers to enjoy.
- Encourage engagement by responding to comments and engaging with your audience.
- Consider promoting your GIF video through Instagram’s other features, such as stories or reels, to reach a wider audience.
- Monitor the performance of your GIF video by analyzing metrics such as likes, comments, and shares. This can help you gauge the success of your content and make improvements for future posts.
Congratulations! You have successfully posted your GIF on Instagram. By following these steps and utilizing captions, hashtags, and engagement strategies, you can maximize the visibility and impact of your GIF video on the platform.
Remember to experiment with different types of GIFs, captions, and hashtags to keep your content fresh and engaging. This will help you grow your Instagram presence, attract more followers, and increase audience interactions. Enjoy the process of sharing animated moments with your audience and have fun creating captivating GIF content on Instagram!
Conclusion
Posting a GIF on Instagram may require a few extra steps compared to sharing static images, but it’s definitely worth the effort. GIFs bring a dynamic and engaging element to your Instagram feed, capturing the attention of your followers and spicing up your content. By following the step-by-step guide in this article, you can easily convert, edit, and upload your GIF as a video on Instagram.
Through the process outlined, you learned how to download and save a GIF, convert it into a compatible video format, and optionally edit it to make it more visually appealing. You also discovered the importance of selecting an eye-catching cover image, adding descriptive captions, and utilizing relevant hashtags to enhance the discoverability and engagement of your GIF video.
As you navigate through the steps, remember to stay true to your brand or personal style and experiment with different types of GIFs and captions to keep your content fresh and exciting. Engage with your audience, respond to comments, and analyze the performance of your GIF videos to continuously improve your posting strategy.
So don’t hesitate to dive in and start sharing your favorite GIFs on Instagram. Embrace the fun and creativity that GIFs bring, and watch as your feed comes alive with animated moments that entertain and engage your followers.