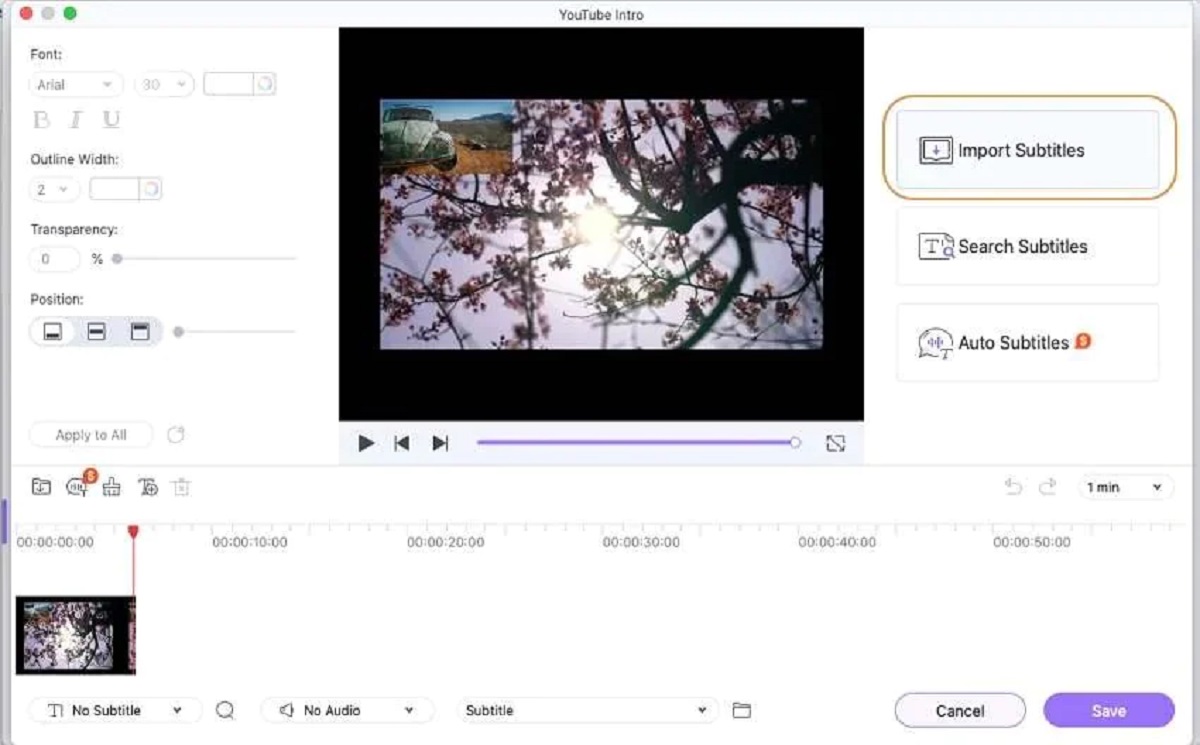
What Are Subtitles in Premiere Pro?
Subtitles are an integral part of any video production, including those created using Adobe Premiere Pro. They are textual representations of the spoken content in a video, displayed on the screen to assist viewers in understanding the dialogue or narration.
In Premiere Pro, subtitles can be added to the video timeline as captions. These captions can be customized in terms of font size, color, style, and position on the screen. They provide essential context, ensuring that viewers can follow the audio even if they are hearing-impaired, don’t understand the language spoken, or are watching the video in a noisy environment.
Subtitles have several benefits and serve various purposes. They not only make videos accessible to a broader audience but also improve engagement and comprehension. Subtitles can be an effective tool for language learning, allowing viewers to read and listen simultaneously. They are also valuable for capturing the attention of viewers on social media platforms where videos are typically autoplayed without sound.
Moreover, subtitles can enhance the overall viewing experience by providing additional information such as scene descriptions, sound effects, and speaker identification. This makes them helpful not only for viewers who face accessibility challenges but also for those watching videos in a sound-sensitive environment or who want to follow along without sound.
With the growing popularity of video content across various platforms, exporting subtitles from Premiere Pro has become crucial for sharing videos with subtitles intact. Whether you are uploading your videos on YouTube, Vimeo, or any other platform, having correct and properly formatted subtitles is essential to reach and engage your target audience.
In the following sections, we will explore how you can create and export subtitles from Premiere Pro, allowing you to share your videos with accurate and professional subtitles.
Why Would You Want to Export Subtitles?
Exporting subtitles from Premiere Pro is a crucial step in the video production process. While subtitles enhance accessibility and comprehension for viewers, there are several other reasons why you might want to export subtitles from Premiere Pro:
- Localization: If you intend to reach audiences in different regions or countries, exporting subtitles allows you to provide translations of the dialogue in different languages. This enables your video to be understood by a wider audience, increasing its global appeal and impact.
- Foreign Language Learning: Subtitles can be a valuable tool for language learners. By exporting subtitles, you can share your video with learners who can benefit from reading along with the dialogue. This makes your content more accessible and helps language learners improve their listening comprehension skills.
- Video Promotion: When promoting your video on platforms like social media or your website, exporting subtitles allows the content to be more engaging. Subtitles catch the attention of viewers scrolling through their timelines, even if they are initially watching videos without sound. This leads to higher engagement and increases the likelihood of viewers watching the video in its entirety.
- Accessibility Compliance: In some cases, there are legal requirements or accessibility standards that mandate the inclusion of subtitles in video content. By exporting subtitles from Premiere Pro, you can ensure that your videos meet these compliance standards and reach a broader audience, including those with hearing impairments.
- Archiving and Repurposing: Subtitles contain valuable information about the dialogue and can be repurposed or reused in different ways. Exporting subtitles allows you to store them separately and use them for future projects, making the process of creating new videos more efficient.
Overall, exporting subtitles from Premiere Pro is essential for reaching a wider audience, enhancing viewer experience, and complying with accessibility standards. Whether it’s for localization, language learning, video promotion, or archiving purposes, exporting subtitles allows you to share your videos confidently and cater to the diverse needs of your audience.
How to Create Subtitles in Premiere Pro
Creating subtitles in Adobe Premiere Pro is a straightforward process that can greatly improve the accessibility and engagement of your videos. Follow these steps to add subtitles to your video:
- Import Your Video: Start by importing the video file into your Premiere Pro project. You can do this by selecting “File” from the top menu, then “Import” and choosing the video file from your computer.
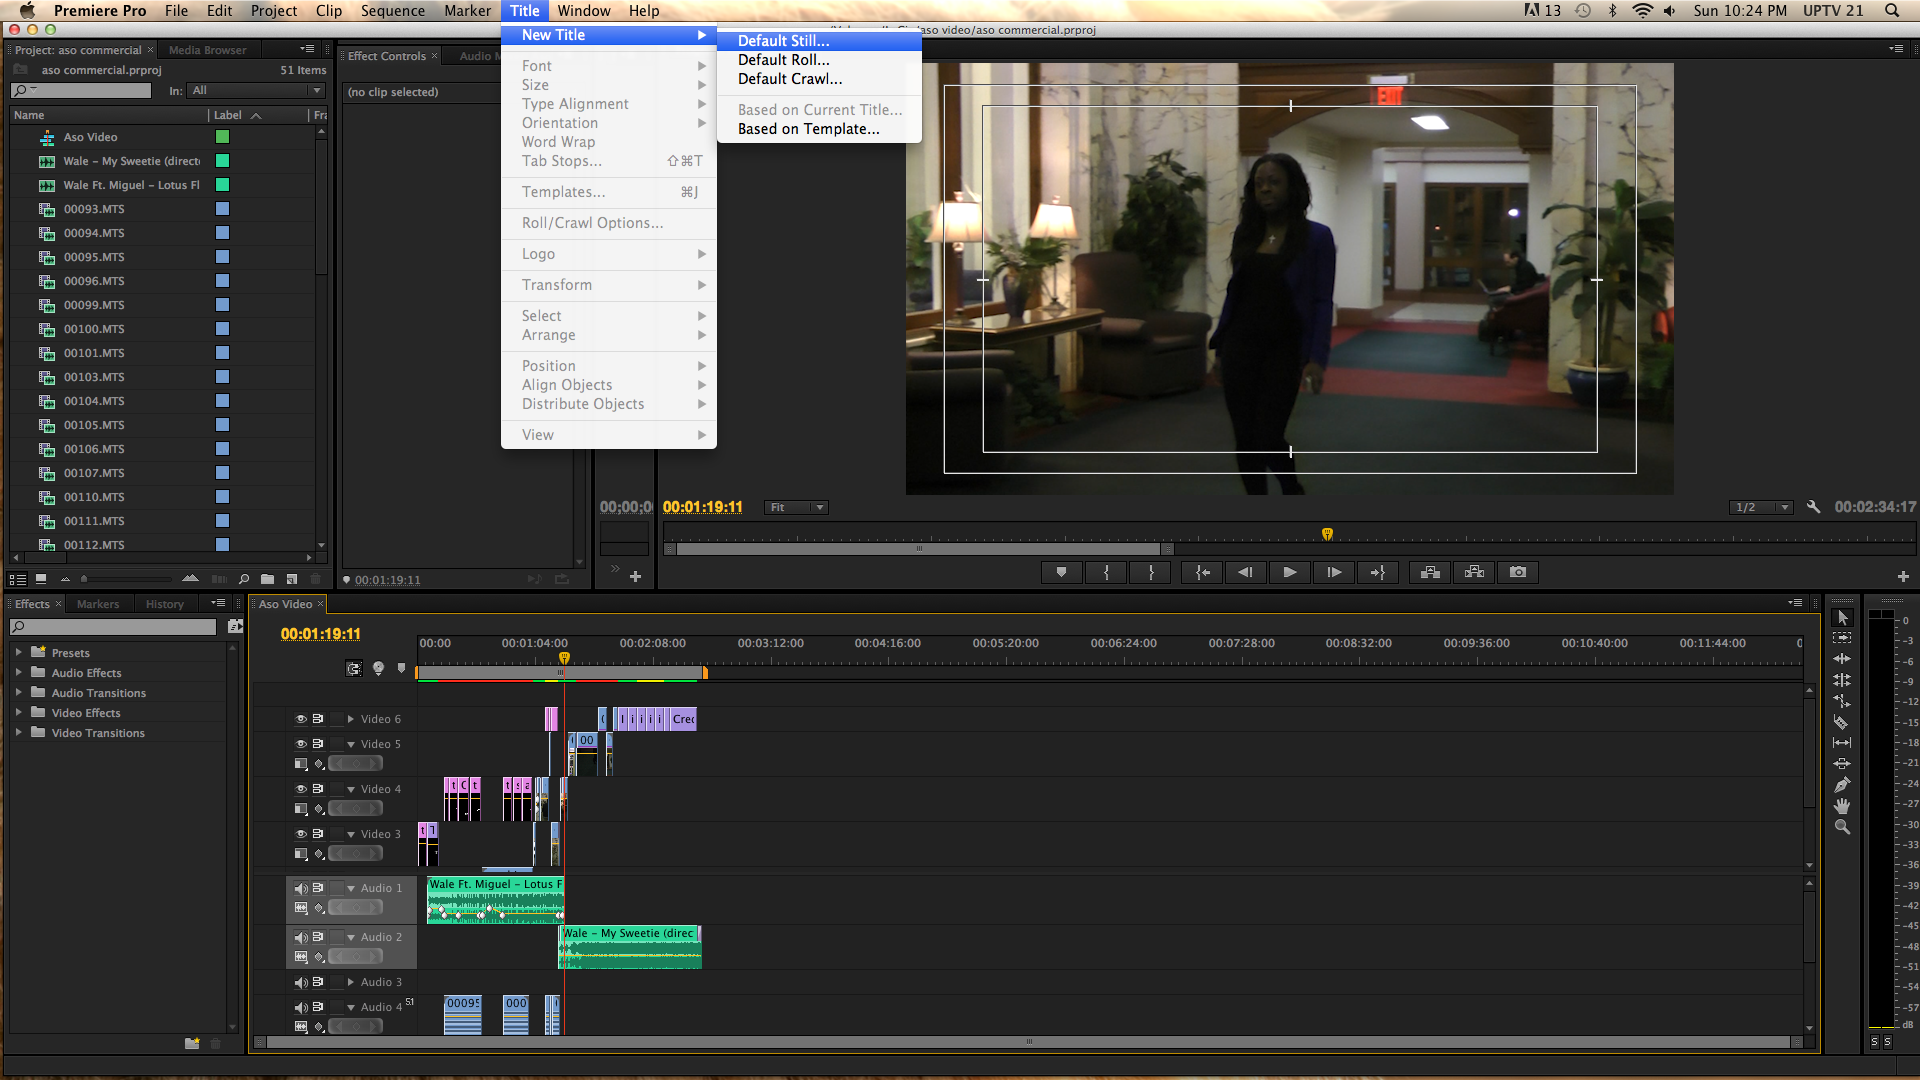
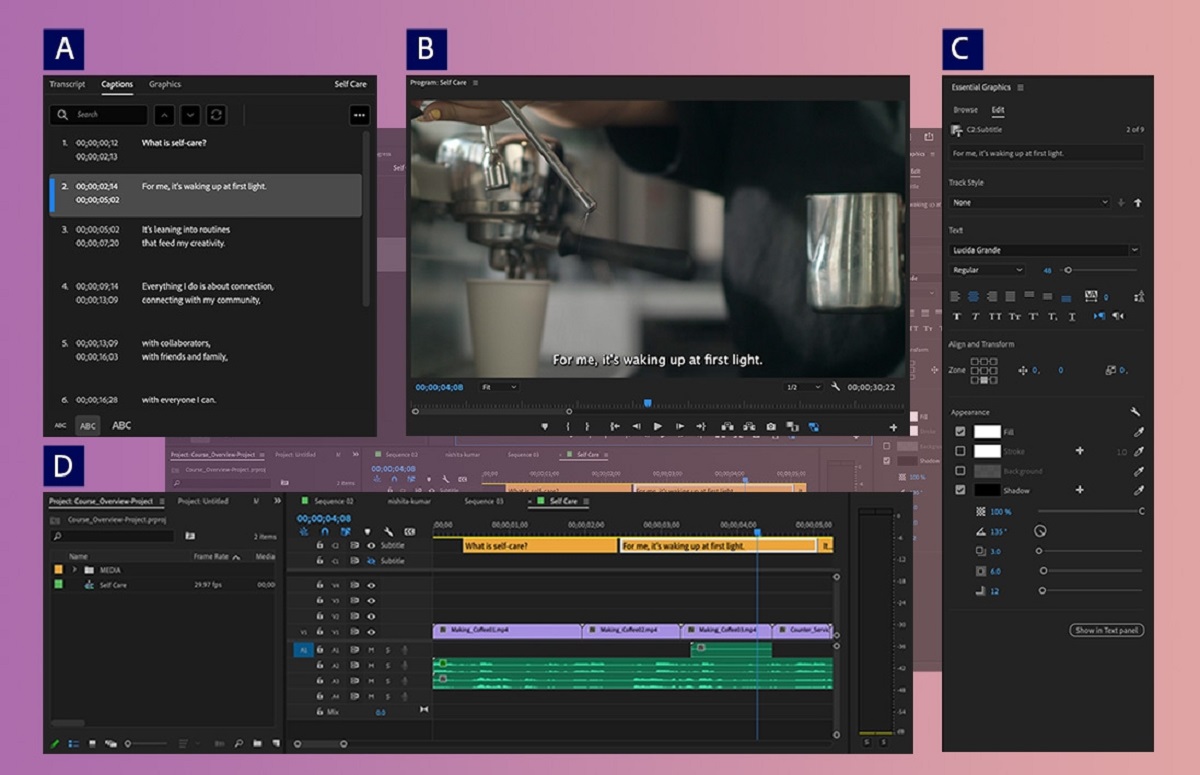
- Create a New Caption Track: In the “Project” panel, navigate to the “Captions” tab. Right-click and select “New Captions” to create a new caption track.
- Set the Caption Style: Customize the look of your subtitles by selecting the caption track and adjusting the font, size, color, and positioning in the “Essential Graphics” panel. You can access the panel by clicking on the “Graphics” tab and then selecting the “Essential Graphics” option from the top menu.
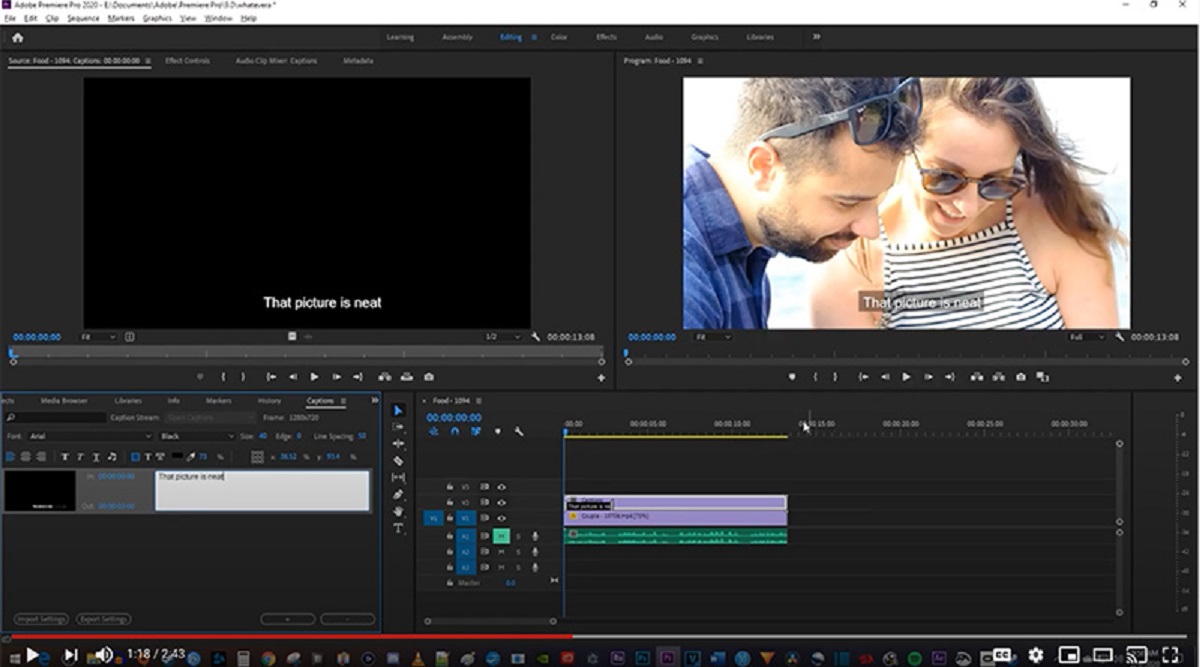
- Add Captions: Move the playhead in the timeline to the point where the caption should start. From the “Captions” panel, click the “Add Caption” button, or use the shortcut Ctrl+Shift+E (Cmd+Shift+E on macOS) to insert a new caption.
- Enter Subtitle Text: In the caption editor, enter the text for the subtitle. Repeat this process for each subtitle in your video, adjusting the timing as needed.
- Format Captions: Customize the appearance of each subtitle by adjusting the text size, position, and alignment within the caption editor. You can also add additional effects and animations to make your subtitles more visually appealing.
- Preview and Adjust: Use the playback controls to preview your video with the subtitles. Make any necessary adjustments to the timing, position, or formatting of the subtitles to ensure they sync correctly with the audio.
- Export Captions: Once you are satisfied with your subtitles, go to the “Captions” tab in the “Export Settings” window and choose the desired format for your subtitles, such as a text document, SRT, or YouTube VTT file.
- Specify Export Settings: In the “Export Settings” window, you can further customize the formatting and encoding options for your subtitles. Ensure that you choose the appropriate settings for your intended use.
- Export and Save: Finally, click the “Export” button to export your video with embedded subtitles. Save the file to your desired location on your computer.
By following these steps, you can create and customize subtitles in Adobe Premiere Pro, adding a new layer of accessibility and engagement to your videos.
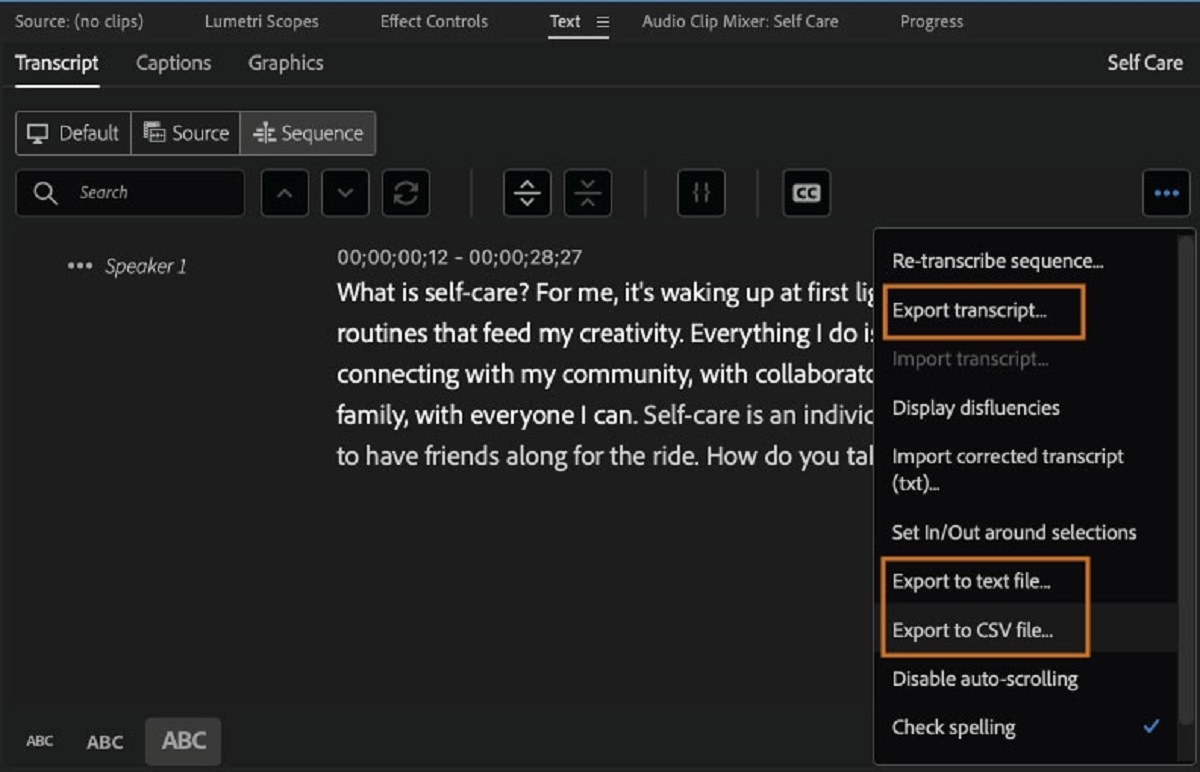
How to Export Subtitles from Premiere Pro as a Text Document
Exporting subtitles from Adobe Premiere Pro as a text document can be useful when you need to share the subtitle content in a plain text format for further editing or translation purposes. Here’s how you can export subtitles as a text document:
- Select the Caption Track: Open your Premiere Pro project and navigate to the “Captions” panel. Select the caption track that contains the subtitles you want to export.
- Export as a Text Document: Right-click on the caption track and choose “Export As” from the context menu. Then, select “Text” as the export format.
- Specify Export Settings: In the “Export Settings” window, you can customize the export settings for the text document. Choose a name and location for the file, and select the desired character encoding format, such as UTF-8 or ASCII. Additionally, you can specify if you want to export the timecode along with the subtitle text.
- Export and Save: Once you have chosen the export settings, click the “Export” button to save the subtitles as a text document. Premiere Pro will generate a file with the specified name and location, containing the subtitle text.
- Review and Edit the Text Document: Open the exported text document using a text editor of your choice. Review the subtitle text and make any necessary edits or translations. You can also use this document as a reference for other translation services or subtitle software.
Exporting subtitles from Premiere Pro as a text document provides you with a convenient way to access and edit the subtitle content outside of the software. This allows for further customization, translation, or integration into different platforms or video players.
Keep in mind that the exported text document contains only the subtitle text without any formatting or timing information. If you need to export subtitles in a specific subtitle file format, such as SRT or YouTube VTT, you can follow the respective export instructions in Premiere Pro.
How to Export Subtitles from Premiere Pro as an SRT File
An SRT (SubRip Subtitle) file is a popular subtitle format that can be easily imported and used in various video players and platforms. To export subtitles from Adobe Premiere Pro as an SRT file, follow these steps:
- Select the Caption Track: Open your Premiere Pro project and navigate to the “Captions” panel. Choose the caption track containing the subtitles you wish to export as an SRT file.
- Export as an SRT File: Right-click on the caption track and select “Export As” from the context menu. Then, choose “SubRip Subtitle” (SRT) as the export format.
- Specify Export Settings: In the “Export Settings” window, customize the settings for the SRT file. Enter a name and location for the file, and select the desired character encoding format, such as UTF-8 or ASCII. Additionally, you can specify if you want to include the timecode in the SRT file.
- Export and Save: After configuring the export settings, click the “Export” button to save the subtitles as an SRT file. Premiere Pro will generate the SRT file with the specified name and location.
- Verify the SRT File: Open the exported SRT file using a text editor to verify its contents. The file should follow the standard SRT format, with each subtitle displayed on a separate line and separated by empty lines. The subtitle text should be accompanied by start and end timecodes indicating when each subtitle should be displayed.
Exporting subtitles from Premiere Pro as an SRT file allows for easy integration with video players and platforms that support this subtitle format. The SRT file can be uploaded alongside your video, ensuring accurate and synchronized subtitles for your viewers.
It’s important to note that the exported SRT file retains the formatting and timing information of the subtitles, making it a versatile and widely compatible format for distributing subtitles across different platforms and devices.
How to Export Subtitles from Premiere Pro as a YouTube VTT File
A YouTube VTT (WebVTT) file is a specific subtitle format used by the YouTube platform. To export subtitles from Adobe Premiere Pro as a YouTube VTT file, follow these steps:
- Select the Caption Track: Open your Premiere Pro project and navigate to the “Captions” panel. Choose the caption track that contains the subtitles you want to export as a YouTube VTT file.
- Export as a YouTube VTT File: Right-click on the caption track and select “Export As” from the context menu. Then, choose “WebVTT” (YouTube VTT) as the export format.
- Specify Export Settings: In the “Export Settings” window, customize the settings for the YouTube VTT file. Enter a name and location for the file, and select the desired character encoding format, such as UTF-8 or ASCII. You can also specify if you want to include the timecode in the VTT file.
- Export and Save: Once you’ve configured the export settings, click the “Export” button to save the subtitles as a YouTube VTT file. Premiere Pro will generate the VTT file with the specified name and location.
- Verify the YouTube VTT File: Open the exported VTT file using a text editor to verify its contents. The file should follow the WebVTT format, with each subtitle displayed on a separate line and separated by empty lines. The subtitle text should be accompanied by start and end timecodes indicating when each subtitle should be displayed.
Exporting subtitles from Premiere Pro as a YouTube VTT file ensures compatibility with the YouTube platform, allowing you to easily upload and enable subtitles for your YouTube videos. This format supports various styling options, such as font color and background color, to enhance the visibility and readability of your subtitles on the platform.
By exporting your subtitles as a YouTube VTT file, you can ensure that your videos have accurate and synchronized subtitles that can be easily turned on and off by viewers, providing an enhanced viewing experience for a broader audience.
Tips for Exporting Subtitles from Premiere Pro
When it comes to exporting subtitles from Adobe Premiere Pro, there are several tips and best practices that can help you ensure the accuracy, quality, and compatibility of your exported subtitle files. Consider the following tips when exporting subtitles:
- Proofread and Review: Before exporting, carefully proofread and review your subtitles for any grammatical errors, spelling mistakes, or timing issues. It’s crucial to ensure the accuracy of your subtitles to provide a seamless viewing experience for your audience.
- Use Proper Character Encoding: When exporting subtitles, make sure to choose the correct character encoding format. UTF-8 is the most common encoding format, supporting a wide range of special characters, symbols, and languages. This ensures that your subtitles display correctly, even when using non-English or special characters.
- Choose the Correct Subtitle Format: Different platforms and video players require different subtitle formats. Ensure that you export your subtitles in the appropriate format for your intended use. Whether it’s SRT, YouTube VTT, or any other format, be mindful of the specific requirements of the platform or software you will be using.
- Check Subtitle Styling: Pay attention to the styling of your subtitles during the export process. Make sure the font size, color, position, and other formatting attributes are easily readable and visually appealing. Consider the target audience and the viewing context to optimize the subtitle presentation.
- Test Subtitles on Different Platforms: After exporting, test your subtitle files on different platforms, devices, and video players to ensure compatibility and synchronization. By doing so, you can address any issues and make necessary adjustments to optimize the viewing experience across various platforms.
- Include Timecodes: Including timecodes in your exported subtitle files is essential. Timecodes indicate when each subtitle should appear and disappear on the screen, ensuring synchronization between the subtitles and the video content.
- Consider Localization: If you plan to localize your videos for different languages and regions, exporting subtitles separately for each language is recommended. This allows for easier translation and adaptation of the subtitle content, ensuring accurate localization.
- Keep Backup Copies: It’s always a good practice to keep backup copies of your exported subtitle files. Store them in a safe location to avoid the risk of losing them in case of any unforeseen circumstances, such as accidental deletion or computer crashes.
By following these tips, you can ensure the quality, accuracy, and compatibility of your exported subtitle files from Adobe Premiere Pro. This will help you provide a seamless and engaging viewing experience for your audience, regardless of the platform or device they use.