Introduction
Welcome to our guide on how to record on a MacBook Pro! Whether you’re a content creator, educator, or simply want to capture a moment on your screen, knowing how to record on your laptop can be a valuable skill. In this article, we’ll walk you through the step-by-step process of recording both your screen and system audio on your MacBook Pro.
Recording on a MacBook Pro is especially useful for creating tutorials, gameplay videos, presentations, or documenting software issues for customer support. With the right equipment and setup, you can create high-quality recordings that you can edit, share, and use for various purposes. So, let’s dive into the world of screen recording on your MacBook Pro!
To get started, you’ll need a few essential tools and software. Don’t worry; we’ll cover everything you need to know, from the necessary equipment to the steps you need to follow. So, let’s gather the items and get ready to record!
Equipment Needed
Before you begin recording on your MacBook Pro, make sure you have the necessary equipment and software. Here’s a list of the essential items you’ll need:
- MacBook Pro: Of course, you’ll need a MacBook Pro or any other Mac computer to get started with recording. Make sure you have enough storage space and a reliable internet connection.
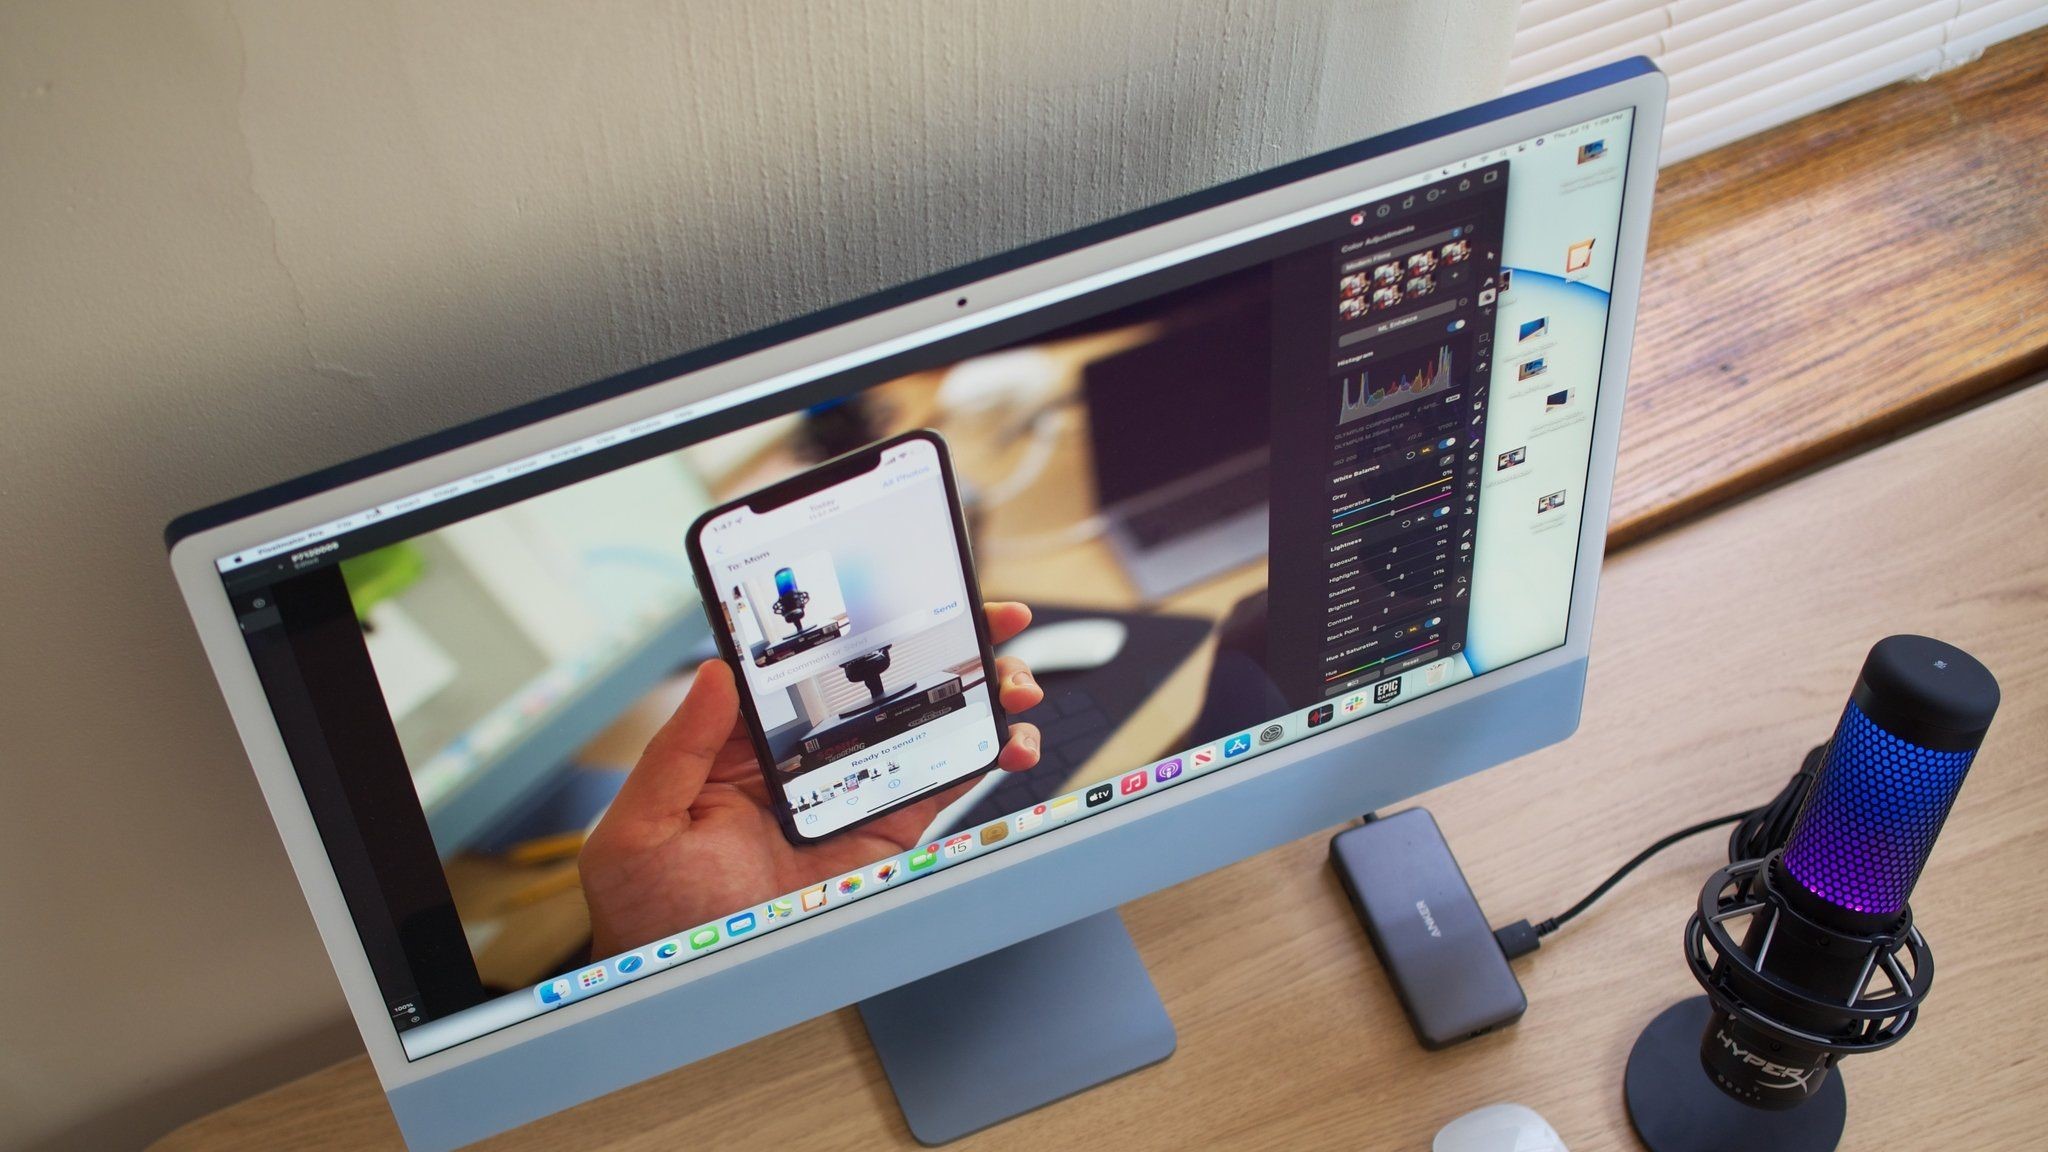
- Microphone: To ensure high-quality audio, consider investing in a good external microphone. USB microphones like the Blue Yeti or Audio-Technica ATR2100x are popular choices among content creators.
- Headphones: While not mandatory, headphones can help you monitor the audio quality during recording and minimize background noise.
- Screen Recording Software: macOS comes with a built-in screen recording tool called QuickTime Player. However, it has limited features. Consider using third-party software like ScreenFlow or OBS Studio, which offer more advanced options for screen recording.
- Video Editing Software: If you plan to edit your recordings and enhance the overall quality, you’ll need video editing software. Popular choices include iMovie, Adobe Premiere Pro, or Final Cut Pro.
- Optional Accessories: Depending on your recording needs, you may also consider additional accessories such as a pop filter for your microphone, a webcam for face cam recordings, or a green screen for background effects.
Having these equipment and software at hand will ensure a smooth recording process and enable you to create professional-looking videos. Now that you have everything ready, let’s move on to setting up your audio for recording on your MacBook Pro.
Setting Up Your Audio
Having clear and high-quality audio is essential for any recording. Follow these steps to set up your audio for recording on your MacBook Pro:
- Connect your microphone: If you’re using an external microphone, plug it into the appropriate USB port on your MacBook Pro. Ensure that the microphone is securely connected.
- Configure audio settings: Go to the Apple menu and select “System Preferences.” Then, click on “Sound” and navigate to the “Input” tab. Choose your external microphone from the available options. Adjust the input volume and test the microphone by speaking into it and checking the input level.
- Check audio monitoring: If you’re using headphones, make sure they’re connected to your MacBook Pro. Open the “Sound” preferences again, this time go to the “Output” tab, and select your headphones as the audio output device. This will allow you to monitor your audio while recording and ensure that everything sounds as intended.
- Test your audio setup: Before you start recording, it’s crucial to test your audio setup. Open your chosen recording software and perform a quick test recording. Speak into the microphone and play it back to ensure that the audio quality is clear and there are no issues or distortions.
By following these steps, you can ensure that your audio is set up correctly and ready for recording on your MacBook Pro. Having clear and high-quality audio will enhance the overall quality of your recordings, making them more engaging and professional. Now that your audio is set, let’s move on to setting up your screen recording.
Setting Up Your Screen Recording
Before you start recording your screen on your MacBook Pro, you need to set up the screen recording options. Follow these steps to get everything configured:
- Open QuickTime Player: Launch the QuickTime Player application on your MacBook Pro. You can find it in the “Applications” folder or search for it using Spotlight.
- Access the screen recording feature: Go to the menu bar at the top of your screen and click on “File.” From the dropdown menu, select “New Screen Recording.”
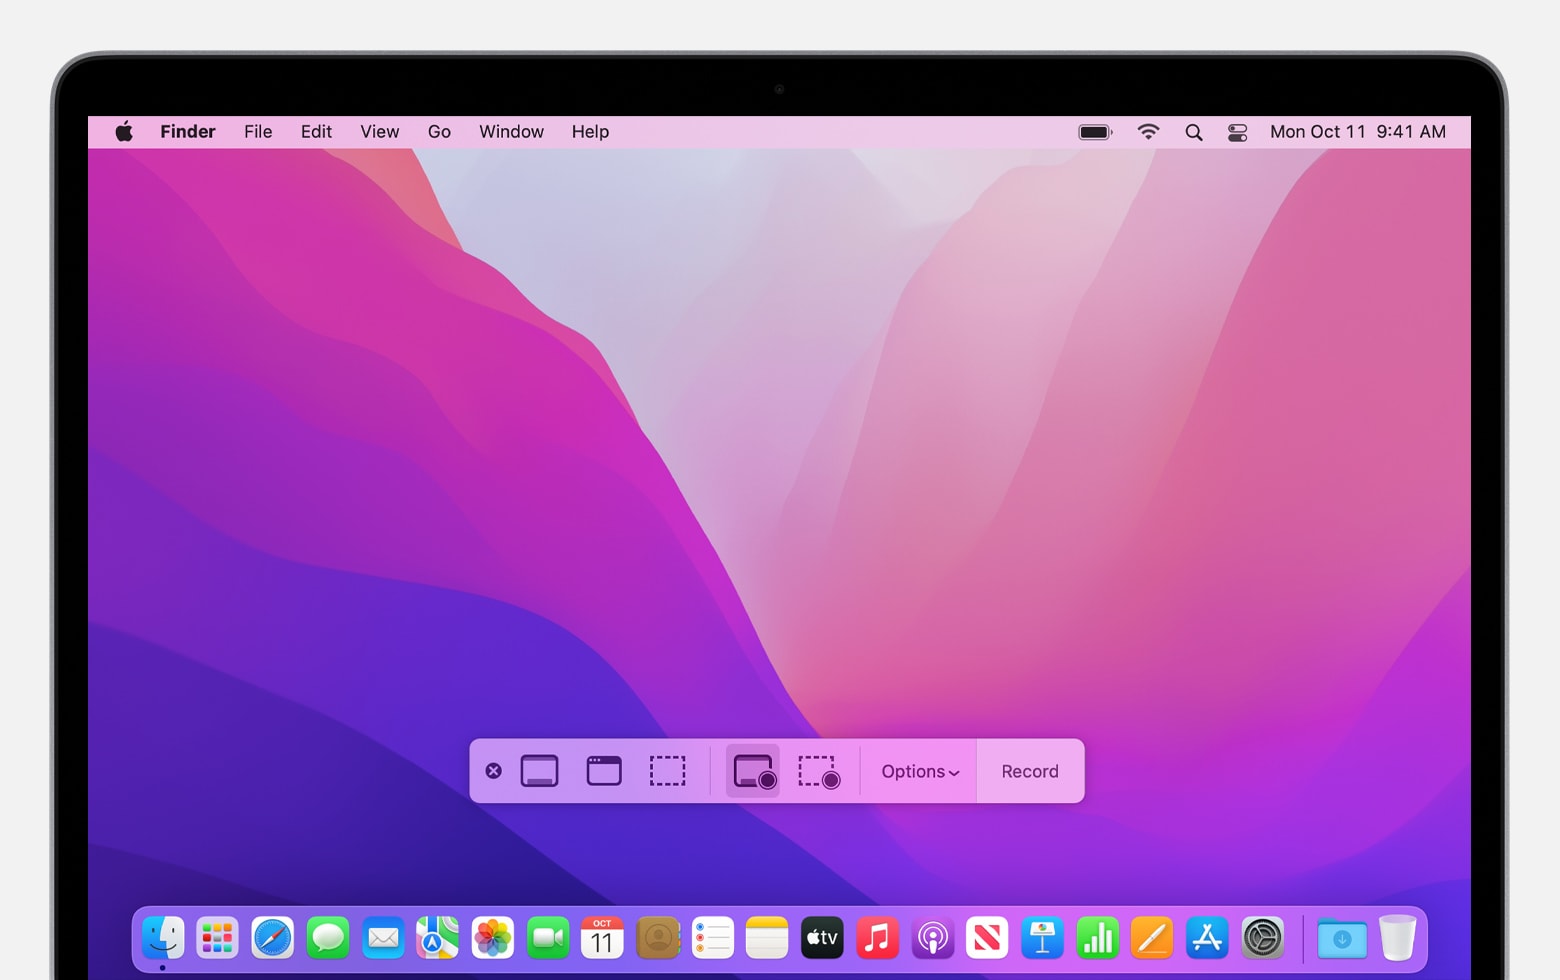
- Adjust recording settings: A small recording window will appear on your screen. Before you start recording, click on the arrow next to the red record button. Here, you can select your desired options such as screen recording quality, microphone input, and whether to show mouse clicks during the recording.
- Select the recording area: If you want to record your entire screen, simply click anywhere on the screen. Alternatively, you can click and drag to select a specific portion of the screen that you wish to record.
- Start your screen recording: Once you have set up your recording options and selected the desired area, click on the red record button to start the screen recording. You can then proceed with demonstrating, presenting, or performing any actions you wish to record.
- Stop and save the recording: To stop the screen recording, click on the stop button in the menu bar at the top of the screen. QuickTime Player will then prompt you to save your recording. Choose a suitable location on your MacBook Pro and give the recording a descriptive name.
Keep in mind that QuickTime Player provides basic screen recording features. If you require more advanced options such as capturing multiple screens, adding annotations, or recording specific applications, you may want to consider third-party screen recording software like ScreenFlow or OBS Studio. These tools offer additional customization and editing capabilities.
Now that you have set up your screen recording, let’s move on to recording system audio to include in your recordings.
How to Record Your Screen
Recording your screen on a MacBook Pro is a straightforward process. Once you have set up the screen recording options, follow these steps to start recording your screen:
- Access the screen recording feature: Open the QuickTime Player application on your MacBook Pro.
- Start a new screen recording: Go to the menu bar at the top of your screen and click on “File.” From the dropdown menu, choose “New Screen Recording.”
- Configure recording options: Adjust the recording settings as needed, including the quality, microphone input, and mouse click visibility.
- Select the recording area: Click anywhere on the screen to record the entire screen. Alternatively, click and drag to choose a specific portion of the screen to record.
- Begin the screen recording: Click on the red record button in the screen recording window to start capturing the screen. Perform the actions you want to record, whether it’s demonstrating software usage, presenting slides, or playing a game.
- Pause or stop the recording: If you need to pause the recording temporarily, click on the stop button in the menu bar and resume when ready. To stop the recording completely, click on the stop button again. QuickTime Player will prompt you to save the recording.
- Save the recording: Choose a suitable location on your MacBook Pro to save the screen recording and provide it with a descriptive name.
Once you have successfully saved your screen recording, you can use video editing software like iMovie or Adobe Premiere Pro to trim, enhance, or add additional elements to your recording.
Now that you know how to record your screen, let’s move on to capturing system audio to include in your recordings.
How to Record System Audio
In addition to recording your screen, capturing system audio is important to provide a comprehensive recording experience. Follow these steps to record system audio on your MacBook Pro:
- Access the sound settings: Click on the Apple menu in the top-left corner of your screen and select “System Preferences.”
- Open the sound preferences: In the System Preferences window, click on “Sound” to open the sound settings.
- Select the output device: Navigate to the “Output” tab and choose the device through which you want to play the system audio. This can be your MacBook Pro’s built-in speakers or headphones connected to the audio jack.
- Return to QuickTime Player: Once you have set the output device, go back to the QuickTime Player application.
- Start a new screen recording: Go to the menu bar and click on “File,” then select “New Screen Recording.”
- Configure recording options: Adjust the recording settings as needed, such as quality, microphone input, and mouse click visibility.
- Select the recording area: Choose whether you want to record the entire screen or a specific portion by clicking anywhere or clicking and dragging, respectively.
- Enable system audio recording: In the screen recording controller, click on the arrow next to the record button. Under the microphone options, make sure to select “Internal Microphone” or the name of your output device to capture system audio.
- Begin the screen recording: Click on the red record button to start recording your screen and system audio simultaneously.
- Pause or stop the recording: If needed, use the stop button in the menu bar to pause or stop the recording. When you stop the recording, QuickTime Player will prompt you to save it.
- Save the recording: Choose a location on your MacBook Pro to save the screen recording, and give it a descriptive name.
By following these steps, you can record both your screen and system audio, allowing you to capture complete video presentations, tutorials, or any other content that requires synchronized audio and visuals.
Now that you know how to record system audio, let’s move on to some tips for achieving a high-quality recording.
Tips for a High-Quality Recording
To ensure a high-quality recording on your MacBook Pro, consider the following tips:
- Use a stable and clutter-free workspace: Find a quiet area with minimal background noise and distractions. Remove any unnecessary items from your desk to maintain a clean and professional-looking recording environment.
- Optimize your screen resolution: Set your screen resolution to the highest possible quality for crisper visuals in your recordings. You can adjust the resolution in the Display settings on your MacBook Pro.
- Position your microphone properly: Position your microphone close enough to capture clear audio but ensure it’s not obstructing your view or causing any distractions. Experiment with microphone placement to find the optimal position.
- Check your audio levels: Before starting the recording, ensure that your microphone levels are properly adjusted. You can monitor the audio levels in the sound preferences or within your recording software.
- Record in a well-lit area: If you’re including a face cam or presenting yourself on camera, make sure you have proper lighting to enhance the visibility and clarity of your video.
- Practice and rehearse: Before hitting the record button, practice what you intend to say or do in your recording. This will help you deliver a more polished and fluid presentation.
- Take breaks if needed: If you’re recording for an extended period, it’s essential to take breaks to rest your voice and maintain your energy levels. This will help you avoid fatigue and ensure consistent performance throughout the recording.
- Edit out any mistakes or pauses: Don’t worry about making mistakes or taking pauses during the recording. You can always edit out those parts later using video editing software to create a seamless final product.
- Consider using a script or outline: Depending on the nature of your recording, having a script or outline can help you stay on track and ensure a coherent delivery of your content.
- Engage with your audience: Whether you’re recording a tutorial or a presentation, remember to speak clearly, maintain a conversational tone, and engage with your audience. This will make your recording more engaging and enjoyable for viewers.
By implementing these tips, you can significantly improve the overall quality of your recordings, making them more professional and engaging for your audience.
Now that you’re equipped with these tips, let’s move on to editing your recording.
Editing Your Recording
After you’ve recorded your screen on your MacBook Pro, it’s time to edit your recording to polish it and enhance its overall quality. Here are some steps to help you get started with editing:
- Choose a video editing software: There are various video editing software options available for macOS, such as iMovie, Adobe Premiere Pro, or Final Cut Pro. Select one that suits your editing needs and preferences.
- Import your recording: Launch your chosen video editing software and import the screen recording file you saved earlier from QuickTime Player.
- Trim unwanted sections: Watch the recording and remove any unnecessary sections, mistakes, or pauses. Trim the beginning and end of the recording to ensure a clean start and finish.
- Add transitions and effects: Incorporate transitions, such as fades or cuts, between different portions of the recording for smooth transitions. Additionally, experiment with visual effects, text overlays, or music to enhance the overall look and feel of your recording.
- Enhance the audio: Adjust the audio levels to ensure a balanced sound throughout the recording. Remove background noise, if any, and consider adding background music or sound effects to enhance the listening experience.
- Include captions or subtitles: If needed, add captions or subtitles to make your recording more accessible and understandable for a wider audience.
- Overlay visuals or images: If you need to highlight specific areas or provide additional information, overlay visuals or images on your recording to guide your viewers.
- Review and fine-tune: Watch the edited recording and make necessary adjustments to transitions, effects, audio, and any other elements. Ensure that the final product meets your expectations.
Editing is an opportunity to refine and enhance your recording, so don’t be afraid to experiment and get creative. Take your time to achieve the desired result and strive for a professional-looking final product.
Once you’re satisfied with the editing, it’s time to export and share your recording. Let’s explore the next steps.
Exporting and Sharing Your Recording
Once you have edited your recording, it’s time to export and share it with your intended audience. Here are the steps to follow:
- Select the desired format: Choose the appropriate video format for your recording. Common formats include MP4 or MOV. Consider the compatibility of the format with the platforms on which you plan to share your recording.
- Set the resolution and quality: Determine the resolution and quality settings based on the intended use of your recording. Higher resolutions and quality may result in larger file sizes.
- Choose the destination: Specify the folder or location where you want to save the exported recording on your MacBook Pro.
- Export the recording: Initiate the export process by clicking on the appropriate export or render button in your video editing software. Depending on the length of your recording and your computer’s capabilities, it may take some time to complete the export.
- Preview the exported recording: After the export process is complete, take a moment to preview the exported recording to ensure that it meets your expectations in terms of quality and content.
- Choose sharing platforms: Decide on the platforms or channels where you want to share your recording. Popular options include video hosting sites like YouTube or Vimeo, social media platforms, or your own website or blog.
- Upload and share: Upload your recording to the chosen platform and follow their specific instructions to publish and share your video. Consider adding a descriptive title, tags, and a compelling description to attract viewers.
- Share the video link: Once your recording is published, share the video link with your intended audience via email, social media posts, or any other means appropriate for your audience reach.
Remember to optimize your video for each platform to ensure the best viewing experience. Consider creating thumbnails or promotional graphics to attract attention and entice viewers to click and watch your recording.
Congratulations! You have successfully exported and shared your recording. Now you can reach a wider audience and benefit from the valuable content you’ve created.
Let’s move on to the next section, where we’ll cover some troubleshooting tips and frequently asked questions.
Troubleshooting and FAQs
While recording on a MacBook Pro can be a straightforward process, you may encounter some common issues along the way. Here are a few troubleshooting tips and frequently asked questions to help you overcome any challenges:
Q: Why is my screen recording lagging or choppy?
A: Lag or choppiness in screen recordings can be caused by a few factors. Make sure you have sufficient available storage space on your MacBook Pro and close any unnecessary applications running in the background. Additionally, reducing the screen recording quality or adjusting your computer’s performance settings may help improve the recording’s smoothness.
Q: Why is my audio distorted or unclear?
A: Distorted or unclear audio can be a result of incorrect microphone settings or a low-quality microphone. Double-check that your microphone is properly connected and selected as the audio input device in the sound preferences. If the issue persists, consider investing in a higher-quality external microphone for better audio capture.
Q: I accidentally deleted my screen recording file. Can I recover it?
A: If you have deleted your screen recording file, it may be possible to recover it from the Trash folder on your MacBook Pro. Open the Trash folder and check if the deleted file is still present. If it is, simply restore it to its original location. However, if you have emptied your Trash, the file may be permanently deleted and unrecoverable.
Q: Can I record multiple screens simultaneously?
A: The built-in screen recording feature in QuickTime Player only allows you to record one screen at a time. However, some third-party screen recording software like OBS Studio or ScreenFlow offer the ability to capture multiple screens simultaneously. Consider using one of these software options if recording multiple screens is necessary for your project.
Q: How can I reduce the file size of my recording?
A: If your recorded file size is too large, you can try a few methods to reduce it. One option is to lower the screen recording quality settings before recording. Another option is to compress the recording using video compression software or online tools. Keep in mind that reducing the file size may result in a slight loss of video quality, so find a balance that works for your needs.
Q: Can I edit my recording in iMovie?
A: Yes, iMovie is a popular and user-friendly video editing software available for macOS. You can import your recording into iMovie and take advantage of its editing features to enhance, trim, add effects, and export your final video. iMovie is especially well-suited for beginners or those looking for a simple editing solution.
These common troubleshooting tips and frequently asked questions should help you address any issues you may encounter when recording on your MacBook Pro. Remember that practice and experimentation are key to mastering the process, and don’t hesitate to seek additional support or guidance if needed.
Now that we’ve covered troubleshooting and FAQs, let’s wrap up this guide.
Conclusion
Congratulations on learning how to record on your MacBook Pro! By following the steps and tips outlined in this guide, you now have the knowledge and tools to create high-quality screen recordings with clear audio and polished visuals. Whether you’re a content creator, educator, or simply want to capture moments on your screen, you can now confidently record and share your content with others.
Remember to gather the necessary equipment, such as a reliable microphone and headphones, to ensure optimal audio quality. Take the time to set up your audio and screen recording options properly to capture the best possible recordings. Make use of video editing software to enhance your recordings, add effects, and create a professional final product.
Throughout the process, troubleshooting tips and frequently asked questions can help you overcome any challenges you may encounter. Don’t hesitate to seek additional support or resources if needed.
Now that you’re equipped with the knowledge and skills to record on your MacBook Pro, it’s time to unleash your creativity and share your recordings with the world. Whether you’re creating tutorials, gameplay videos, presentations, or documenting software issues, your recordings have the potential to educate, entertain, and inspire others.
So, grab your MacBook Pro, set up your audio and recording options, and start capturing your screen with confidence. Let your creativity shine and enjoy the process of creating valuable and engaging content. Happy recording!