Introduction
Welcome to the world of MacBook Pro, where power and functionality meet sleek design and seamless performance. Whether you’re a student, a professional, or a creative enthusiast, your MacBook Pro offers a wide range of features to enhance your productivity and creativity. One important feature that you may need to know about is the microphone on your MacBook Pro. Understanding its location and functionality can be crucial for tasks such as video conferencing, voice recording, and creating content.
The microphone on your MacBook Pro allows you to record audio, communicate with others through video calls, and engage in voiceovers for videos or podcasts. Knowing where the microphone is located and how to use it effectively can greatly improve your overall experience with your MacBook Pro.
In this article, we will explore different aspects of the microphone on a MacBook Pro. We will begin by discussing why it is important to know the microphone’s location, followed by detailed instructions on finding the microphone on your device. We will also explore options for using external microphones if needed, and provide guidance on adjusting microphone settings and troubleshooting common issues.
By the end of this article, you will be equipped with the knowledge and tools to make the most of the microphone on your MacBook Pro, enabling you to effortlessly communicate, create, and collaborate with others.
Why Do You Need to Know Where the Mic is on a MacBook Pro?
Understanding the location of the microphone on your MacBook Pro is essential for multiple reasons. Here’s why knowing where the mic is can benefit you:
1. Video Conferencing: In today’s digital world, video conferencing has become a popular way to communicate with colleagues, clients, friends, and family. Whether you’re attending virtual meetings, participating in online classes, or connecting with loved ones, having a clear understanding of where the microphone is on your MacBook Pro ensures that your voice is heard loud and clear during these interactions.
2. Voice Recording: If you’re someone who needs to record audio, whether it’s for podcasts, voiceovers, or personal notes, knowing the location of the microphone is crucial. By positioning yourself correctly in relation to the mic, you can capture high-quality audio without any distortion or background noise.
3. Content Creation: If you’re a content creator, having reliable audio quality is paramount to producing high-quality videos. By locating the microphone on your MacBook Pro, you can ensure that your voiceovers, commentary, or narration are crisp and professional, enhancing the overall viewing experience for your audience.
4. Troubleshooting Issues: Sometimes, you may face issues with the microphone on your MacBook Pro. It could be a software glitch, a connection problem, or even a hardware malfunction. By knowing the location of the mic, you can easily troubleshoot any issues that may arise and take the necessary steps to resolve them.
Knowing the exact location of the microphone on your MacBook Pro will empower you to make the most of its capabilities. This knowledge will enhance your overall experience with the device and enable you to effectively communicate, record audio, create content, and troubleshoot any microphone-related issues that may arise.
Locating the Microphone on a MacBook Pro
Locating the microphone on your MacBook Pro is relatively straightforward. Your device is equipped with multiple microphones to ensure optimal audio capture in various scenarios. Let’s explore the different microphone locations on a MacBook Pro:
1. Front-Facing Microphone:
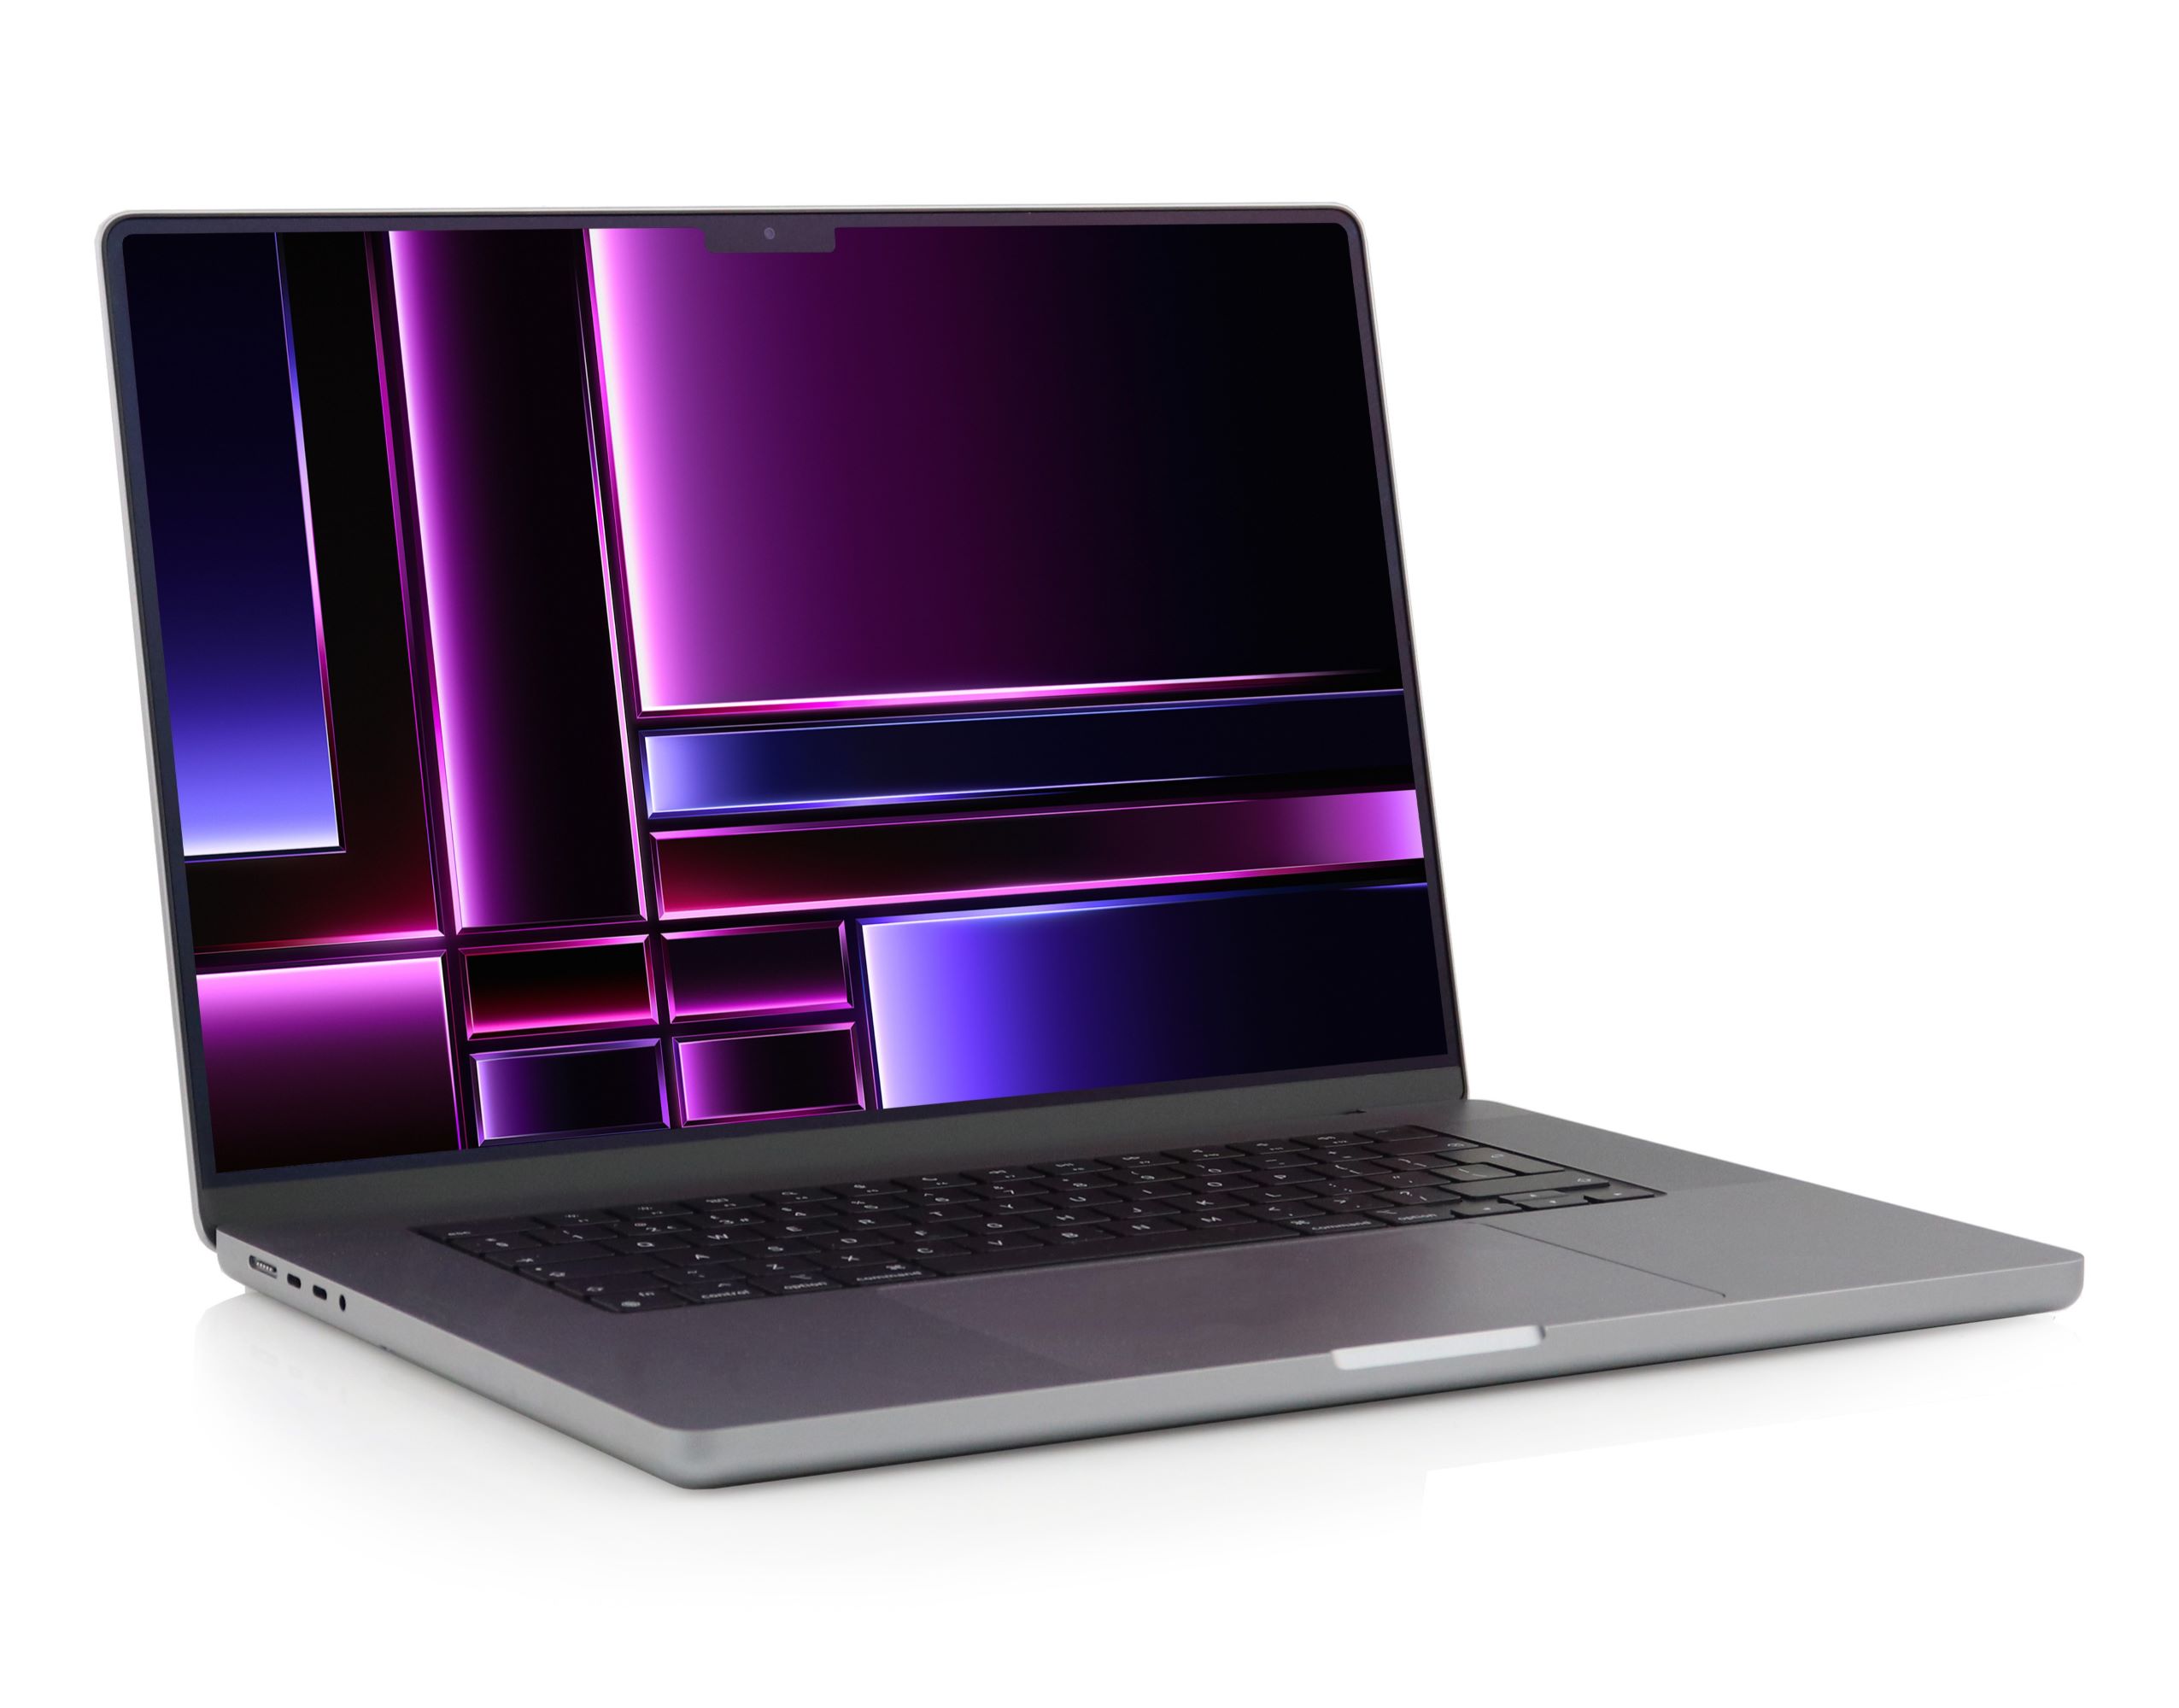
The first microphone to be aware of is the front-facing microphone, which is located above the display near the camera. This microphone is primarily designed for video conferencing and FaceTime calls. When participating in virtual meetings or engaging in video calls, make sure to position yourself in a way that the front-facing microphone can capture your voice clearly. This will ensure that your colleagues, clients, or loved ones can hear you without any issues.
2. Internal Microphone:
The second microphone on your MacBook Pro is the internal microphone. This mic is positioned within the device’s housing and is responsible for capturing audio in various situations, including voice recordings and content creation. The exact location of the internal microphone may vary depending on the specific MacBook Pro model you own. However, in most cases, it is located near the keyboard, usually on the left-hand side of the device. Keep in mind that the placement of the internal microphone may differ slightly between different MacBook Pro models.
3. External Microphone Options:
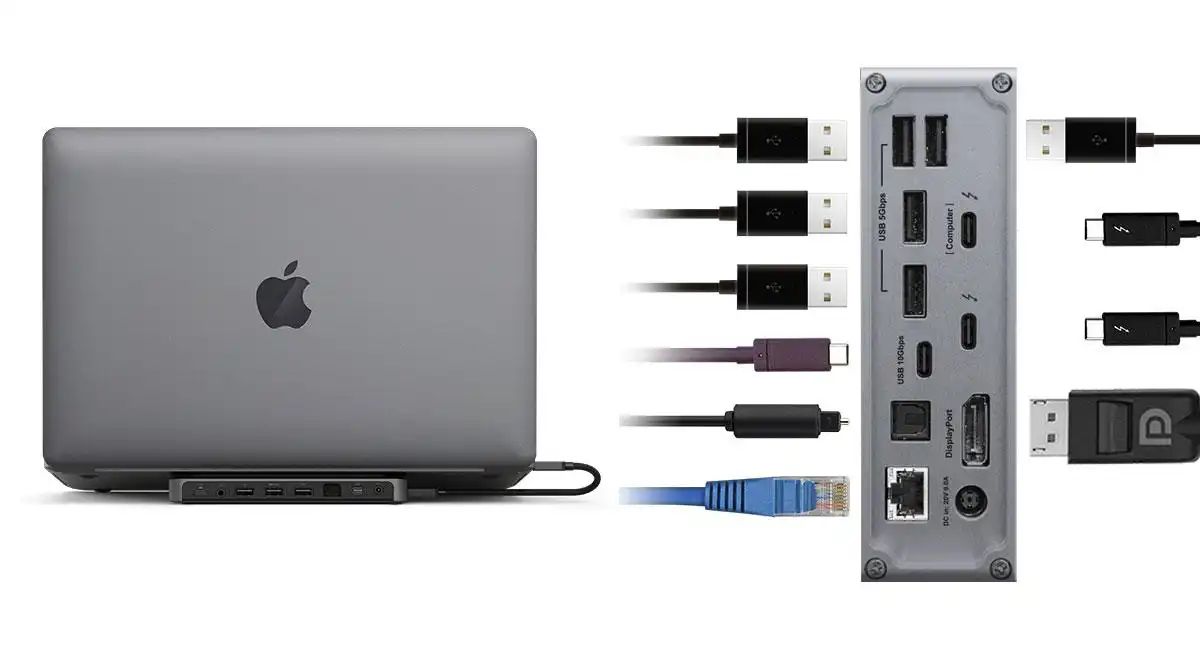
If you require more advanced audio recording capabilities or need to connect professional external microphones, your MacBook Pro provides options for external microphone connectivity. The device features a headphone jack that doubles as an audio input, allowing you to connect external microphones directly. Additionally, newer MacBook Pro models may also offer USB-C or Thunderbolt ports that can be used for audio input purposes. These external microphone options offer flexibility and allow you to capture high-quality audio for voiceovers, interviews, or other content creation needs.
By familiarizing yourself with the various microphone locations on your MacBook Pro, you can take full advantage of its audio capabilities. Understanding where the microphones are positioned and how they function will empower you to make the most of your device, whether you’re engaging in video conferencing, recording audio, or using external microphones for professional content creation.
Front-Facing Microphone
The front-facing microphone on your MacBook Pro is specifically designed for video conferencing and FaceTime calls. It is strategically located above the display, near the camera module. This microphone is optimized to capture your voice during video conferences, allowing you to communicate effectively with colleagues, clients, friends, and family.
When engaging in video calls, it’s important to position yourself in front of the MacBook Pro in a way that the front-facing microphone can capture your voice clearly. To ensure optimal audio quality, keep the following tips in mind:
- Face towards the screen: Position yourself in front of your MacBook Pro, facing the screen. This will ensure that your voice travels directly towards the microphone, minimizing any audio interference or distortion.
- Stay within range: Maintain an appropriate distance from the laptop to ensure your voice is picked up clearly. Getting too close may result in overpowering audio, while staying too far may cause your voice to be faint or muffled.
- Minimize background noise: Find a quiet environment or use a headset to reduce any unwanted background noise. This will help the microphone capture your voice more accurately without distractions.
- Speak clearly and naturally: Enunciate your words clearly and speak at a natural pace. Avoid shouting or whispering, as the microphone is designed to capture normal conversation levels.
By following these guidelines, you can ensure that the front-facing microphone on your MacBook Pro captures your voice with clarity and accuracy during video calls. This enhances your communication experience, allowing you to effectively connect with others in virtual meetings, online classes, or personal video calls.
It’s worth noting that the front-facing microphone may not provide the same level of audio quality as the internal or external microphones on your MacBook Pro. If you require higher audio fidelity for tasks such as voice recording or content creation, we will explore alternative microphone options in the upcoming sections.
Internal Microphone
The internal microphone on your MacBook Pro serves as a versatile audio input option for various purposes, including voice recordings, content creation, and other audio-related tasks. While the exact location of the internal microphone may vary depending on your MacBook Pro model, it is typically positioned near the keyboard, often on the left-hand side of the device.
The internal microphone is designed to capture audio directly from your MacBook Pro. It provides a reliable and convenient option for recording voiceovers, conducting interviews, or creating podcasts. To ensure optimal audio quality when using the internal microphone, consider the following tips:
- Positioning: Situate yourself in front of your MacBook Pro, ensuring that your mouth is within a reasonable distance from the internal microphone. This allows for clear and accurate audio capture.
- Environment: Find a quiet environment when recording audio using the internal microphone. Minimizing background noise helps prevent unwanted distractions and ensures that your voice remains the primary focus.
- Adjusting input levels: macOS provides control over microphone input levels. To adjust these levels, navigate to “System Preferences” -> “Sound” -> “Input.” Here, you can fine-tune the input volume to suit your recording needs.
- Headphones or external speakers: Using headphones or external speakers can help you monitor and assess the audio quality in real-time while recording with the internal microphone.
By following these recommendations, you can maximize the performance of the internal microphone on your MacBook Pro. Whether you’re capturing voiceovers for videos, conducting interviews, or engaging in any form of audio recording, the internal microphone provides a convenient and reliable solution.
However, please keep in mind that while the internal microphone is sufficient for many tasks, it may not offer the same level of audio quality as dedicated external microphones. If you require professional-grade audio or specific recording capabilities, we will explore external microphone options in the next section.
External Microphone Options
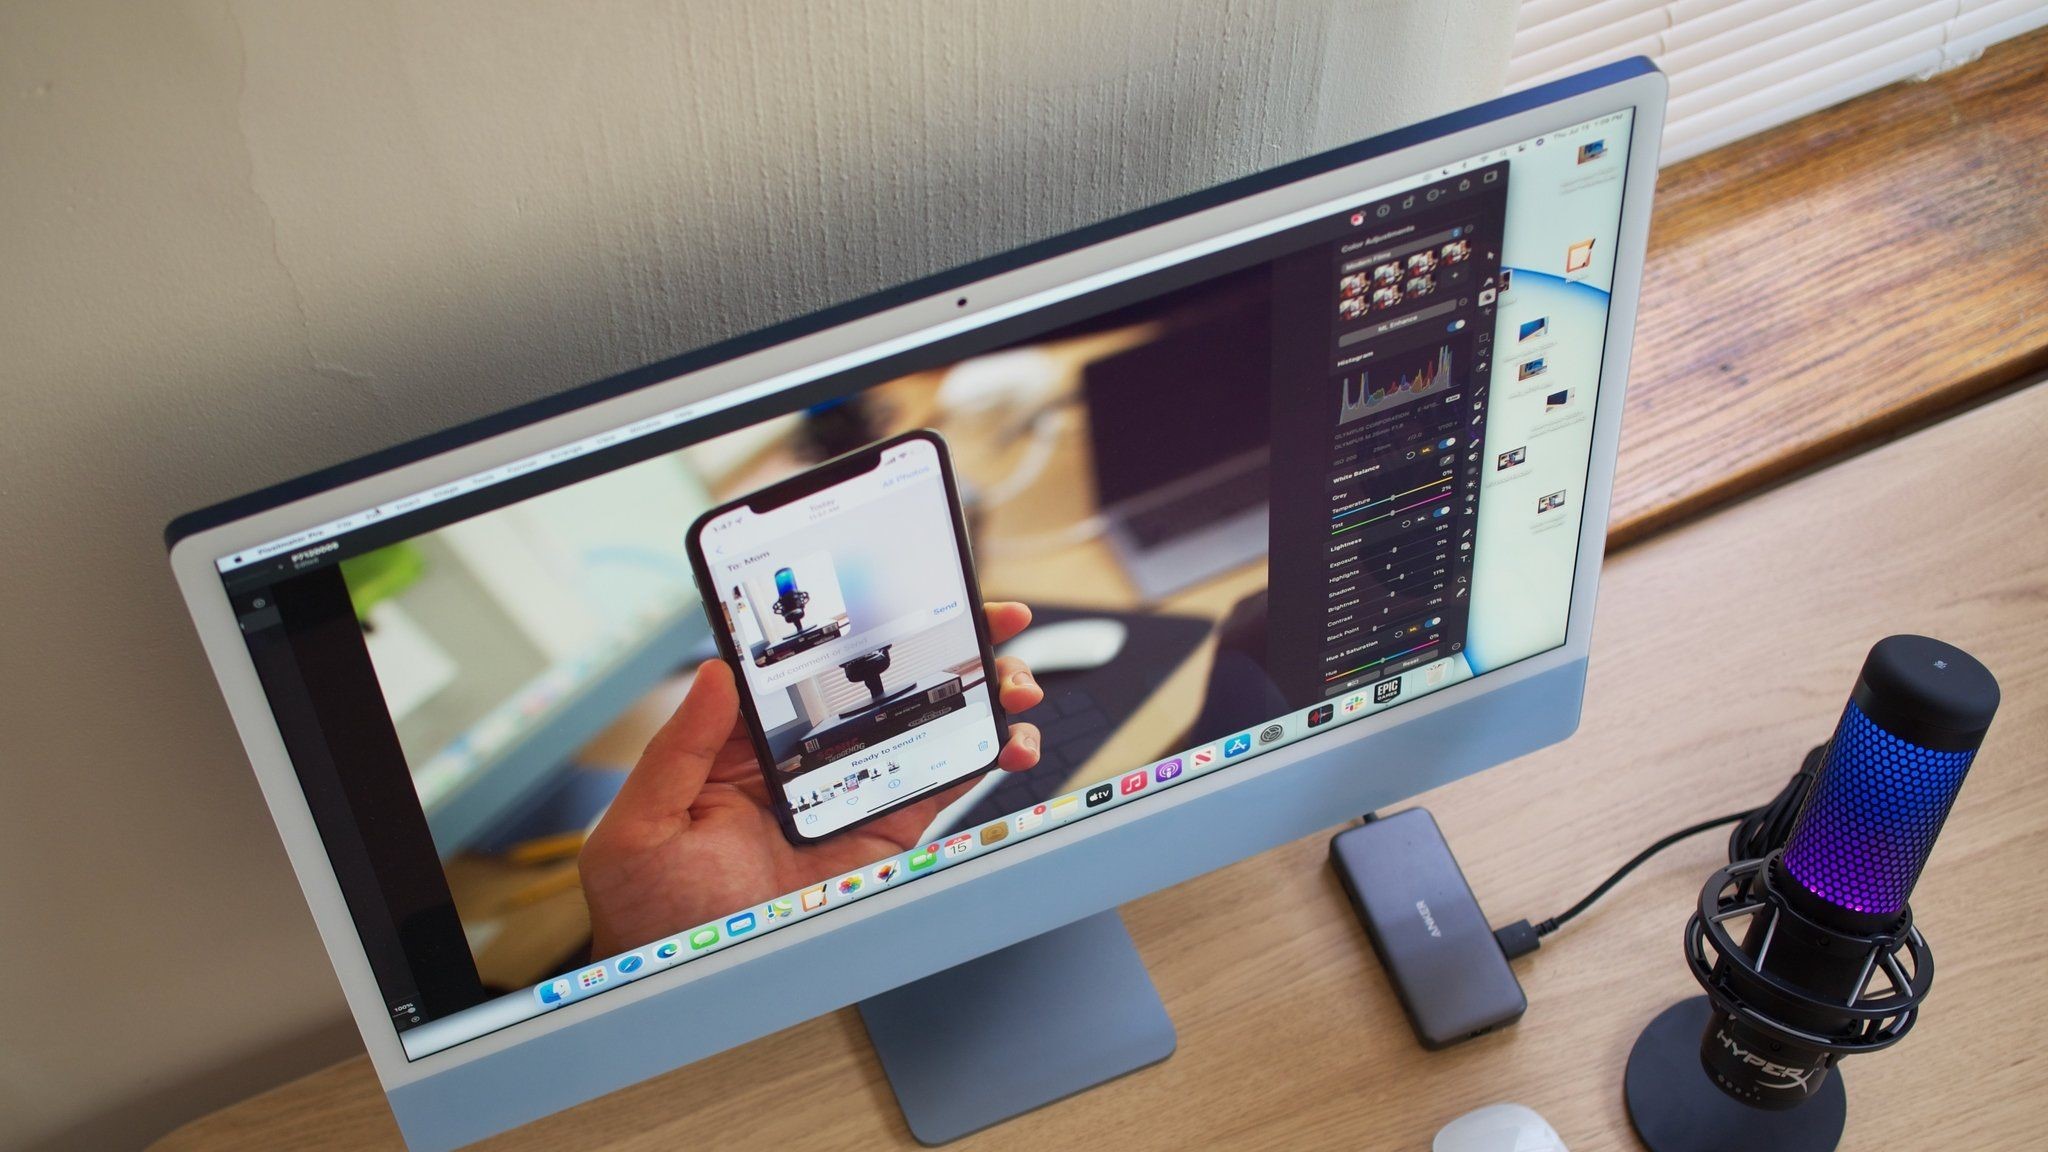
Your MacBook Pro offers the flexibility to connect external microphones, which can significantly enhance the audio quality and versatility of your recordings. Whether you’re a podcaster, content creator, or need higher-quality audio for professional purposes, using an external microphone can provide superior results.
There are several options to consider when connecting an external microphone to your MacBook Pro:
- Headphone Jack: Most MacBook Pro models come with a headphone jack that can also act as an audio input. You can connect compatible external microphones using a 3.5mm audio cable into the headphone jack. This option enables you to use a wide range of microphones, including lavalier microphones, handheld microphones, or even studio-quality condenser microphones.
- USB-C/Thunderbolt Ports: Newer MacBook Pro models may feature USB-C or Thunderbolt ports. These ports offer additional connectivity options for external microphones. You can connect USB microphones or audio interfaces using appropriate adapters or cables, expanding your choices for high-quality audio capture.
When selecting an external microphone for your MacBook Pro, consider your specific recording needs, budget, and intended use. Here are a few popular external microphone options to consider:
- USB Microphones: USB microphones provide a convenient plug-and-play solution for MacBooks. They are easy to set up, offer good audio quality, and come in various types, such as handheld, condenser, and dynamic microphones.
- Audio Interfaces: If you require professional-grade audio recording, an audio interface can be a valuable addition. It allows you to connect XLR microphones or other professional-grade microphones to your MacBook Pro, offering enhanced control and audio fidelity.
- Wireless Microphones: For increased mobility and flexibility, wireless microphones can be an excellent choice. They offer freedom of movement, making them ideal for on-the-go recording or scenarios where cables may be restrictive.
Before connecting an external microphone, ensure that the microphone is compatible with your MacBook Pro and that you have the necessary adapters or cables. Once connected, you may need to adjust the audio input settings in macOS to ensure optimal levels and performance.
By exploring the options for external microphones and choosing the one that suits your needs, you can elevate your audio recordings, podcasts, video production, and other creative projects to a professional level.
Adjusting Microphone Settings on a MacBook Pro
Your MacBook Pro allows you to adjust various microphone settings to ensure optimal audio capture and performance. Here’s how you can fine-tune the microphone settings on your device:
- Accessing Sound Settings: To adjust microphone settings, click on the Apple menu in the top-left corner of your screen, and select “System Preferences.” Then, click on the “Sound” icon in the preferences window.
- Choosing Input Source: In the “Sound” window, navigate to the “Input” tab. Here, you will find a list of available input sources, including the built-in internal microphone and any connected external microphones. Select the desired microphone from the list.
- Adjusting Input Volume: Use the input volume slider to adjust the input level of the selected microphone. Set it to an appropriate level that captures your voice clearly without distortion. The input level should ideally be in the green zone on the input volume meter.
- Using Feedback Reduction: The “Input” tab also provides options for reducing feedback and echo. Enabling the “Ambient Noise Reduction” checkbox can help minimize background noise and enhance the clarity of your voice recordings.
- Checking Input Levels: While adjusting the microphone settings, keep an eye on the input level meters. Speak into the microphone and make sure that the input levels respond to your voice appropriately, with minimal spikes or clipping.
Experiment with different microphone settings and input levels to find the optimal configuration for your specific needs. It’s advisable to perform test recordings or engage in voice calls to evaluate the audio quality and make any necessary adjustments.
Additionally, if you’re using an external microphone that requires specific settings or has its own control software, refer to the manufacturer’s instructions to ensure proper configuration and utilization of the microphone’s features.
By adjusting the microphone settings on your MacBook Pro, you can ensure that your audio recordings, voiceovers, or video conference calls are of the highest quality. Take the time to explore these settings and find the perfect configuration that suits your preferences and recording requirements.
Testing and Troubleshooting the Microphone on a MacBook Pro
Periodically testing and troubleshooting your microphone is essential to ensure optimal performance and address any potential issues that may arise. Here are some steps you can take to test and troubleshoot the microphone on your MacBook Pro:
- Verify Application Settings: If you are experiencing microphone issues with specific applications, such as video conferencing platforms or recording software, check the settings within those applications. Ensure that the correct microphone input is selected.
- Restart Your MacBook Pro: A simple restart can sometimes resolve temporary software glitches or conflicts affecting the microphone. Close all applications and restart your MacBook Pro to see if the microphone behavior improves.
- Check Microphone Connections: If you are using an external microphone, verify that it is correctly connected to your MacBook Pro. Ensure that any cables or adapters are securely plugged in and free of damage.
- Update macOS and Drivers: Keeping your MacBook Pro’s operating system and drivers up to date is crucial for optimal functionality. Check for any available software updates for macOS and ensure that you have the latest drivers for your microphone, if applicable.
- Reset Audio Settings: Resetting the audio settings on your MacBook Pro can help resolve microphone issues. Go to “System Preferences” -> “Sound” -> “Input” and click on the “Reset to Default” button. This will reset all audio input settings to their default configurations.
- Use the Built-in Audio Input Test: Your MacBook Pro includes a built-in audio input test that allows you to check the functionality of your microphone. To access it, hold the Option key and click on the speaker icon in the menu bar. Select “Input Device” and click on “Input Level” to see if your voice registers on the input level meter.
- Consider Audio Recording Software: If you encounter persistent microphone issues, you may try using audio recording software to test your microphone. There are various free and paid options available that provide more advanced testing and diagnostic capabilities.
If you continue to experience problems with your microphone after trying these troubleshooting steps, consider contacting Apple Support or the manufacturer of your specific microphone for further assistance. They can provide specialized guidance for your device and help resolve any persistent issues.
Regularly testing and troubleshooting your microphone ensures that it functions optimally, allowing you to record audio, engage in video calls, and create content without any interruptions or audio quality concerns.
Conclusion
Knowing the location of the microphone on your MacBook Pro and understanding how to utilize its features effectively can greatly enhance your audio recording, communication, and content creation experiences. Whether you’re engaging in video conferencing, recording voiceovers, or conducting interviews, a clear and accurate microphone is essential. By following the guidelines in this article, you can make the most of the microphone on your MacBook Pro.
We discussed the importance of knowing the microphone’s location and its significance for different tasks, such as video conferencing, voice recording, and content creation. We explored the front-facing microphone, which is ideal for video calls, and the internal microphone for versatile audio capture. Additionally, we discussed the option of connecting external microphones for professional-grade audio quality.
We provided instructions and tips for adjusting microphone settings and troubleshooting common issues. By fine-tuning the microphone settings on your MacBook Pro, you can ensure optimal audio levels and minimize any potential problems that may arise during recording or video calls.
Remember, regularly testing and troubleshooting your microphone is crucial to maintain its performance and resolve any issues that may affect its functionality. By being proactive in monitoring and addressing microphone-related concerns, you can ensure consistent audio quality and an uninterrupted workflow.
Now that you have a solid understanding of the microphone on your MacBook Pro, go ahead and explore its capabilities. Utilize the knowledge gained from this article to communicate seamlessly, record high-quality audio, and unleash your creativity to the fullest.


