Introduction
Adding an ICS file to your Google Calendar can be a useful way to quickly import events, appointments, or schedules into your digital calendar. An ICS (iCalendar) file format is a standard format that allows you to share calendar information across different platforms and applications. Whether you have received an ICS file from a colleague, friend, or downloaded it from a website, integrating it into your Google Calendar is a simple process.
In this guide, we will walk you through the steps to successfully add an ICS file to your Google Calendar. By following these steps, you’ll be able to effortlessly import events and stay organized without the hassle of manually inputting each individual event.
Note: These instructions are specifically for adding an ICS file to your Google Calendar via the web interface. The process may vary slightly if you are using the Google Calendar mobile app.
Now, let’s dive into the step-by-step process of adding an ICS file to your Google Calendar.
Step 1: Download the ICS File
To begin, you’ll need to download the ICS file that you want to import into your Google Calendar. This file could be received via email, downloaded from a website, or shared with you by someone else. Follow these steps to download the ICS file:
- Locate the ICS file that you want to add to your Google Calendar. It may be in your email attachments, or you can find the download link on a website.
- Click on the download link or attachment to start the download process. Choose a location on your computer where you can easily access the file.
- Once the download is complete, make a note of the file’s location on your computer. It will typically have a .ics file extension.
By completing these steps, you will have successfully downloaded the ICS file to your computer, ready for the next step of adding it to your Google Calendar.
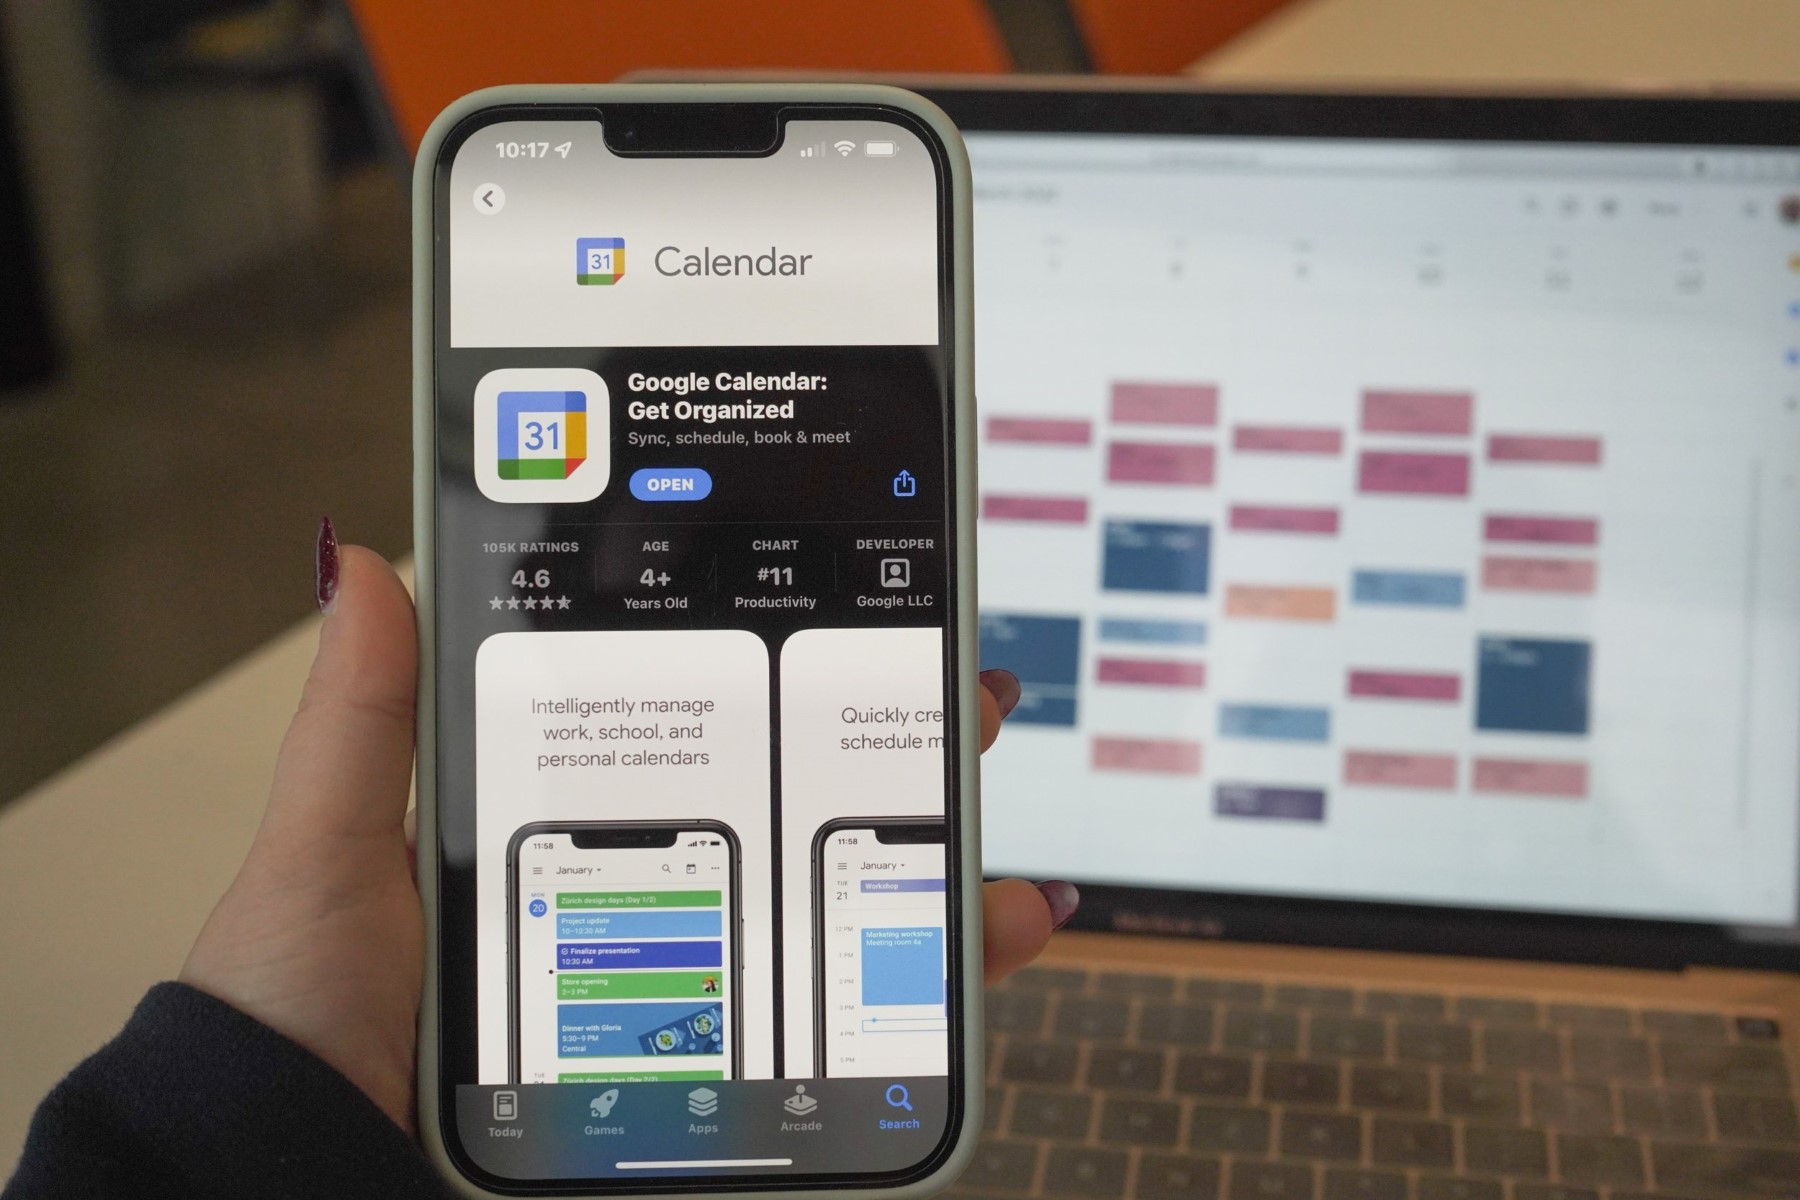
Step 2: Open Google Calendar
After downloading the ICS file, the next step is to open Google Calendar. Follow these instructions to access your Google Calendar:
- Launch your preferred web browser and navigate to https://calendar.google.com.
- If you aren’t already signed in, enter your Google account credentials to log in.
- Once signed in, you will be directed to your Google Calendar interface.
Alternatively, you can access Google Calendar from within a Google account by clicking on the Google apps menu (represented by a grid of squares) in the top right corner of any Google page, and selecting “Calendar” from the list of available apps.
Make sure you are logged in to the correct Google account that you want to add the ICS file to. Once you’re on the Google Calendar interface, you can proceed to the next step.
Step 3: Add a New Calendar
Before importing the ICS file into your Google Calendar, you’ll need to create a new calendar to ensure the events are organized separately. Here’s how you can add a new calendar:
- On the left-hand side of the Google Calendar interface, locate the sidebar and click on the “+” button next to “Add a coworker’s calendar” or “Add a friend’s calendar”, depending on your version of Google Calendar.
- A dropdown menu will appear. Select “Create new calendar” from the options.
- A dialog box will pop up, prompting you to enter the details of the new calendar. Fill in the desired calendar name, description (optional), and time zone. You can also choose the calendar’s color.
- Click on the “Create calendar” button to finalize the creation of the new calendar.
Once you’ve completed these steps, your new calendar will be added to your Google Calendar interface. Ensure that the newly created calendar is selected before importing the ICS file in the next step.
Step 4: Import the ICS File
Now that you have a new calendar ready, it’s time to import the ICS file into your Google Calendar. Follow these steps to import the file:
- In the Google Calendar interface, click on the gear icon in the top-right corner to access the Settings menu.
- In the Settings menu, select “Settings” from the dropdown.
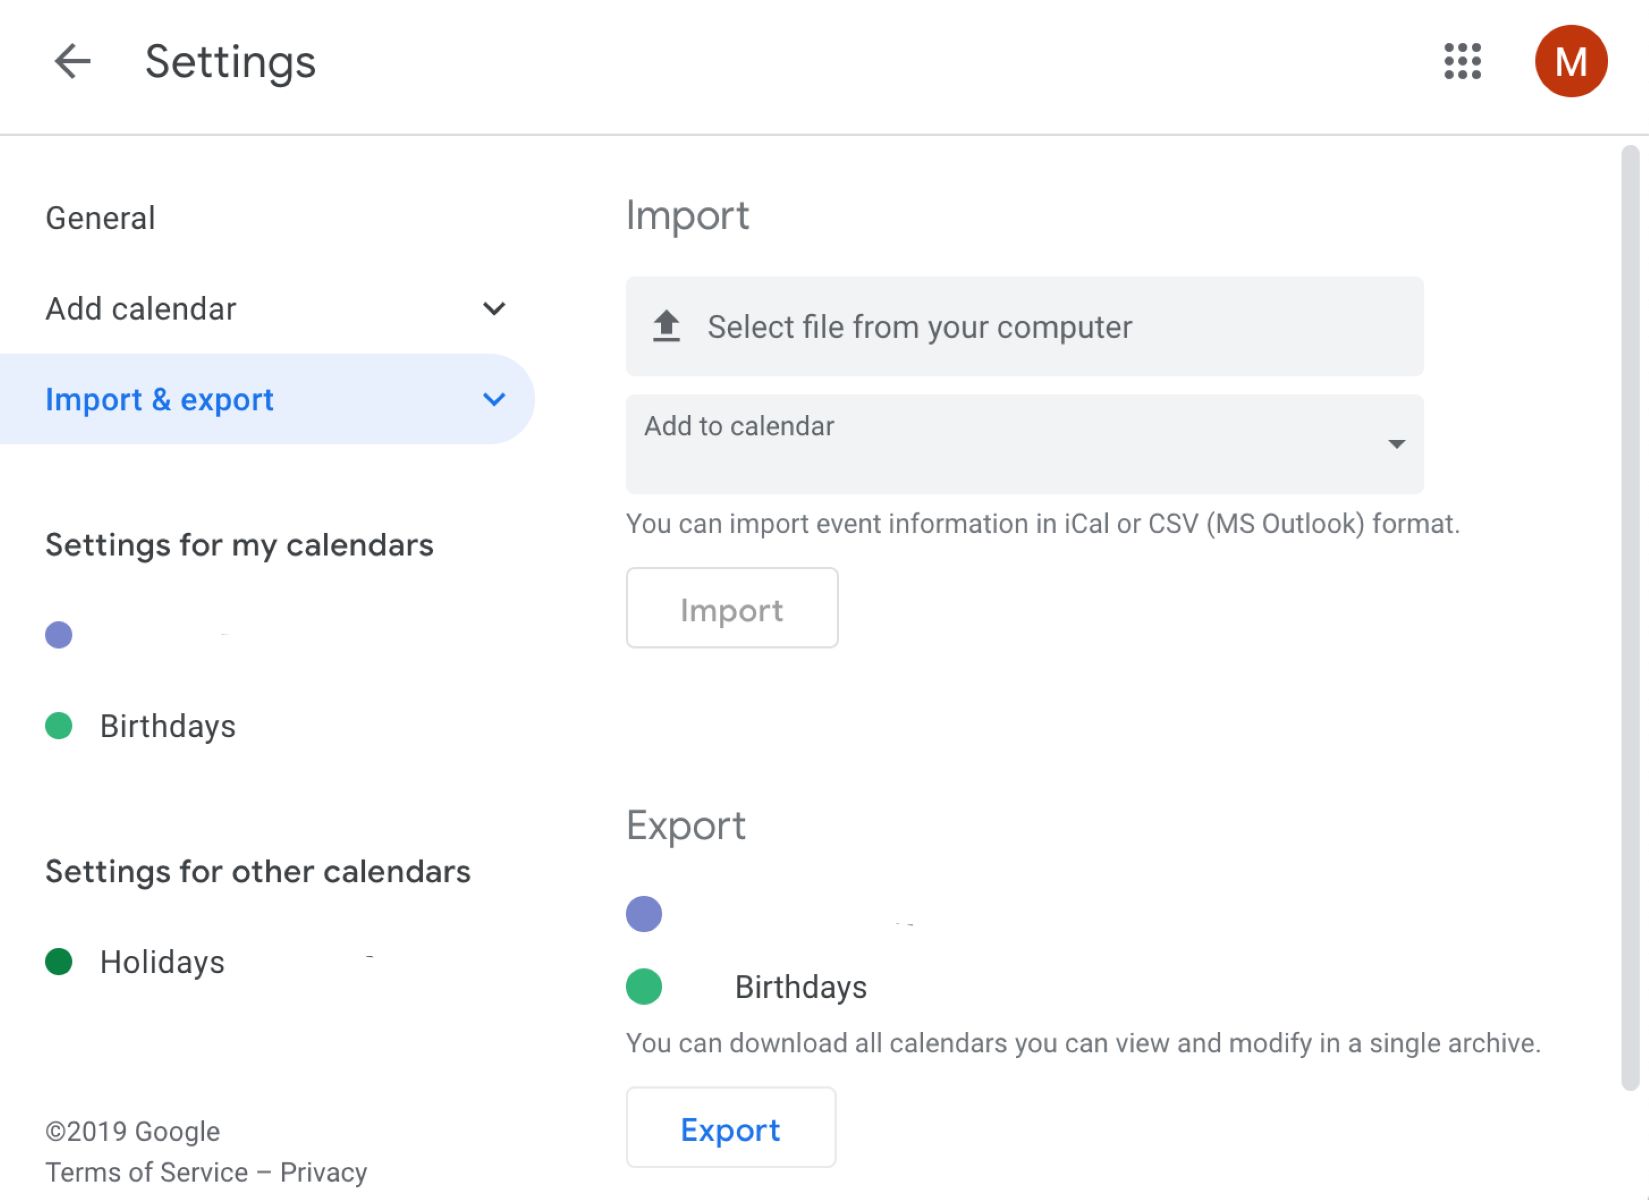
- Within the Settings page, navigate to the left-hand sidebar and choose “Import & export”.
- Under the “Import” section, click on the “Select file from your computer” button.
- Locate the ICS file you downloaded in Step 1 and select it.
- Click on the “Import” button to begin the import process.
- Wait for Google Calendar to process and import the events from the ICS file. The time this takes will vary depending on the number of events and the file size.
Once the import process is complete, the events from the ICS file will be added to your newly created calendar. You can now proceed to the final step to verify that the events have been successfully imported.
Step 5: Verify the Event is Added
After importing the ICS file into your Google Calendar, it’s important to verify that the events have been successfully added. Follow these steps to ensure the events are correctly imported:
- Navigate back to the main Google Calendar interface, if you’re not already there.
- In the left-hand sidebar, locate the calendar you created in Step 3, which should now have the imported events.
- Click on the checkbox next to the calendar name to display the events associated with it.
- Scroll through the calendar to verify that the imported events are visible on their respective dates and times.
- You can click on each event to view its details and make any necessary changes or additions.
- Ensure that the events have been added correctly and appear in the desired order and time frame.
If you encounter any issues or discrepancies with the imported events, double-check the ICS file and repeat the import process if necessary. Also, ensure that you have selected the correct calendar to display the imported events.
By following these steps and verifying the imported events, you can confidently use your Google Calendar with the added convenience of the ICS file integration.
Conclusion
Adding an ICS file to your Google Calendar is a straightforward process that allows you to quickly import events, appointments, or schedules into your digital calendar. By following the steps outlined in this guide, you can seamlessly integrate ICS files into your Google Calendar and stay organized without the hassle of manually inputting each event.
Remember, the process involves downloading the ICS file, opening Google Calendar, creating a new calendar for the imported events, importing the ICS file, and verifying that the events have been successfully added.
Whether you’re receiving an ICS file from a colleague, friend, or downloading it from a website, this method of adding events to your Google Calendar ensures that you won’t miss any important appointments or deadlines. It’s a convenient way to keep all your events in one place and stay on top of your schedule.
Now that you know how to add an ICS file to your Google Calendar, you can make the most of this feature and easily integrate events from external sources into your calendar system. Enjoy the benefits of a well-organized and efficiently managed schedule!