Introduction
In the world of technology, the BIOS (Basic Input/Output System) plays a crucial role in managing hardware and initiating the boot process of a computer. It serves as the bridge between the hardware components and the operating system, allowing them to communicate effectively. Accessing the BIOS gives users the ability to customize system settings, such as configuring the boot order, overclocking the processor, or adjusting hardware parameters. This level of control can be especially useful for individuals looking to optimize their system’s performance or troubleshoot issues.
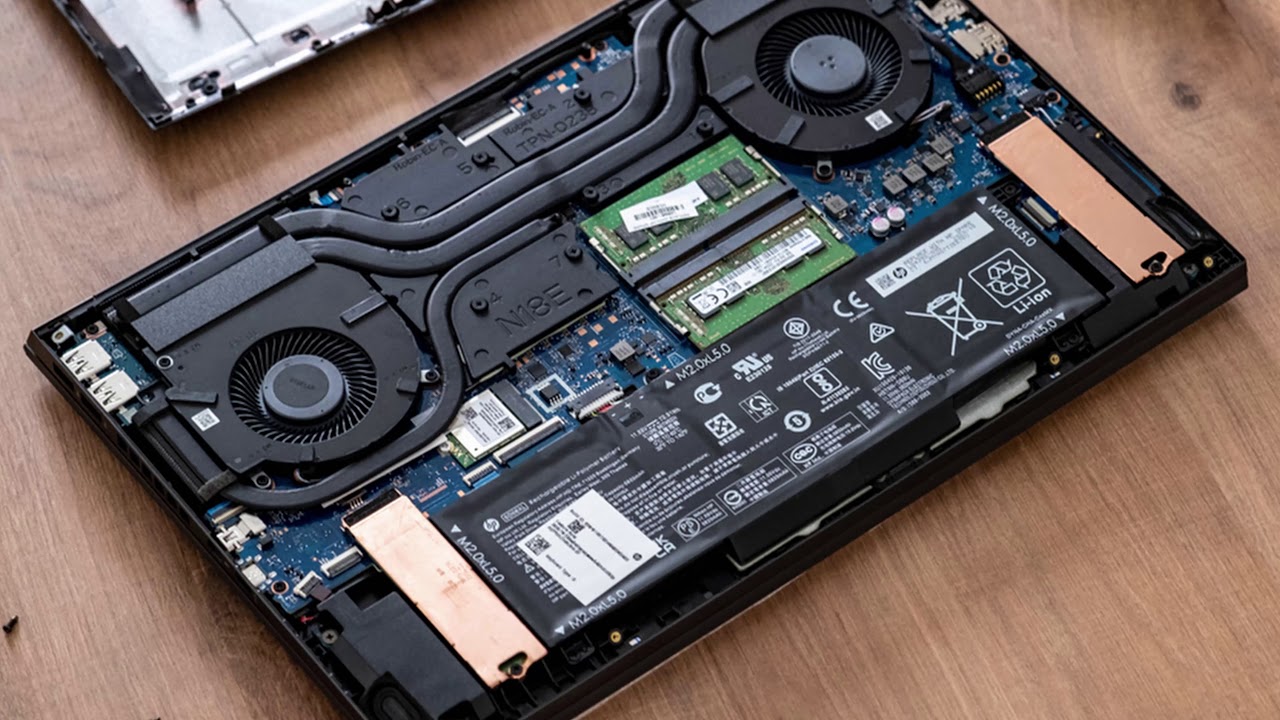
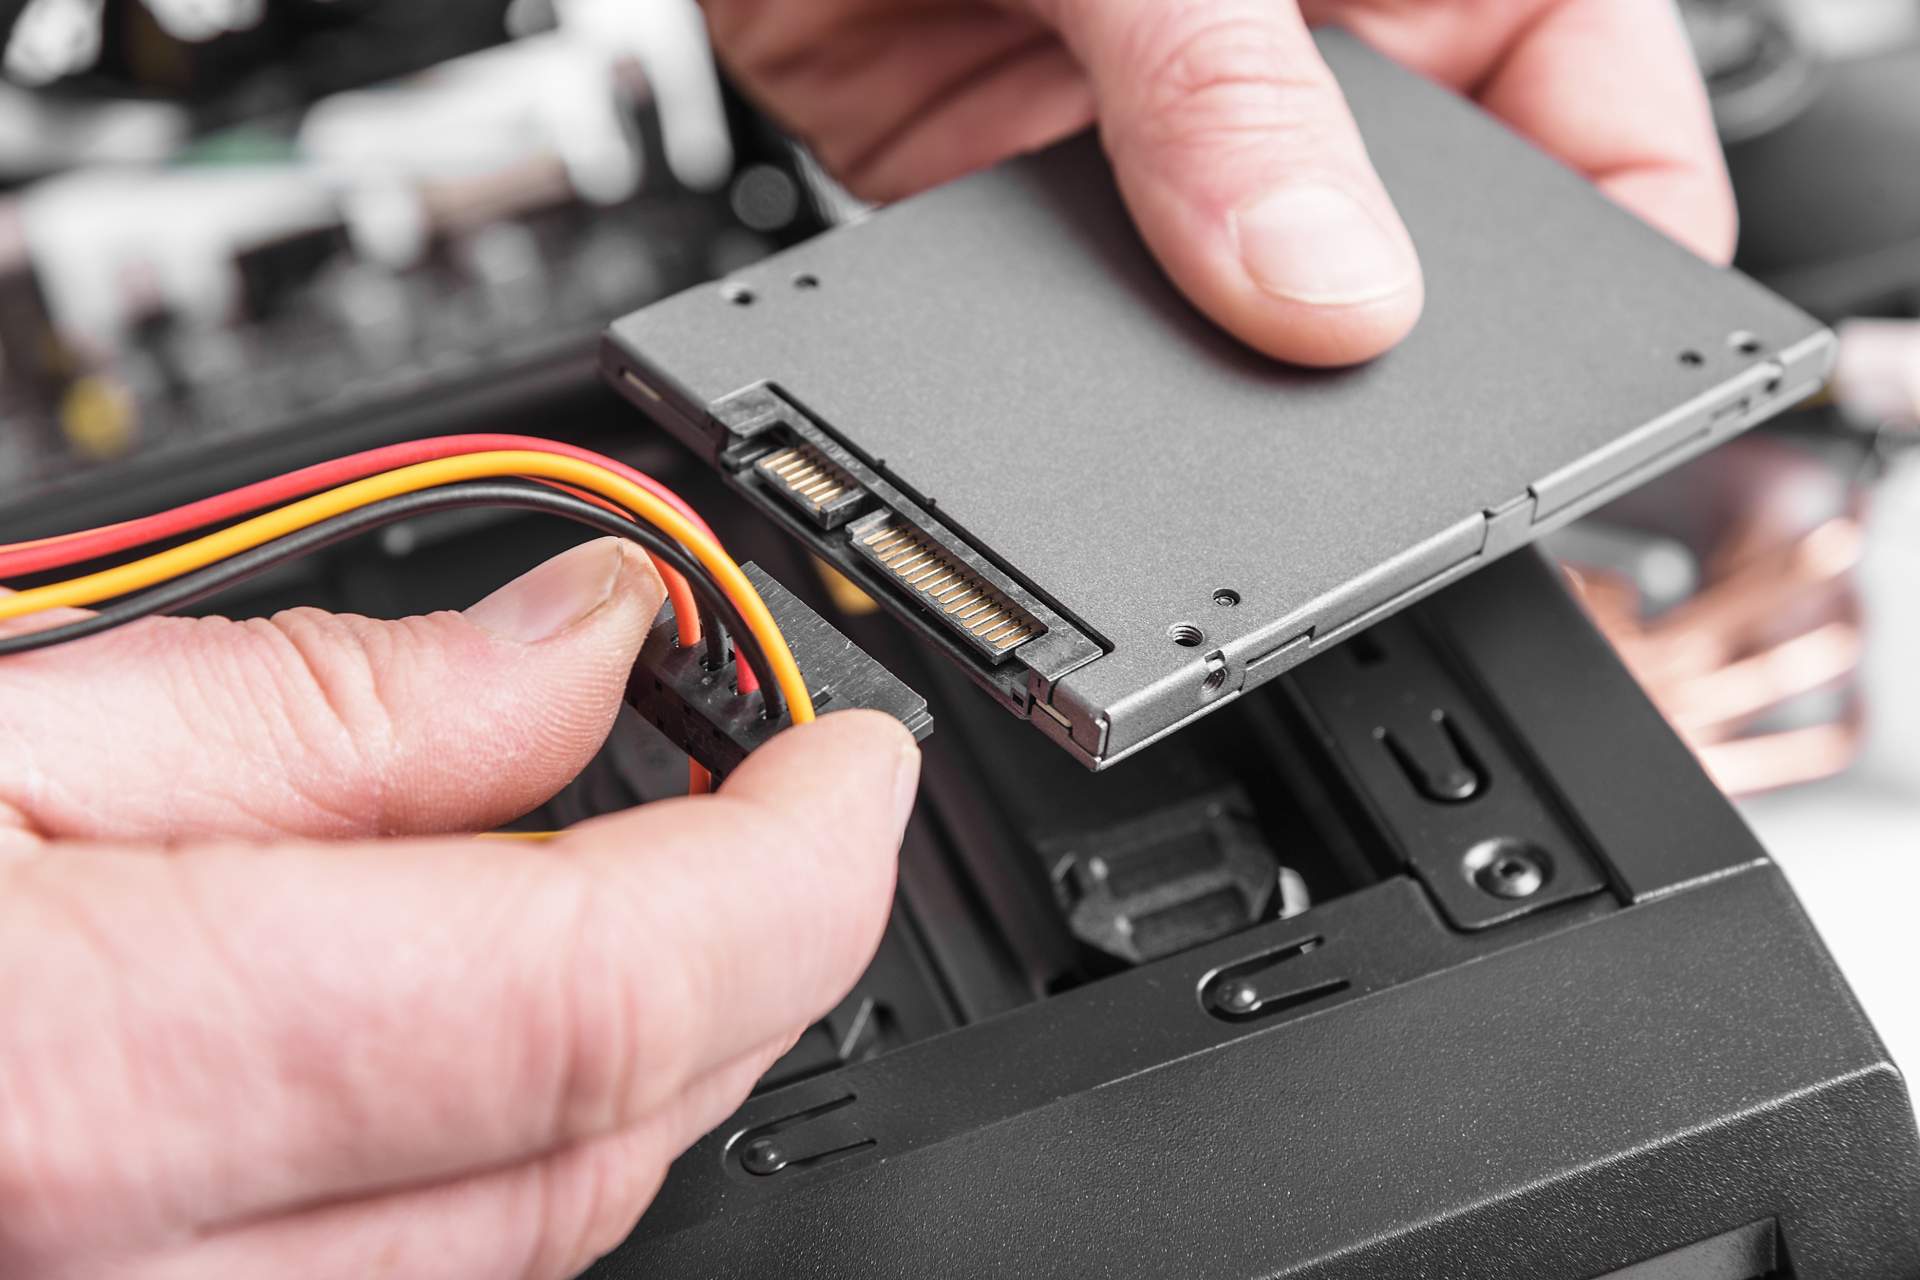
One common scenario where accessing the BIOS becomes important is when using a Solid State Drive (SSD). As SSDs offer significant speed advantages over traditional hard drives, users often want to take advantage of their full potential by tweaking the system settings. However, due to the faster boot times, accessing the BIOS on a computer equipped with an SSD may differ slightly from the conventional method used with hard drives.
In this article, we will explore various methods to access the BIOS when you are using a Solid State Drive. Whether you are a seasoned tech enthusiast or a beginner, following these methods will allow you to enter the BIOS seamlessly and make any necessary changes to enhance your computer’s performance.
What is BIOS?
The BIOS, or Basic Input/Output System, is a firmware embedded on the motherboard of a computer. It acts as a mediator between the hardware components and the operating system, ensuring a smooth interaction between them. The main purpose of the BIOS is to initialize and test the hardware during the startup process and facilitate the loading of the operating system.
The BIOS contains essential instructions that enable the computer to boot up. When you power on your computer, the BIOS performs a Power-On Self-Test (POST) to check if all the hardware components are functioning correctly. It then proceeds to load the operating system or directs the computer to boot from an external device, such as a USB drive or a DVD.
One of the key functions of the BIOS is to hold a set of system configurations and settings. These settings control various aspects of the computer’s hardware, such as the boot order, CPU clock speed, memory timings, and peripheral settings. By accessing the BIOS, users can modify these settings to optimize their computer’s performance or resolve certain compatibility issues.
The BIOS is typically accessed during the computer’s startup process, before the operating system is loaded. To access the BIOS, you need to press a specific key or combination of keys during the boot sequence. The specific key or combination can vary depending on the computer manufacturer and model. Common keys for accessing the BIOS include Del, F2, F10, and Esc.
While newer systems are transitioning to the Unified Extensible Firmware Interface (UEFI), which provides a more advanced and modern firmware interface, the term “BIOS” is still widely used to refer to both traditional BIOS and UEFI settings. Therefore, the methods mentioned in this article will work for both BIOS and UEFI systems, ensuring compatibility with a wide range of computers.
Why Access BIOS?
Accessing the BIOS provides users with a range of benefits and customization options that can improve their computer’s performance and functionality. Here are some reasons why you might want to access the BIOS:
- System Optimization: The BIOS allows you to fine-tune various settings to optimize your computer’s performance. You can adjust parameters such as CPU clock speed, memory timings, and voltage settings to achieve better performance or stability.
- Boot Configuration: By accessing the BIOS, you can modify the boot order of your drives. This allows you to prioritize booting from specific devices, such as your Solid State Drive (SSD), to reduce boot times and improve overall system responsiveness.
- Overclocking: For gamers and enthusiasts, accessing the BIOS provides the ability to overclock the CPU and GPU. Overclocking increases the clock speeds of these components, resulting in higher performance and faster processing times for demanding tasks.
- Hardware Troubleshooting: Sometimes, computers encounter hardware-related issues. Accessing the BIOS allows you to identify and diagnose these issues. You can check hardware status, review error logs, and disable or enable specific components to pinpoint the problem.
- Compatibility Settings: Certain hardware or peripheral devices may require specific settings within the BIOS to function properly. Accessing the BIOS allows you to enable or disable features, such as virtualization, that may be necessary for certain software applications or hardware devices.
Overall, the BIOS provides a foundation for your computer’s hardware and is instrumental in managing its performance and functionality. By accessing the BIOS and making the appropriate adjustments, you can unleash the full potential of your system and customize it to meet your specific needs. Whether you are an avid gamer, a power user, or someone troubleshooting hardware issues, accessing the BIOS gives you control over your computer’s settings, allowing you to optimize its performance and enhance your overall computing experience.
Accessing BIOS with a Solid State Drive
When it comes to accessing the BIOS with a Solid State Drive (SSD), there may be slight differences compared to traditional hard drives due to the faster boot times and different firmware interfaces. However, the methods described below will help you navigate through the process seamlessly.
Method 1: Restarting your computer: The simplest way to access the BIOS is to restart your computer. As soon as the computer starts up, look for a message on the screen indicating the key or combination of keys to press to enter the BIOS. Depending on your computer’s manufacturer, this could be Del, F2, F10, or Esc. Press the specified key or combination immediately to enter the BIOS.
Method 2: Using a keyboard shortcut: Some computers allow you to access the BIOS directly with a keyboard shortcut. This method is particularly useful for systems equipped with UEFI firmware. Press and hold the Shift key while selecting the “Restart” option in the Start menu. This will take you to the Advanced startup menu. From there, go to Troubleshoot > Advanced options > UEFI Firmware Settings or BIOS settings to access the BIOS.
Method 3: From within Windows: If you are already logged into Windows and want to access the BIOS, you can do so from the settings menu. In Windows 10, go to the Start menu, click on the Settings icon (gear-shaped), and select “Update & Security.” From there, navigate to the “Recovery” tab and click on the “Restart now” button under “Advanced startup.” This will restart your computer and take you to the Advanced startup menu where you can access the BIOS settings.
Method 4: Through UEFI firmware settings: For systems utilizing UEFI firmware, you can access the BIOS settings directly from the UEFI interface. Start by restarting your computer and entering the UEFI interface (often accessed by pressing the Del, F2, or F10 key). Once in the UEFI, navigate to the appropriate section for BIOS settings. The exact location and labels of these settings may vary depending on your system’s manufacturer and BIOS version, so refer to your computer’s documentation or support website for specific instructions.
Remember to save any changes you make in the BIOS before exiting to ensure they are applied. Additionally, be cautious when modifying settings in the BIOS, as incorrect configurations can cause system instability or even prevent the system from booting properly. If you are unsure about a particular setting, it is advisable to consult the computer’s documentation or seek professional advice.
Method 1: Restarting your computer
One of the simplest and most common methods to access the BIOS is by restarting your computer. This method works for both traditional BIOS and UEFI systems and is the go-to approach for many users. Here’s how to do it:
- Start by fully shutting down your computer.
- Once it is completely powered off, press the power button to turn it back on.
- As soon as the computer starts up, keep a close eye on the screen for a message indicating the key or combination of keys to press in order to enter the BIOS. This message is typically displayed for a brief moment and may vary depending on your computer’s manufacturer and model.
- Common keys for accessing the BIOS include Del, F2, F10, and Esc. Press the specified key or combination immediately when you see the message to enter the BIOS.
Entering the BIOS usually takes you to a blue or black screen with various configurations and settings. From here, you can navigate through the BIOS menus using the arrow keys on your keyboard. Each BIOS interface may vary in terms of layout and options, but the key settings are generally organized into different categories.
To move through the BIOS menus, use the arrow keys to select different options and press Enter to access submenus or modify settings. Depending on your needs, you can adjust settings related to boot order, overclocking, power management, and other hardware configurations.
Once you have made the necessary changes, make sure to save them before exiting the BIOS. Look for an option like “Save and Exit” or “Save Changes and Restart.” Use the instructions provided on-screen to confirm and save your modifications.
It is important to note that making changes in the BIOS requires caution. Incorrect configurations can lead to system instability or potential boot issues. Therefore, it is recommended to document any changes you make and seek advice if you are unsure about a particular setting.
By following this method and accessing the BIOS, you gain control over your computer’s settings and can customize it to meet your requirements. Whether you need to adjust boot priorities, modify hardware parameters, or troubleshoot issues, accessing the BIOS through a computer restart is a reliable and efficient method.
Method 2: Using a keyboard shortcut
Another method to access the BIOS is by using a keyboard shortcut, which is particularly useful for systems equipped with UEFI firmware. This method allows you to access the BIOS settings directly from the Advanced startup menu. Follow these steps to use this method:
- If your computer is turned on, save any open files and close all running applications.
- Press and hold the Shift key on your keyboard.
- While keeping the Shift key pressed, go to the Start menu and click on the Power icon.
- Select the “Restart” option. This will initiate a system restart.
- As your computer restarts, continue holding the Shift key until the Advanced startup menu appears.
- From the Advanced startup menu, choose the “Troubleshoot” option.
- Next, select “Advanced options” and then “UEFI Firmware Settings” or “BIOS settings” (depending on your system’s configuration).
- Your computer will then restart once again and take you directly to the BIOS interface.
Once you are in the BIOS interface, you can navigate through the different settings and configurations using the arrow keys on your keyboard. Modify the required options and save any changes before exiting the BIOS. The specific steps and options within the BIOS may vary depending on your computer’s manufacturer and firmware version.
It is worth noting that not all computers support this keyboard shortcut method for accessing the BIOS. If you are unable to access the BIOS using this method, try one of the other methods described in this article.
Using a keyboard shortcut to access the BIOS is an efficient way to enter the system settings, especially with UEFI firmware. By following these steps, you can bypass the need to restart your computer and access the BIOS directly from the Advanced startup menu. This provides a convenient and quick method of accessing and modifying your computer’s BIOS settings.
Method 3: From within Windows
If you are already logged into Windows and want to access the BIOS, you can do so through the settings menu. This method is particularly useful if you prefer not to restart your computer. Follow these steps to access the BIOS from within Windows:
- Click on the Start menu in the bottom left corner of your desktop.
- Locate and click on the “Settings” icon, which resembles a gear.
- In the Settings menu, select the “Update & Security” option.
- In the left side panel, click on the “Recovery” tab.
- Under the “Advanced startup” section, click on the “Restart now” button. This will initiate a system restart.
- As your computer restarts, it will bring up the Advanced startup menu.
- From the Advanced startup menu, select “Troubleshoot”.
- In the Troubleshoot menu, choose “Advanced options”.
- Finally, click on “UEFI Firmware Settings” or “BIOS settings” (depending on your system’s configuration).
After selecting the BIOS settings option, your computer will restart and take you directly to the BIOS interface. From here, you can navigate through the various settings and configure your system as needed.
It is important to note that this method may not be available on all systems or versions of Windows. Additionally, some computers may require you to provide administrative credentials before accessing the BIOS settings through this method.
Once you have made the necessary changes in the BIOS, remember to save the settings before exiting. Look for an option like “Save and Exit” or “Save Changes and Restart” and follow the on-screen prompts to ensure that your modifications are applied.
Accessing the BIOS from within Windows provides a convenient and user-friendly method for modifying system settings without the need to restart your computer. This method is particularly helpful if you are already working within the Windows environment and want to make quick adjustments to your BIOS configurations.
Method 4: Through UEFI firmware settings
For systems utilizing UEFI (Unified Extensible Firmware Interface) firmware, accessing the BIOS settings can be done directly from the UEFI interface. This method is slightly different from the previous ones but provides a straightforward way to access the BIOS settings. Follow the steps below to access the BIOS through UEFI firmware settings:
- If your computer is turned on, save any open files and close all running applications.
- Start by fully shutting down your computer.
- Once the computer is completely powered off, press the power button to turn it on.
- Immediately begin pressing the key or combination of keys specified by your computer’s manufacturer to access the UEFI or BIOS settings. Common keys for accessing the UEFI or BIOS settings include Del, F2, and F10.
- Your computer will then boot into the UEFI interface, where you can access and modify the BIOS settings.
The UEFI interface provides a graphical interface with options and settings categorized into different sections. Navigate through the menus using the arrow keys on your keyboard and select the desired options by pressing Enter.
Specific navigation and options may vary depending on your computer’s manufacturer and UEFI version. Refer to your computer’s documentation or support website for detailed instructions on navigating and modifying settings in the UEFI interface.
After making the necessary changes, be sure to save the settings before exiting the UEFI interface. Look for an option like “Save and Exit” or “Save Changes and Restart” and follow the on-screen instructions to save your modifications.
It’s important to exercise caution when making changes in the BIOS or UEFI settings, as incorrect configurations can lead to system instability or even prevent the computer from booting properly. If you are unsure about a particular setting, refer to your computer’s documentation or seek professional guidance.
By accessing the BIOS through UEFI firmware settings, users can easily navigate and modify their system settings in a user-friendly and efficient manner. This method is particularly useful for systems using UEFI firmware, providing direct access to the BIOS configurations and allowing users to customize their system’s settings to suit their needs.
Conclusion
Accessing the BIOS is an essential step for users who want to customize their computer’s settings and optimize its performance. While the methods for accessing the BIOS may differ slightly when using a Solid State Drive (SSD), the overall process remains relatively straightforward.
In this article, we explored various methods for accessing the BIOS with an SSD. We began with the traditional method of restarting the computer and pressing a specific key or combination of keys during the startup process. We then discussed using a keyboard shortcut to access the BIOS directly from the Advanced startup menu. Additionally, we outlined how to access the BIOS from within Windows and through the UEFI firmware settings.
By following these methods, users can gain access to the BIOS interface and modify various system settings. This includes configuring the boot order, adjusting hardware parameters, overclocking the processor, and troubleshooting hardware-related issues.
It is worth emphasizing the importance of caution when making changes in the BIOS. Incorrect settings may result in system instability or boot problems. If you are unsure about a particular setting, consult the computer’s documentation or seek professional advice.
Remember to save any changes made in the BIOS before exiting the interface to ensure that they are applied. Each BIOS interface may vary in terms of layout and options, so it’s crucial to familiarize yourself with your specific system’s BIOS settings.
In conclusion, accessing the BIOS with an SSD allows users to have more control over their computer’s settings and unleash the full potential of their system. Whether you need to optimize performance, troubleshoot issues, or configure hardware, following the methods outlined in this article will enable you to enter the BIOS seamlessly and make the necessary adjustments.