Introduction
Welcome to the world of streaming entertainment with Netflix on your Roku device! Netflix provides a personalized experience by allowing users to create multiple profiles within a single account, making it easy for everyone in the household to have their own customized Netflix experience. Whether you want to add a new profile or edit an existing one, Roku makes it simple and convenient to manage your Netflix profiles.
In this article, we will guide you through the step-by-step process of changing your Netflix profile on Roku. So, whether you want to set up a new profile for a friend or family member, or you simply wish to update your existing profile, we have got you covered!
With Roku, you can have multiple profiles that cater to different tastes and preferences. This means you can have a profile for the kids with age-appropriate content, while also having a separate profile for yourself or other family members. It’s a great way to ensure that everyone gets the most out of their Netflix experience.
Throughout the rest of this article, we will provide detailed instructions on how to change your Netflix profile on Roku. By following these steps, you will be able to switch profiles or make modifications to your existing profile effortlessly. So, let’s dive in and discover how to navigate the world of Netflix profiles on your Roku device!
Step 1: Open the Netflix App
The first step to changing your Netflix profile on Roku is to open the Netflix app on your device. To do this, ensure that your Roku device is connected to the internet and powered on.
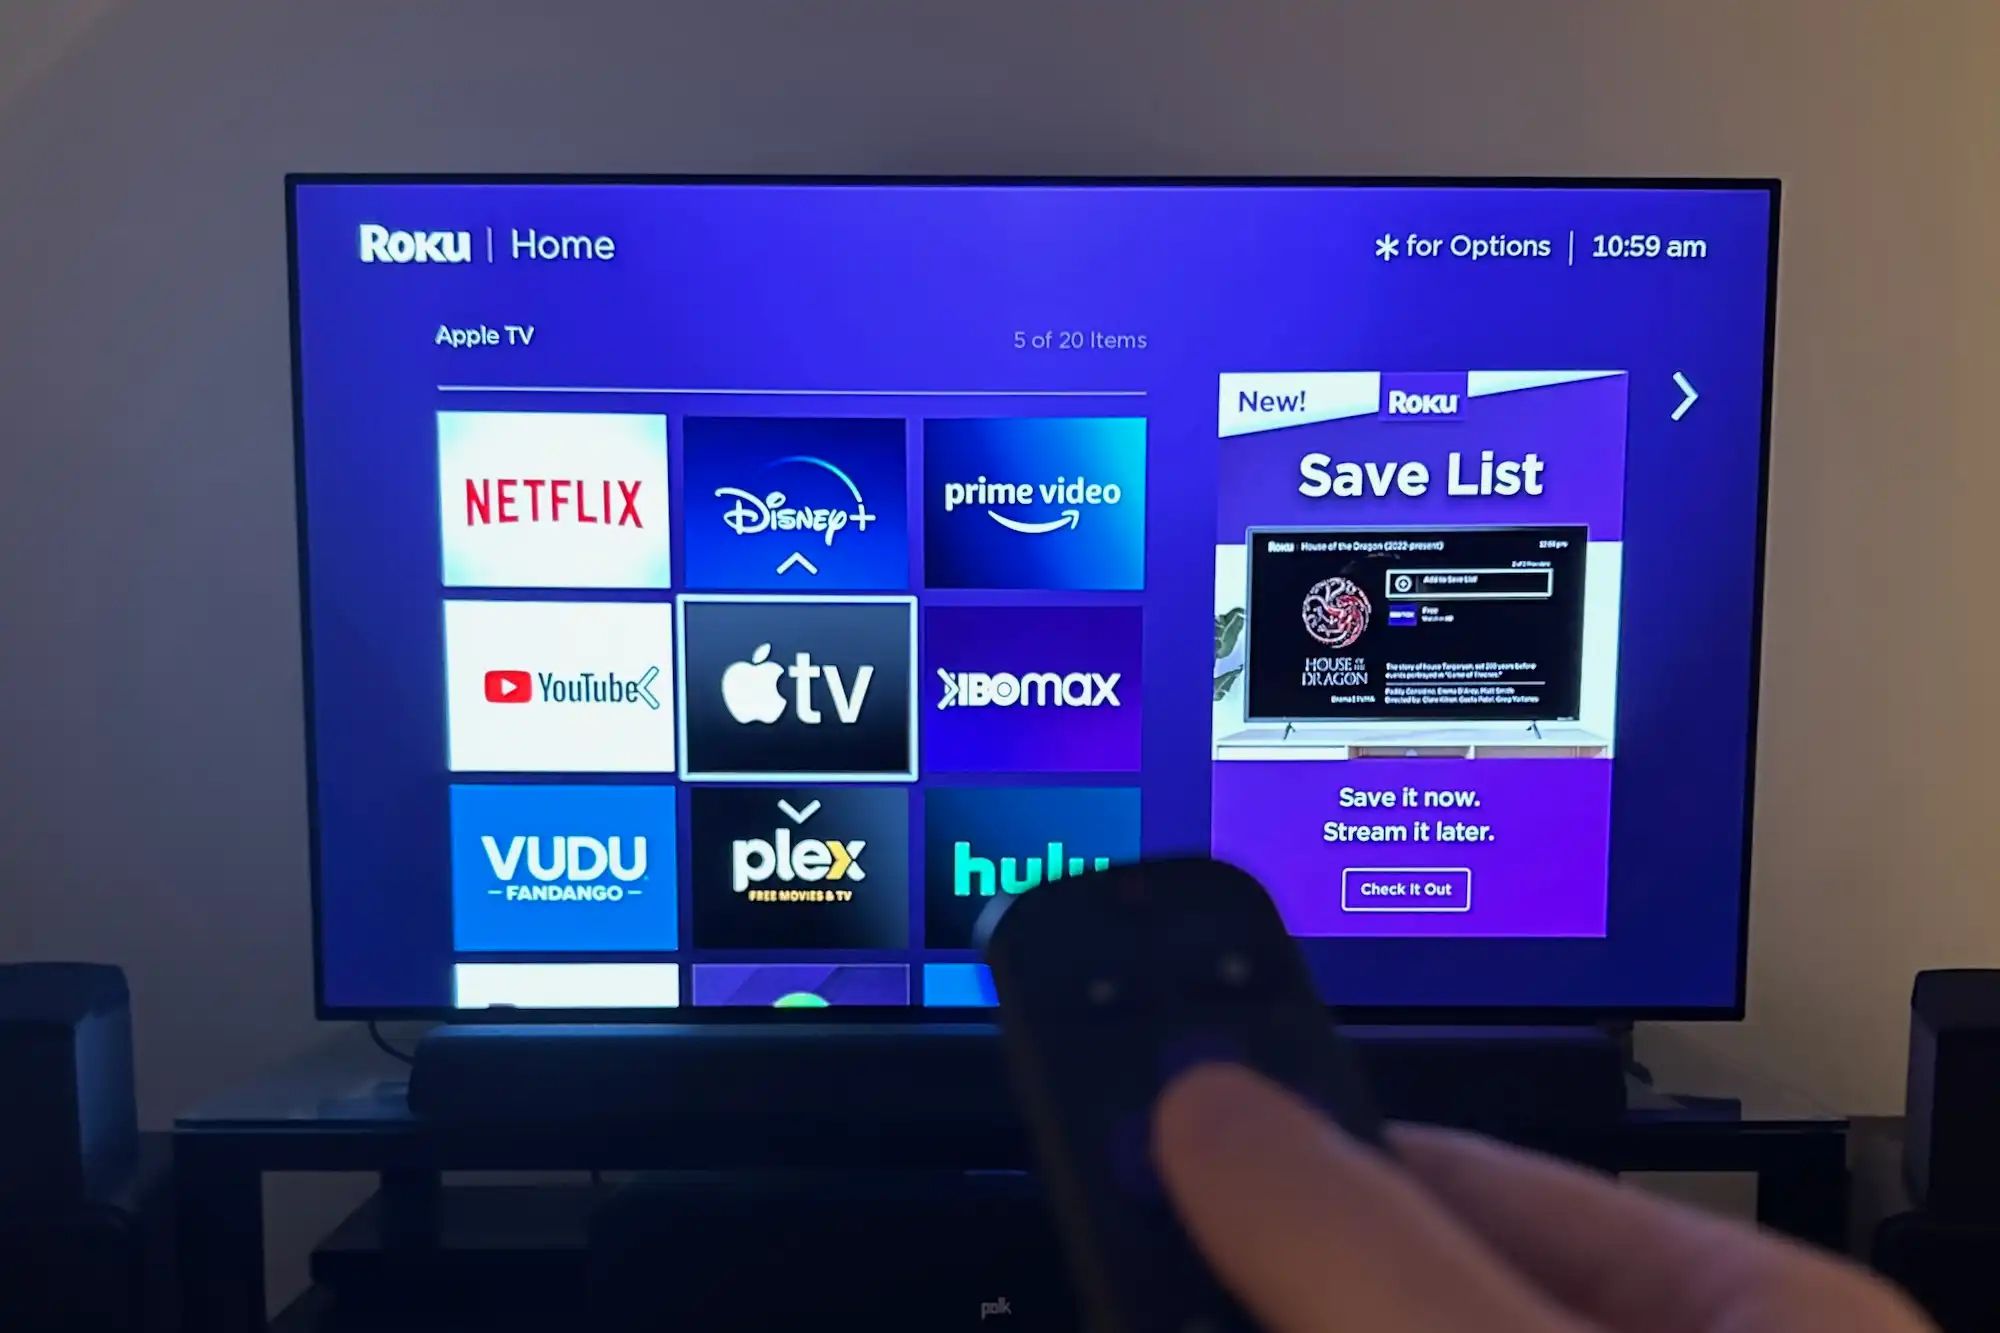
Using your Roku remote, navigate to the home screen by pressing the Home button. From the home screen, locate and select the Netflix app using the arrow keys on your remote. The Netflix icon is typically represented by the iconic red and white Netflix logo.
Once you have selected the Netflix app, press the OK button on your remote to open it. This will launch the Netflix application on your Roku device, giving you access to all your favorite movies and TV shows.
It’s important to note that if you are new to Netflix, you will need to sign in to your account before you can proceed with changing your profile. If you already have a Netflix account, simply enter your login credentials using the on-screen keyboard and press the OK button to sign in.
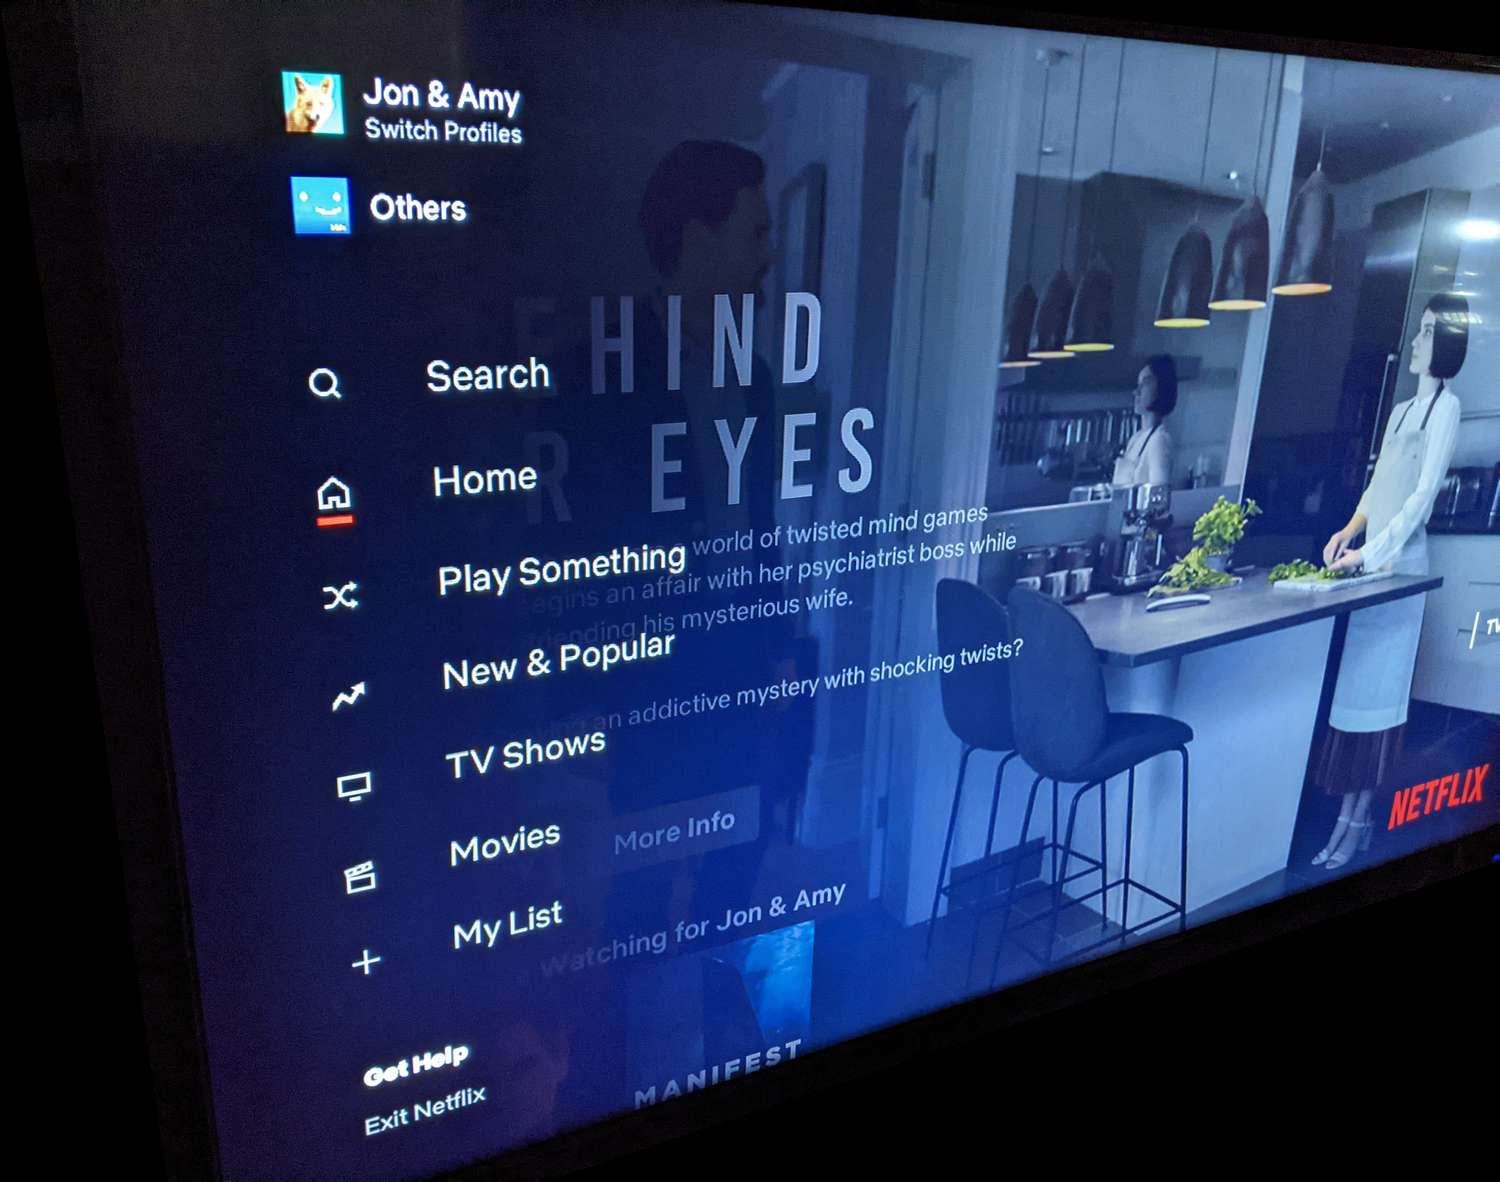
If you have multiple profiles on your Netflix account, the app will automatically display the last profile used. However, if you want to switch to a different profile or create a new one, we will walk you through the necessary steps in the following sections.
Step 2: Select Your Profile
Once you have opened the Netflix app on your Roku device and signed into your account, you will need to select your profile. The profile you choose will determine the content recommendations, viewing history, and watched progress that you see on Netflix.
To select your profile, you will be presented with a list of available profiles on the Netflix home screen. Each profile is typically represented by a profile picture and a name. Using the arrow keys on your Roku remote, navigate to the profile you wish to use and highlight it.
When your desired profile is highlighted, press the OK button on your remote to select it. This will load your selected profile and display the personalized content recommendations and watchlist associated with that profile.
If you don’t see the profile you want to use, it may be because it hasn’t been created yet. To add a new profile, proceed to the next step.
It’s worth noting that if you’re the only person using the Netflix account and you haven’t created any additional profiles, you will automatically be logged in to the default profile associated with your account. In this case, you can proceed to the next section to learn how to manage and create profiles on your Netflix account.
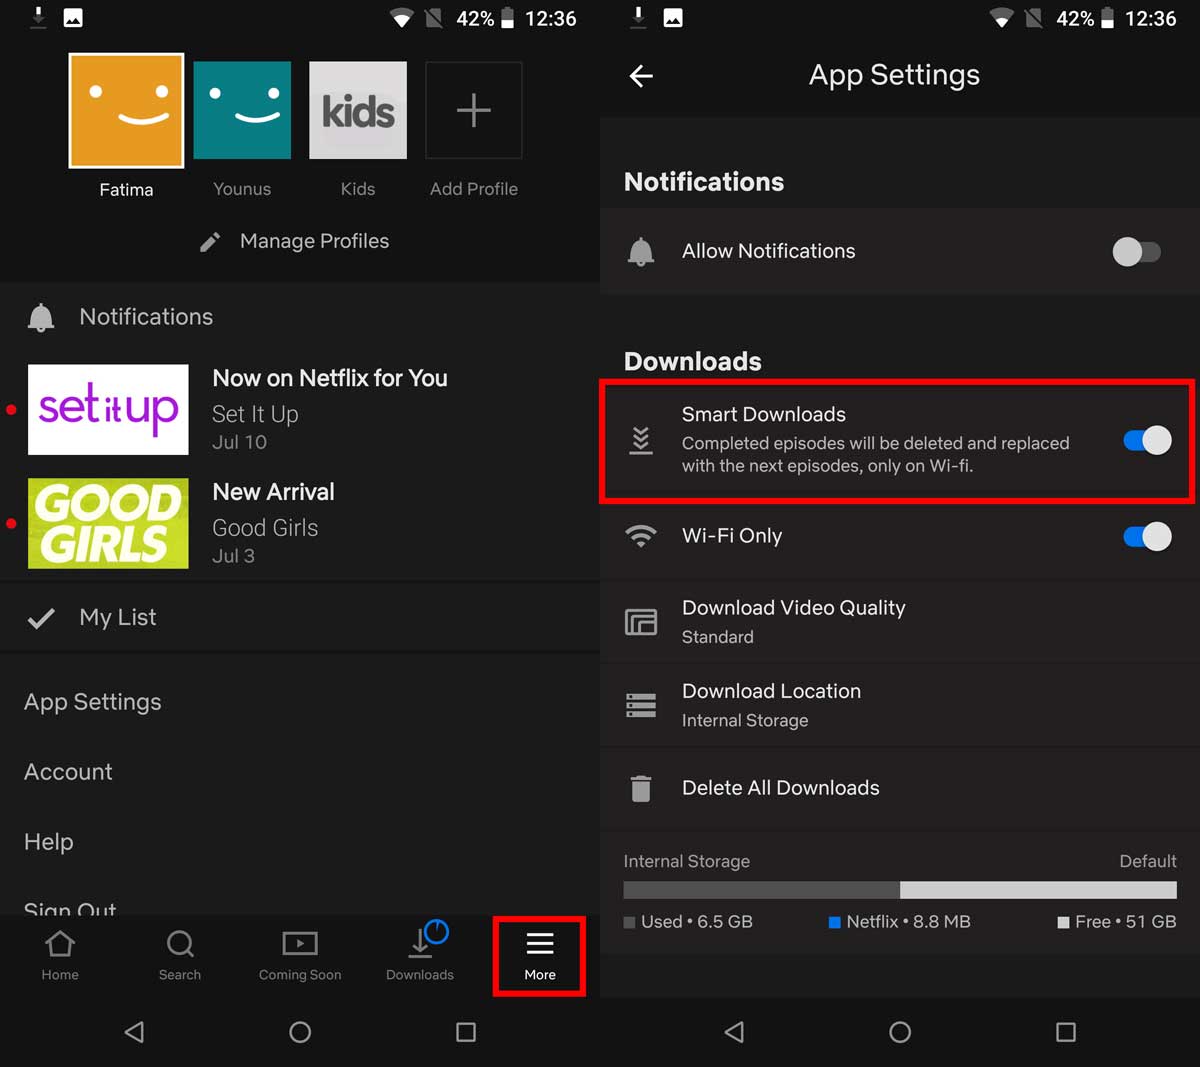
Step 3: Navigate to the “Manage Profiles” Option
To change or manage your Netflix profiles on Roku, you need to access the “Manage Profiles” option within the Netflix app. This section allows you to make changes to your existing profiles, create new profiles, and personalize your Netflix experience.
After selecting your profile in the previous step, you will be taken to the Netflix home screen. From here, navigate to the menu bar at the top of the screen using the arrow keys on your Roku remote.
Scroll to the right until you reach the “Profiles” option. This option may be located under a separate “More” or “Settings” menu. Once you have highlighted the “Profiles” option, press the OK button to select it.
This will take you to the “Manage Profiles” screen, where you can view all the profiles associated with your Netflix account and make changes as needed.
If you are the only person using the Netflix account and haven’t created any additional profiles, you will only see your default profile listed in this section.
However, if you have multiple profiles, they will be displayed as individual profile cards. Each profile card will show the profile picture and name associated with the profile. You can use the arrow keys to navigate through the profile cards and highlight the profile you want to edit or delete.
Once you have located the desired profile, press the OK button to select it. This will bring up a menu of options for that specific profile, allowing you to edit or customize it to your liking.
In the next step, we will explore how to add a new profile or edit an existing profile within the “Manage Profiles” screen.
Step 4: Choose “Add Profile” or “Edit Profile”
After navigating to the “Manage Profiles” screen on the Netflix app for Roku, you will have the option to either add a new profile or edit an existing profile. This step will guide you through the process of choosing between these options and making the necessary changes to your profiles.
To add a new profile, use the arrow keys on your Roku remote to highlight the “Add Profile” option on the “Manage Profiles” screen. Once you have selected the option, press the OK button to proceed.
This will prompt you to enter a name for the new profile. Use the on-screen keyboard to type in the desired name, and then select the “Save” or “Done” option to create the new profile. You can also choose an available icon or upload a custom profile picture when creating a new profile, depending on the options provided.
If you prefer to edit an existing profile, use the arrow keys to highlight the profile card you want to modify on the “Manage Profiles” screen. Once you have selected the profile, press the OK button to bring up the available options.
From the options menu, you can choose to rename the profile, change the profile picture, or delete the profile. If you select the rename option, use the on-screen keyboard to edit the name of the profile. If you choose the change picture option, you will be able to select a new profile picture or upload a custom one. When deleting a profile, you will be asked to confirm your decision before the profile is permanently removed.
Remember, when making changes to a profile, it only affects that specific profile and does not impact other profiles on your account.
Once you have added a new profile or made the desired changes to an existing one, you can proceed to the next step to customize the profile to your preferences.
Step 5: Customize Your New or Existing Profile
After adding a new profile or editing an existing profile in the previous step, it’s time to customize your profile to tailor the Netflix experience to your preferences. This step will guide you through the various customization options available for your profiles on the Netflix app for Roku.
Once you have selected the profile you want to customize, you will be taken to the profile customization screen. Here, you can modify different aspects of the profile, such as the profile name, profile picture, language preferences, and the content maturity level.
If you wish to change the profile name, use the on-screen keyboard to enter a new name for the profile. This allows you to personalize the profile and distinguish it from other profiles on your account.
To change the profile picture, select the “Change Picture” option from the customization menu. Depending on the available options, you can choose a preloaded image or upload a custom profile picture. The selected image will appear on the profile card, making it easier to identify.
Another important aspect of customization is language preferences. If you want to watch Netflix content in a specific language, you can select the desired language from the available options. This will ensure that your Netflix experience is tailored to your preferred language.
Lastly, you can adjust the content maturity level for your profile. This setting determines the type of content that will be displayed on your profile. You can choose from different maturity levels, such as “Little Kids,” “Older Kids,” “Teens,” and “Adults.” Selecting an appropriate maturity level ensures that the content recommended to you aligns with your viewing preferences.
Remember to save your changes after customizing your profile to ensure that the modifications are applied.
With these customization options, you can make your Netflix profile reflect your personal taste and preferences, creating a more personalized and enjoyable streaming experience.
Step 6: Save Your Changes
After customizing your profile to your liking in the previous step, it is important to save your changes to ensure that they are applied and reflected in your Netflix experience. This step will guide you through the process of saving your profile changes on the Netflix app for Roku.
Once you have finished customizing your profile, navigate to the “Save” or “Done” button on the customization screen. This button is typically located at the bottom or top-right corner of the screen.
Using the arrow keys on your Roku remote, highlight the “Save” or “Done” button, and then press the OK button to save your changes. Once you have done this, the profile customization screen will close, and you will be taken back to the “Manage Profiles” screen.
On the “Manage Profiles” screen, you will be able to view the updated profile details, including the new name, profile picture, language preferences, and content maturity level.
It’s important to note that once you save your changes, they will be applied to the specific profile you have customized. These changes will not affect other profiles on the same Netflix account, allowing each user to have their own personalized Netflix experience.
If you ever want to make further changes to your profile in the future, you can repeat the steps outlined in this article to access the “Manage Profiles” screen and customize your profile as desired.
By saving your changes, you ensure that your Netflix profile is personalized and aligned with your viewing preferences. This enhances your overall streaming experience by providing you with content recommendations that match your interests and preferences.
Conclusion
Managing your Netflix profiles on Roku is easy and convenient, allowing you to create personalized streaming experiences for yourself and other members of your household. By following the steps outlined in this article, you can effortlessly change, add, and customize your Netflix profiles on Roku.
From opening the Netflix app to selecting your desired profile, navigating to the “Manage Profiles” option, and making customizations, each step is designed to ensure a smooth and seamless experience. Whether you want to create separate profiles for family members, customize profile pictures, adjust language preferences, or set content maturity levels, Roku provides you with the tools to tailor your Netflix experience to your liking.
Remember to save your changes after customizing your profile to ensure that the modifications are applied. These changes will be specific to the profile you have customized, allowing each user to have their unique Netflix experience within a single account.
With Roku, you can enjoy all the features and benefits of Netflix, such as personalized content recommendations, customized watchlists, and seamless streaming, across multiple profiles. This ensures that everyone in the household can have their own personalized space for discovering and enjoying their favorite movies and TV shows.
So, take the time to explore the various customization options available on Roku and make your Netflix profiles truly your own. Whether it’s creating profiles for different family members, setting age-appropriate content for kids, or personalizing your own profile’s settings, Roku makes it easy to manage and customize your Netflix profiles.
We hope this guide has been helpful in assisting you in changing your Netflix profile on Roku. Now, go ahead and dive into the world of streaming entertainment with your personalized Netflix profiles!